
How to Import Location Hierarchy manually?
-
STEP 1
Go to Setup > Wireless networks > step 5 “Setup location hierarchy”, click on “Add Locations”

-
STEP 2
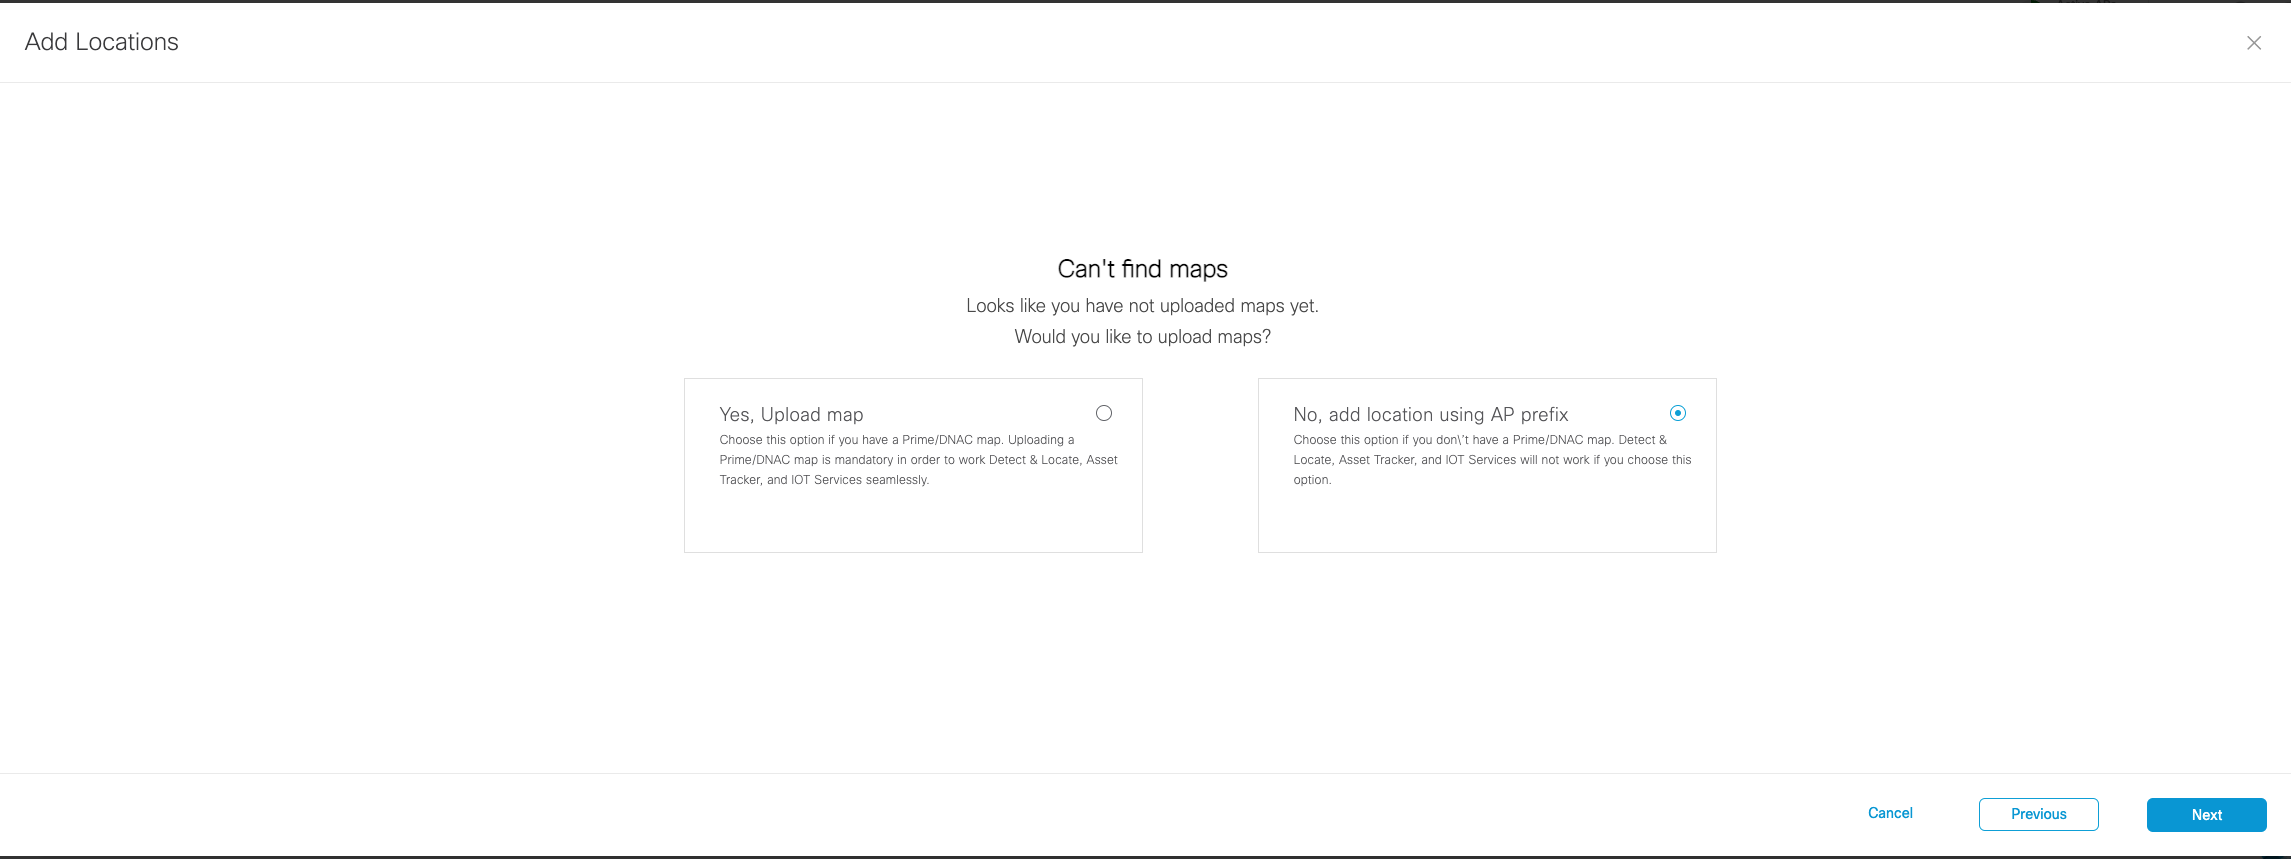
If you have maps, please follow the steps in option 1:
https://spaces.cisco.com/setupguide/location-hierarchy/If you have no maps, select “No, add location using AP prefix”
-
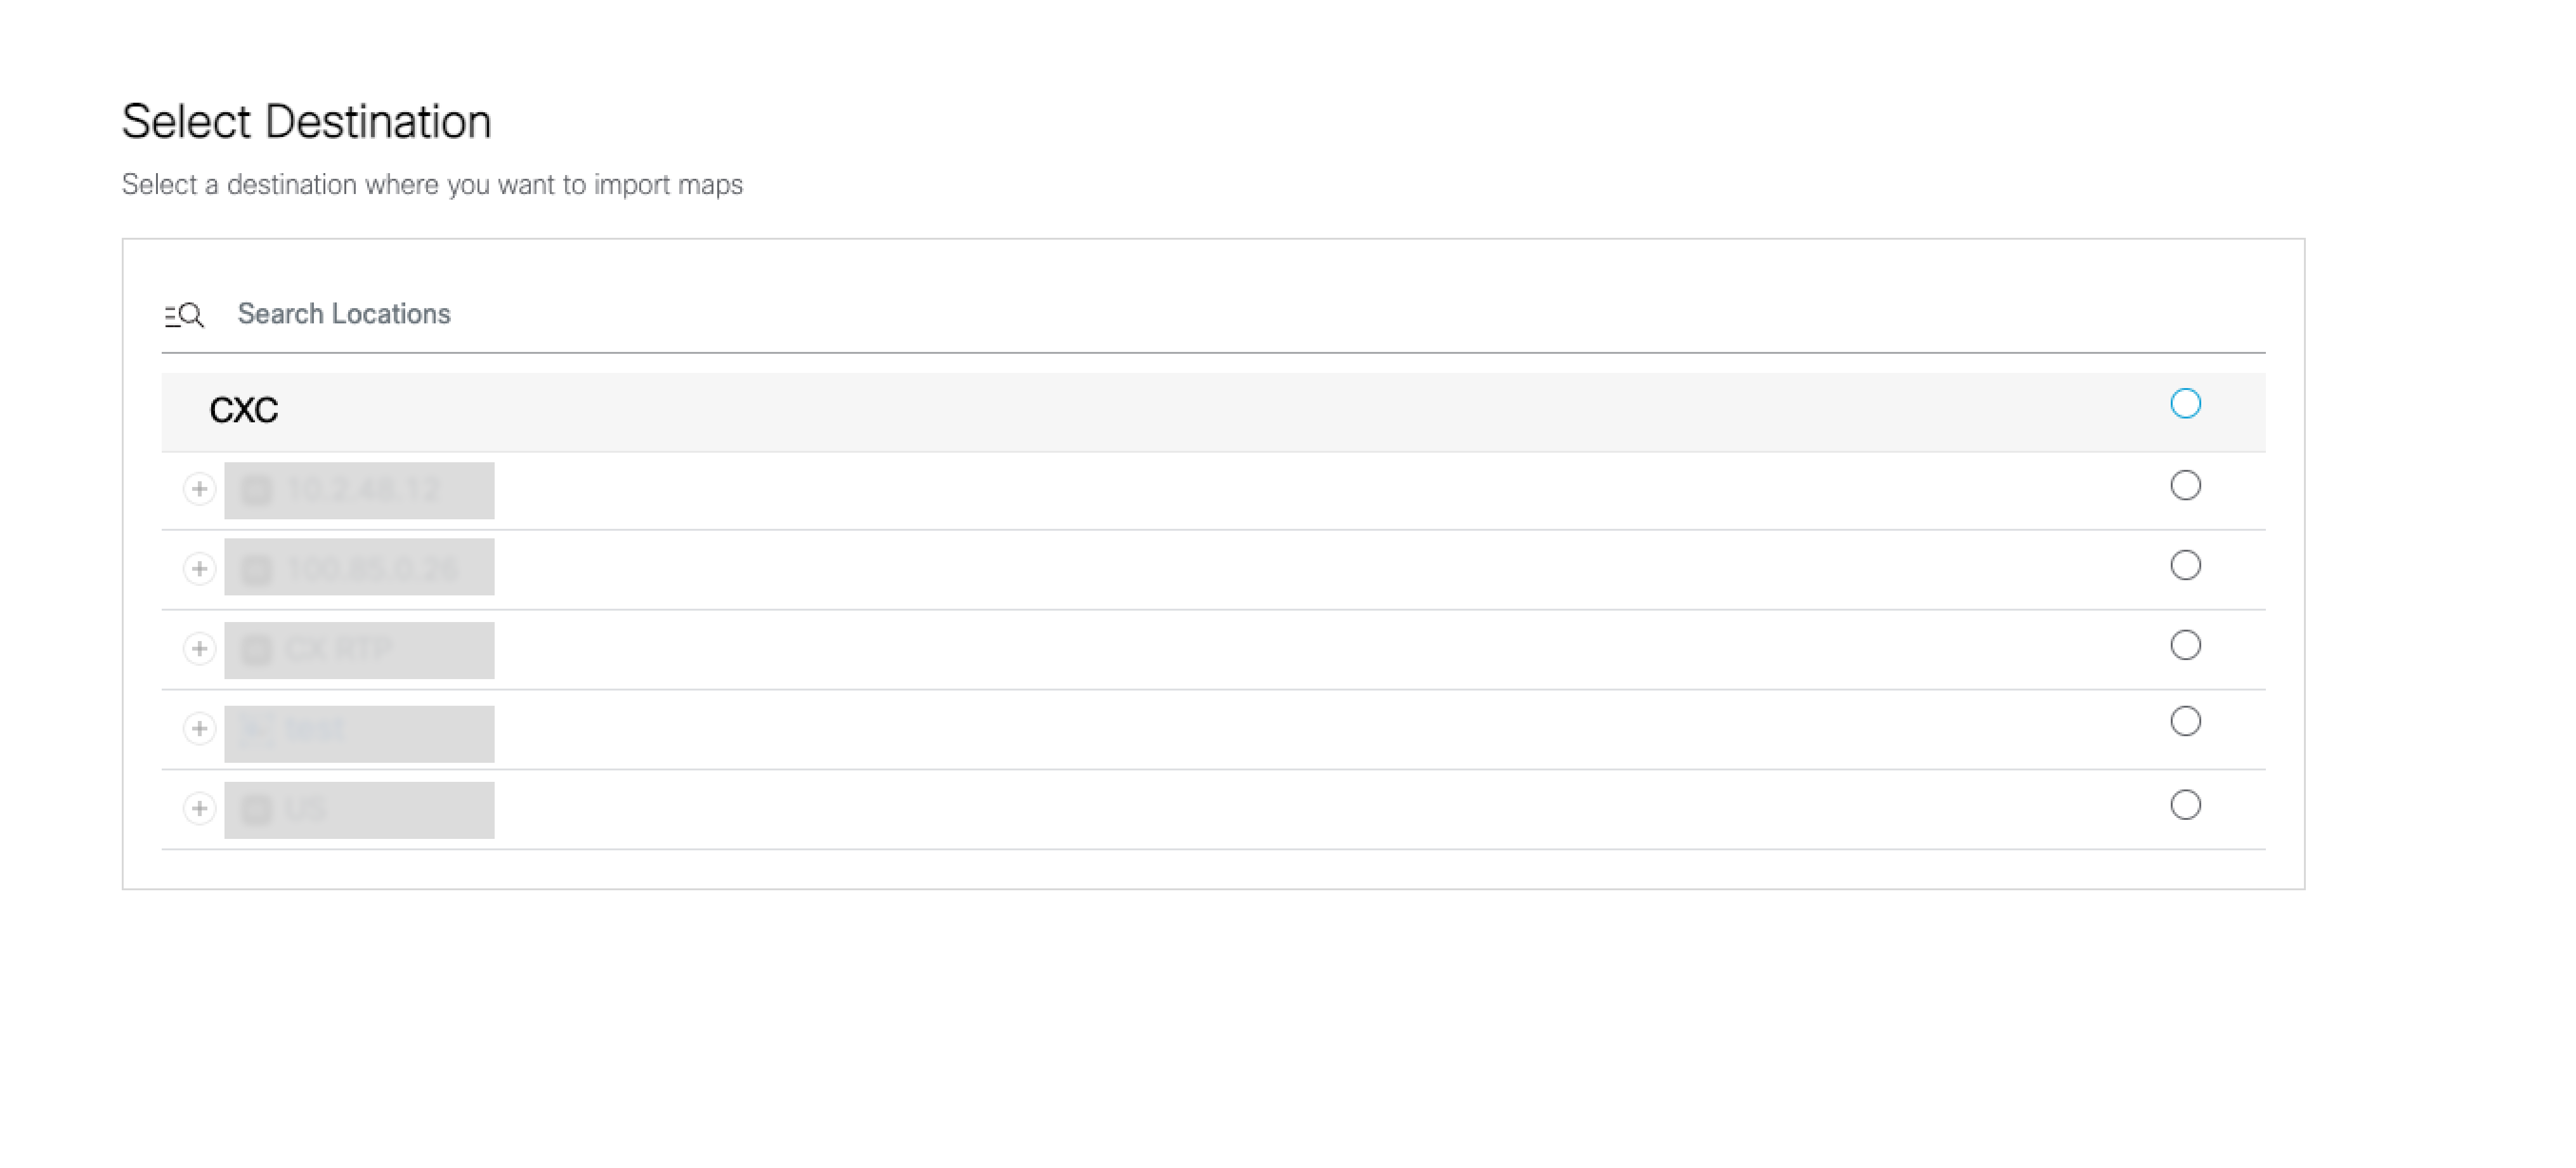
STEP 3
Choose the location where you want to import controllers and click “Next”. (If importing controllers for the first time, you will see the default location i.e. your Cisco Spaces account name. if not, you will also see the controllers you’ve imported earlier)
-
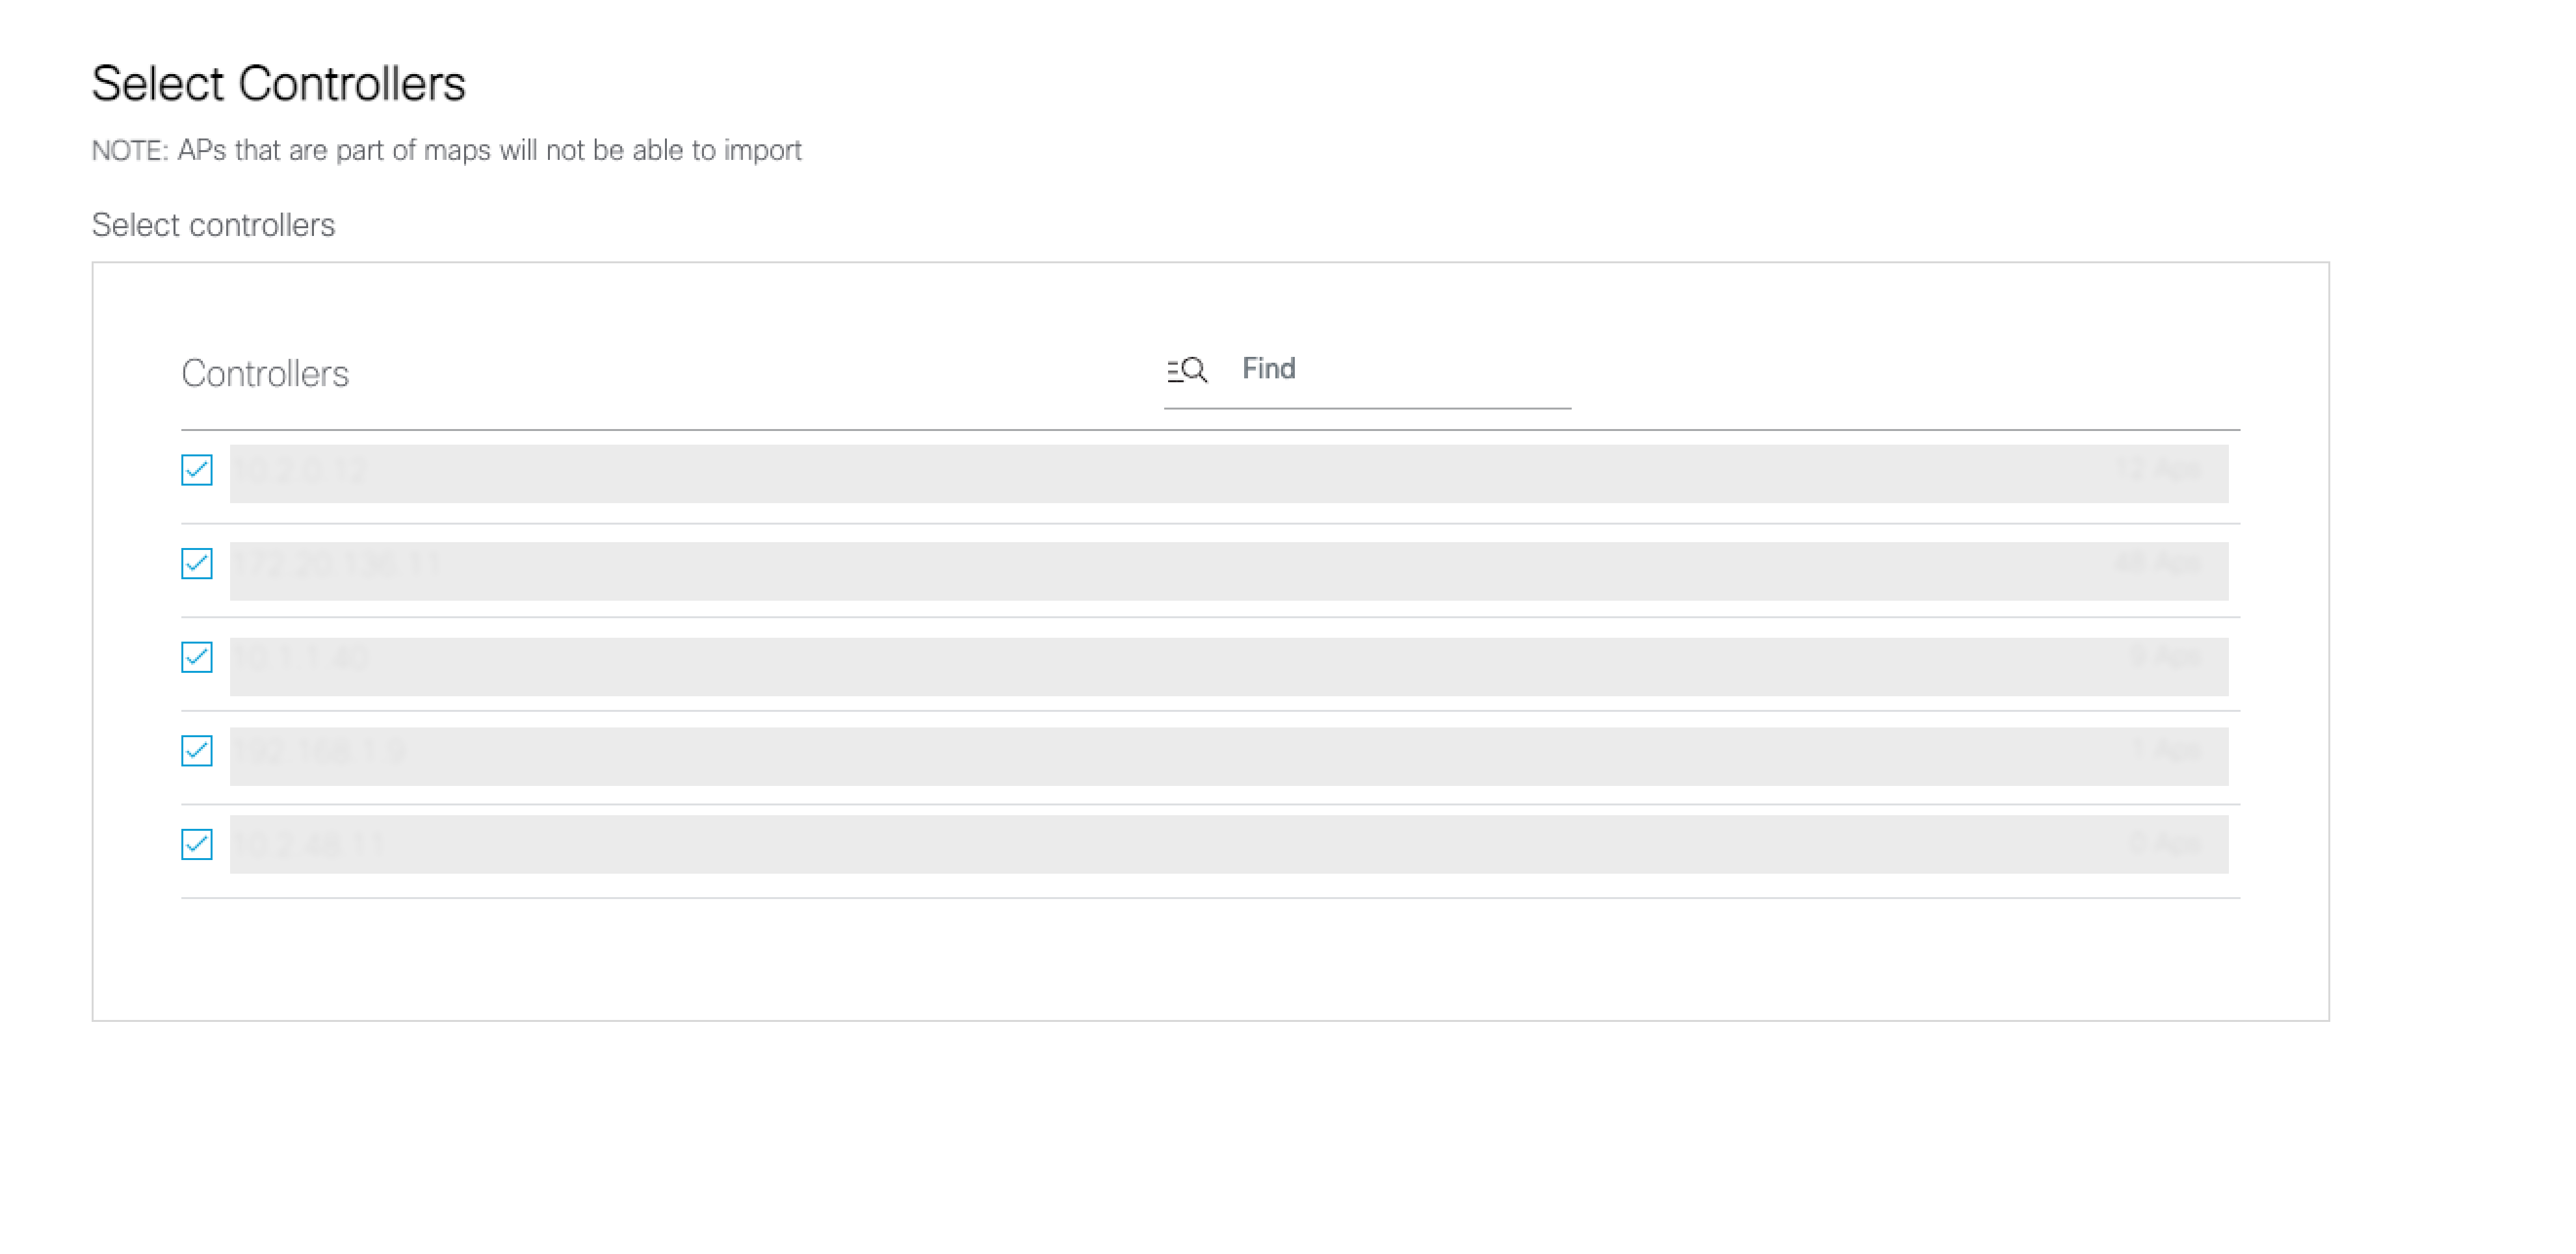
STEP 4
Choose the applicable controllers to import and click next.
-
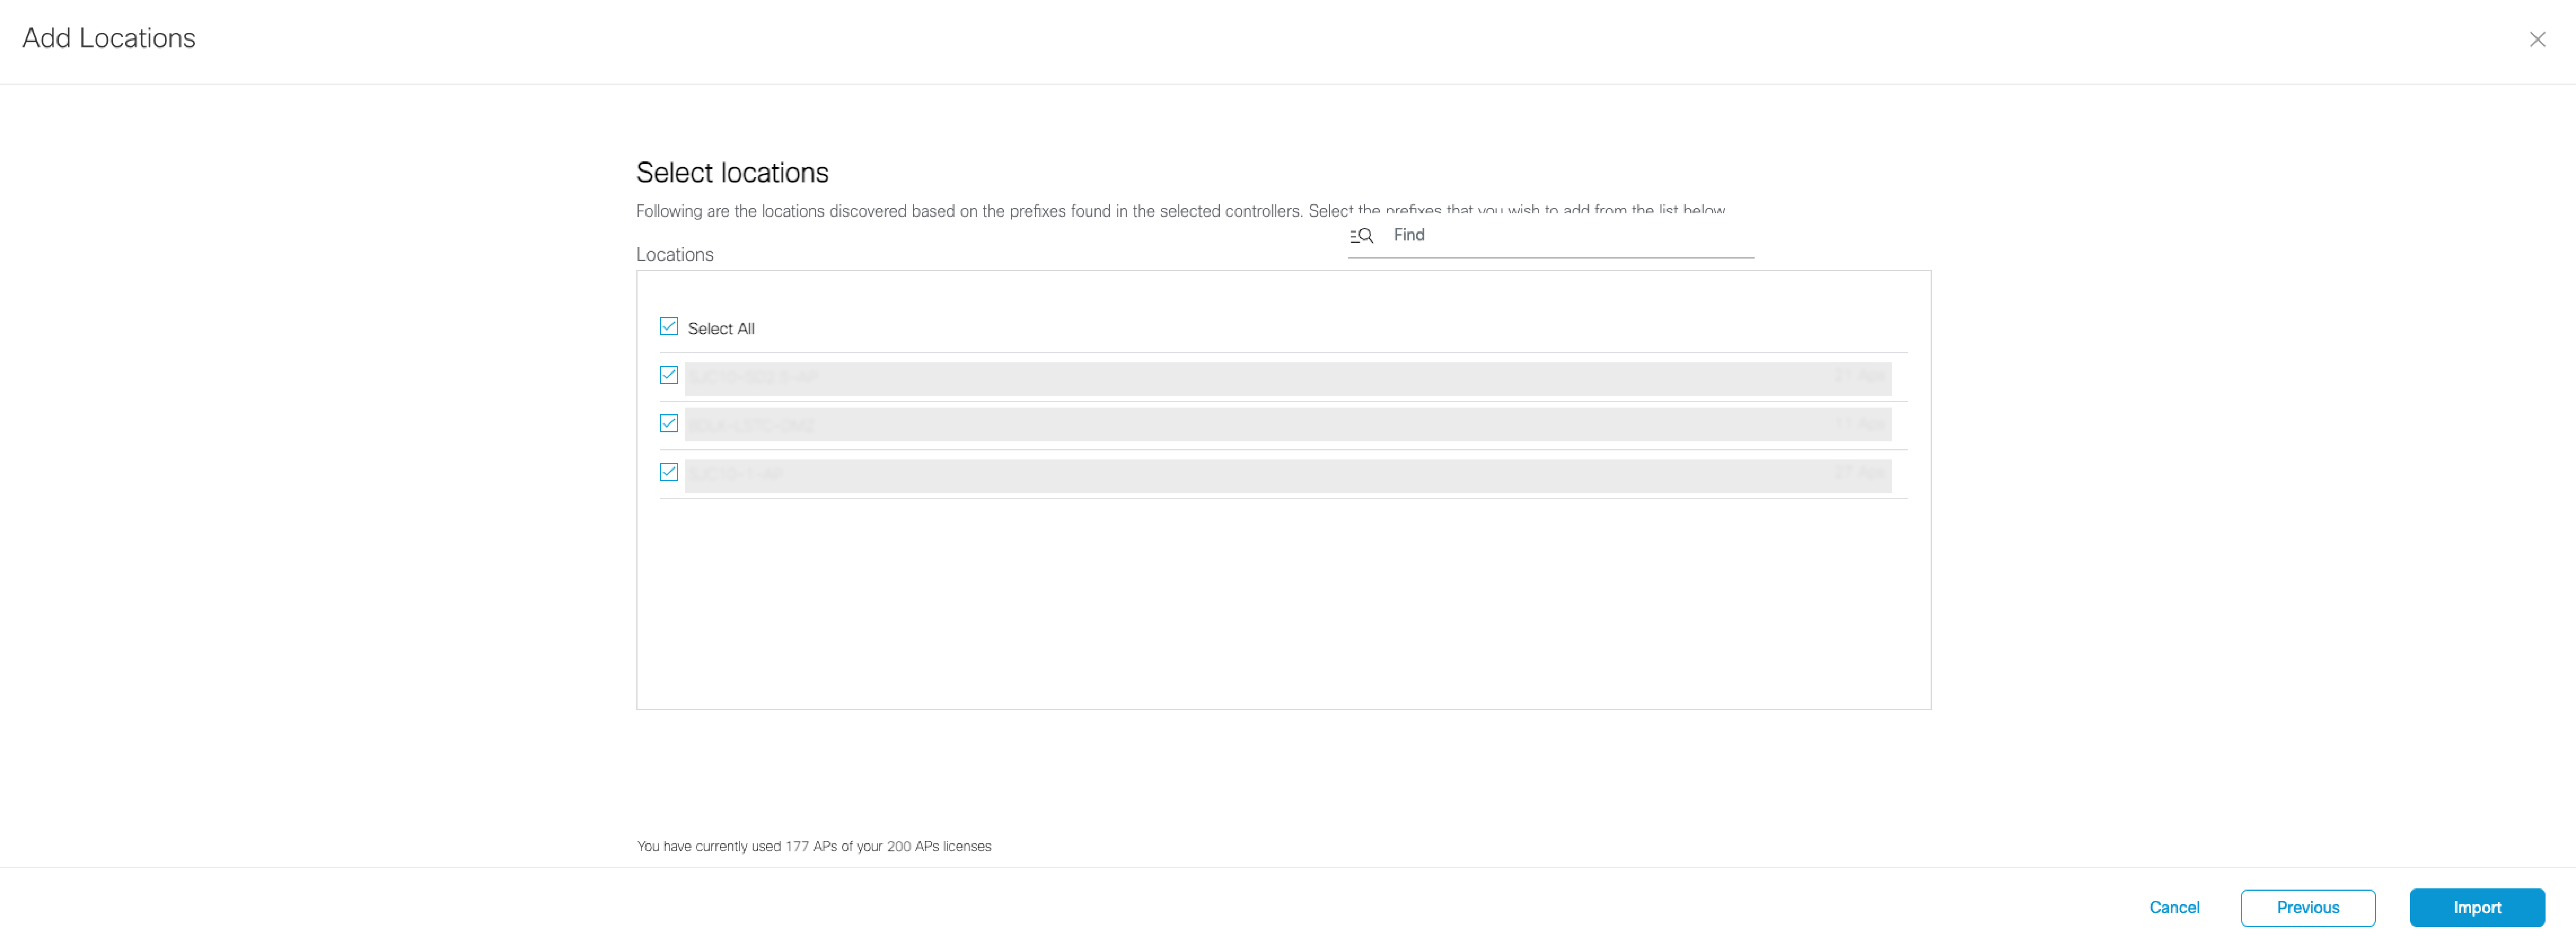
STEP 5
Review the locations auto discovered by Cisco Spaces.
- If the auto discovered locations are as per your business locations (Based on AP naming convention), then Select All/specific locations you want to import and click “Finish”.
- If the auto discovered locations are NOT as per your business locations (Based on AP naming convention), then uncheck the Select ALL and click “Finish”. (All your APs now will be imported under single location called “Unconfigured”. You can organize/configure locations in the Location Hierarchy referring the “Location Hierarchy Setup” section on this guide)
-
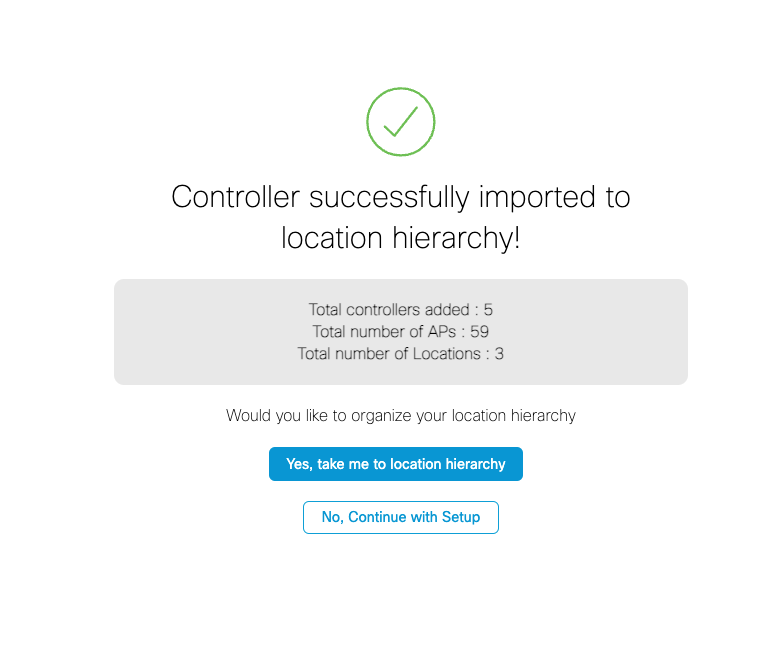
STEP 6
Click “Yes, take me to location hierarchy” to add your time zones. Go to the next step in this setup guide to Add Time Zones.
If you want to add additional controllers, click on “No, Continue with Setup” button, and repeat steps 1-5
How to delete a Location?
-
STEP 1
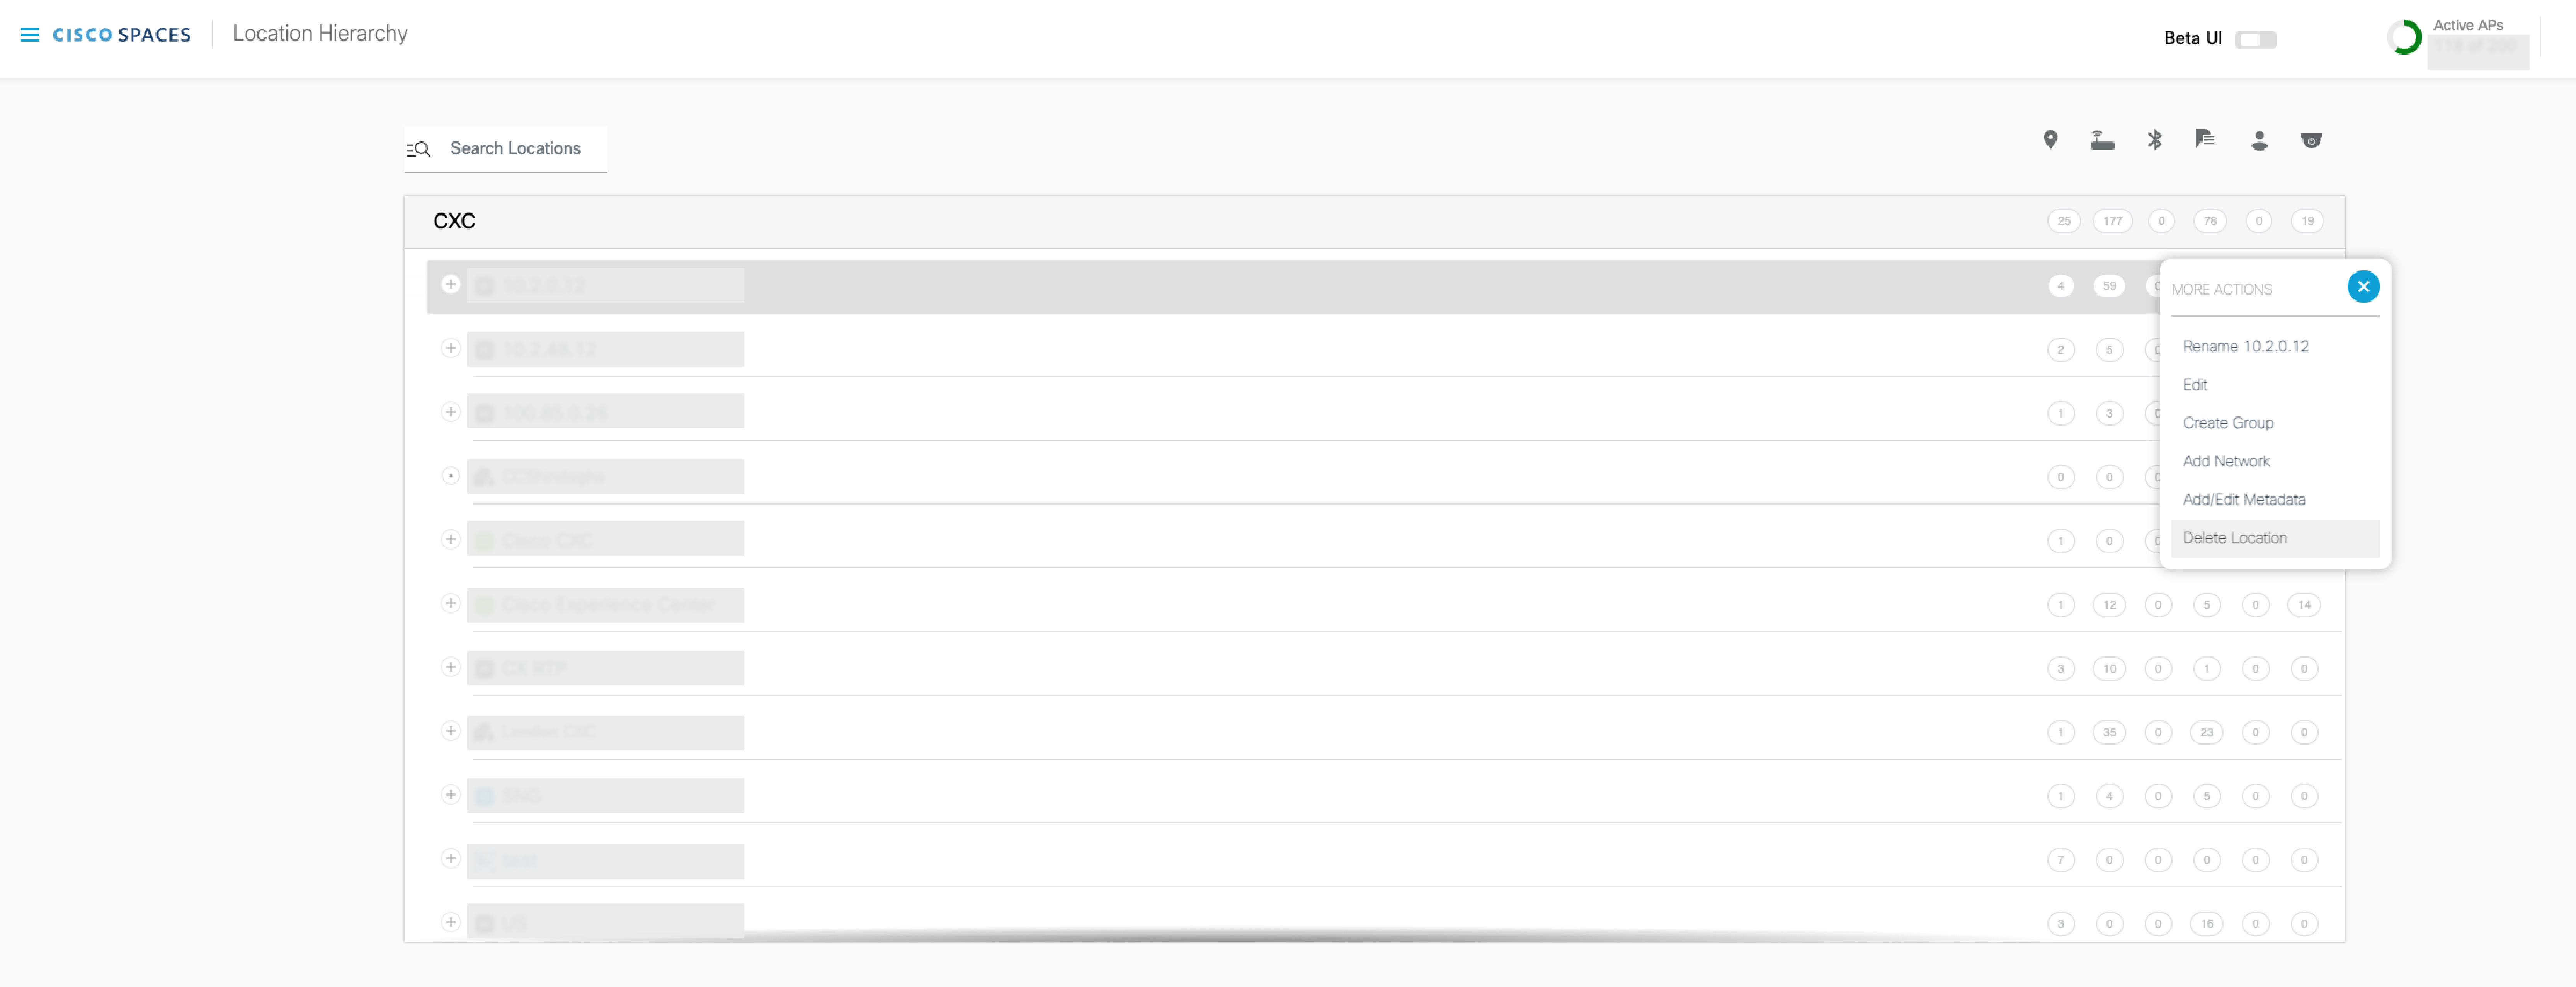
In the Location Hierarchy page, mouse hover on the Location node that you want to delete and click More Actions represented by 3 dots on the far-right corner.
-
STEP 2
Choose Delete Location.
-
STEP 3
Click Delete on the confirmation screen that appears.
How to create a Group?
-
STEP 1
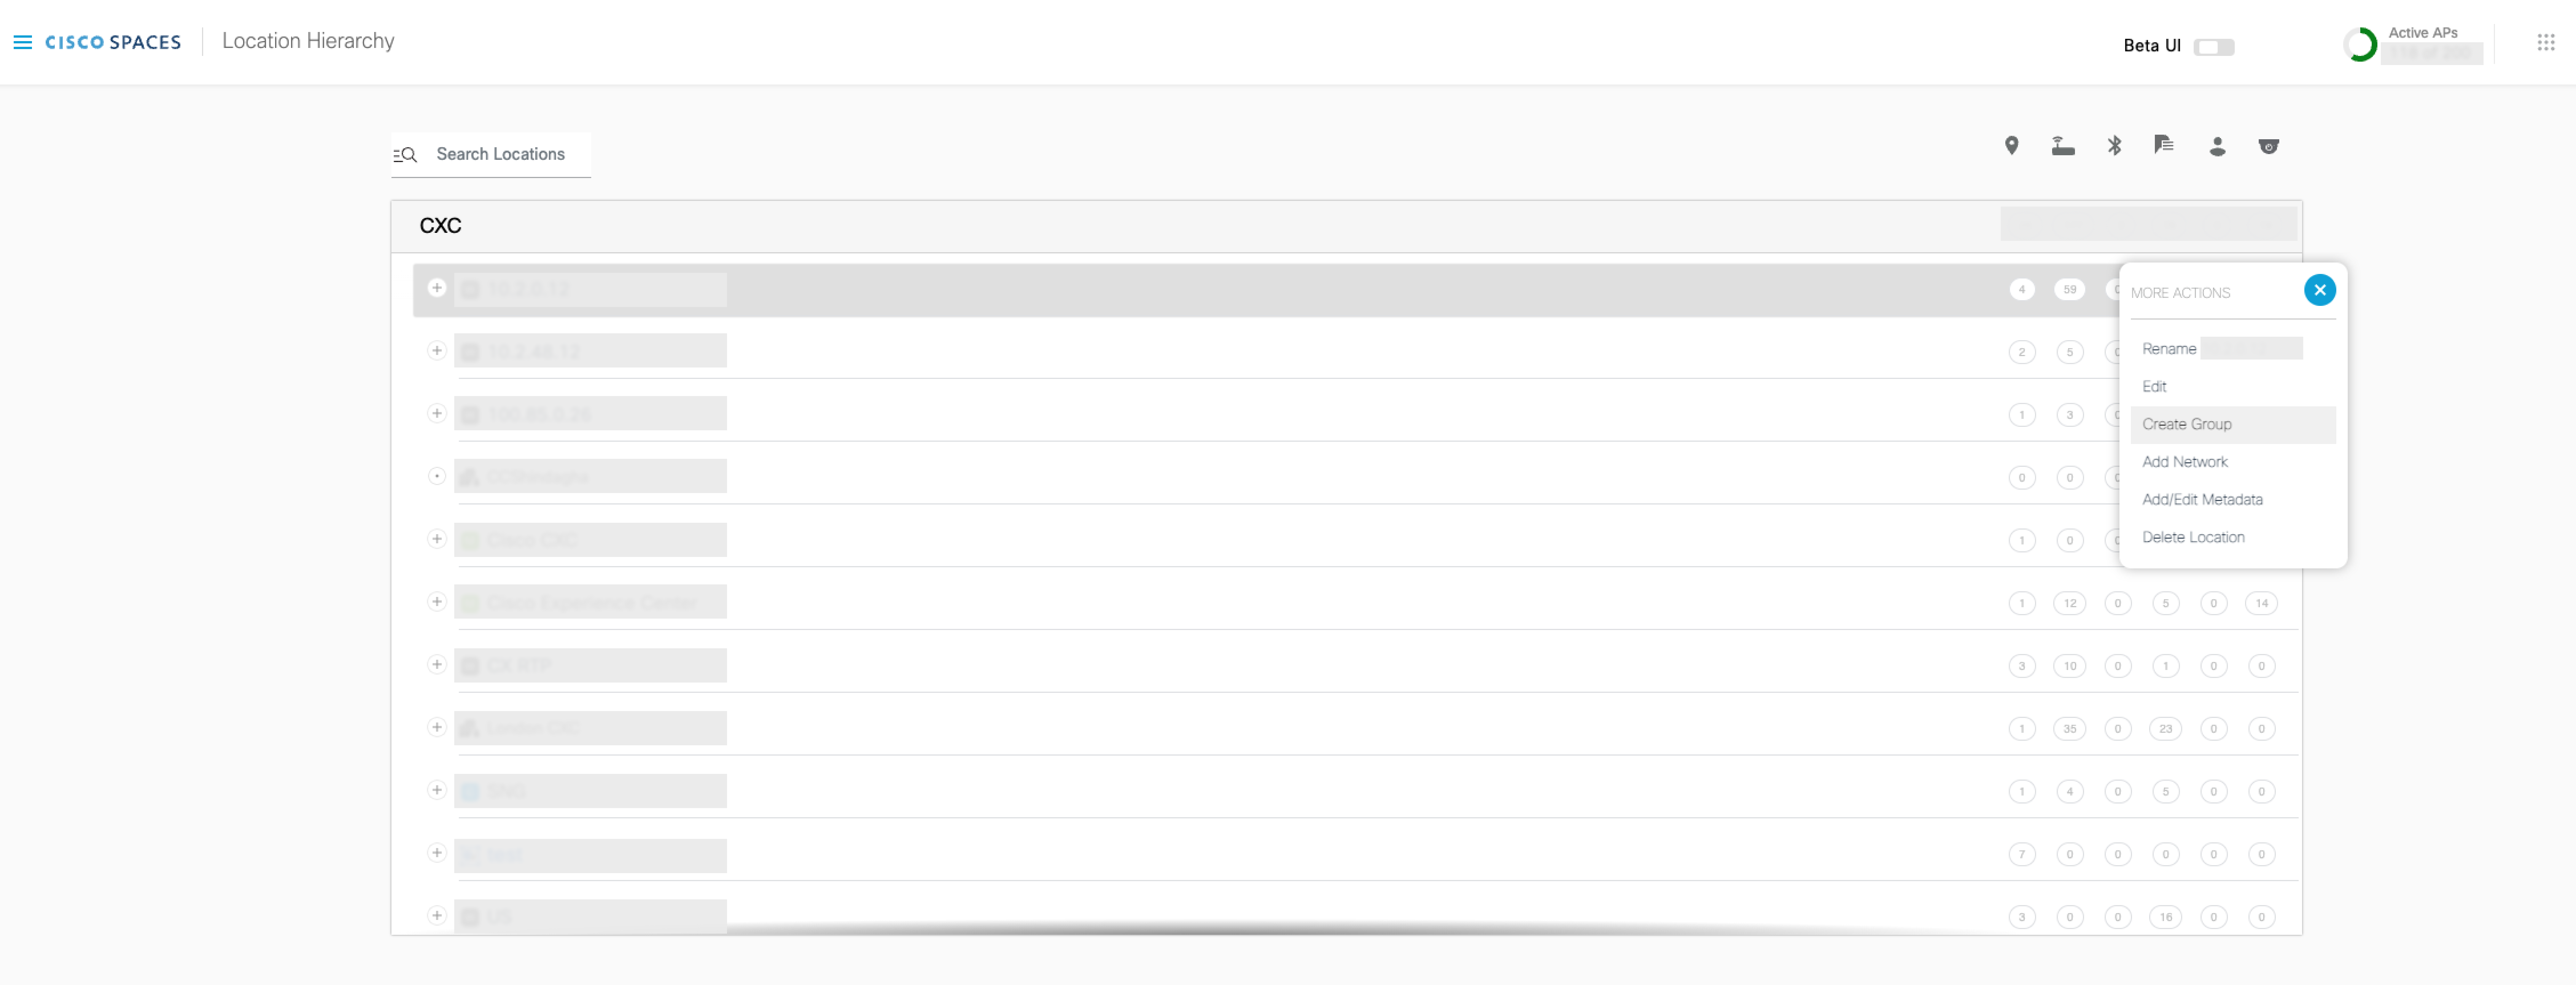
In the Location Hierarchy page, mouse hover on the Account Name, Wireless Controller, or Location node where you want to create a group and click More Actions represented by 3 dots on the far-right corner.
-
STEP 2
Choose Create Group.
-
STEP 3
Enter name of the Group in the screen that appears.
-
STEP 4
Select Wireless Networks, Locations, or Groups and click Add.
- Note: Move to the next step to add time zones