Sync your Maps into Location Hierarchy

After the Spaces Connector is configured and starts running, you need to import your maps/locations into the location hierarchy.

Please Note: Maps are required for Detect & Locate, Asset Tracker, IoT services, and Proximity Reporting.

Here are the directions to Import Maps from Cisco Prime.

Please contact dnaspaces-onboarding@cisco.com if you don’t have Catalyst Center (formerly DNA Center) or Cisco Prime Maps

Sync/Import Maps from Catalyst Center (formerly DNA Center) in Cisco Spaces

INTEGRATE CATALYST CENTER (formerly DNA Center) WITH CISCO SPACES (VERSION HIGHER THAN 2.2.1.0)

  • Step 1

    Click the three-line menu icon that appears at the top-left of the Cisco Spaces dashboard.

  • Step 2

    Choose Integrations > DNA Center.

  • Step 3

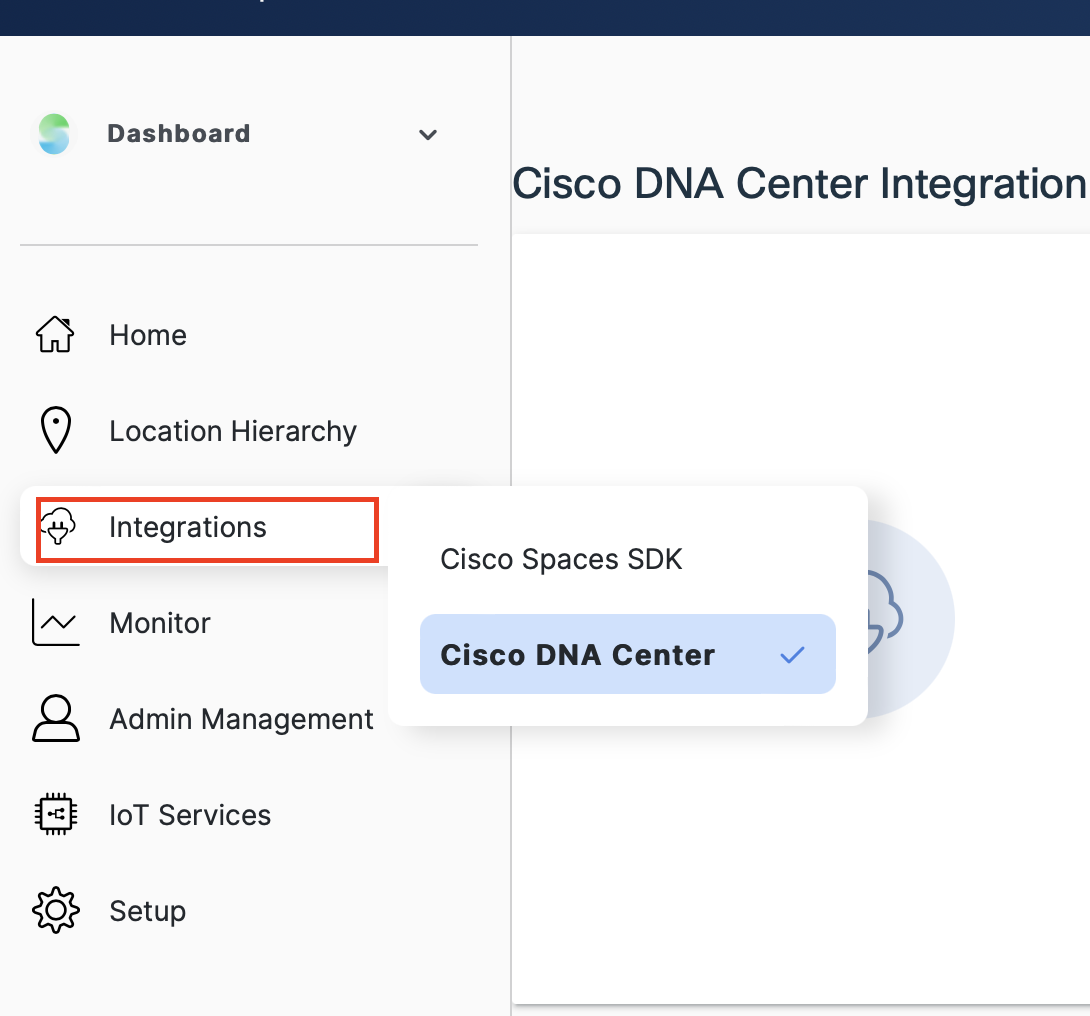
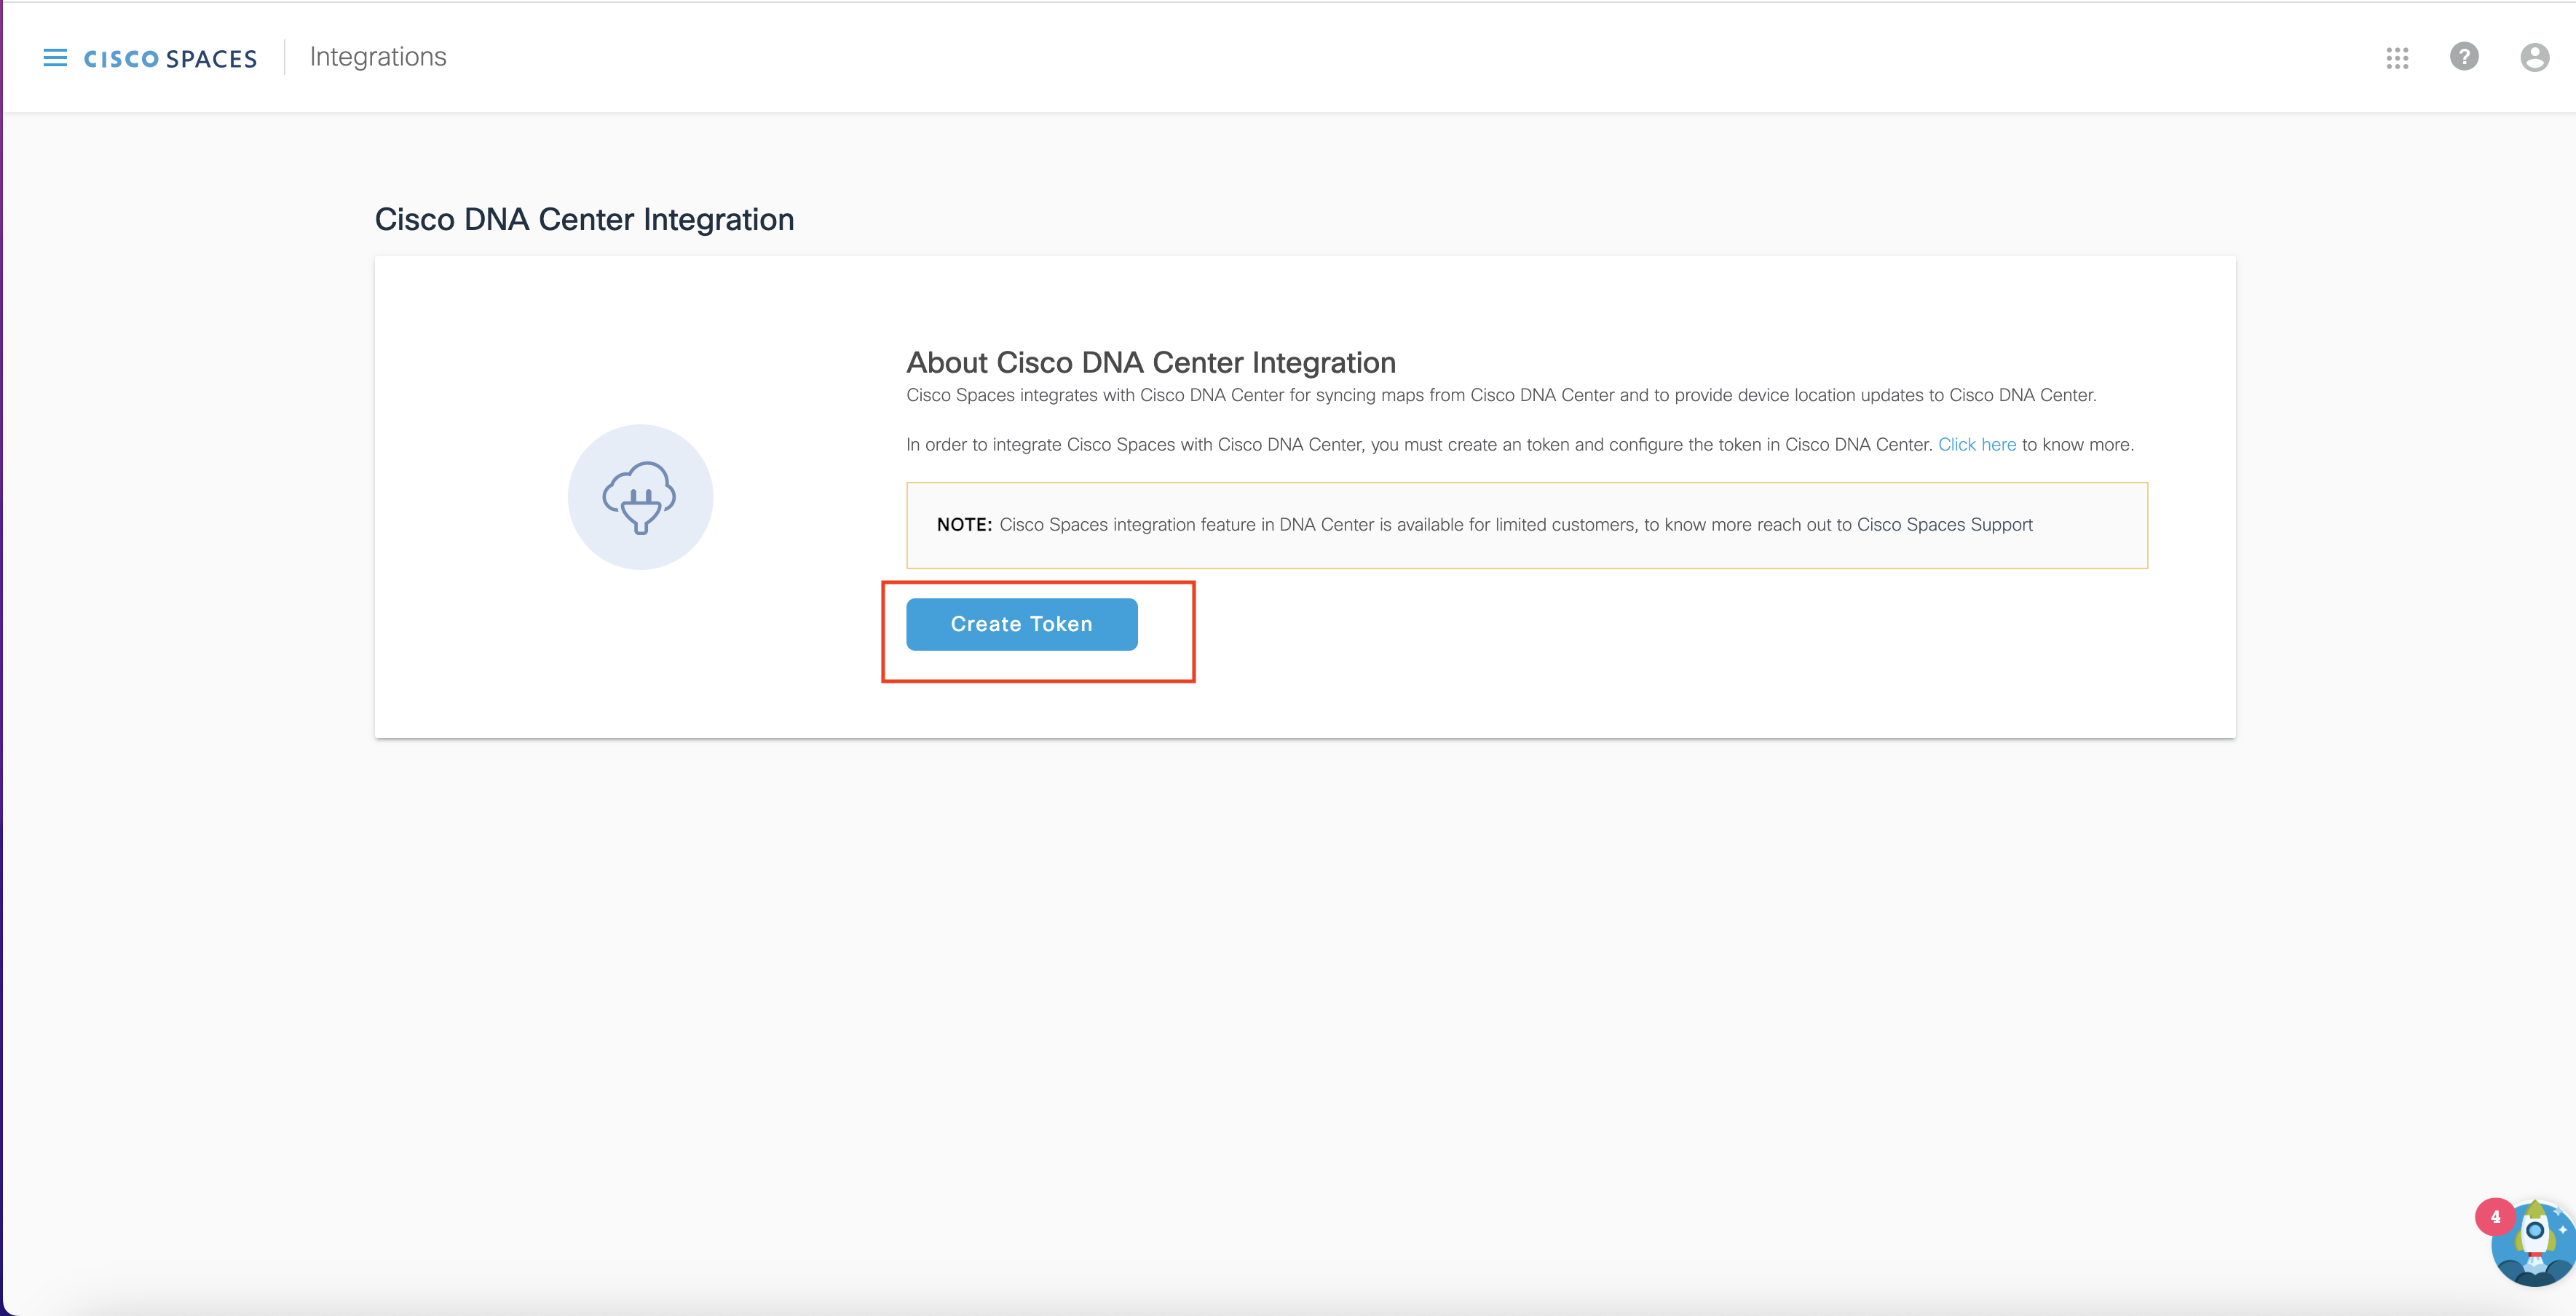
    In the DNAC Integration window that appears, click Create Token.

  • Step 4

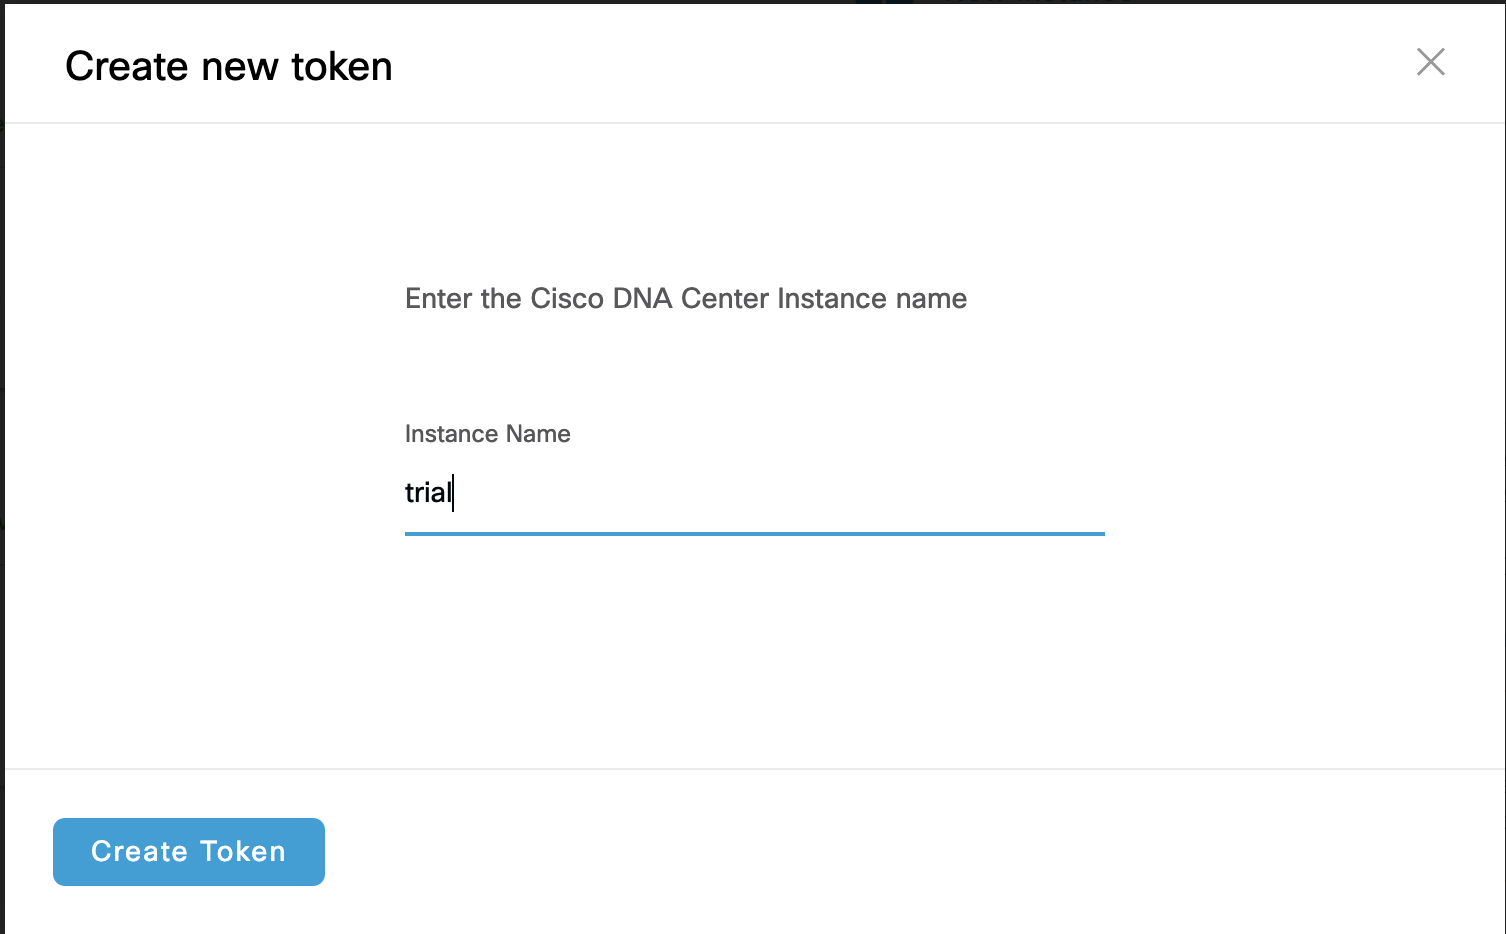
    In the Create new token dialogue box, in the Instance Name field, enter the Cisco DNA Center instance name, and click Create Token.

  • Step 5

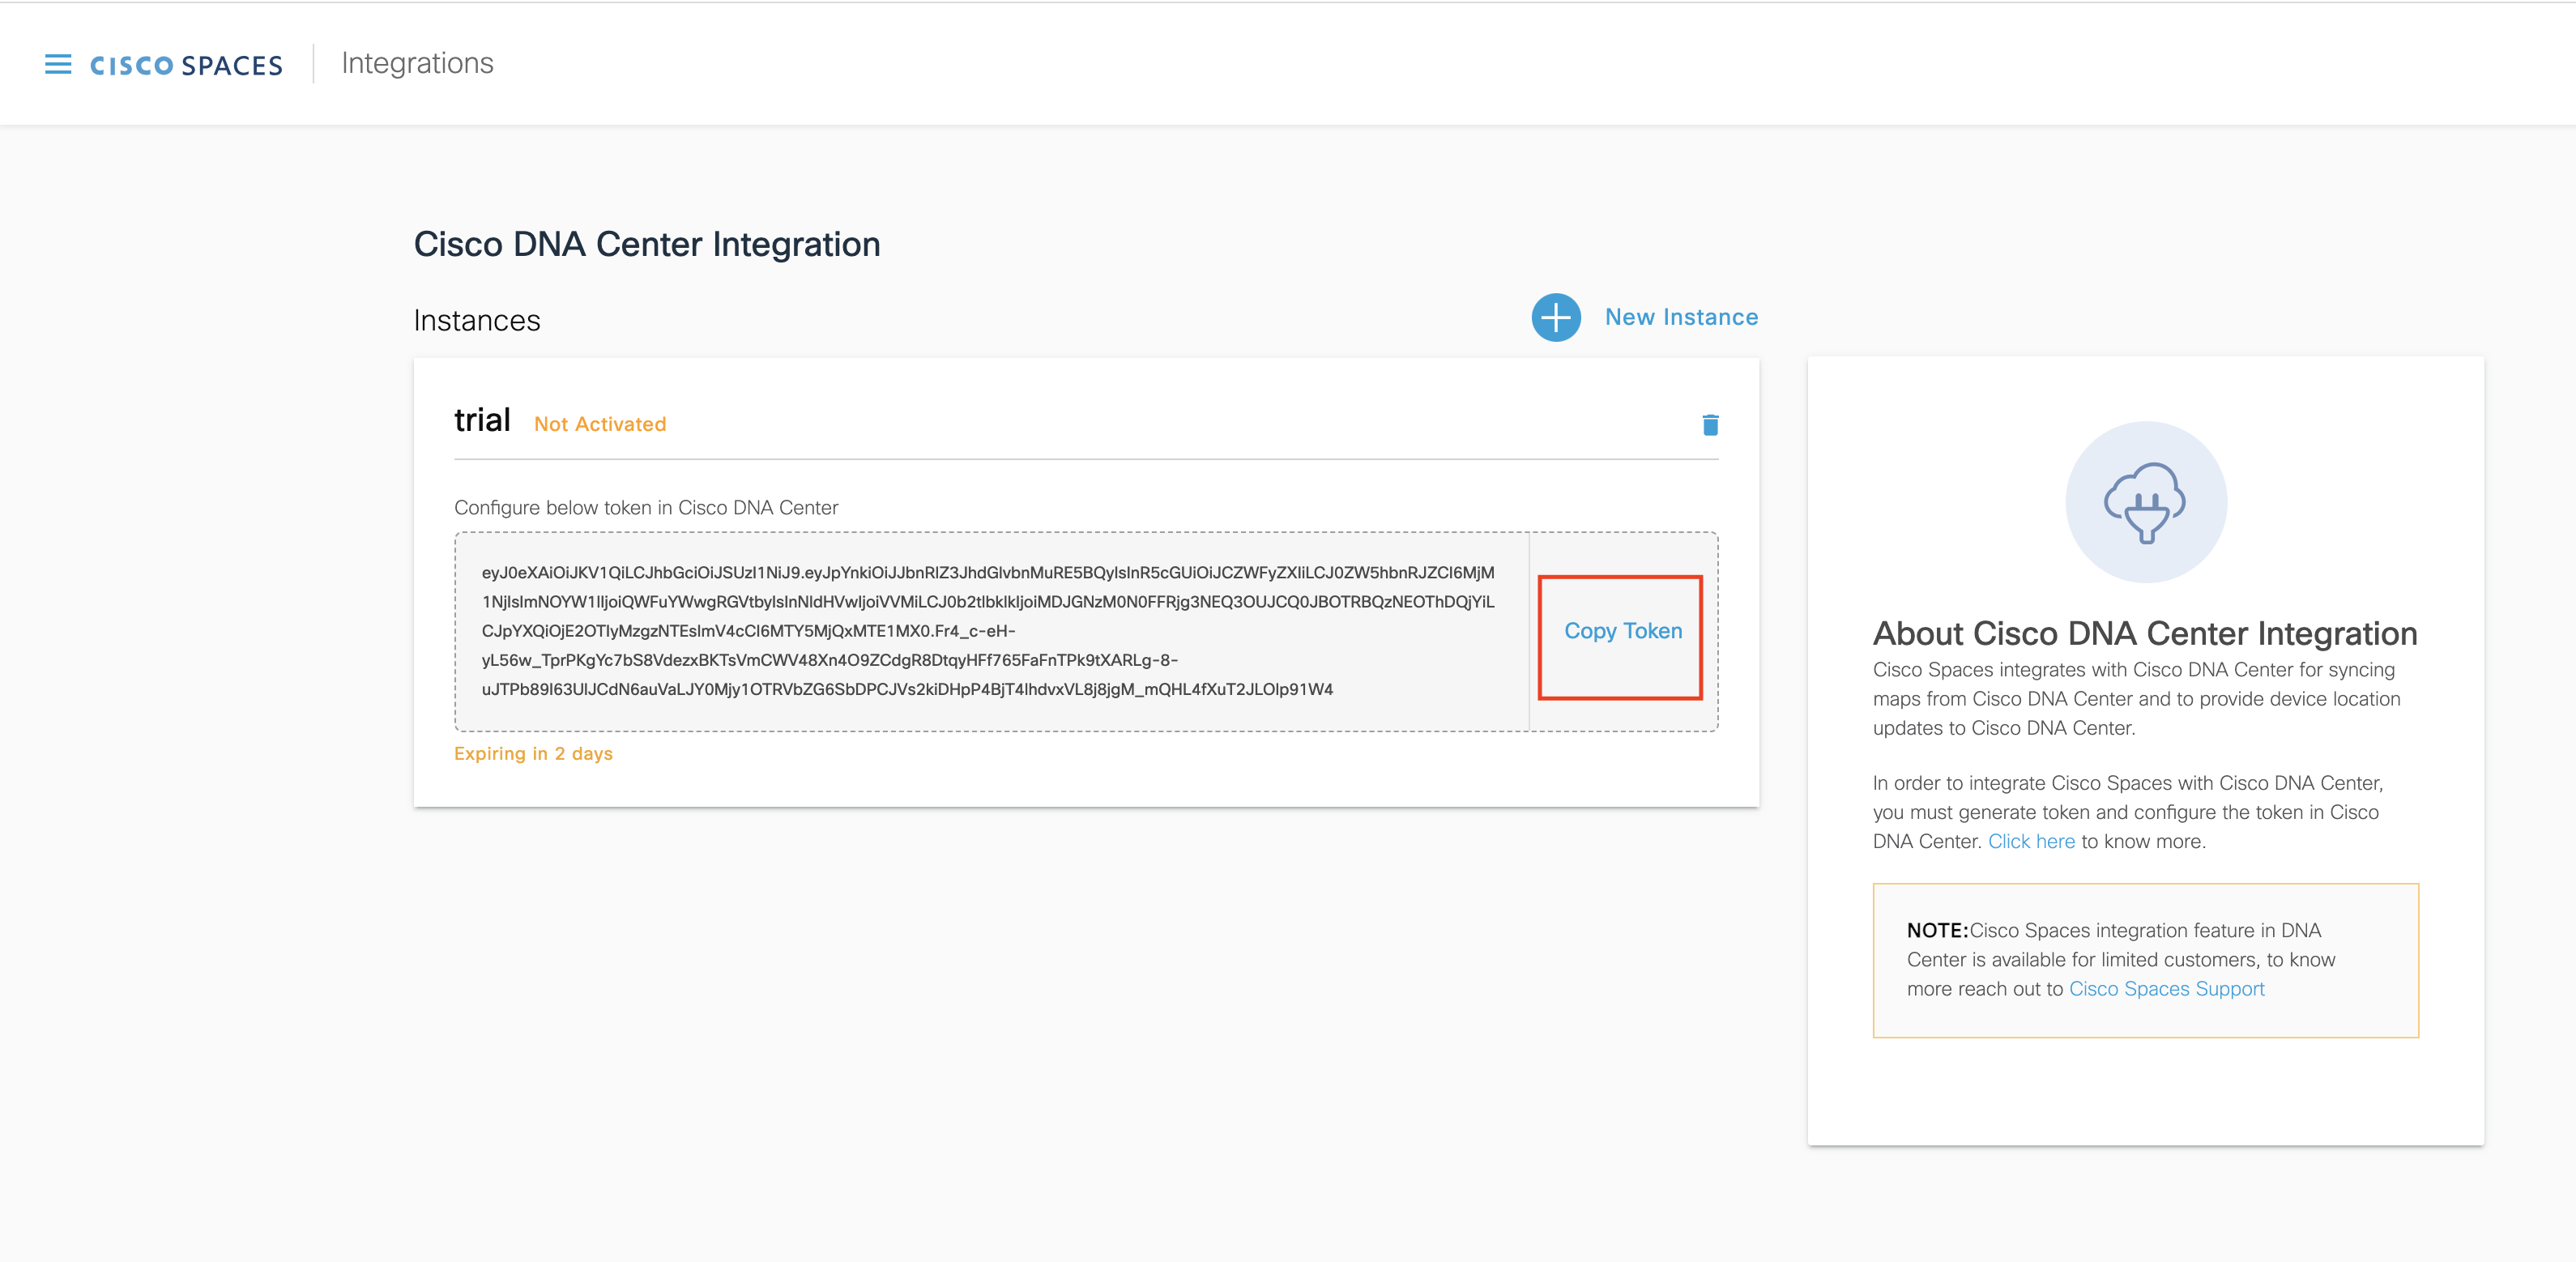
    Click Copy Token to copy the token.

STEPS TO BE PERFORMED ON DNA CENTER

  • Step 6

    Log into Cisco DNA Center.

  • Step 7

    Click the three-line menu icon displayed at the top-left of the Cisco DNA Center dashboard.

  • Step 8

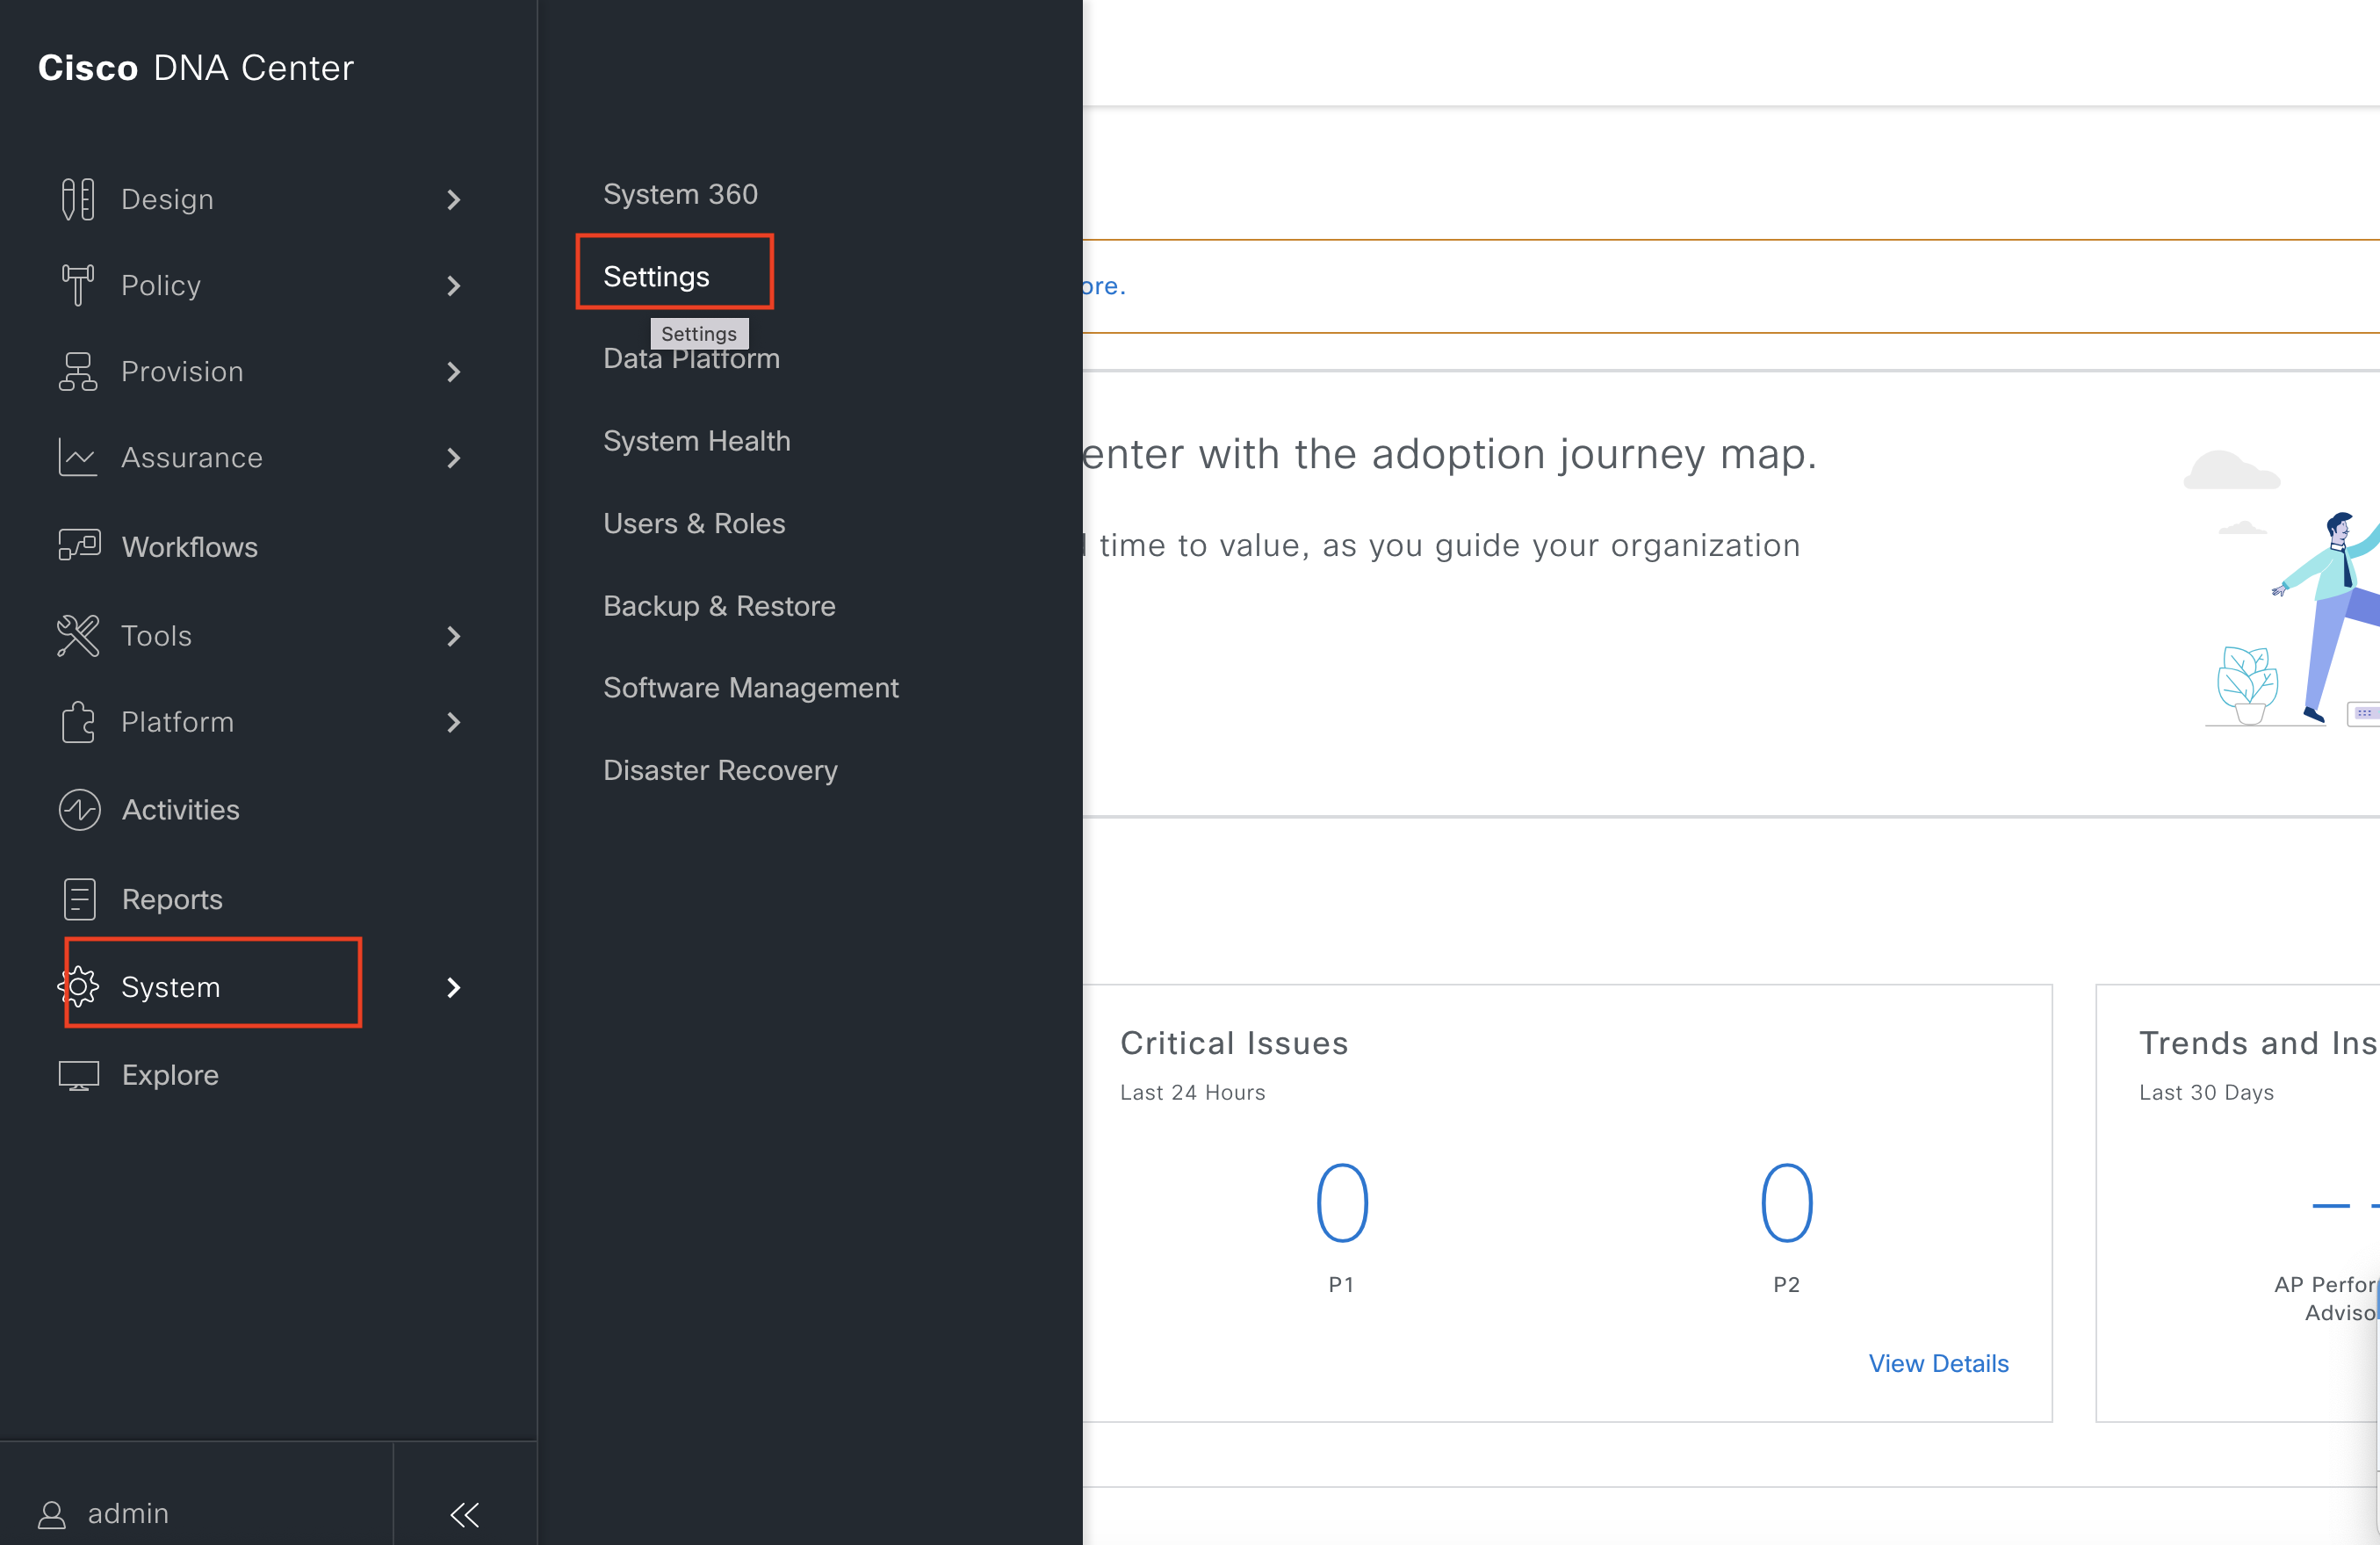
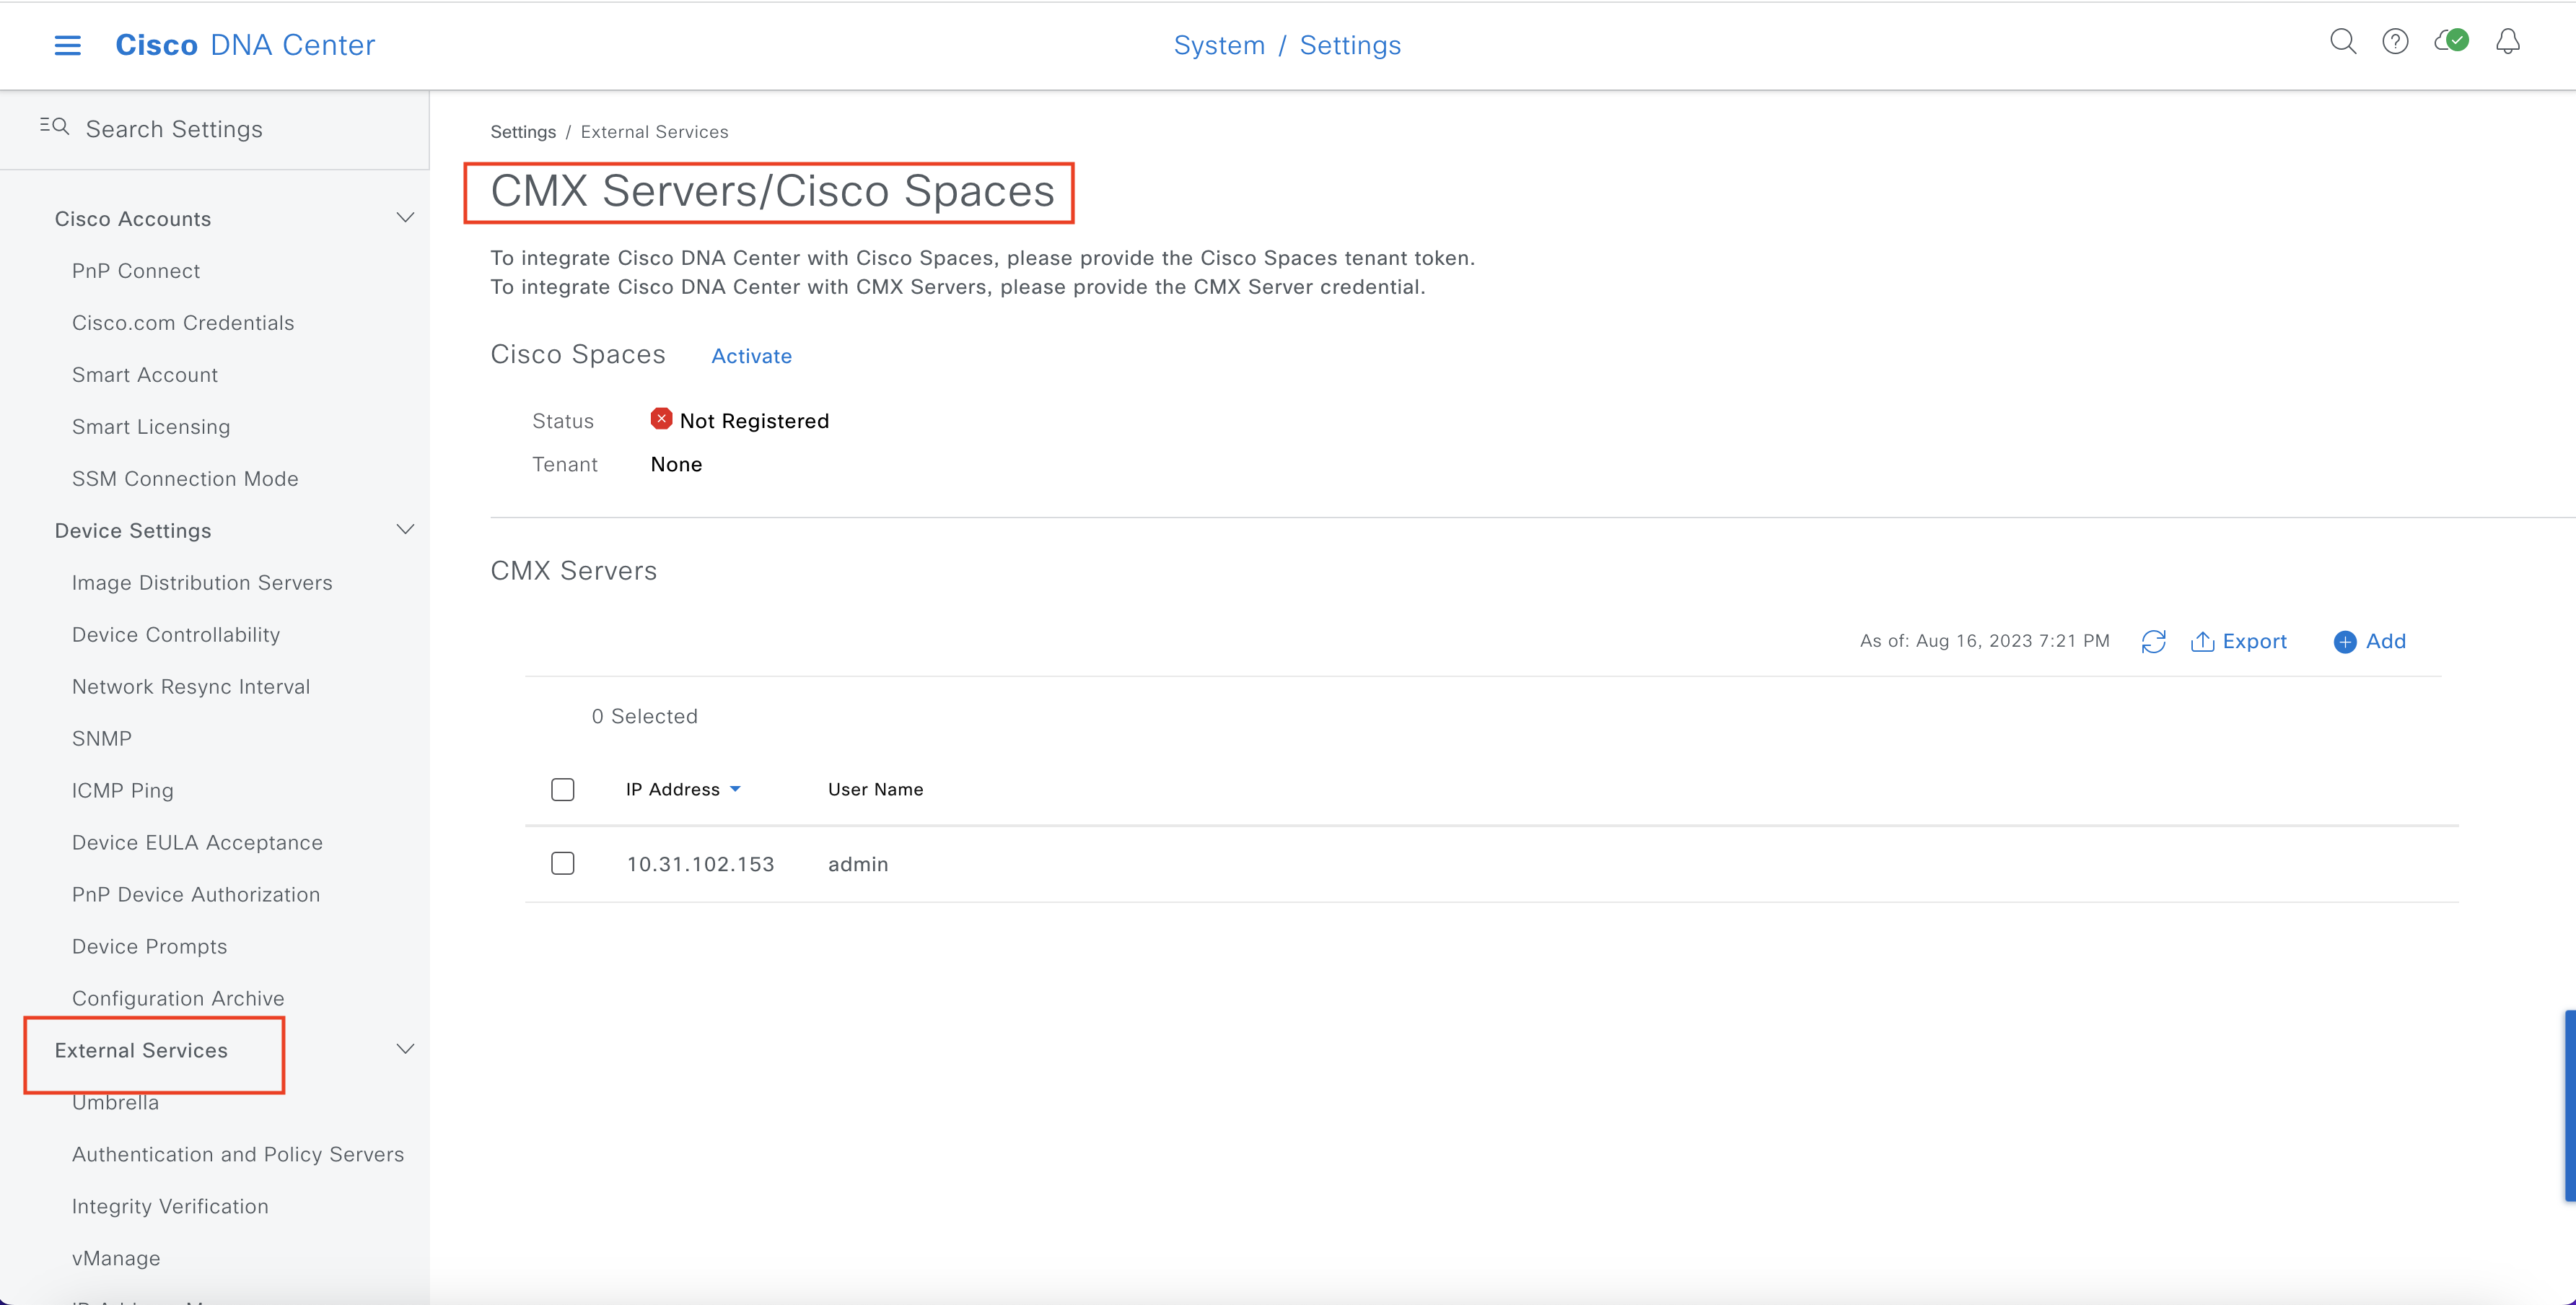
    Choose System > Settings > External Services > CMX Servers/Cisco Spaces.

  • Step 9

    In the CMX Servers/Cisco Spaces window that appears, click Activate in the Cisco Spaces area.

  • Step 10

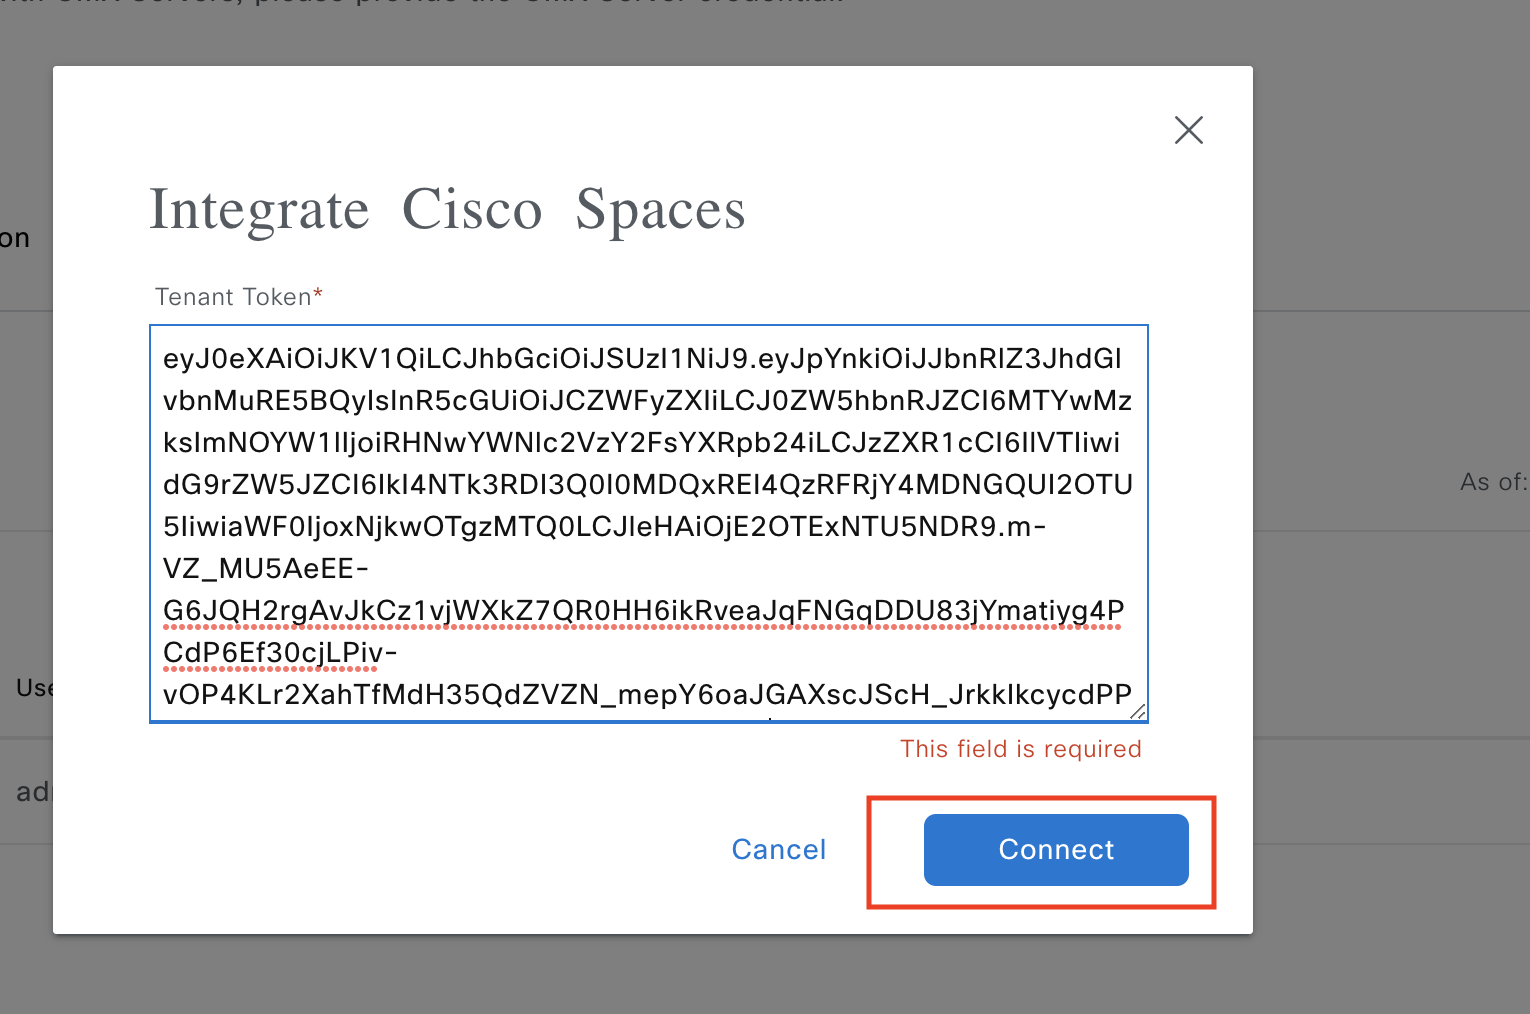
    In the Integrate Cisco Spaces dialogue box, paste the token, and click Connect.

  • Step 11

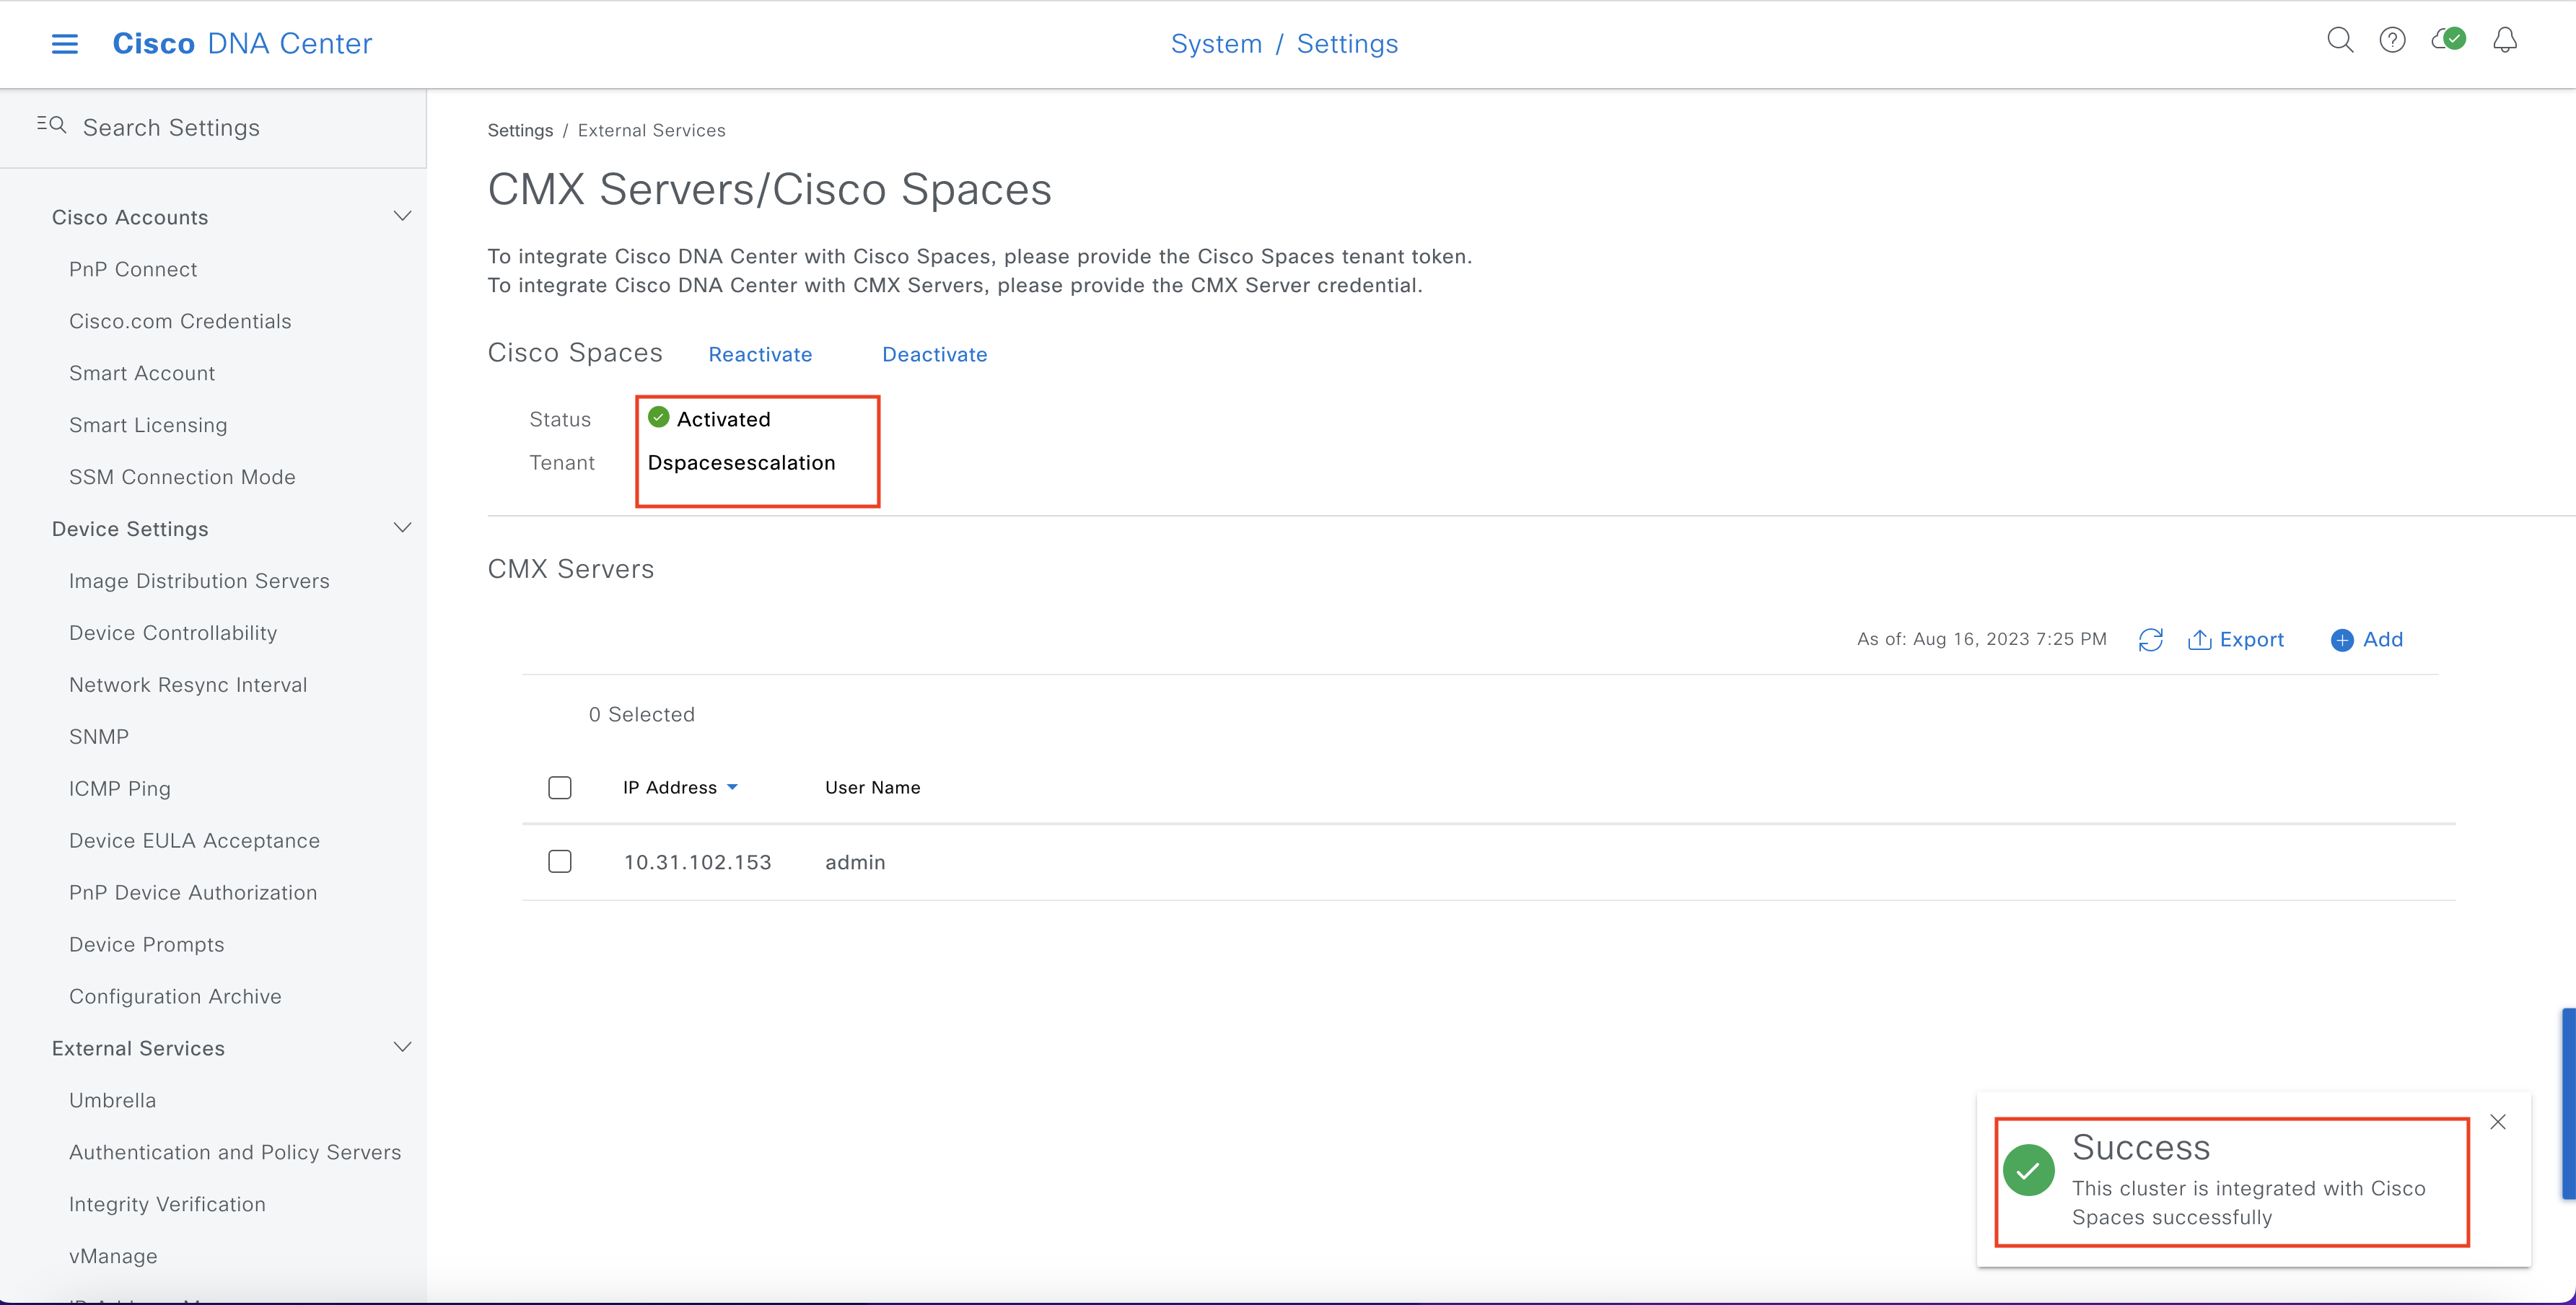
    In the  CMX Servers/Cisco Spaces window, in the Cisco Spaces area, the status will be shown as Activated along with the customer name (tenant).

    • Note: For some browsers, even after pasting the token, the OK button may remain disabled. You may press TAB to move to the OK button or else try a different browser.

IMPORT MAPS FROM DNA CENTER:

Assign Cisco Spaces to Cisco DNA Center Sites.

  • Step 12

    Click the three-line menu icon at the top-left of the Cisco DNA Center dashboard.

  • Step 13

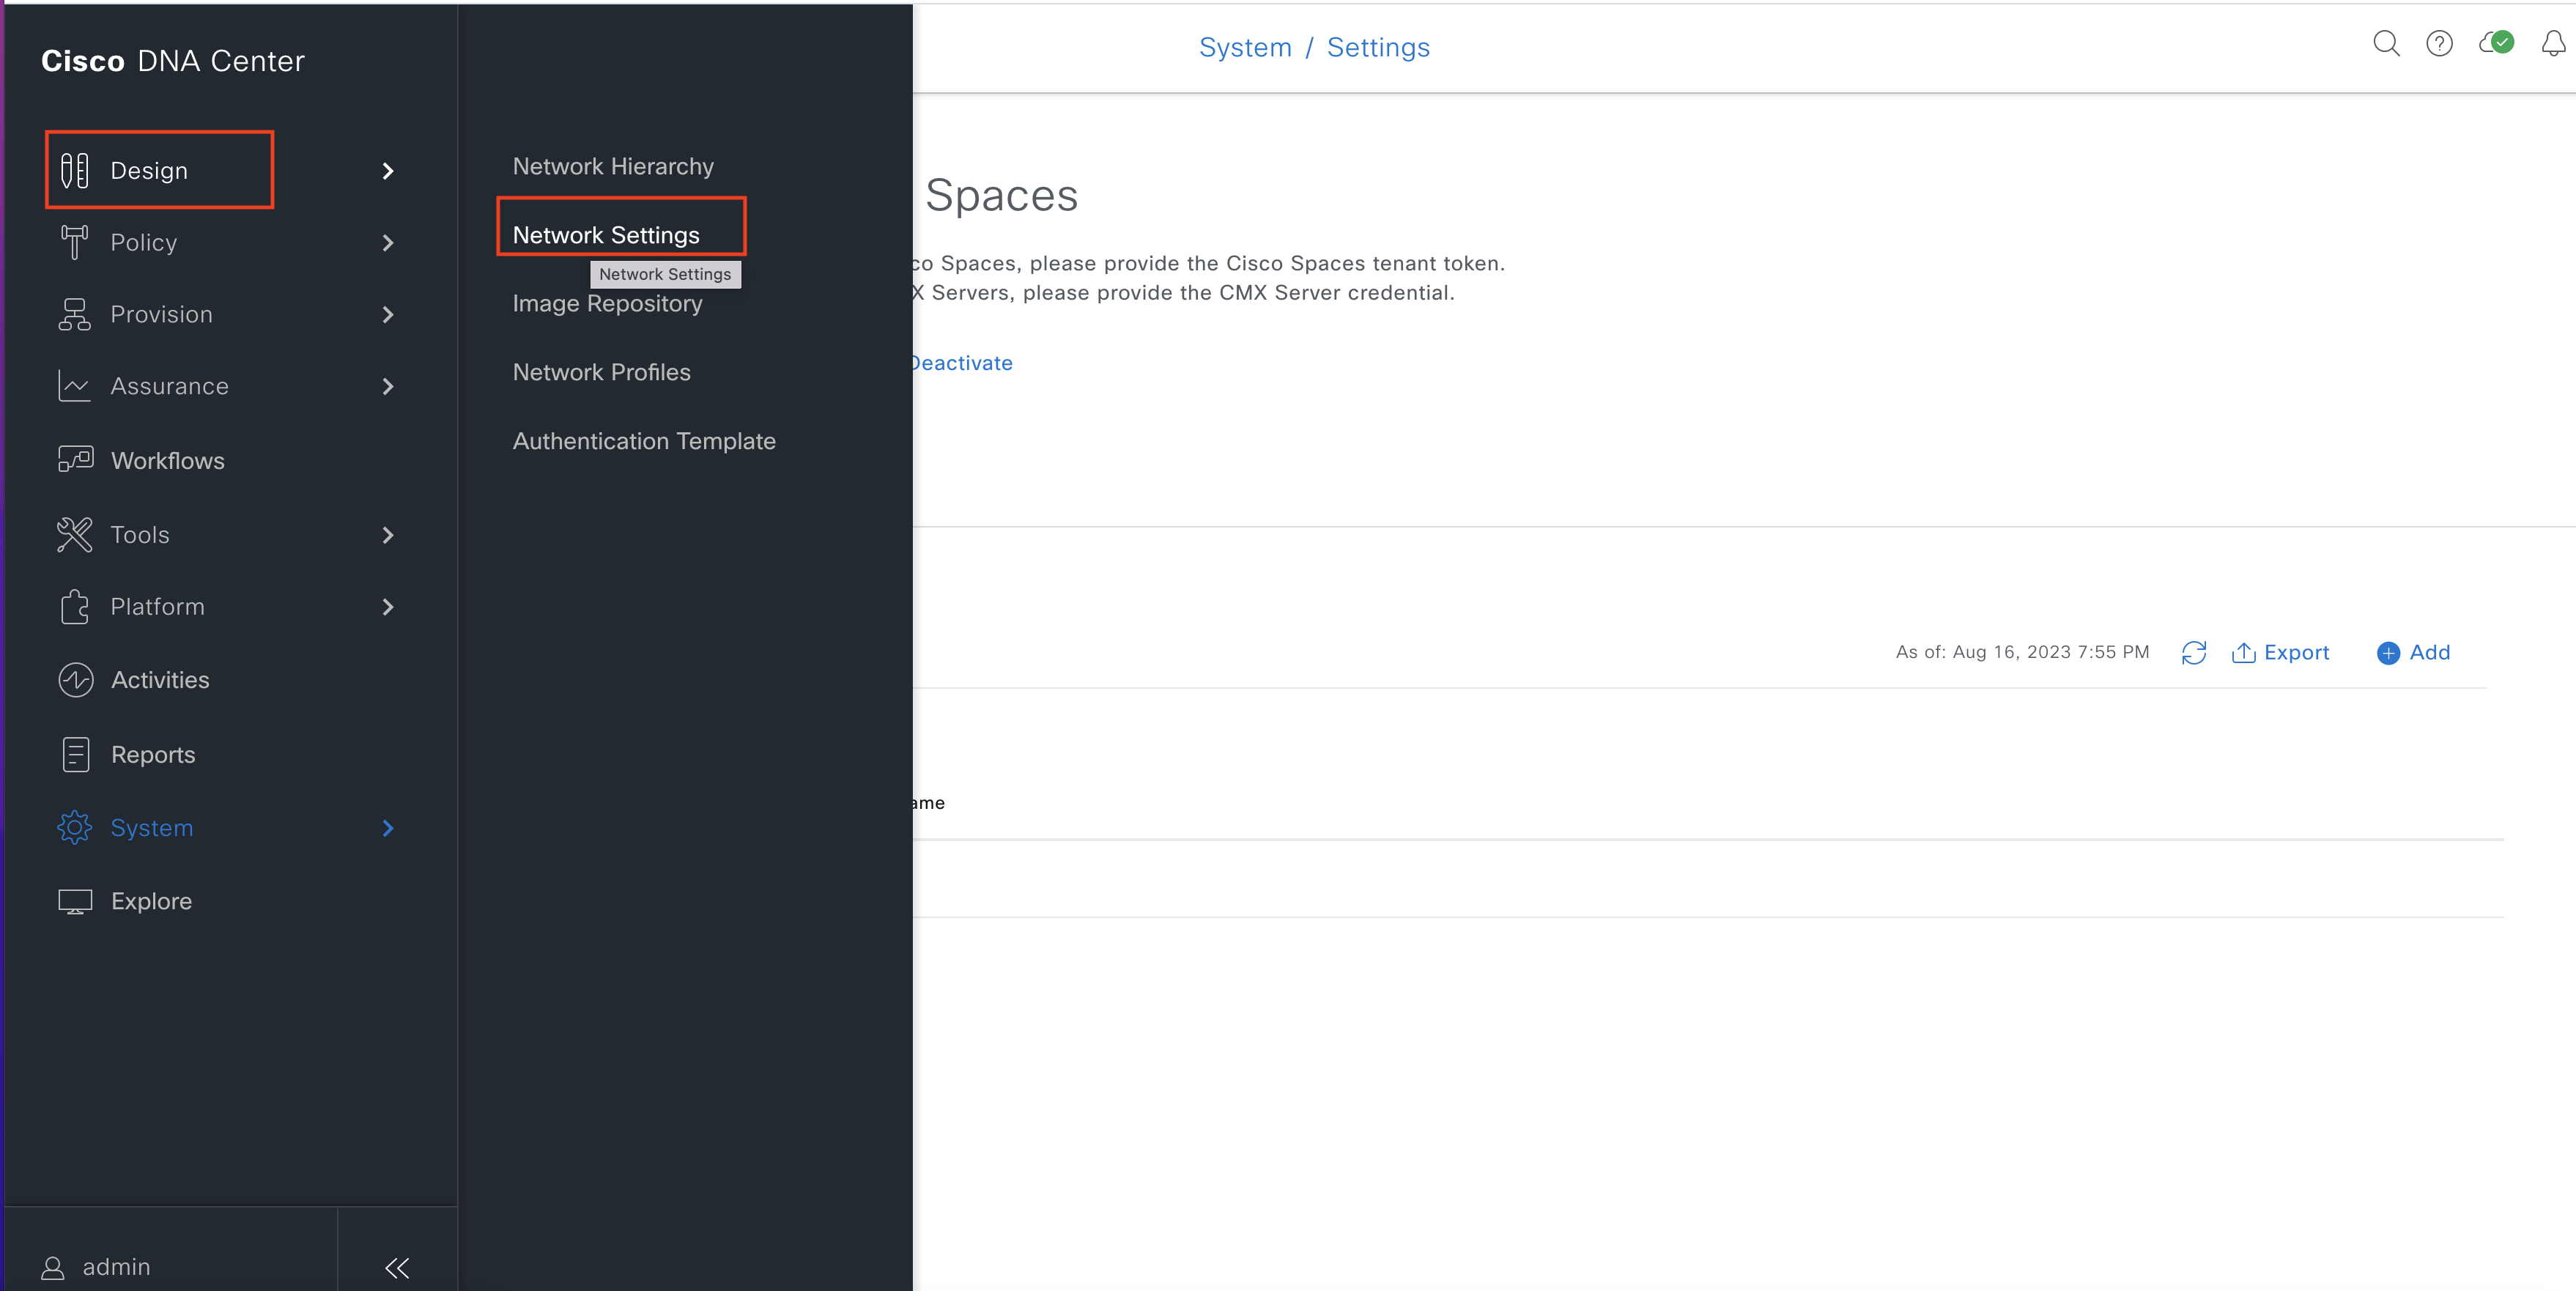
    Choose Design > Network Settings.

  • Step 14

    Click the location that you want to monitor (on the left-hand side under Global) using Cisco Spaces

  • Step 15

    Click the Wireless tab.

  • Step 16

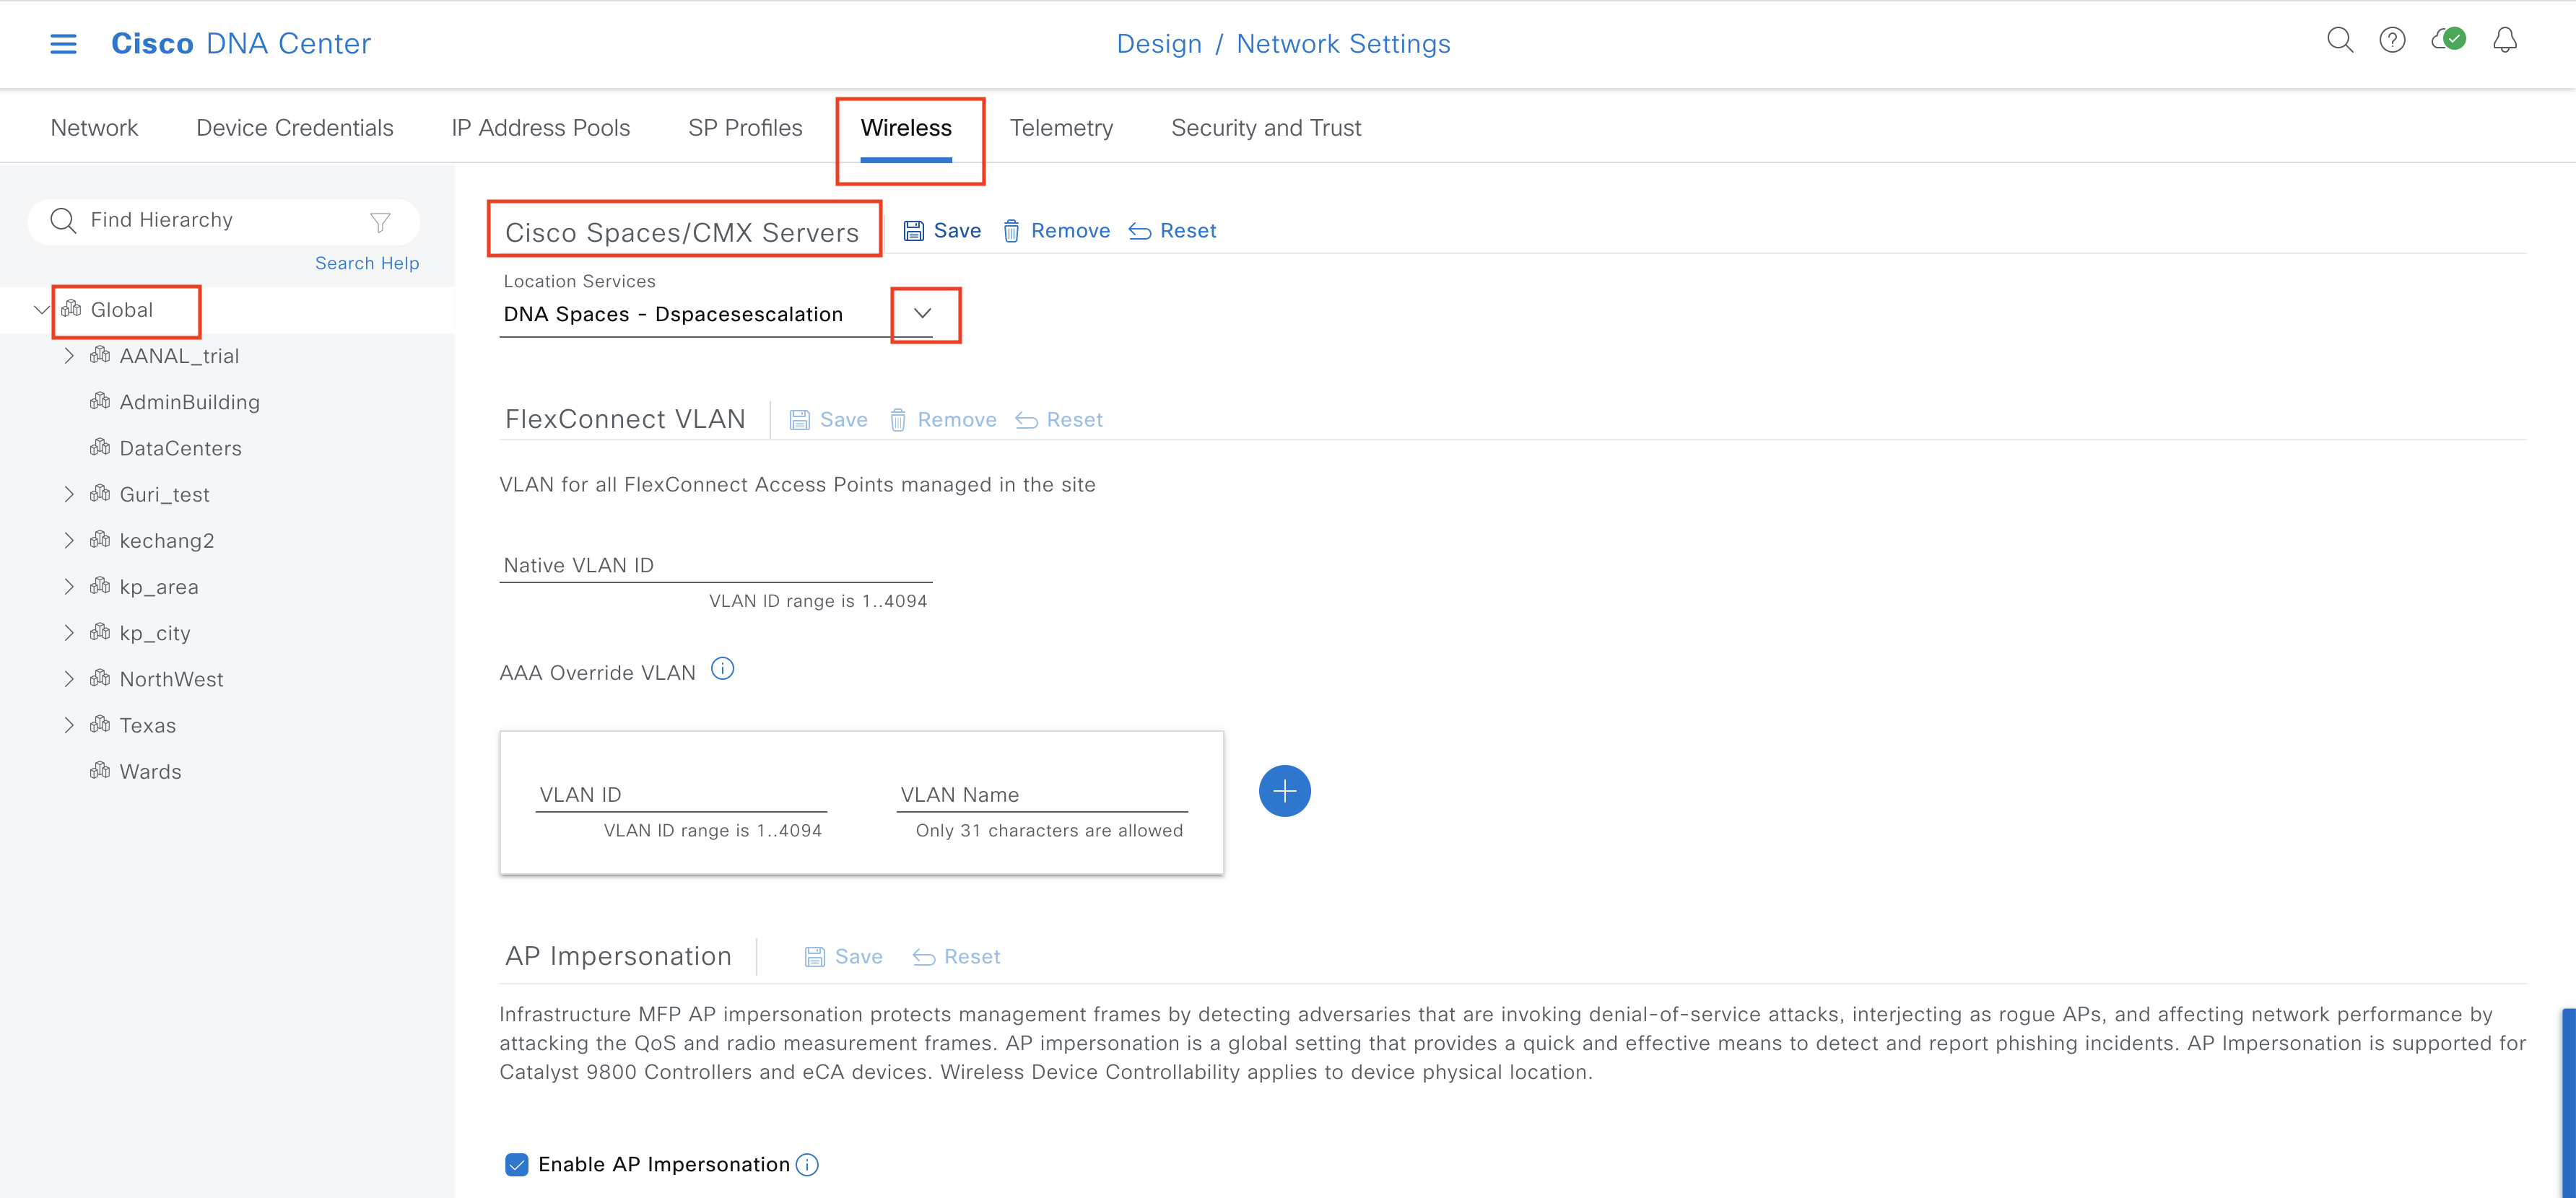
    In the Cisco Spaces/CMX Servers area, from the Location Services drop-down list, choose the Cisco Spaces customer name, and click Save.

  • Step 17

    Click the three-line menu icon at the top-left of the Cisco DNA Center dashboard.

  • Step 18

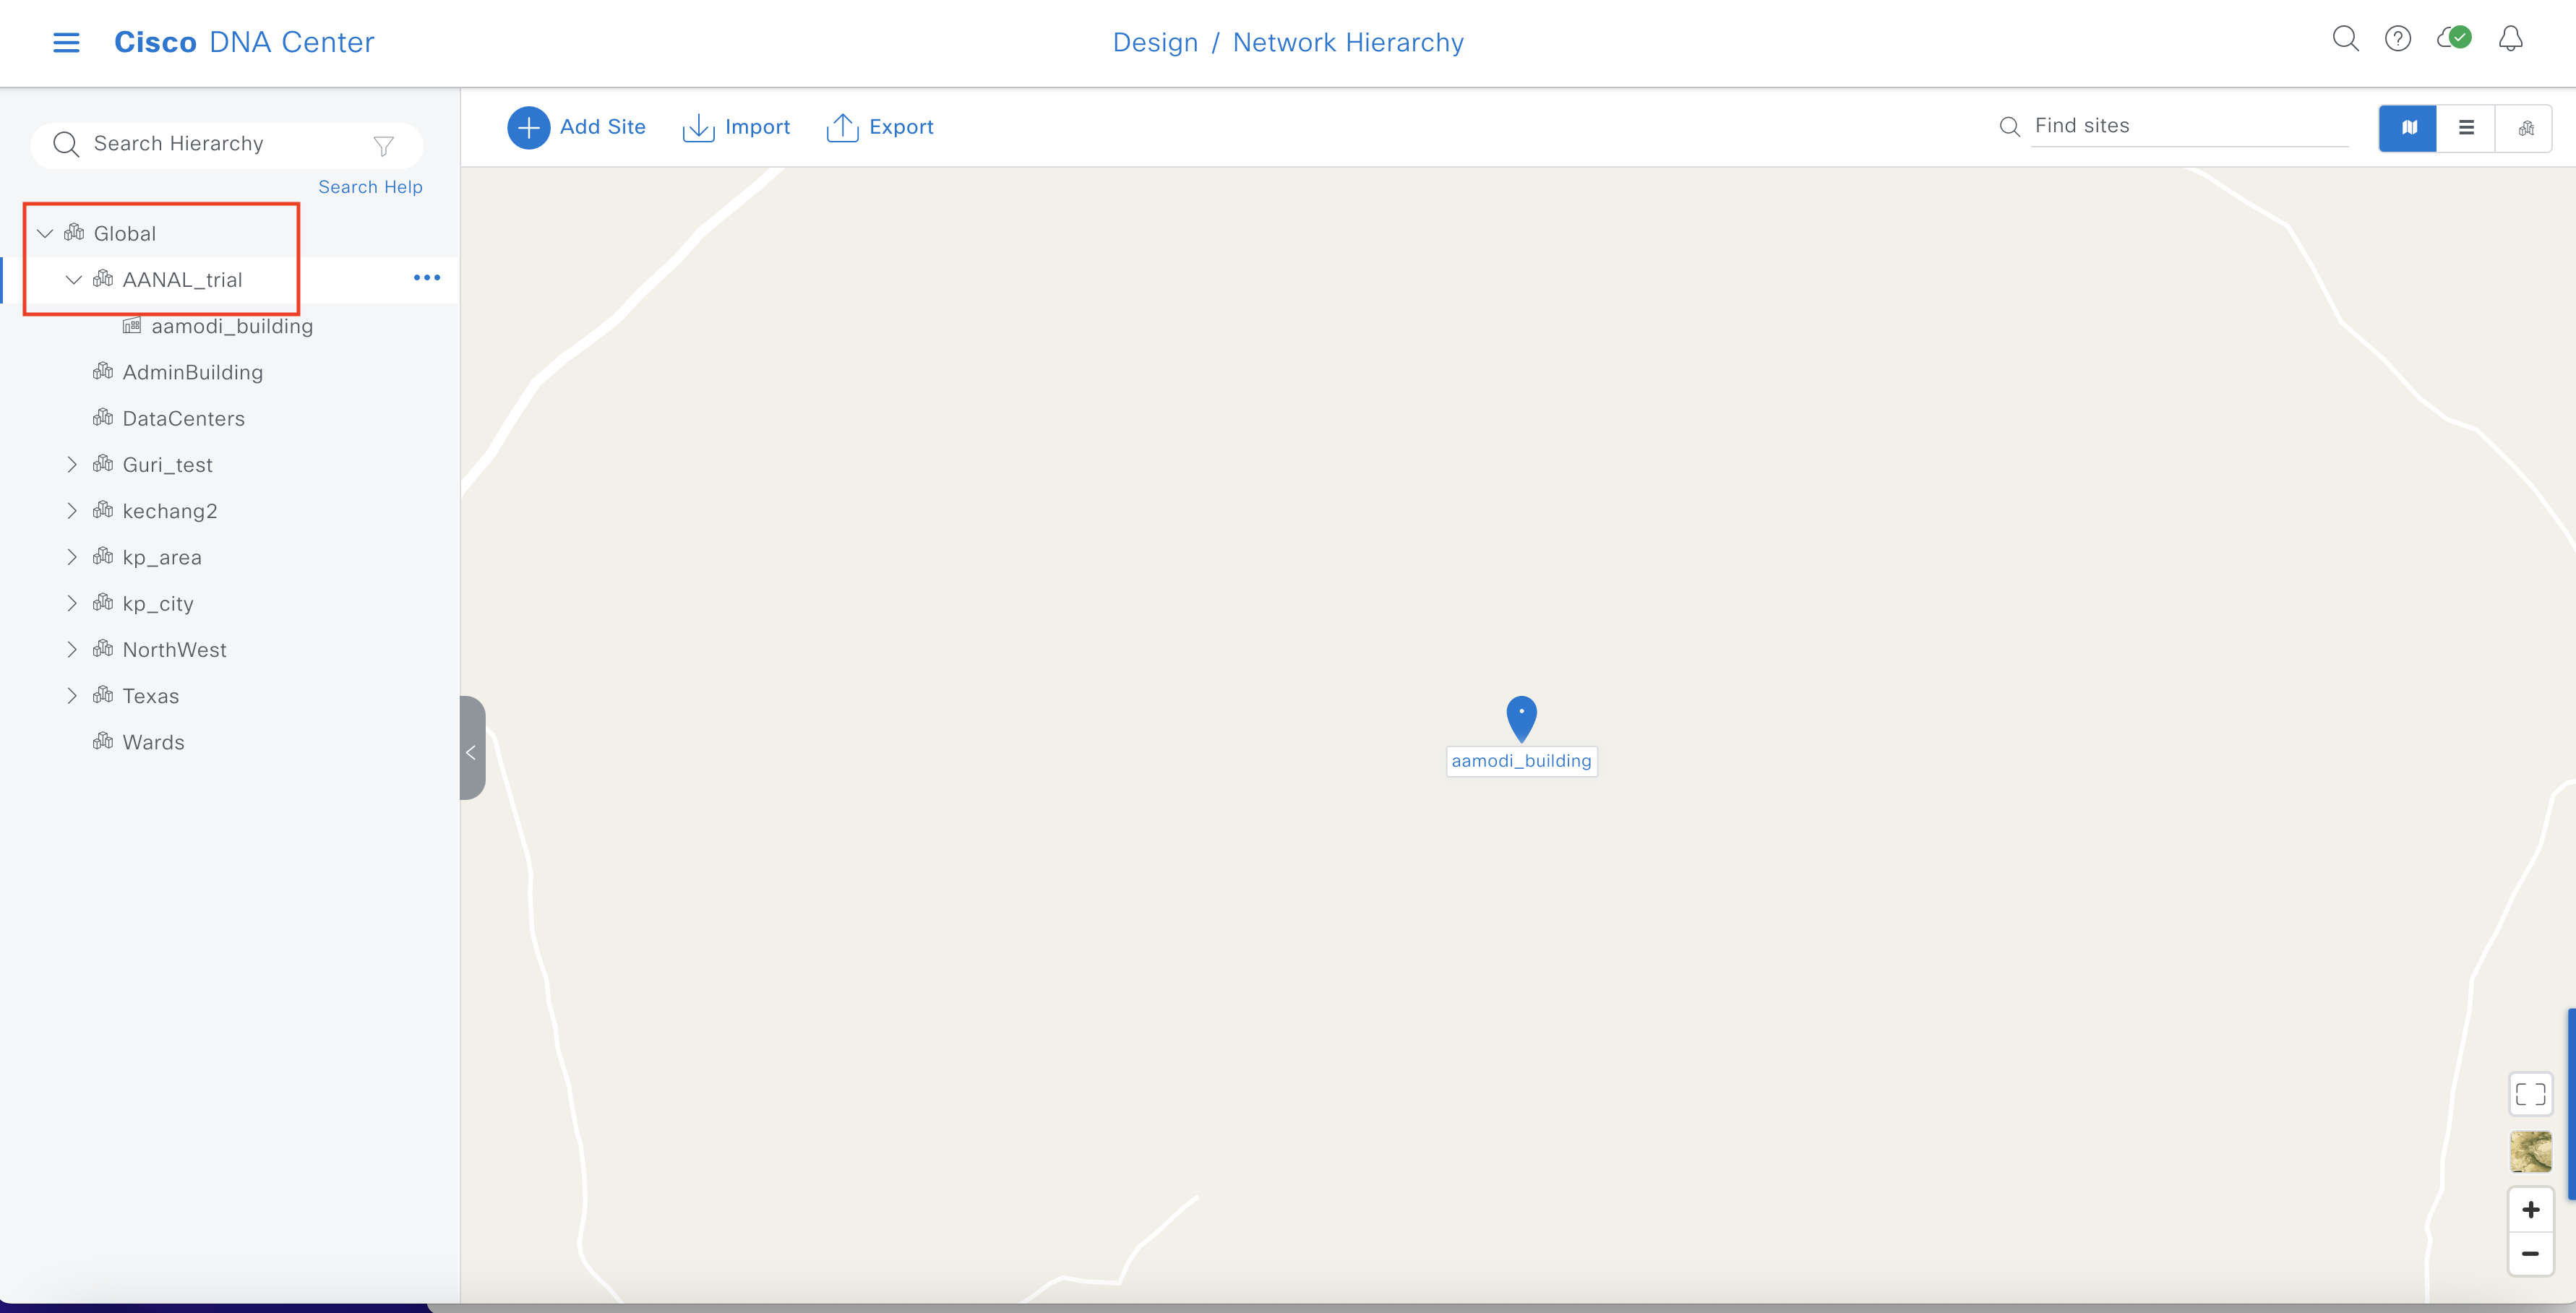
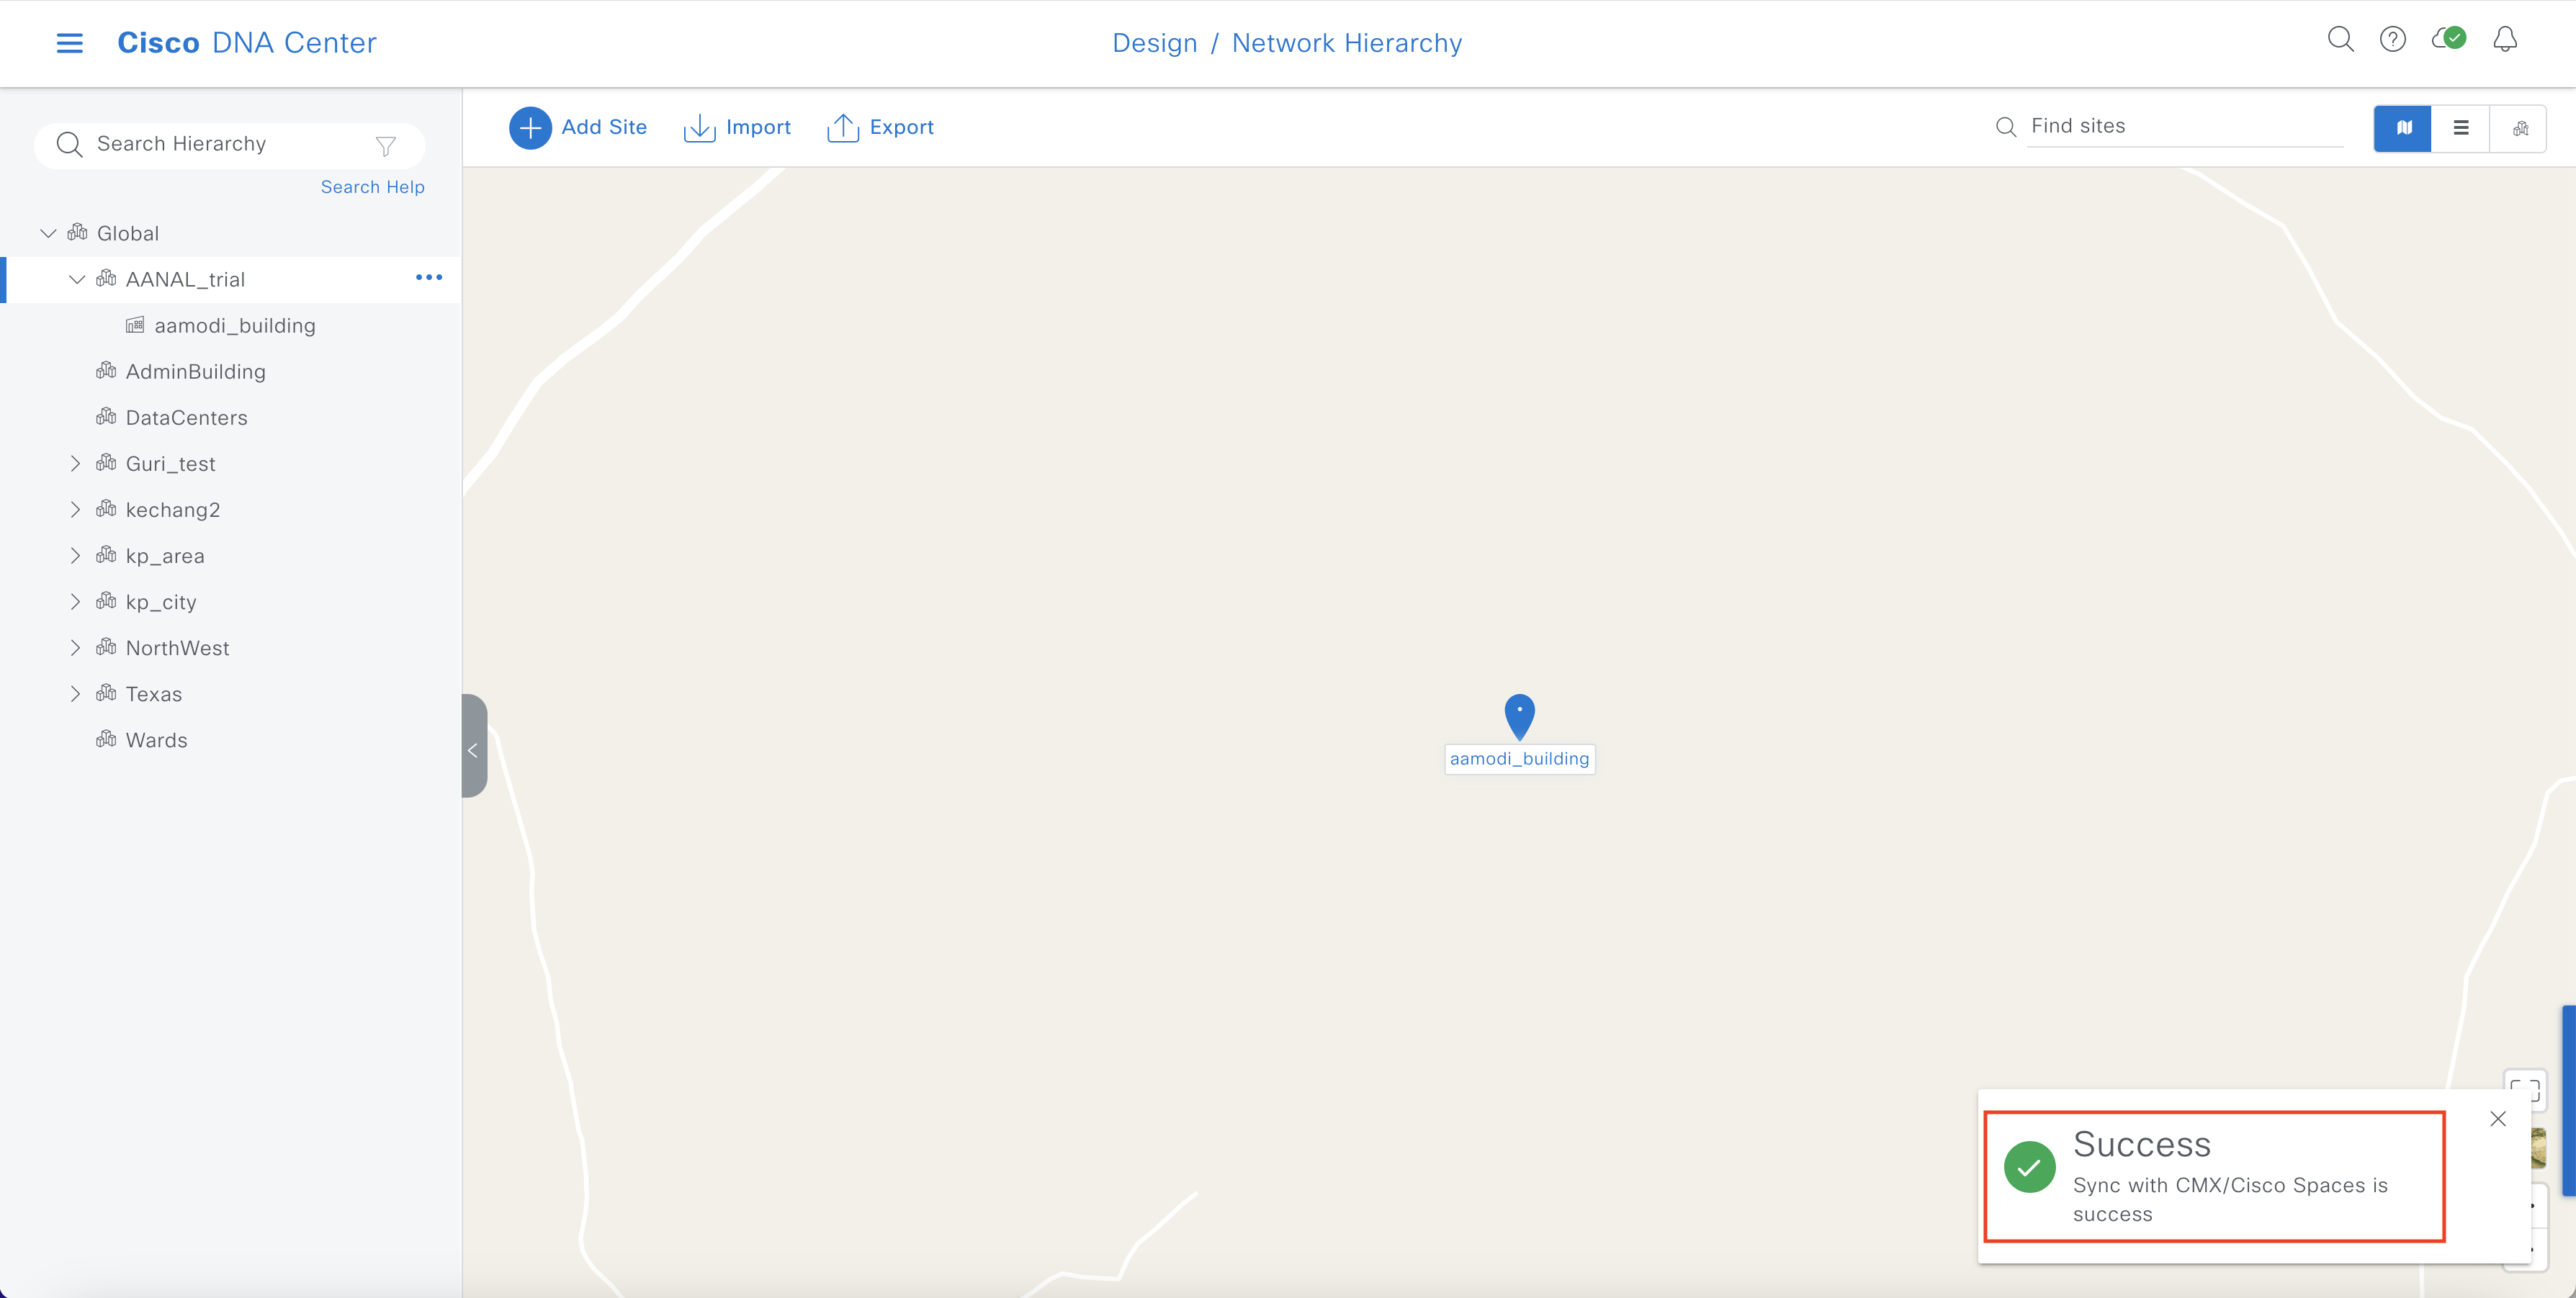
    Choose Design > Network Hierarchy.

  • Step 19

    Click the location that you want to monitor (on the left-hand side under Global). The site map for this location will be displayed with APs.

  • Step 20

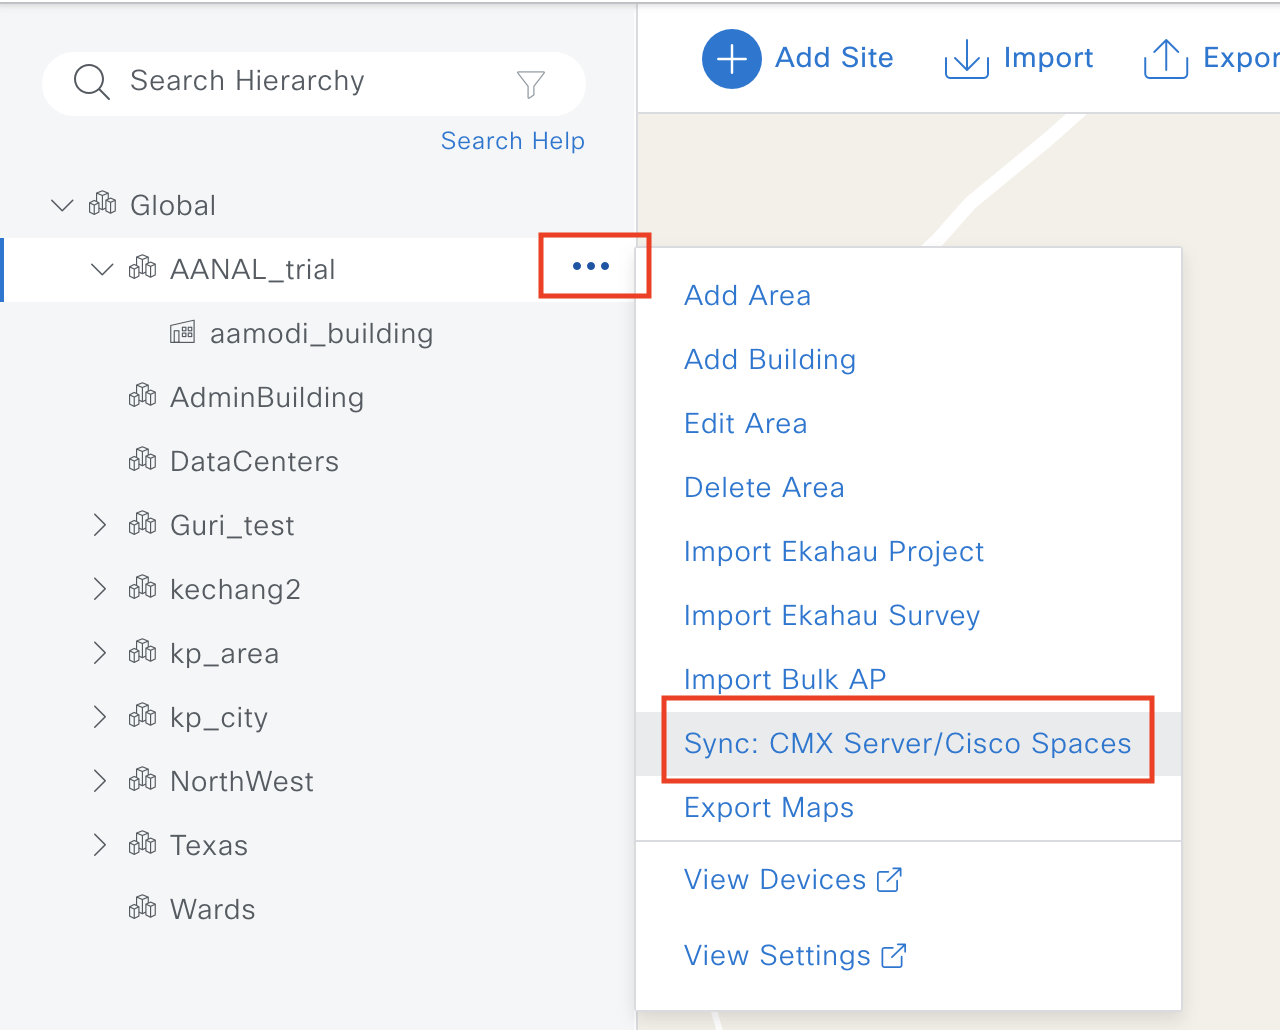
    Click on the 3 dots next to the location and then click on sync: CMX Servers/ Cisco Spaces

  • Step 21

    Once the sync is complete, you will get a dialogue box showing that the sync was successful

  • Step 22

    To check if maps are synced successfully, log into your Cisco Spaces account.

    Two ways to check:

    1. LOCATION HIERARCHY

    • Click on the three-line Menu icon > Location Hierarchy
    • Locate the location/site that was just synced from DNA Center

    2. MAP SERVICE

    • To check if maps are synced successfully in Map Service. Click on the three-line Menu icon > Setup > Map Service
    • From the locations displayed, view the map that is synced from DNA Center

    If don’t have Catalyst Center (formerly DNA Center) or Cisco Prime Maps you can Configure Location Hierarchy manually

    You have successfully connected your network with Cisco Spaces. Please proceed to add your Time Zones.

How to add Time Zones?

  • STEP 1

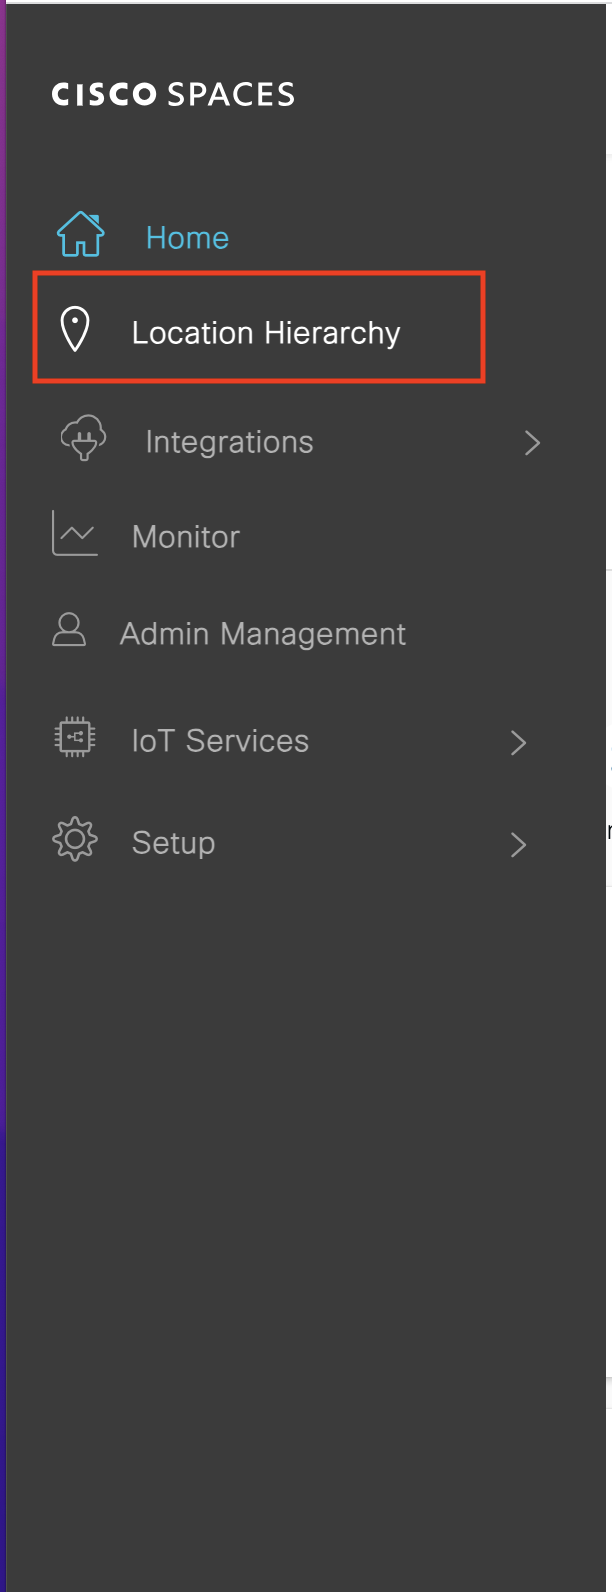
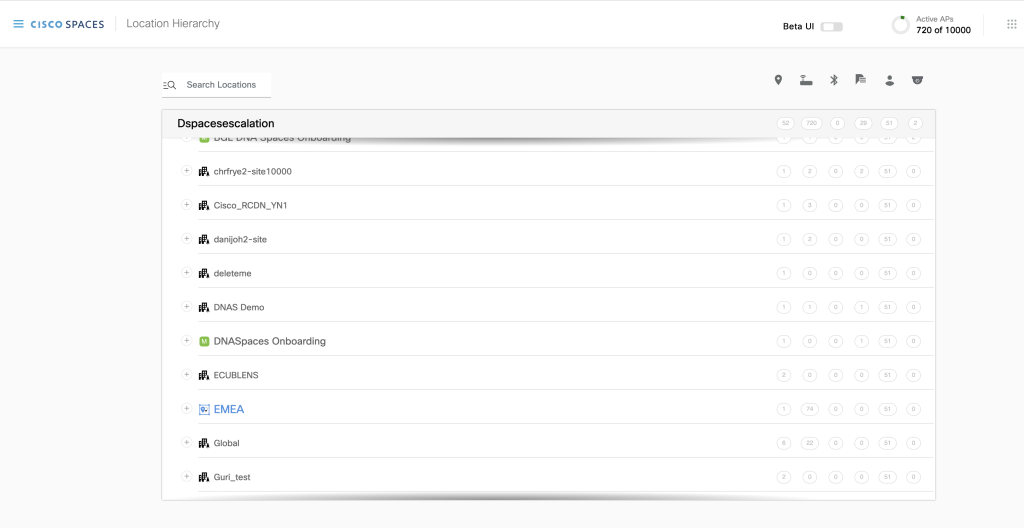
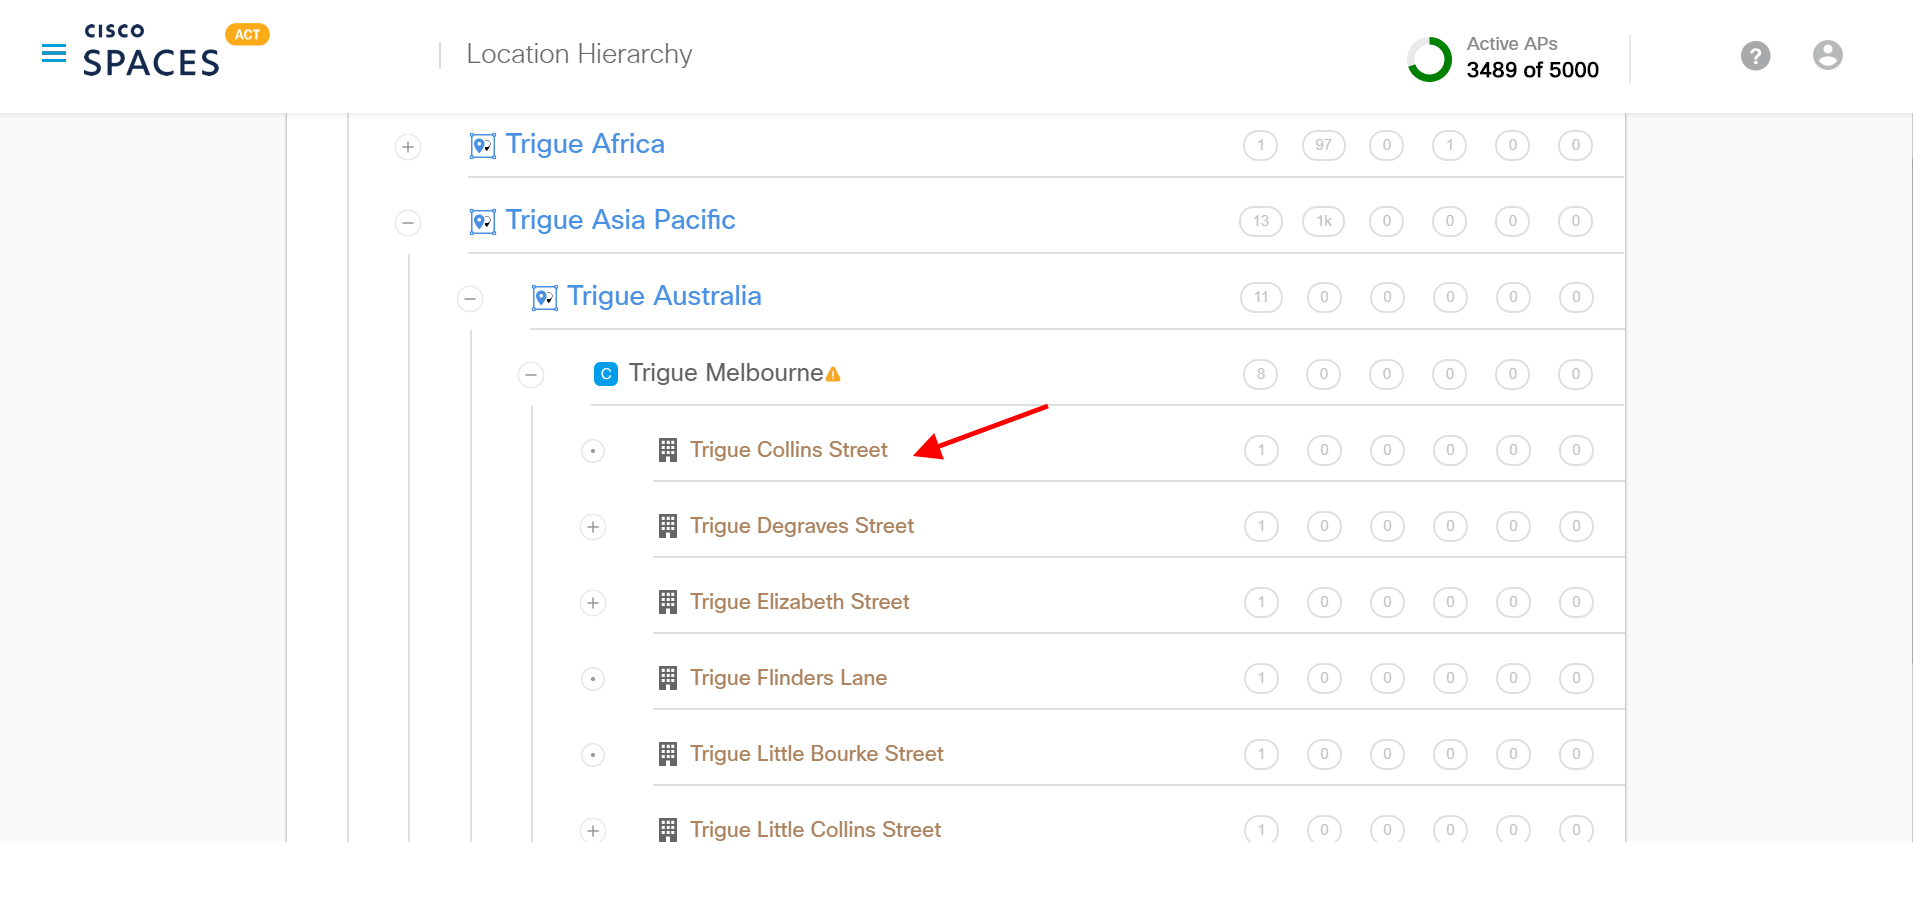
    In the Location Hierarchy page, click on the Location where you want to add location info. Select the highest node if all of your locations are in the same time zone.

  • STEP 2

    Click “Edit” on Location Data.

  • STEP 3

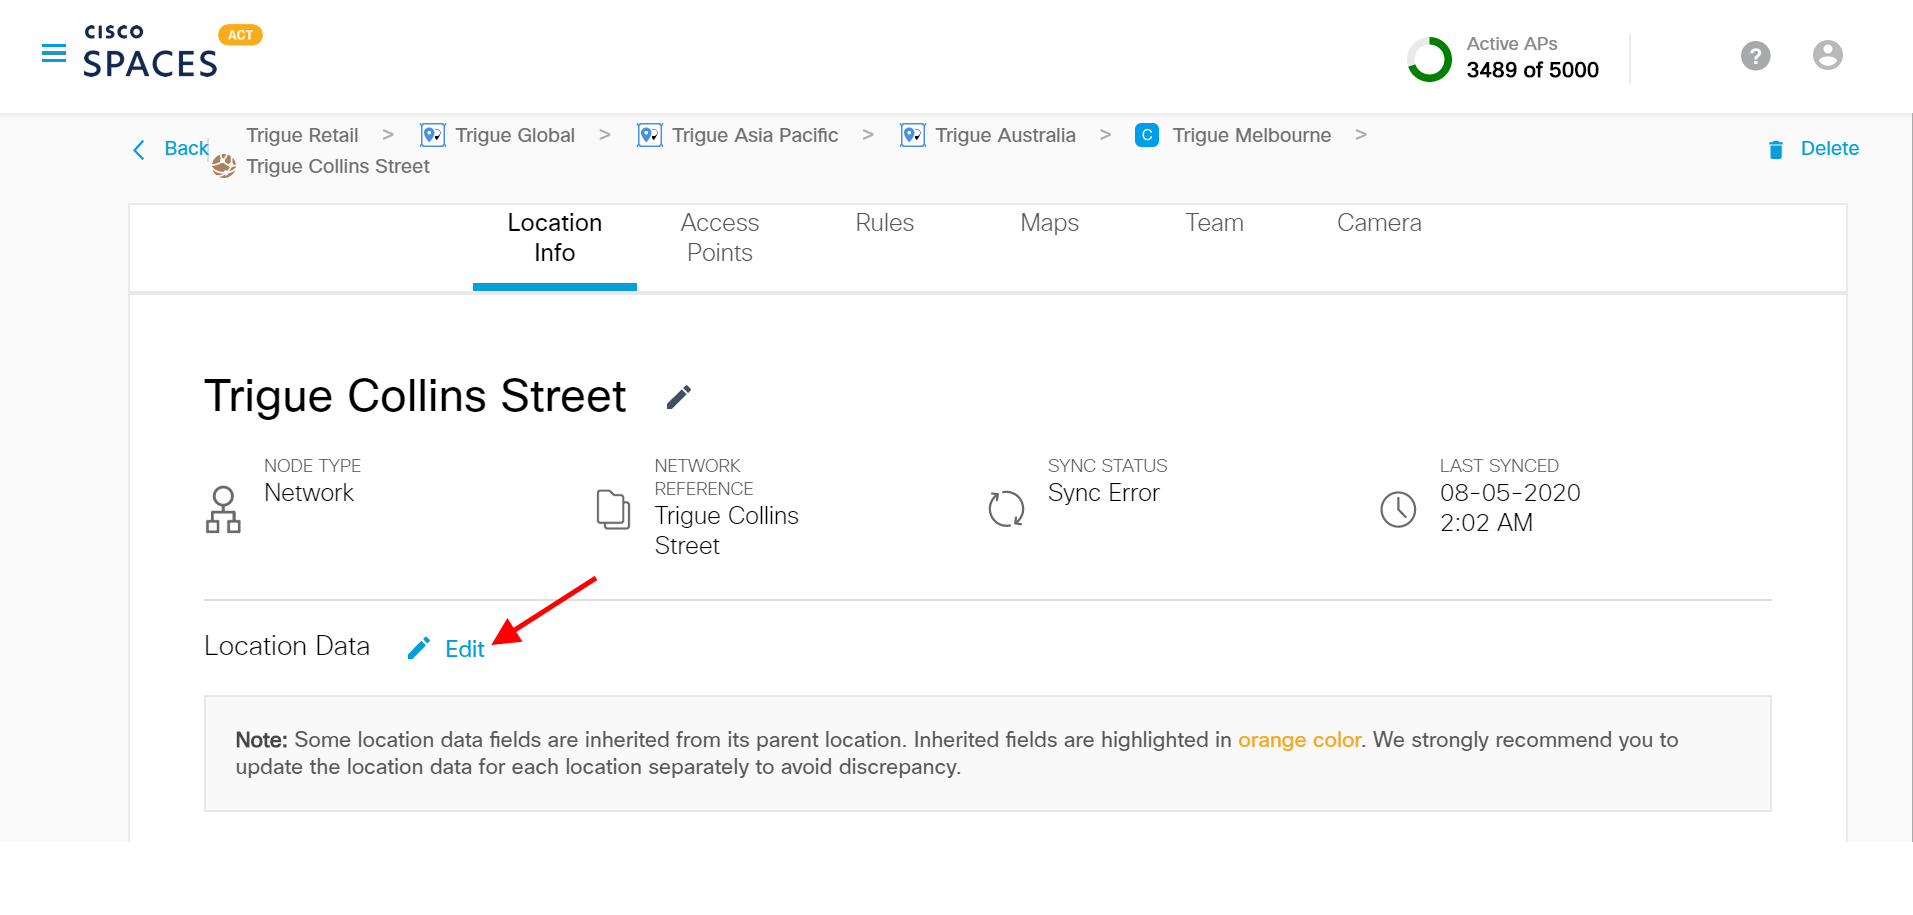
    Enter Location Info such as Brand Name, Country, City, Address, Timezone, area units in Sq. Ft/Sq. Mt and click Update.

Here is an introduction to Location Hierarchy