Connecting to an existing Cisco Spaces account
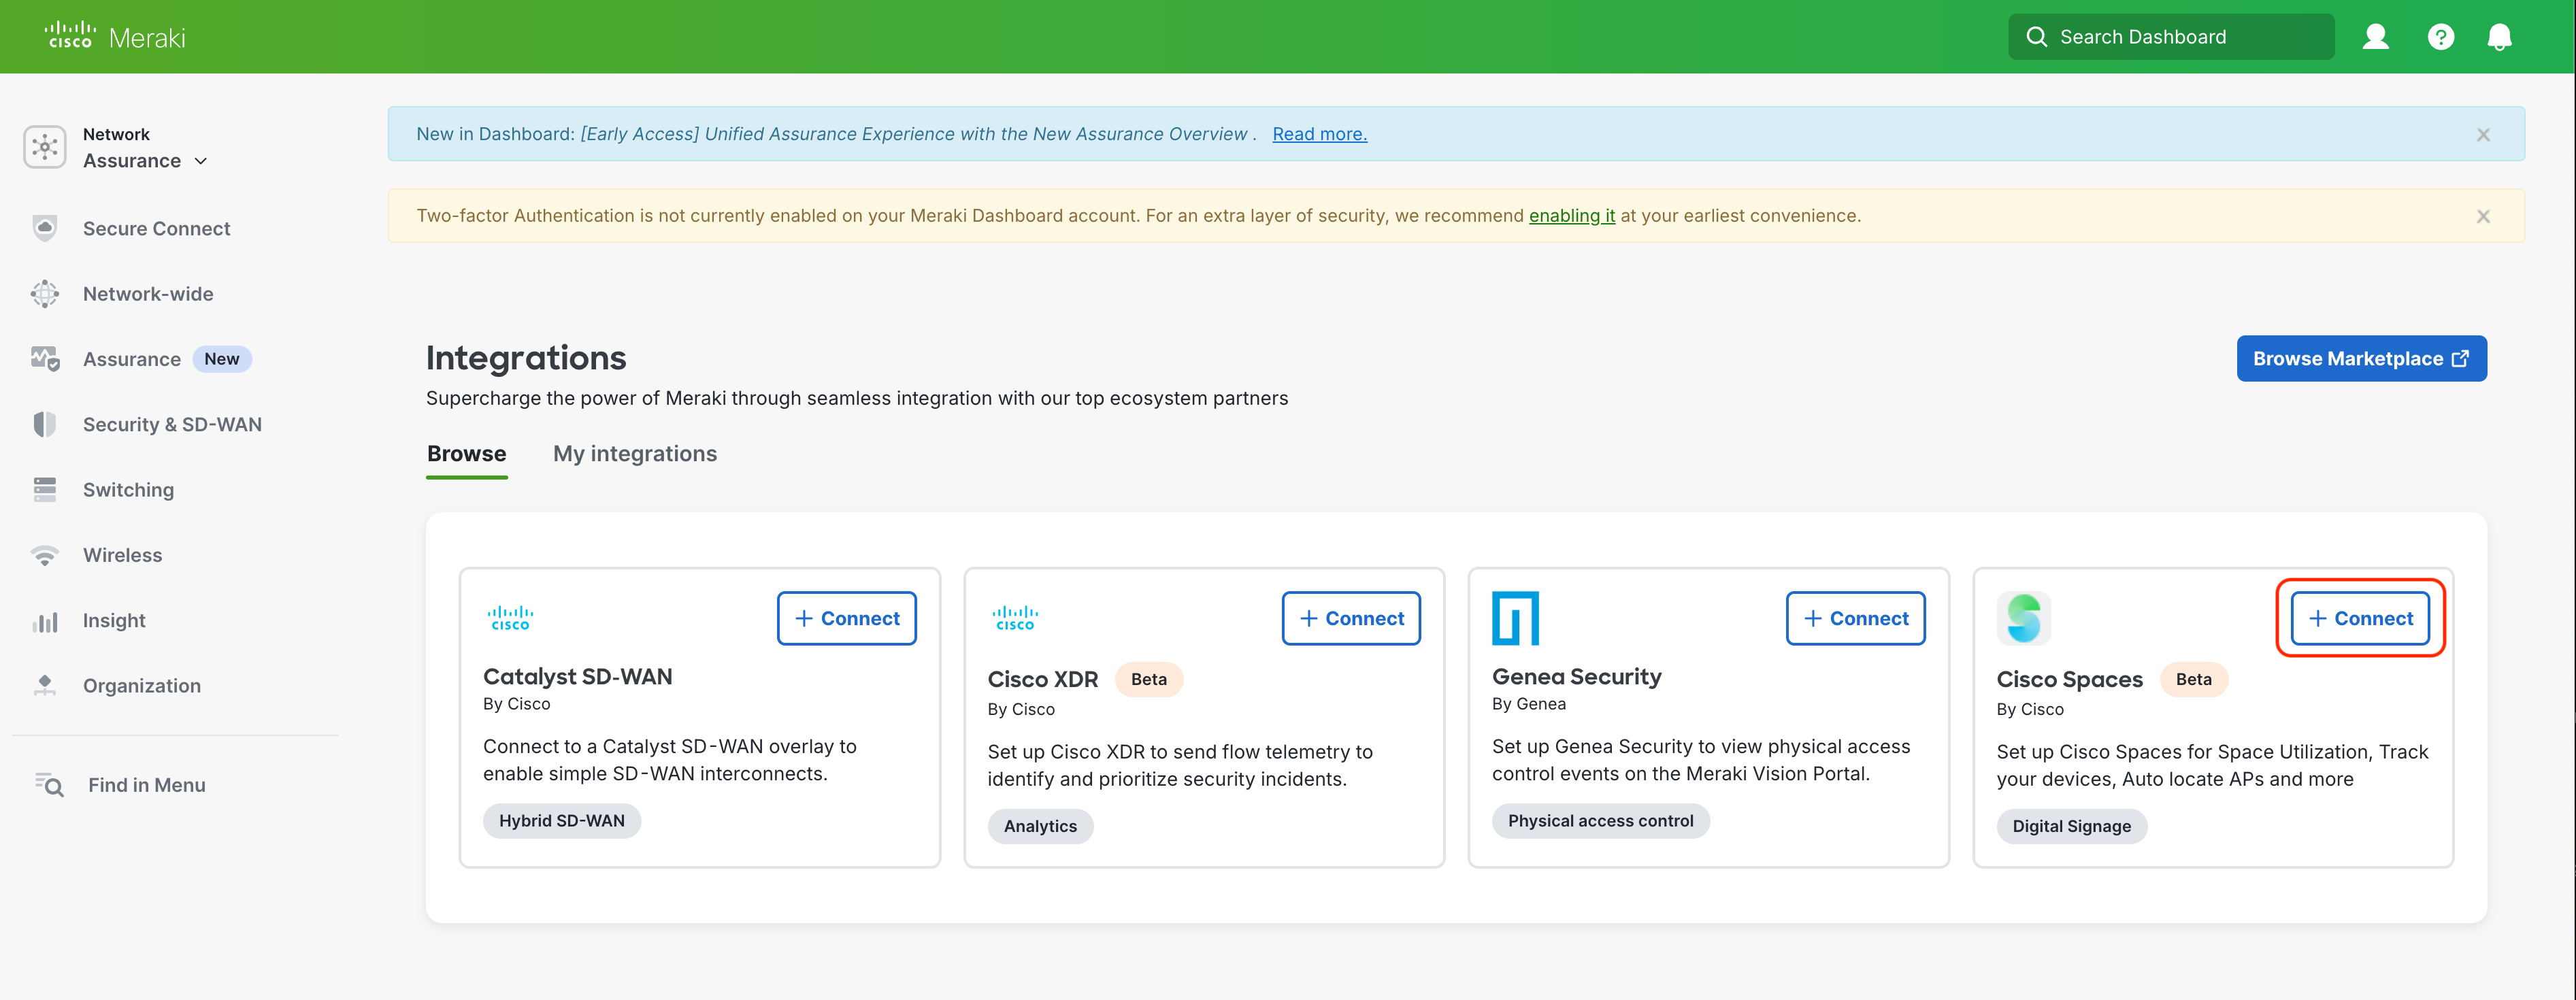
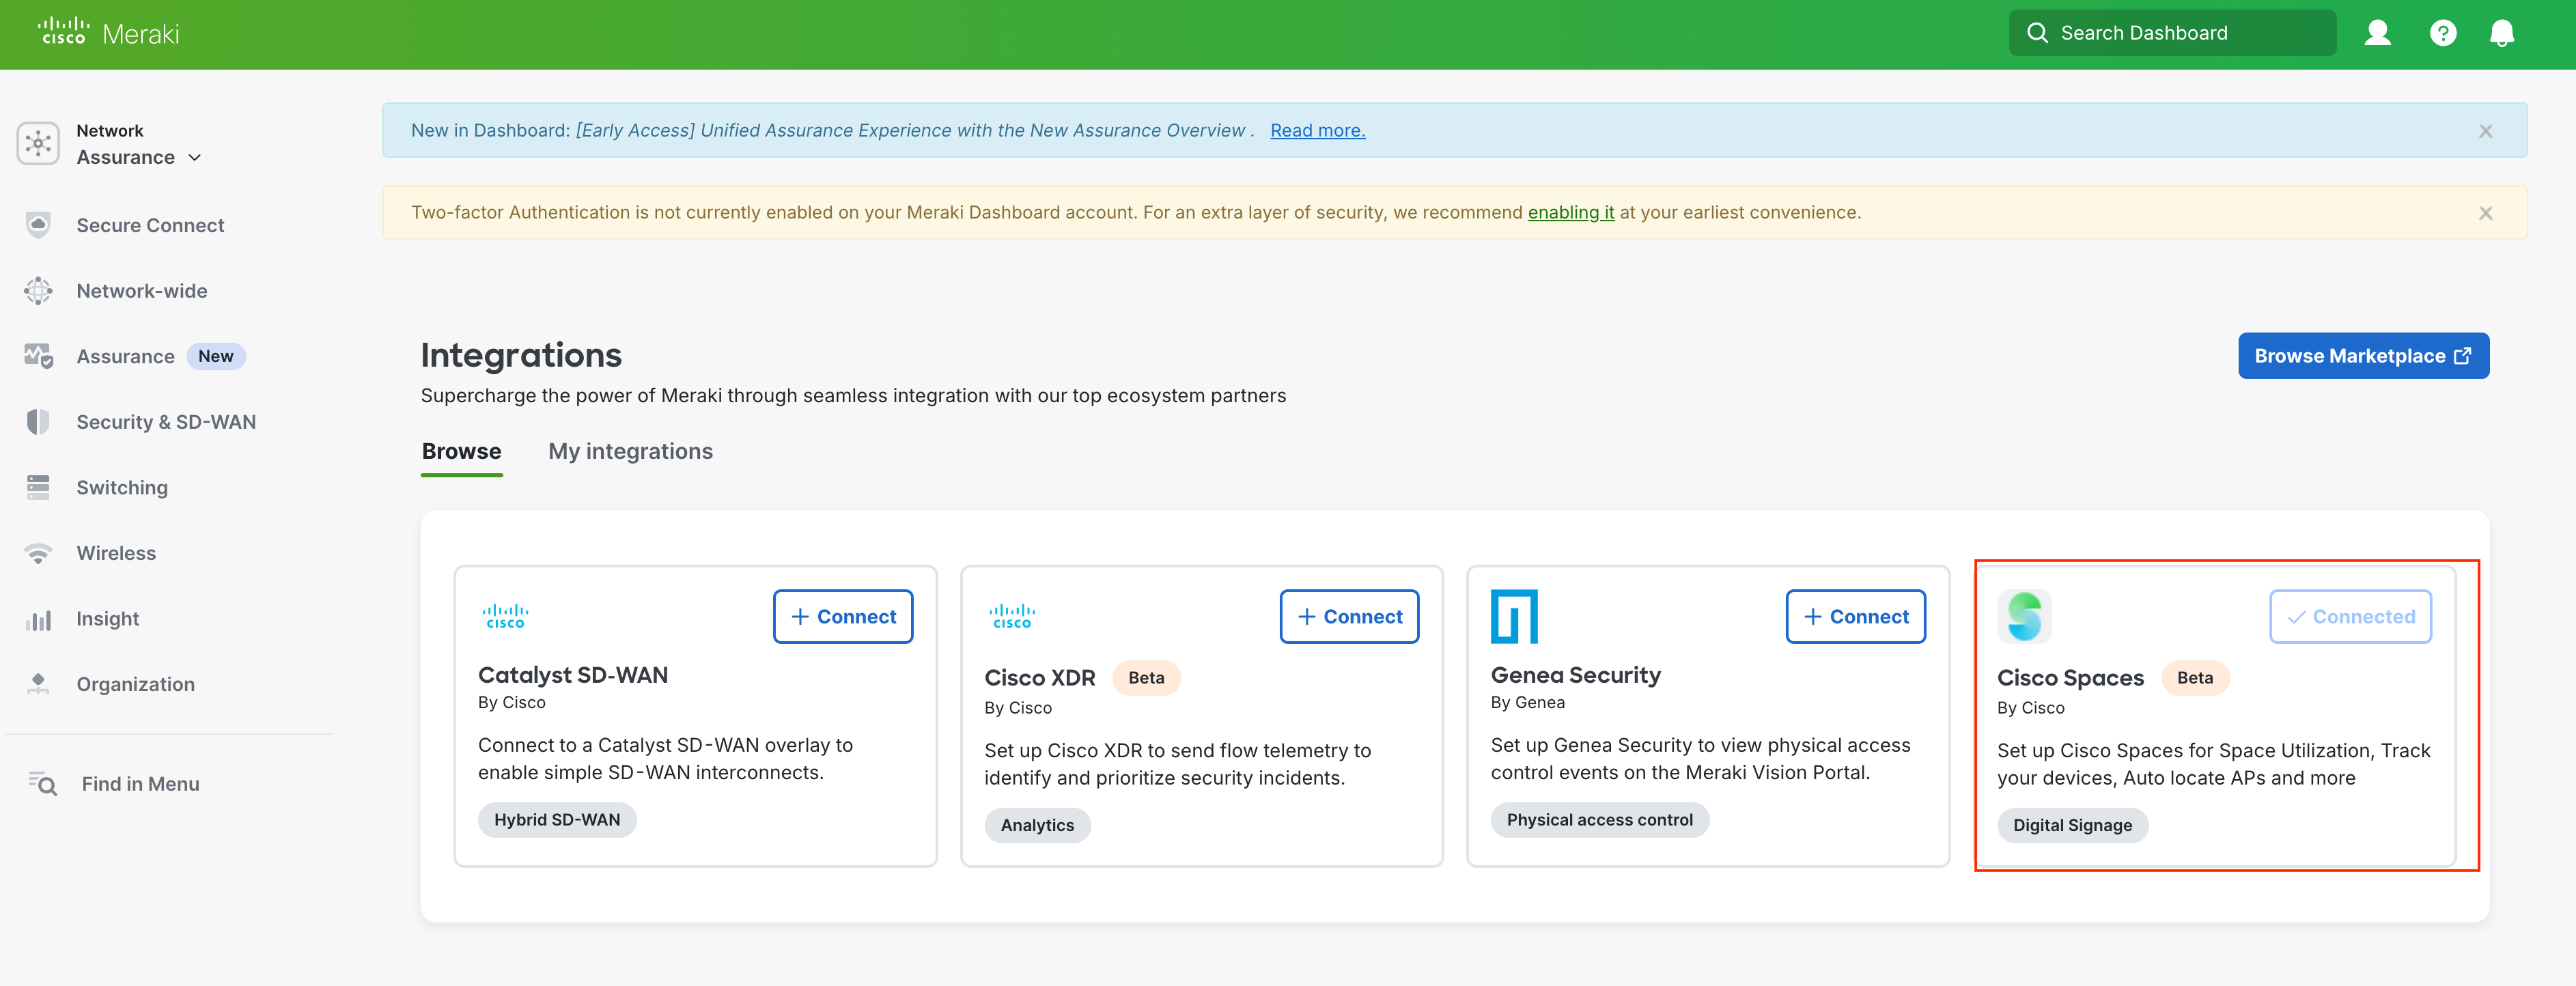
Under the Browse tab, Click “Connect” on the “Cisco Spaces” tile
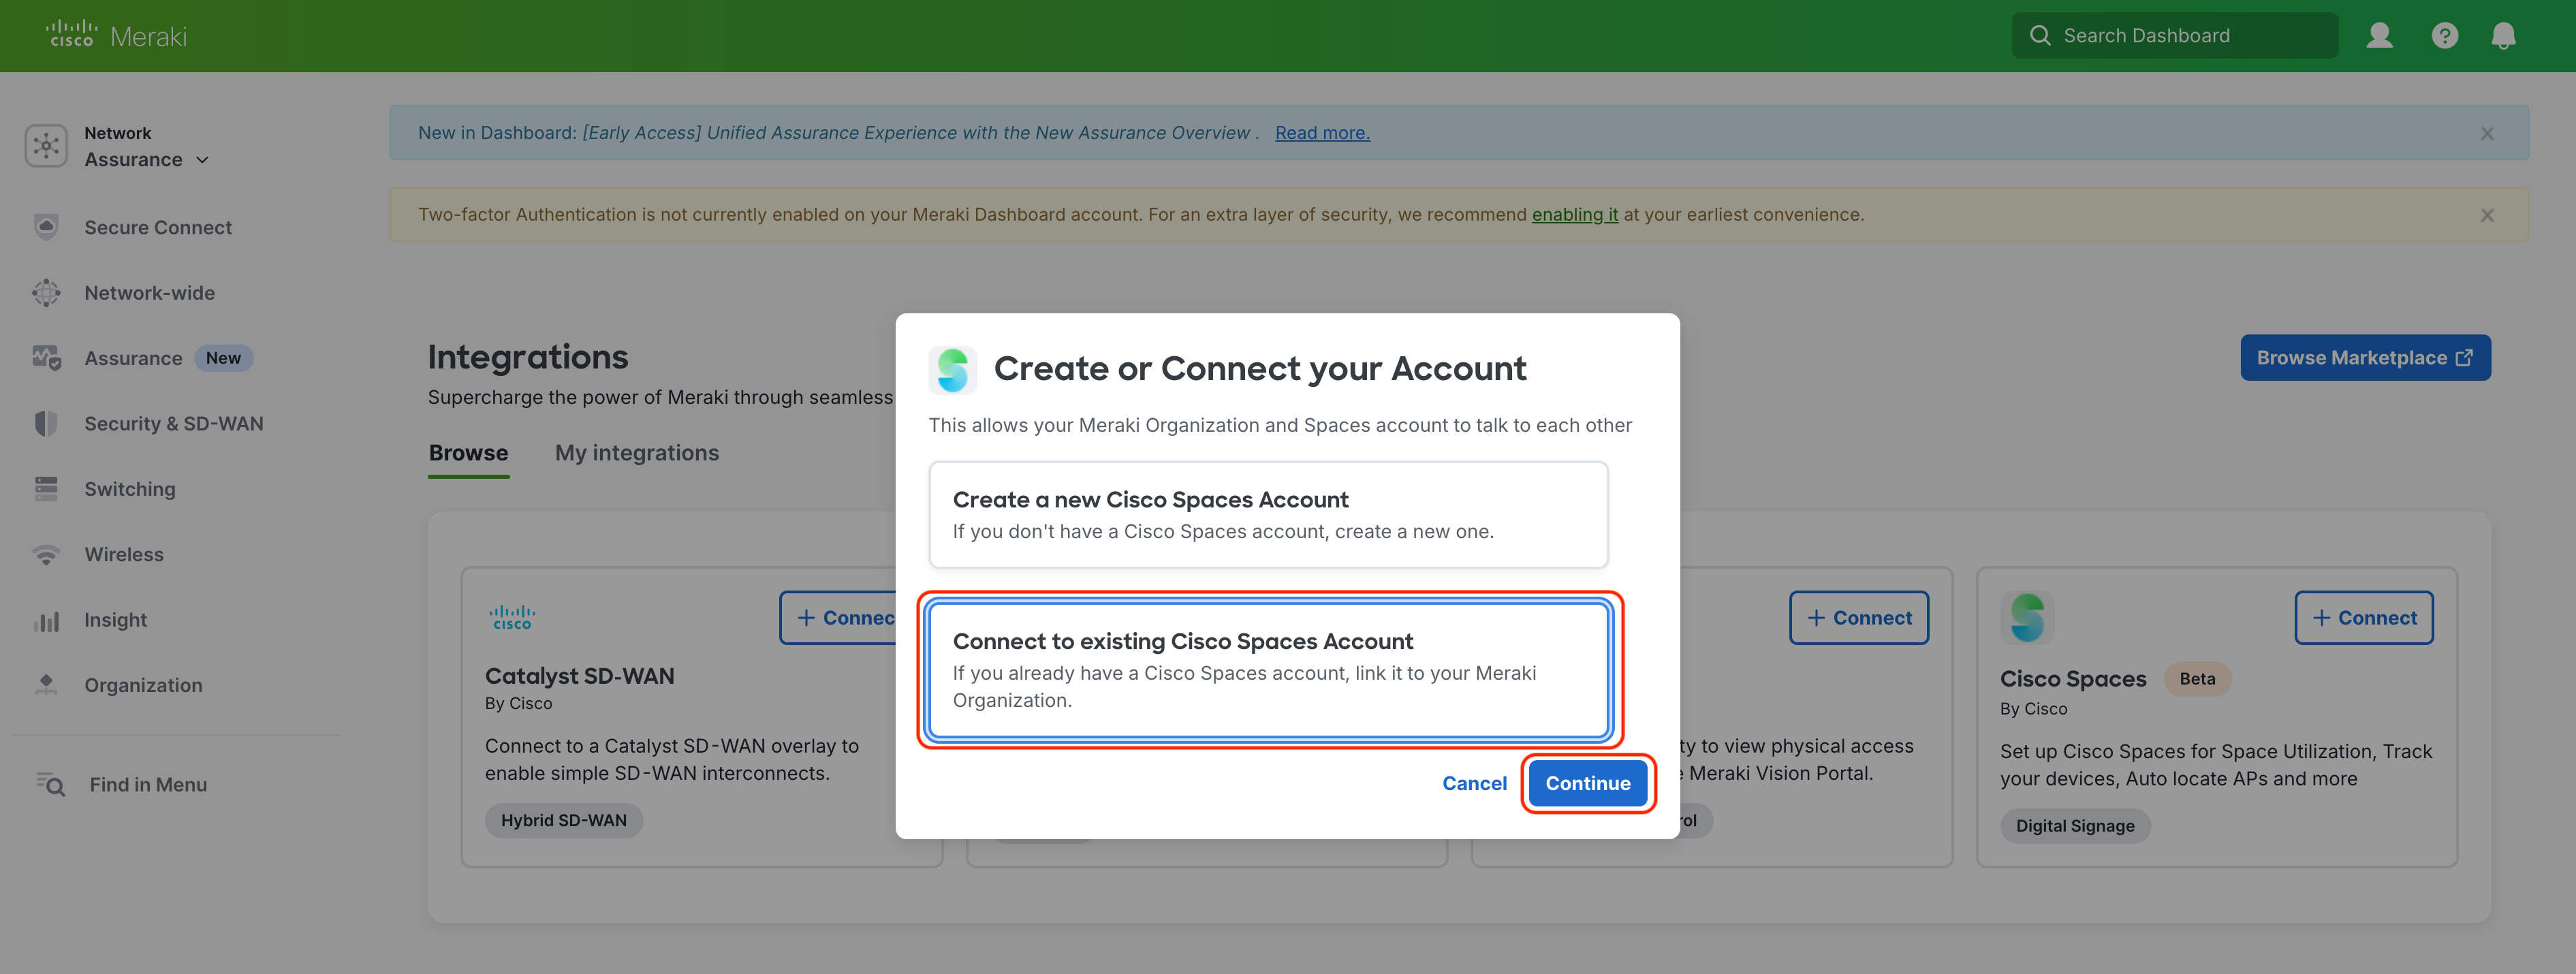
If you already have an existing Cisco Spaces account, link it to your Meraki Organization. Choose the option that states “Connect to existing Cisco Spaces Account” and Click on Continue
Note: Administrators can remove specific networks from syncing to Spaces by using Network Tags in the Meraki dashboard. By default all Meraki networks will sync to Spaces. However the Administrator can apply ‘CiscoSpaces’ as the tag name added to a Meraki network and only networks with ‘CiscoSpaces’ as the tag name will sync to Spaces.
Creating Network tags in Meraki: https://documentation.meraki.com/General_Administration/Organizations_and_Networks/Organization_Menu/Manage_Tags#Creating_Network_tags
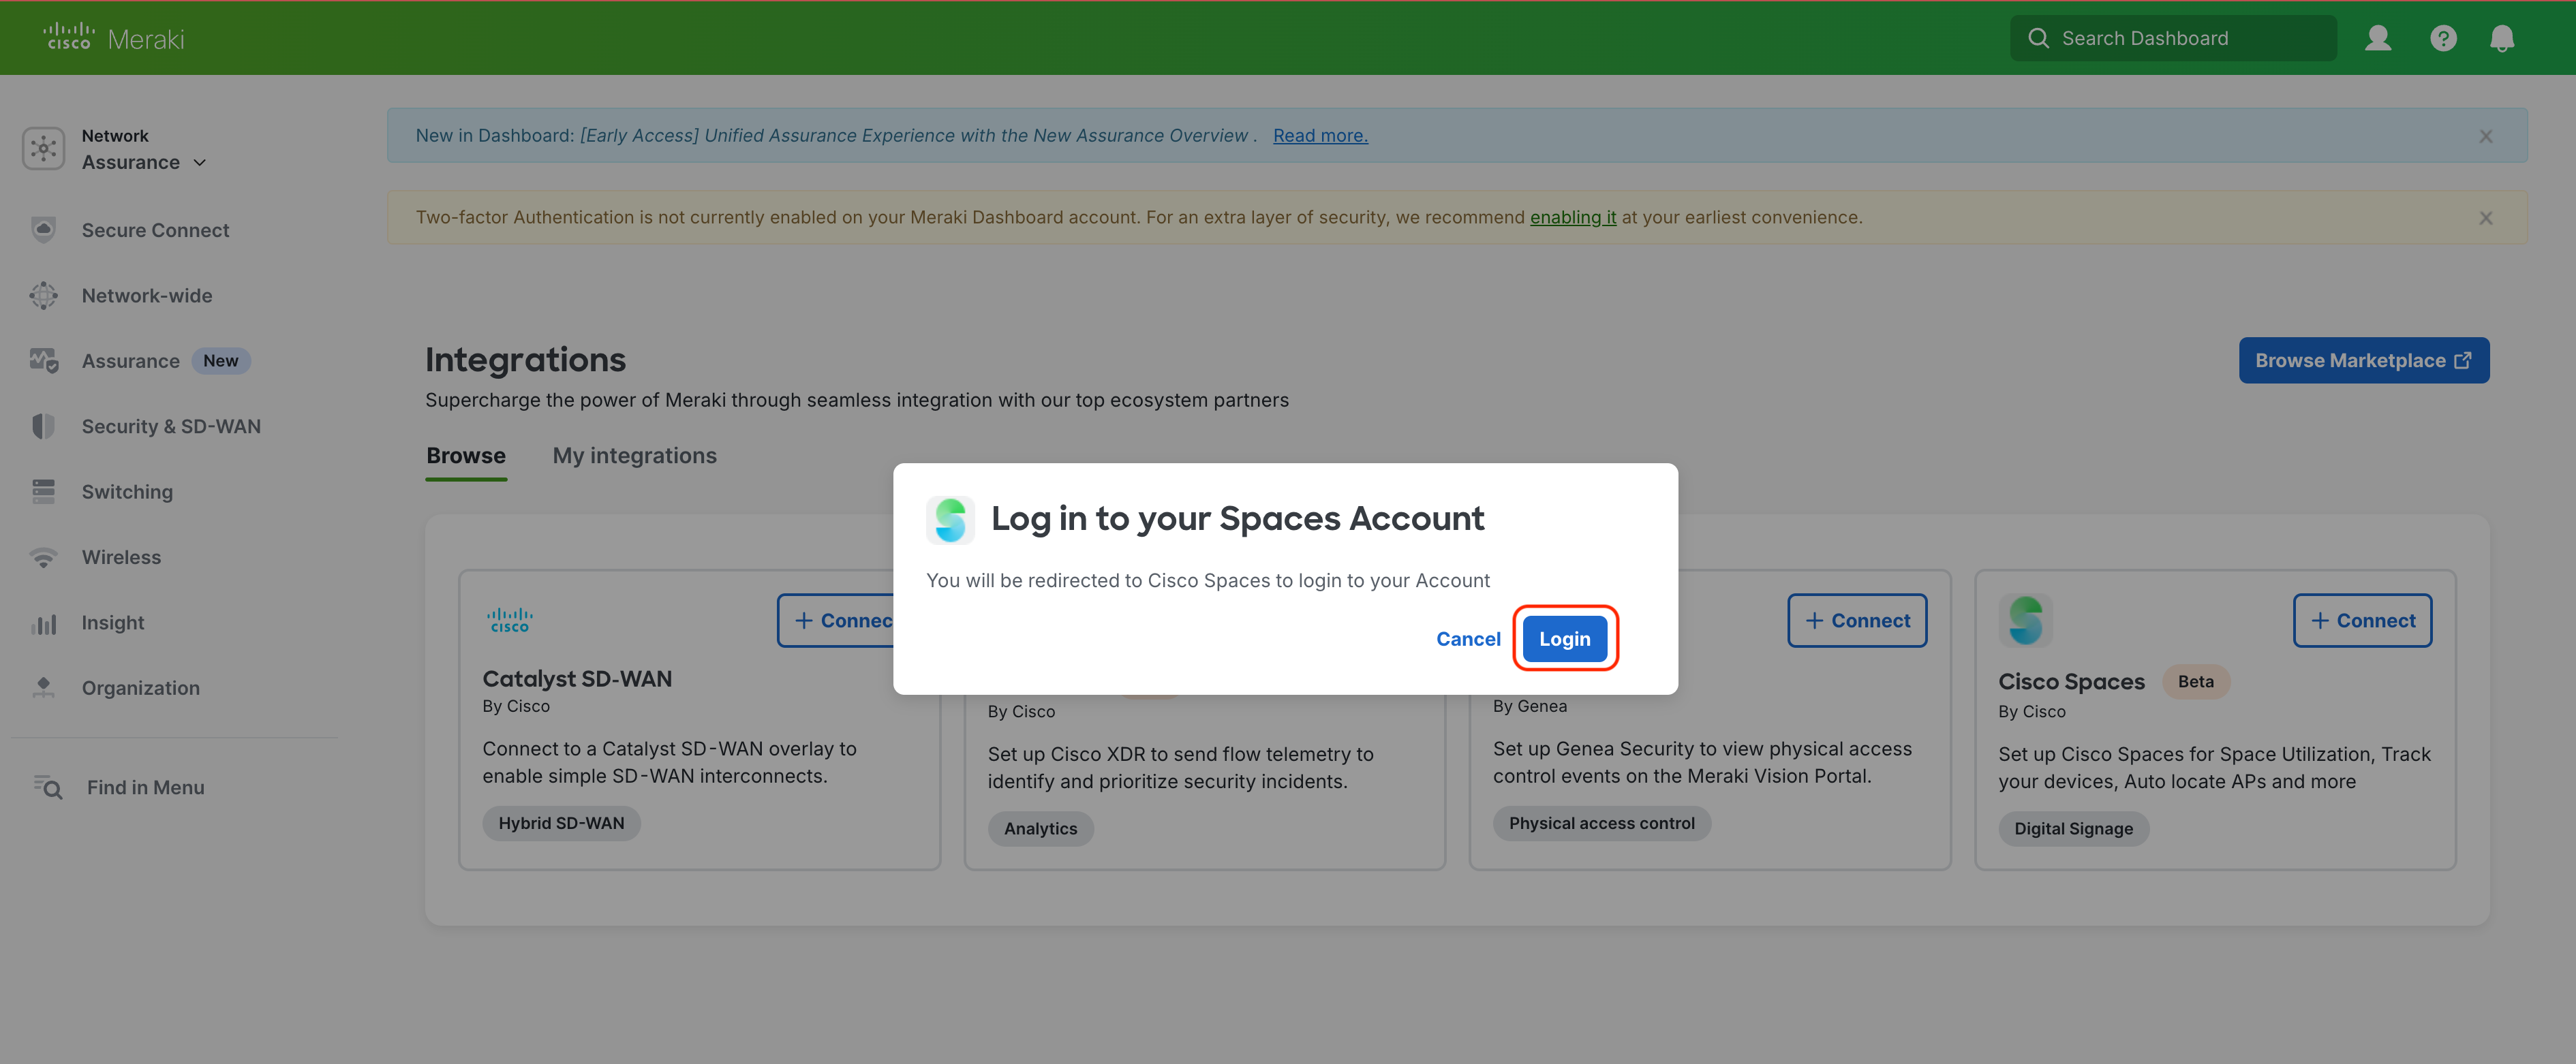
Click on ‘Login’. You will be redirected to Cisco Spaces login page.
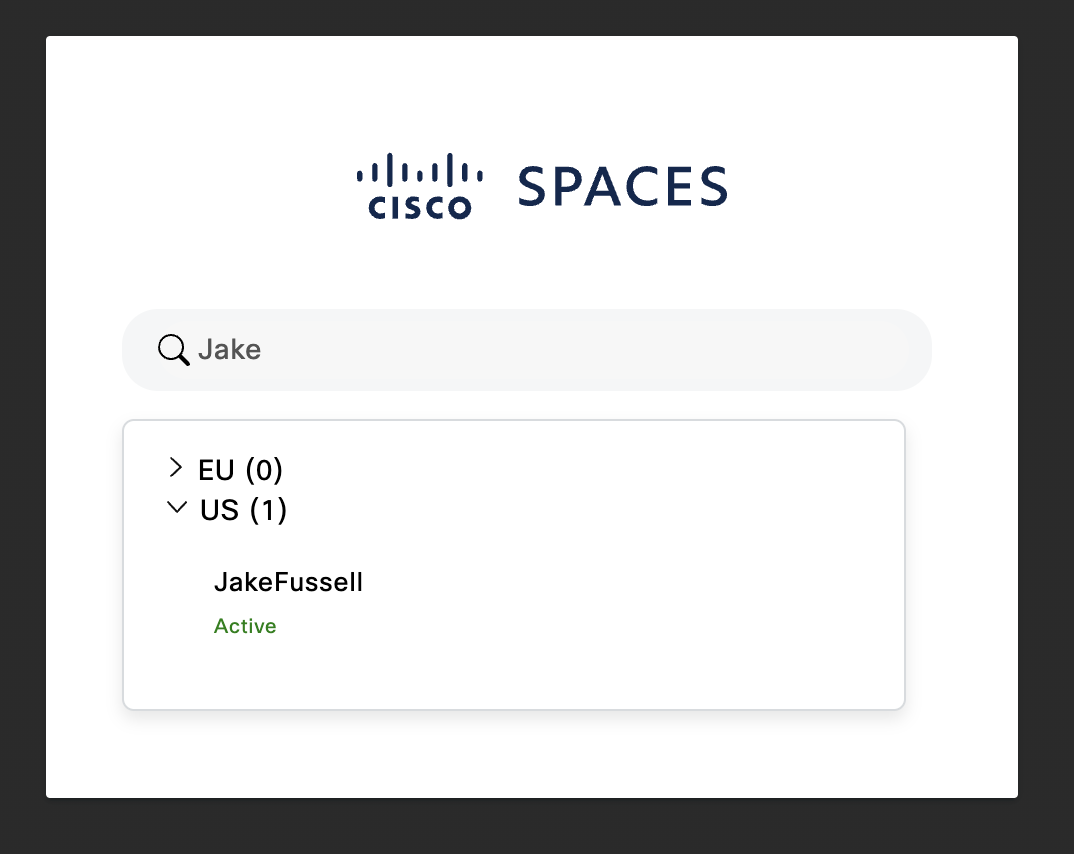
Type or Choose your respective Cisco Spaces Account that you would like to connect your Meraki Organization to from the options listed
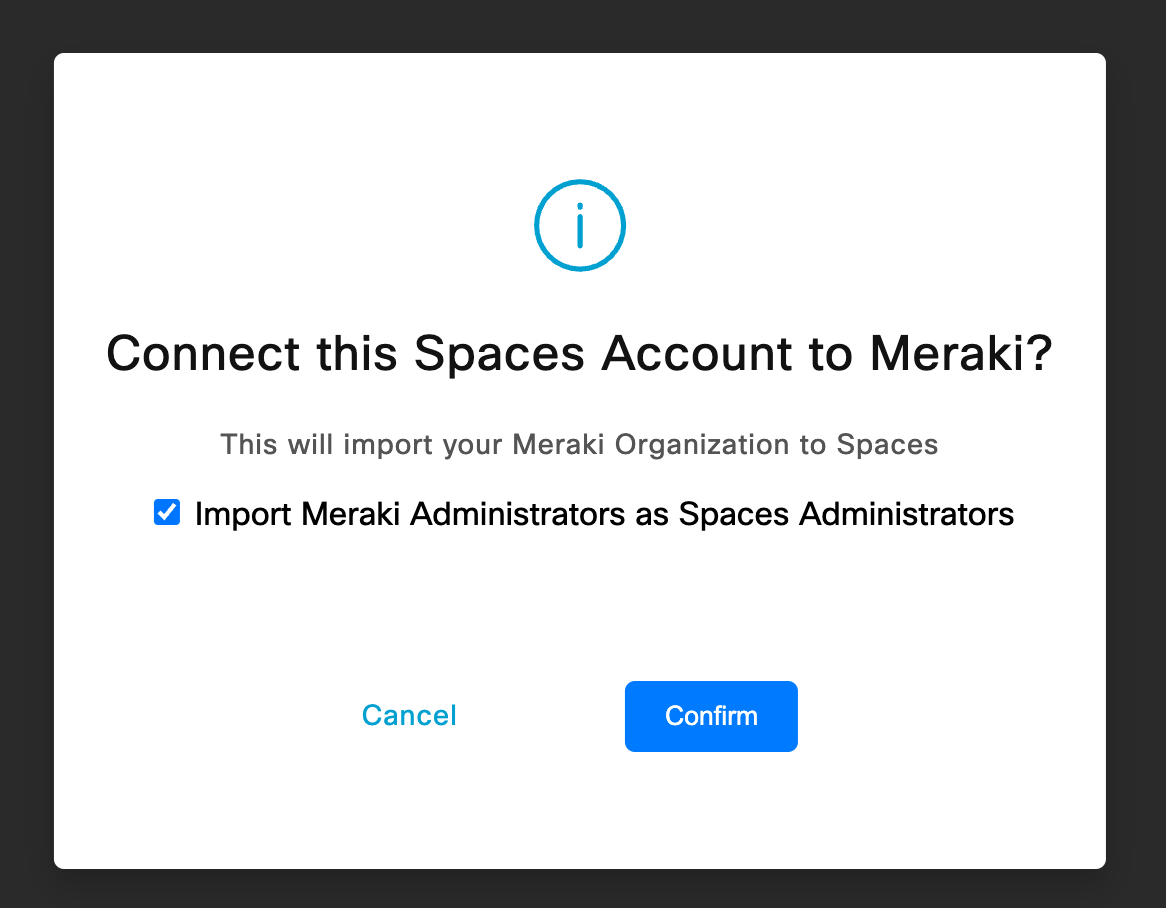
Once you have selected your Spaces account you will be asked for permission to connect your Cisco Spaces account to your Meraki Organization.
Check the box to “Import Meraki Administrators as Spaces Administrators” and Click Confirm.
The Spaces Account is now linked to your Meraki Organization.
Note:
*Note: After the integration is complete it may take up to 24 hours for applications in Cisco Spaces to start populating analytics data
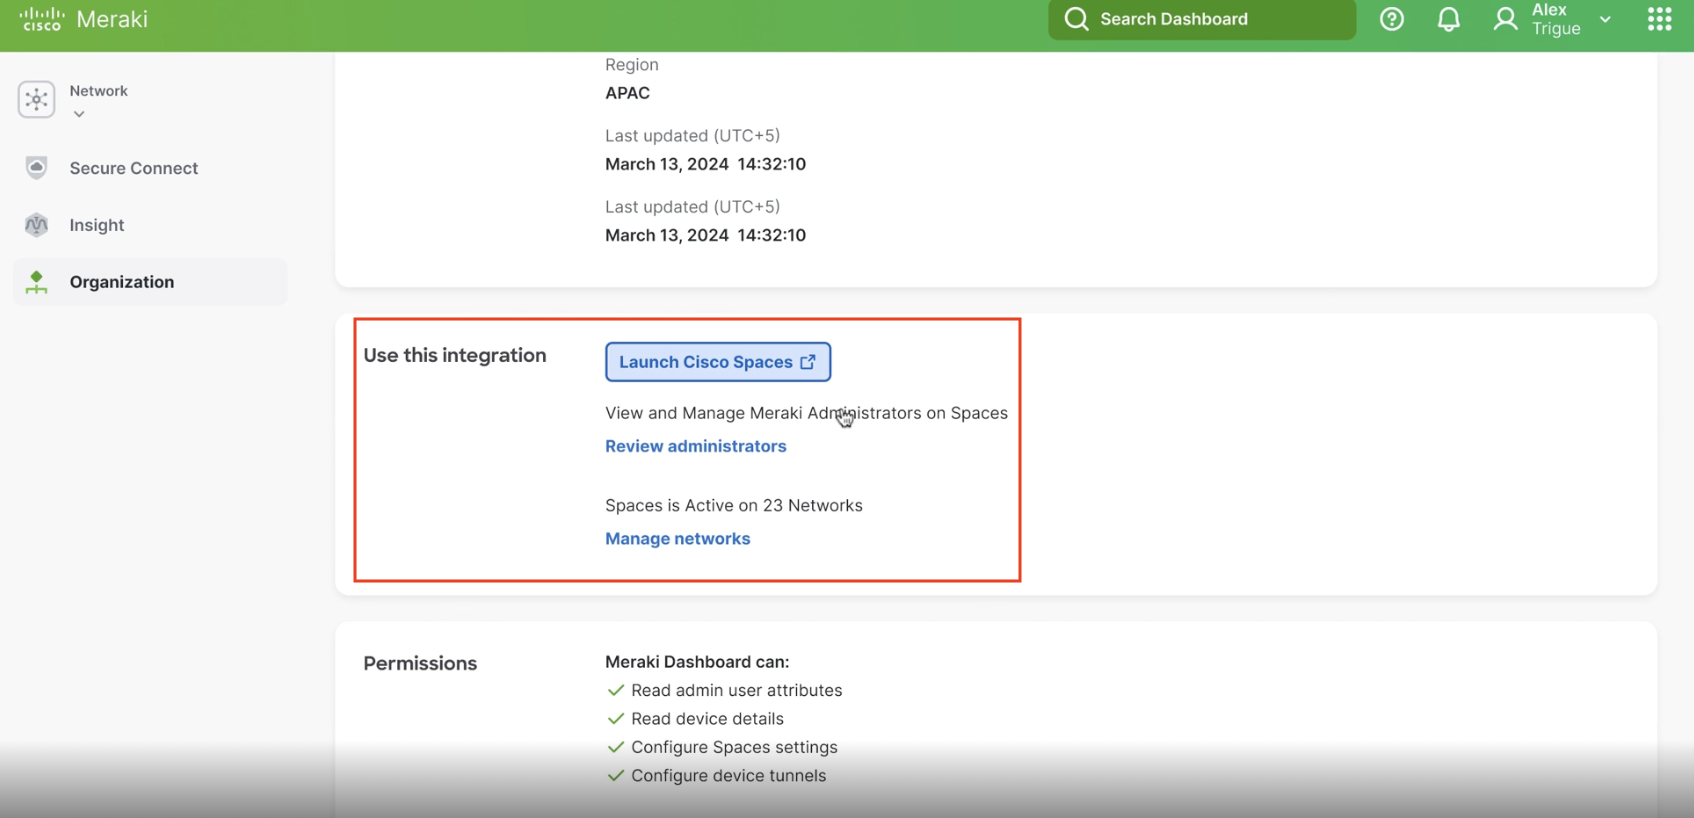
You can now launch the Cisco Spaces dashboard from the integration’s details page, review admins and manage networks.
Removing the integration
If you need to remove the integration, in Meraki dashboard, Navigate to Organization > Integrations under the My integrations tab and select the Cisco Spaces integration.

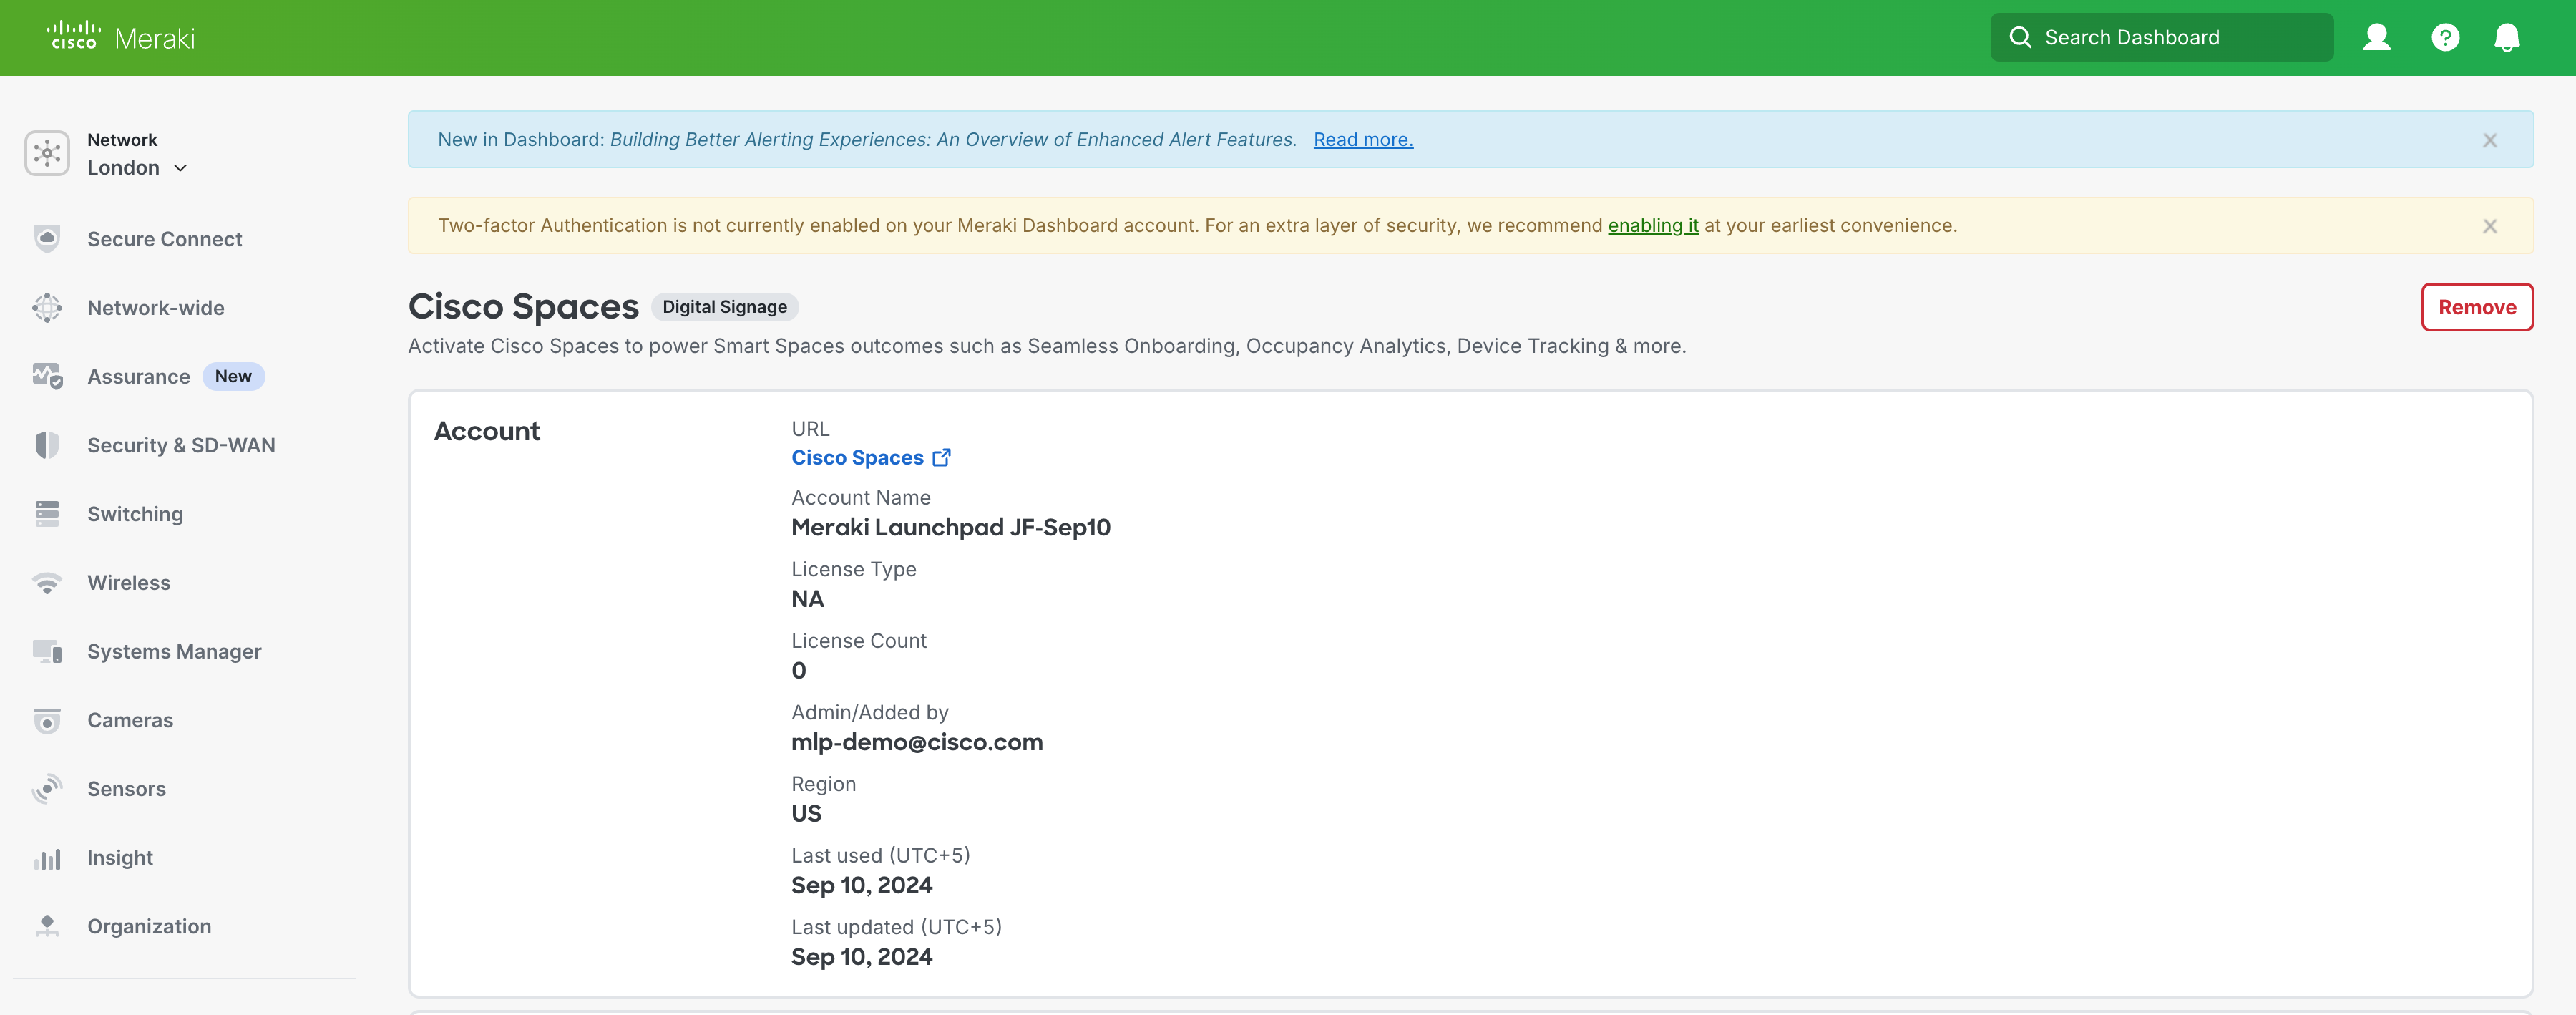
From the integration details page select Remove in the top right corner.
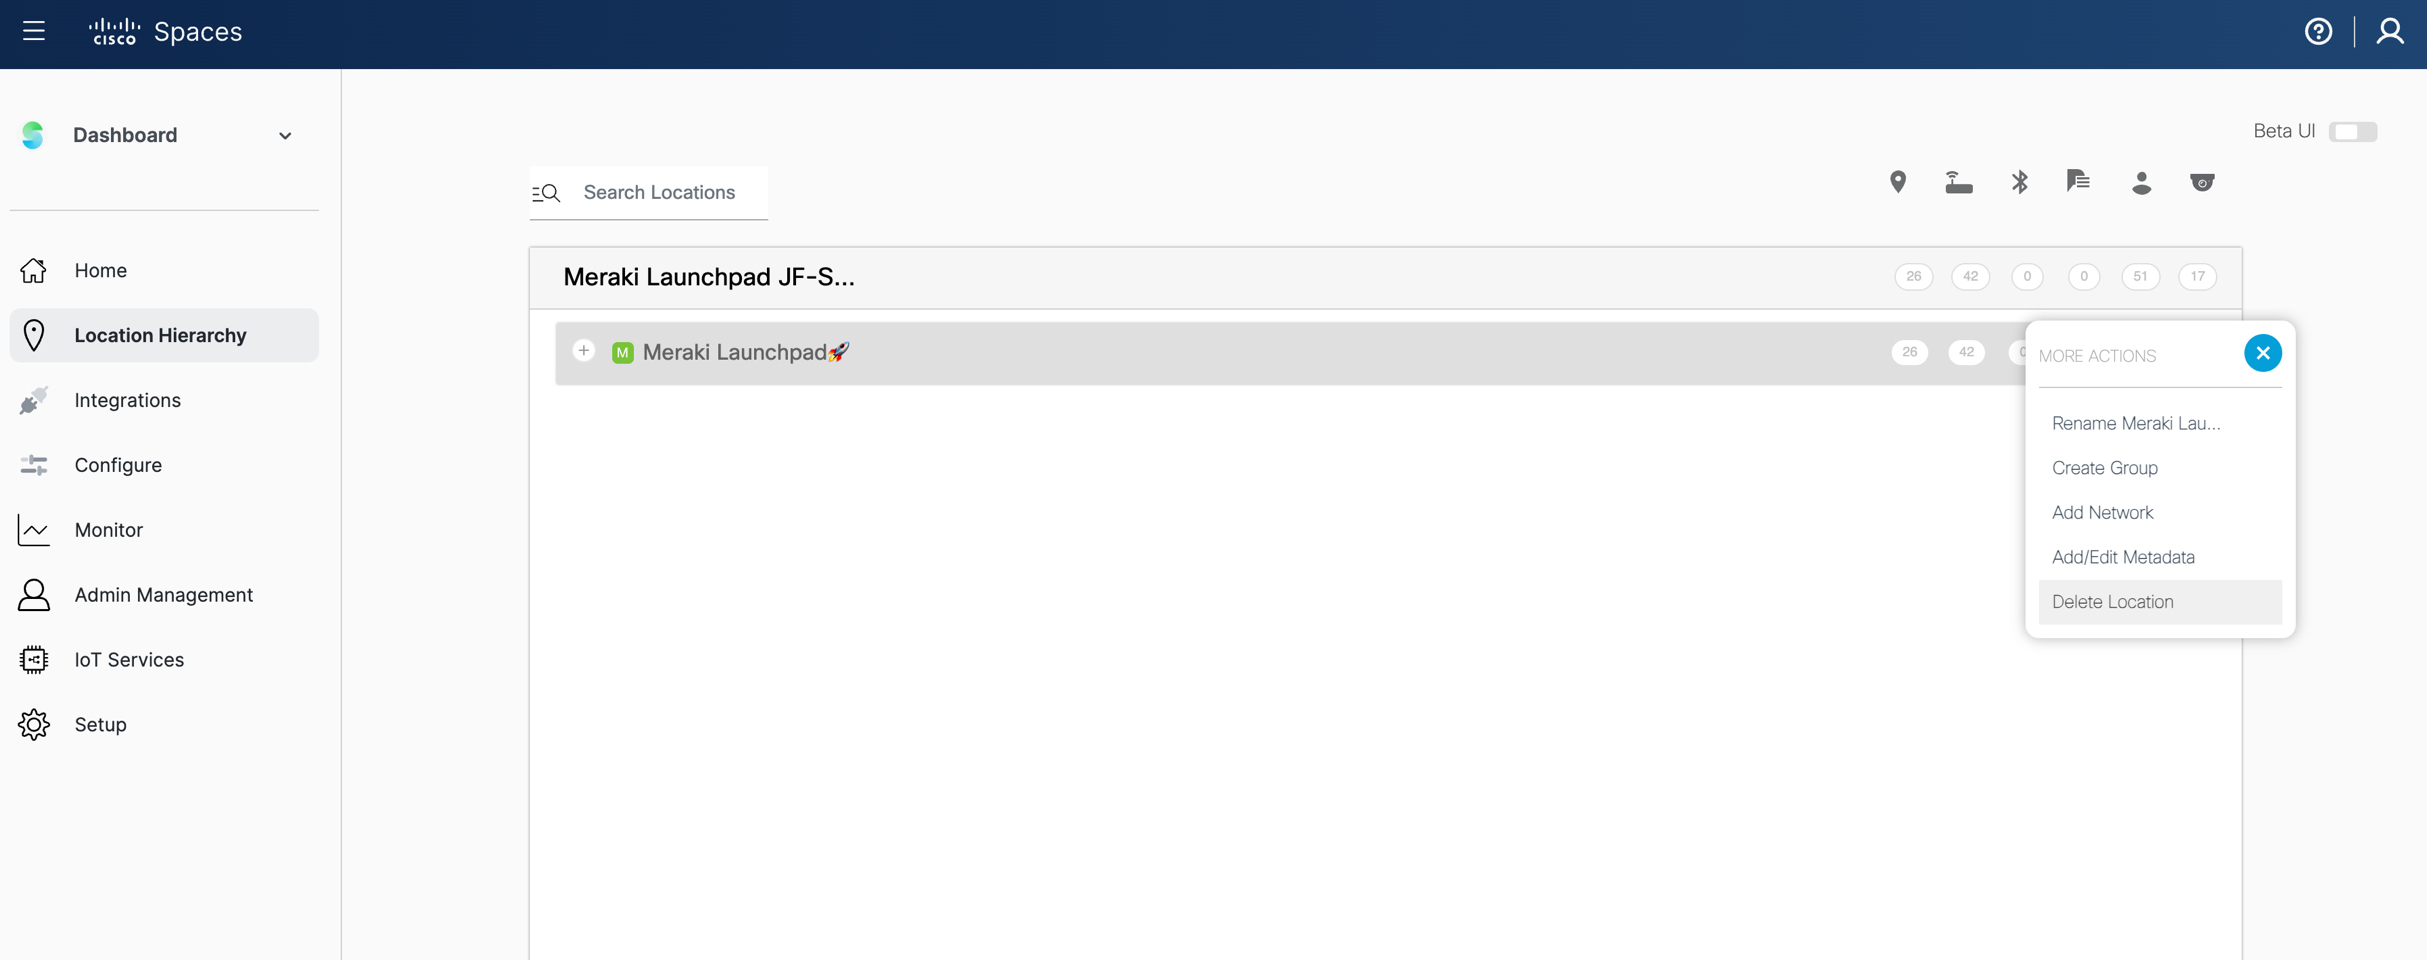
– Optional: To remove any Meraki networks from the Cisco Spaces account navigate to Location Hierarchy in the Cisco Spaces account, click the 3 dots to the right of the hierarchy and select Delete Location.
Cisco Spaces Analytics applications will start working after the Meraki Org is fully sync’d with the Spaces account, this could take up to 24 hours for everything to fully sync after the integration is completed.
Use these Cisco Spaces Analytics applications: