Migrate Spaces Connector 2.x to Connector 3 Click here >>
Healthcare
Track IV pumps, wheelchairs, infusion pumps, crash carts, and surgical equipment in real time across floors and buildings. Clinical staff spend less time searching and more time with patients — reducing equipment loss, improving utilization, and supporting compliance with asset audit requirements.
Manufacturing
Maintain real-time visibility of tools, machinery, pallets, and high-value equipment across large facilities and warehouses. Reduce downtime caused by missing assets, improve maintenance scheduling, and keep production lines moving with accurate location data at every stage of the workflow.
Workplace & Corporate Campus
Keep tabs on IT hardware, AV equipment, shared devices, and office assets across multi-floor or multi-building campuses. IT and facilities teams gain a single view of asset location, status, and movement — making audits, procurement decisions, and equipment recovery significantly faster.
Hospitality
Track housekeeping carts, linen trolleys, event equipment, and back-of-house assets across large hotel and resort properties. Operations teams can locate and redeploy assets faster, reduce losses, and improve service delivery without adding staff.
Retail & Logistics
Track inventory carts, trolleys, and distribution assets across warehouses and store floors. Reduce shrinkage, improve stock visibility, and streamline back-of-store operations with precise, real-time location data tied to your existing Cisco infrastructure.
Confirm these platform prerequisites before configuring Asset Tracker. Complete the required Cisco Spaces setup before an administrator starts using the Asset Tracker dashboard app.
| Item | Configuration guidance |
|---|---|
| Digital maps and location hierarchy | Digital maps must be set up for every location where Asset Tracker is required. APs must be placed on the map using AP Auto Locate or by completing Network Map Calibration. Complete the location hierarchy by integrating with Cisco Spaces. |
| IoT Services and UWB location | Activate IoT Services for all Asset Tracker locations. Where applicable, activate UWB for the locations where UWB is expected to be functional. |
| Spaces licensing | The Asset Tracker Dashboard application requires Smart Ops or higher licensing. Cisco Asset Tags and the Asset Tracker mobile app require Spaces Premier licensing. |
| Validated runbooks | Use Cisco Spaces validated runbooks at https://runbooks.ciscospaces.io/docs/cisco-spaces-runbooks-cisco-validated for additional deployment guidance. |
Open Asset Tracker from Cisco Spaces. In a first-time account, the app can start with no categories or assets. Begin by creating the first asset category, then add assets, configure roles, and invite users.
| Item | Configuration guidance |
|---|---|
| Search | Operational lookup for assets using keyword search, filters, list view, and map view. |
| Asset Categories | Admin setup area for category definitions, asset onboarding, category history, rules, and category-scoped roles. |
| User Management | Access-control area for role setup and user invitations. |
| Reports | Tag reporting dashboard with location selection, charts, asset table, and CSV export. |
Asset categories define how assets are grouped, displayed, governed, and accessed. Create categories before importing production assets so each record lands in the right taxonomy and can inherit the right department, map identity, and access model.
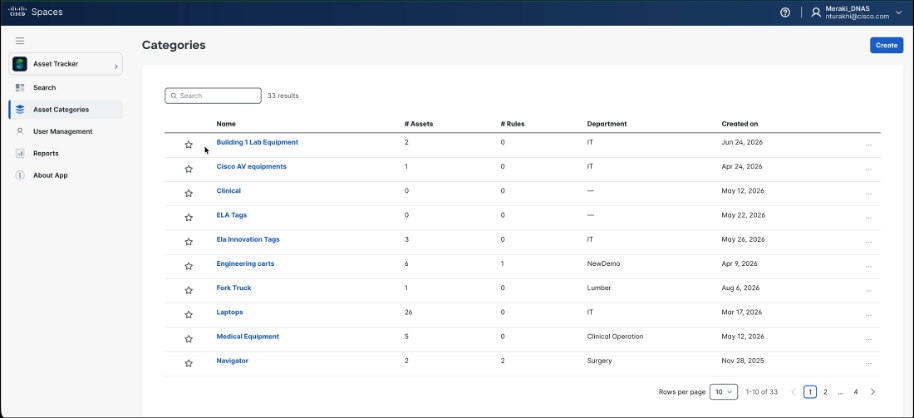
Asset Categories list with favorites, result count, asset count, rules count, department, and created date.
Create a Category
| Item | Configuration guidance |
|---|---|
| Individually tracked assets | Use when each physical item has unique identity or meaningful per-item history, such as laptops, serial-numbered devices, or equipment that should be inspected individually. |
| Group-tracked assets | Use when items are interchangeable and primarily valuable as a collection, such as chairs, wheelchairs, whiteboards, or bins where one item is not meaningfully different from another. |
| Department | Used for ownership and access context. Administrators can create a department once, then reuse it in later categories. |
| Visual identity | Use category color and icon to control how this asset family appears on maps and in app views. |
| Recommended default | The app recommends selecting individually tracked assets if the admin is unsure. |
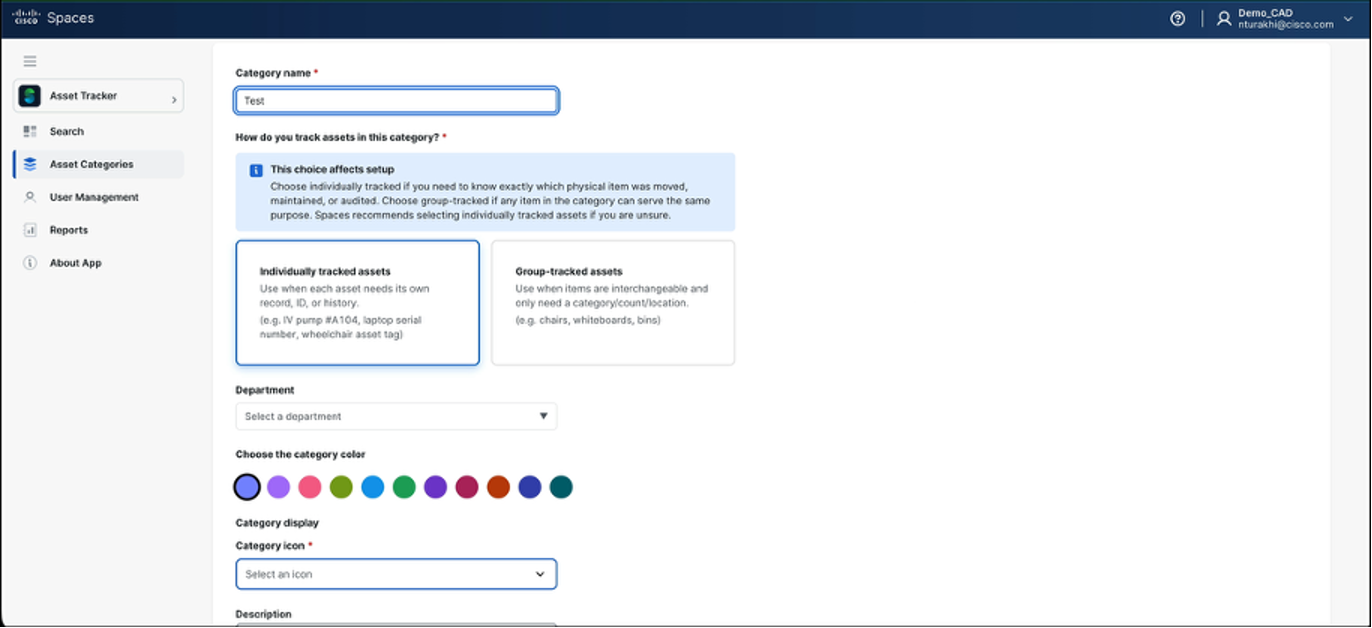
New category setup with tracking model, department, color, icon, and description.
After a category is created, open the category detail page. The category page includes Assets, History, Rules, and Roles tabs. Use Assets for onboarding and maintenance, then use the other tabs to review history and category-scoped controls.
| Item | Configuration guidance |
|---|---|
| Assets tab | Add assets, upload bulk assets, export CSV, associate tags, assign labels, and review operational columns. |
| History tab | Review historical category-level location information with a selectable time window and floor heatmap. |
| Rules tab | Category-specific rules surface for configuring rule-based behavior. |
| Roles tab | Category-scoped role surface for controlling access to category data and actions. |
Bulk Import with CSV
Bulk upload is the preferred path for many deployments because it lets administrators add multiple asset rows and carry richer metadata in one import. Add additional rows and columns beyond the base template when the deployment requires organization-specific asset context.
| Item | Configuration guidance |
|---|---|
| Required fields | AssetId and DeviceId/tag MAC address are required in the template shown. The upload dialog also calls out Asset ID, Tag MAC Address, and Labels columns. |
| WiFi Client flag | Set WifiClient to yes when the DeviceId is a Wi-Fi client; otherwise set it to no. |
| Optional columns | Use AssetName, Label, SerialNumber, Manufacturer, and metadata columns when those attributes are available. |
| Metadata | Additional metadata columns can capture context such as subcategory, secondary department, contact, description, or any organization-specific field the admin wants to keep with the asset. |
| Tag association validation | After import, verify that each imported tag identifier is visible to Cisco Spaces and resolves as expected in the category asset table. |
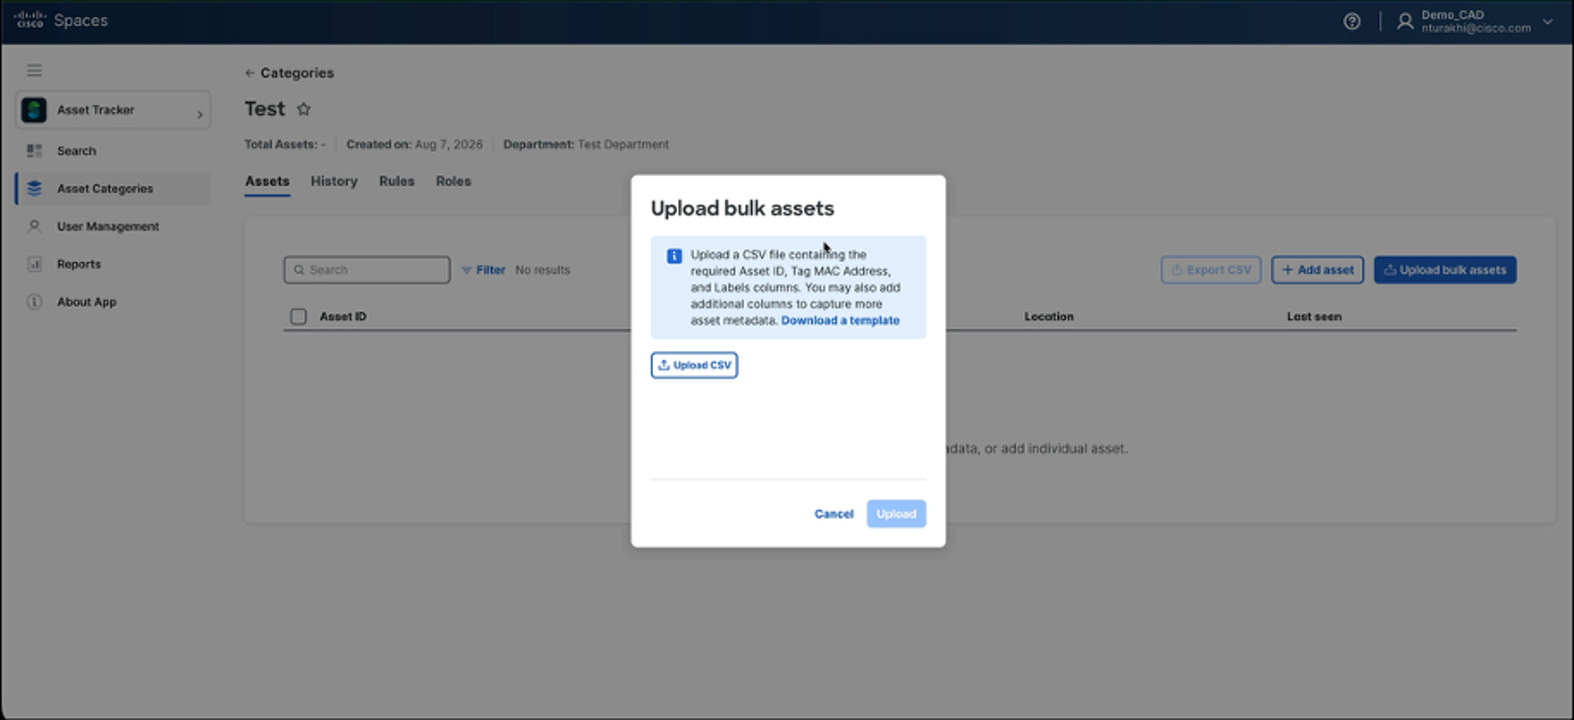
Upload bulk assets dialog and template download link.
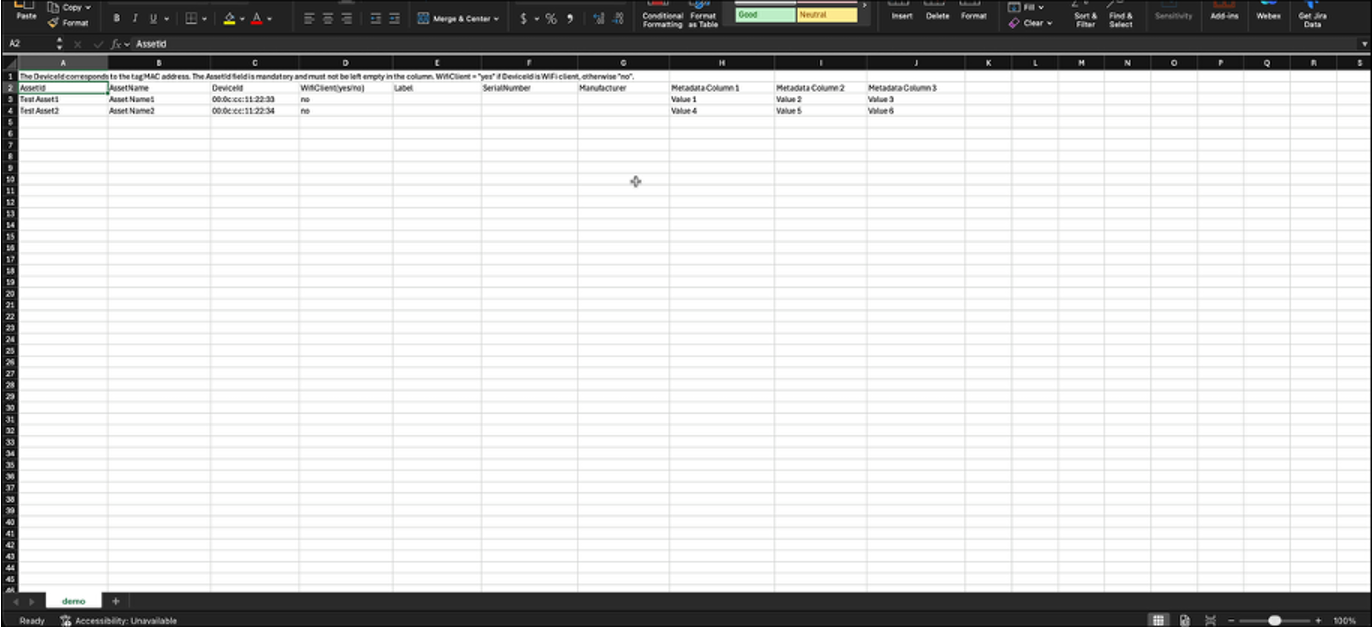
CSV template with AssetId, AssetName, DeviceId, WifiClient, Label, SerialNumber, Manufacturer, and metadata columns.
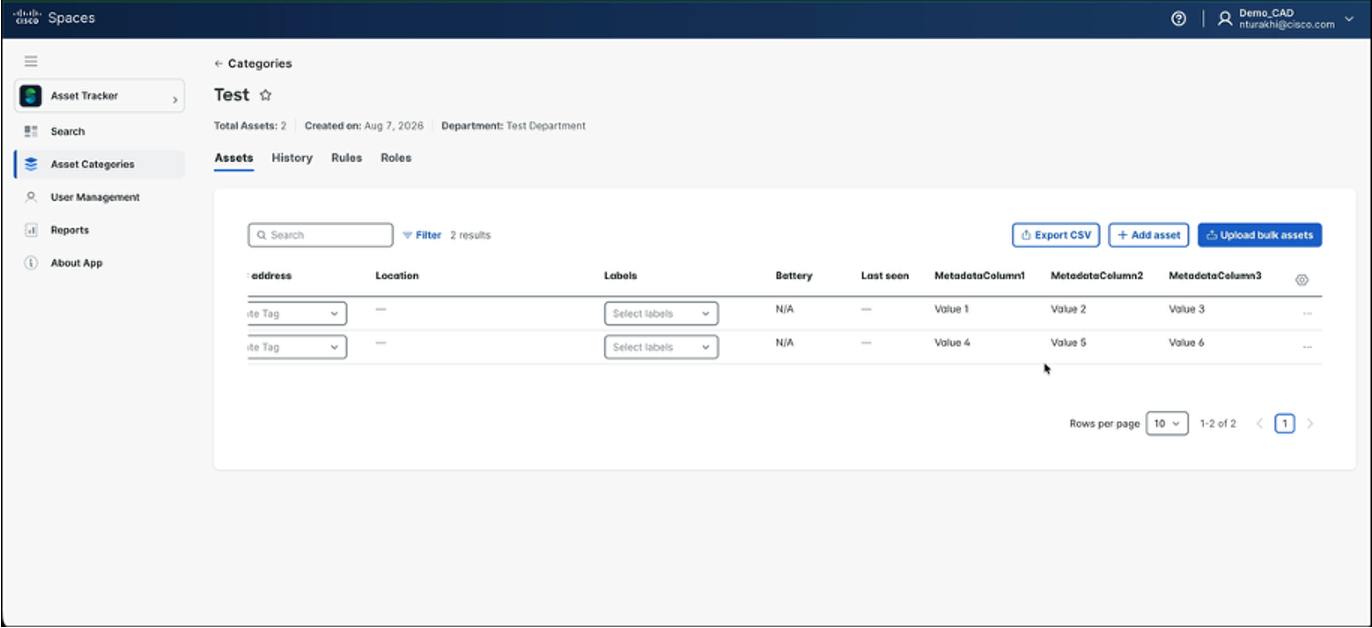
Imported assets appear in the category table with association, label, battery, last-seen, and metadata fields.
Asset Table Actions
Configure access after categories exist so roles can be scoped to the right locations and categories. Asset Tracker supports direct SSO integration for enterprise identity systems such as Microsoft Entra ID.
| Item | Configuration Guidance |
|---|---|
| Location-based access | Use the Cisco Spaces location hierarchy so users only see the campuses, buildings, floors, or zones they support. |
| Category-based access | Use category scoping when teams should only manage specific asset families such as laptops, medical equipment, or carts. |
| Enterprise identity | Use SSO integration where available so enterprise users can authenticate with the customer’s identity provider. |
| Permission model | Separate read-only operational users from users who can create, import, edit, or remove records. |
Use Search after onboarding to confirm assets are discoverable and location-aware. The Search page supports typed search, quick searches, filters, list view, map view, favorites, and saved filters.
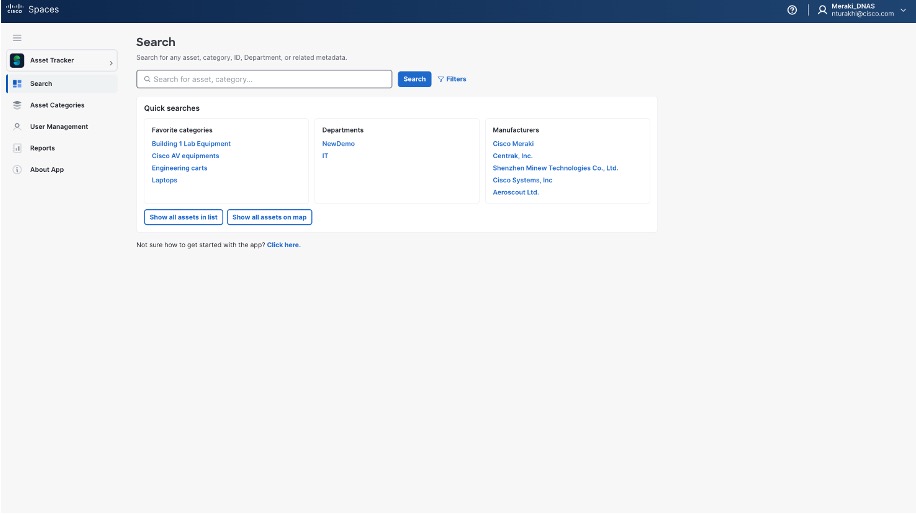
Asset Tracker daily-use workflows: search, favorites and saved filters, historical data, and reports.
| Item | Configuration guidance |
|---|---|
| Search scope | Search by asset name, category name, serial number, metadata, or any information present in the Asset Tracker database. |
| Quick searches | Use quick searches, such as manufacturer-based shortcuts where available, to jump into common asset sets. |
| List view | Review all visible assets in a table with asset details, tag information, category, location, battery, last seen, organization, and metadata columns. |
| Map view | Switch to the map to inspect locations globally or within a selected building, floor, department, or filtered location context. |
| Filters | Use filters and saved filters for repeated searches, such as assets by category, department, label, location, manufacturer, or operational state. |
| Access-aware results | Search and map results reflect what the current user has permission to see based on the configured roles and scopes. |
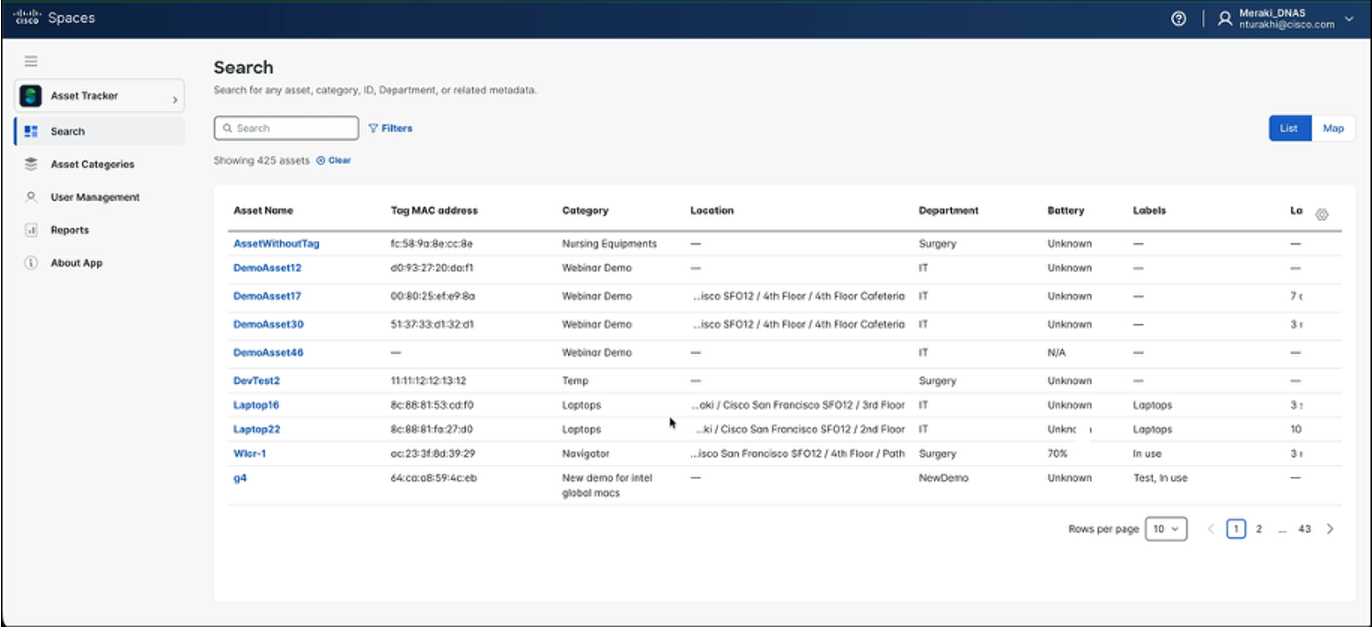
Search list view showing asset records across categories and locations.
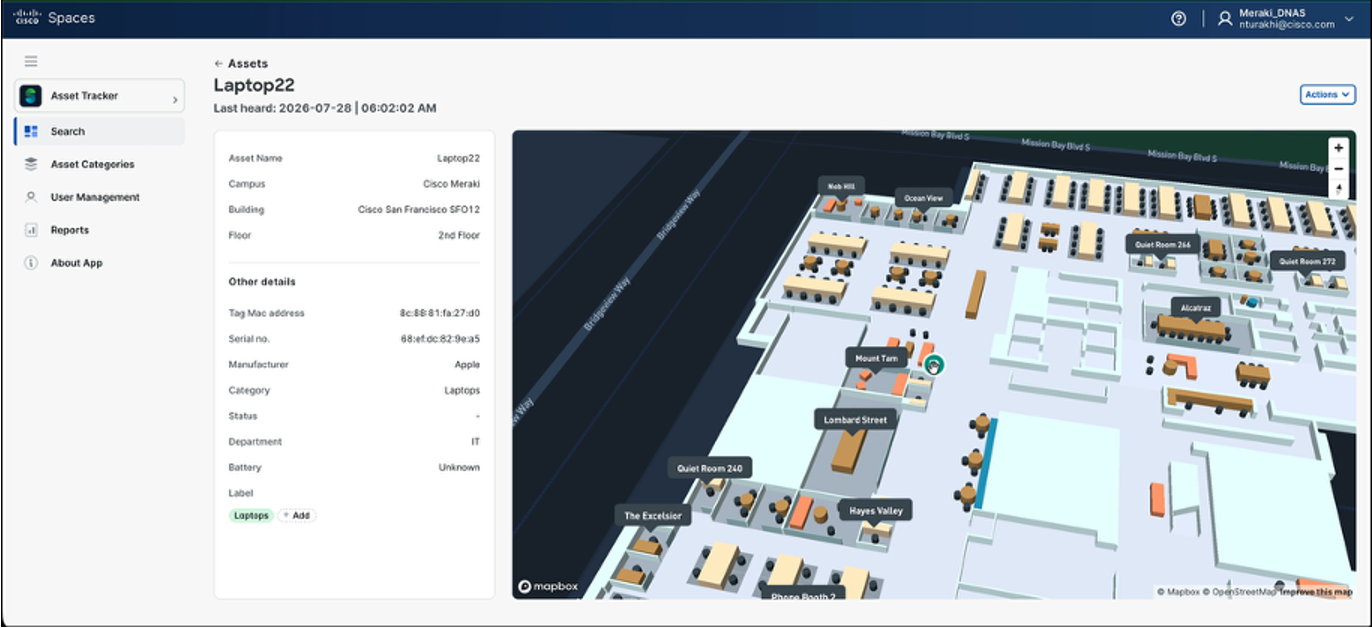
Asset detail page with metadata, labels, last-heard timestamp, and floor map context.
Favorites and Saved Filters
Use the History tab on a category to review historical location data for all assets that belong to that category. The history view includes a time-window dropdown, location hierarchy, floor selection, asset count, data-point count, and a heatmap over the floor plan.
Interpret the heatmap as a summary of where assets in the selected category spent time during the selected period.
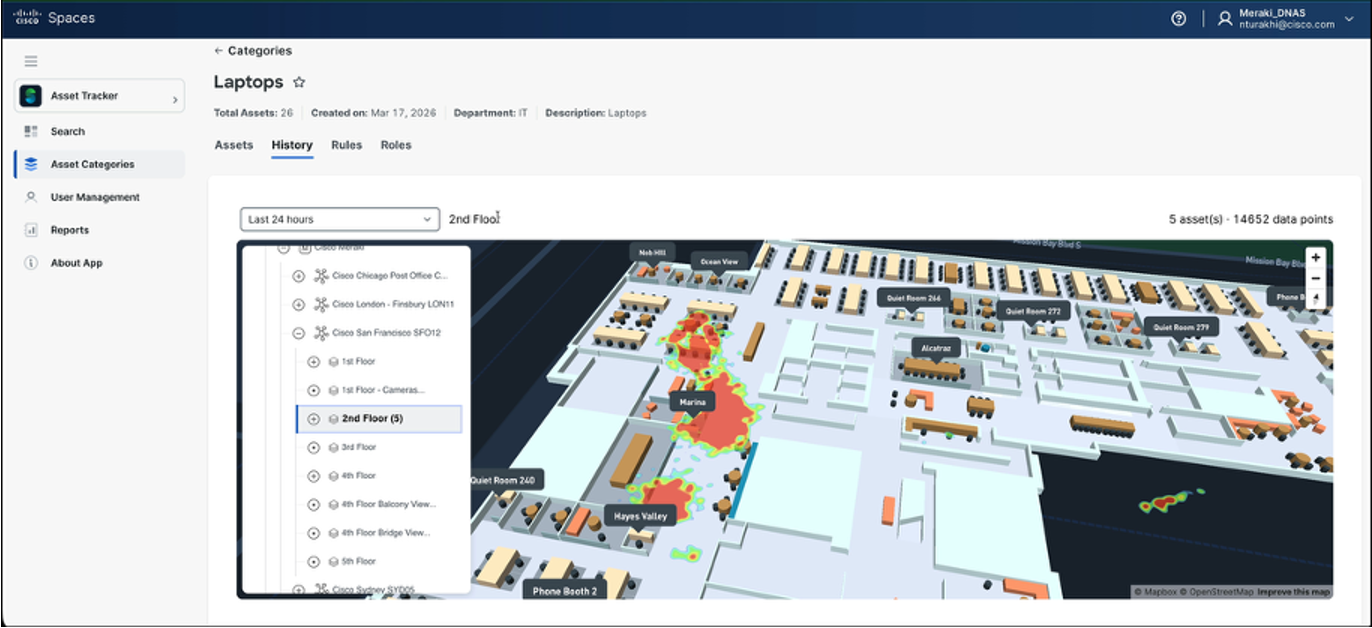
Category history heatmap for a selected floor and time window.
Use the Tag Report dashboard for cross-category tag visibility and exportable reporting by location.
| Item | Configuration guidance |
|---|---|
| Location selector | Select the campus, building, or hierarchy branch that should drive the report. |
| Charts | Review tags by asset category, tags by model, and the floors or locations where those tags are present. |
| Report table | Use the searchable table to inspect asset name, tag MAC address, location, tag model, asset category, labels, battery, last seen, serial number, manufacturer, and organization. |
| Export | Use Export CSV to download the report data for offline analysis, inventory review, battery checks, or sharing. |
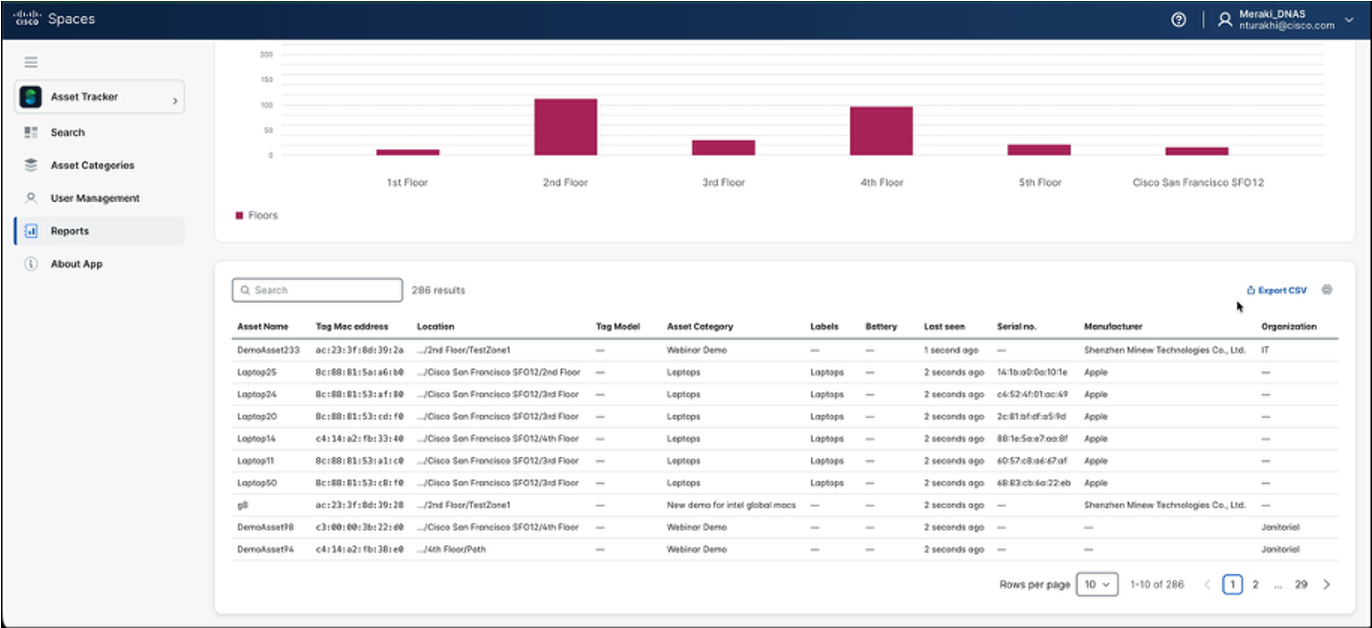
Tag Report with charts, report table, and CSV export.
| Item | Configuration Checklist |
|---|---|
| Maps ready | Digital maps, AP placement, and location hierarchy are complete for every tracked location. If AP Auto Locate is not used, complete Network Map Calibration before using Asset Tracker at that location. |
| Services active | IoT Services are active, and UWB is enabled where Wi-Fi 7 APs and supported tags are used. |
| Licensing validated | Dashboard, mobile app, Cisco Asset Tags, and related workflows are covered by the required Spaces license tier. |
| Categories defined | Each asset family has an approved category name, tracking model, department, visual identity, and description. |
| Assets imported | CSV files contain required identifiers, DeviceId/tag MAC address, WiFiClient values, labels, and useful metadata. |
| Tags associated | Assets without tag association are corrected from the category asset table. |
| RBAC complete | SSO is confirmed where applicable; roles are scoped by category, location, and permission level; users are invited or assigned into the correct role. |
| Validation complete | Search, quick searches, map view, favorites, saved filters, category history, and reports show the expected assets and locations. |
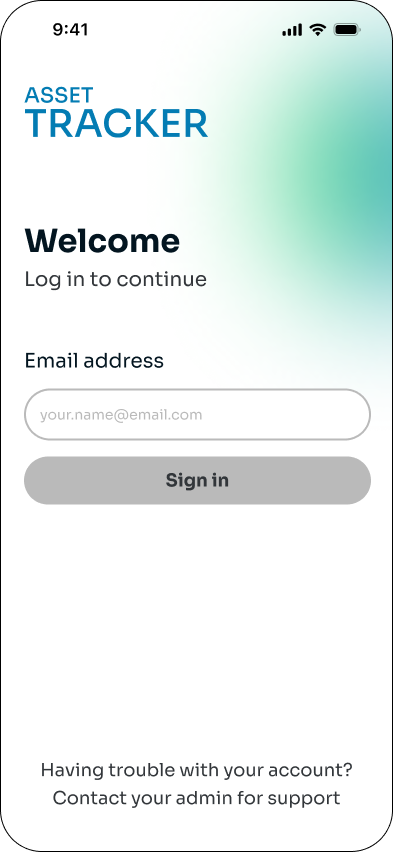
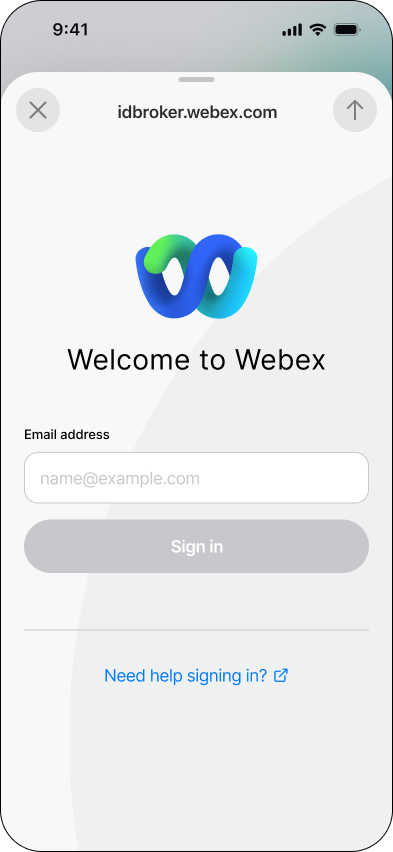
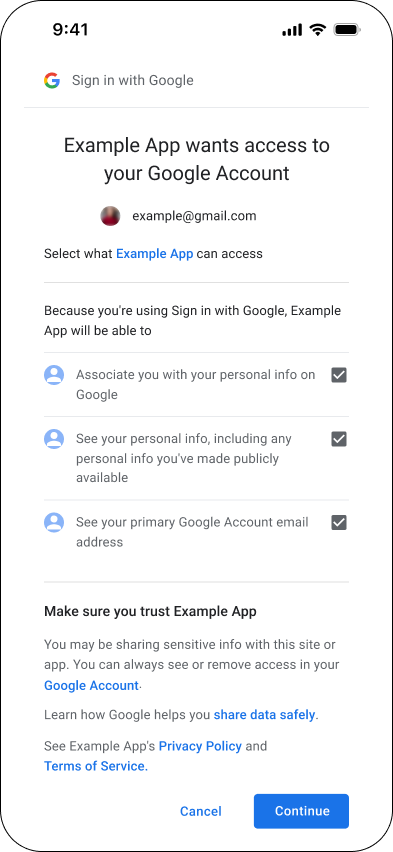
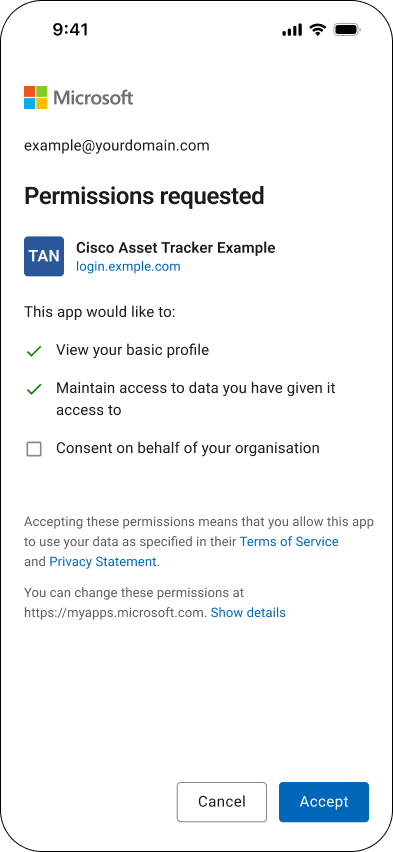
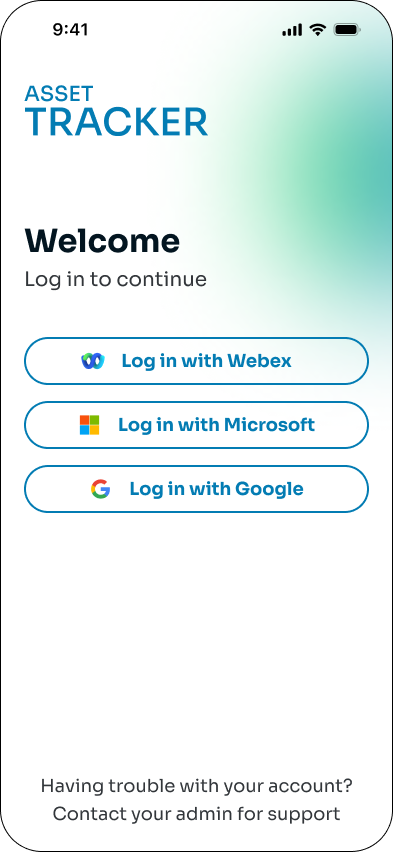
Login is the entry point to the Cisco Asset Tracker mobile application. It authenticates corporate users against their organization’s Identity Provider (Webex, Google, or Microsoft) before granting access to asset tracking capabilities.
Sign-in is email-based: the user enters only their corporate email, and authentication is fully delegated to the configured Identity Provider, leveraging the organization’s existing security policies such as SSO and MFA.
User access depends on configuration performed in the Asset Tracking Dashboard.
New accounts cannot be created from the mobile app – every user must be registered in advance by an ADMIN, who also assigns the Identity Provider for that user.
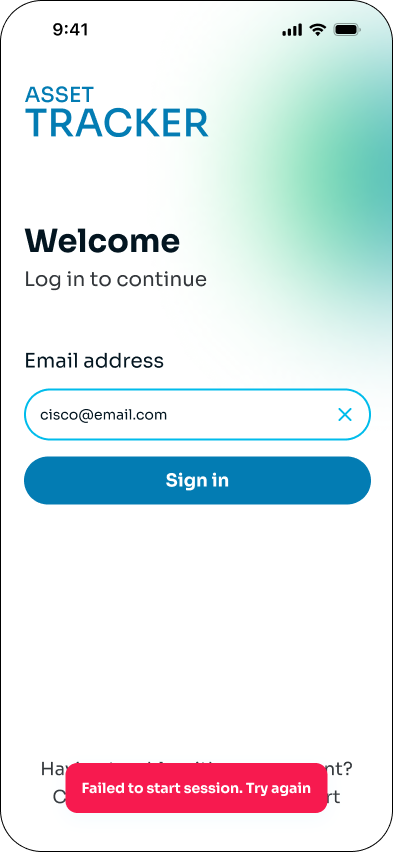
The user will see the Login screen with a single field to enter their corporate email address.
New accounts and users cannot be created from the mobile application.
Therefore, make sure the email being used has been registered by the account ADMIN through the Asset Tracking Dashboard.
Once a properly registered email is entered, the application will identify which Identity Provider the user relies on for authentication – Webex, Google, or Microsoft.
The Identity Provider is configured through the Asset Tracking Dashboard.
After completing the required authentication steps for the corresponding Identity Provider, the user is logged into the platform and will proceed to “Building Selection” – see the next section.
If the Identity Provider for the email being used has not yet been set by the ADMIN in the Asset Tracking Dashboard, the user will see a screen with the three Identity Provider options. After selecting one, the user will continue through the authentication flow as usual.
If the email being used has not been registered by the ADMIN, or if there is any intermittency between the application and the login system, the error “Failed to start session.” will be displayed and the user will need to try again.
Make sure the email is correct and has been registered in the Asset Tracking Dashboard by the Admin.
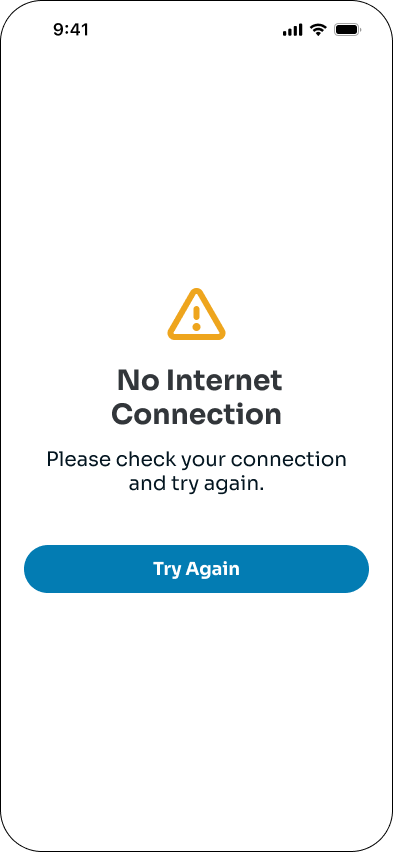
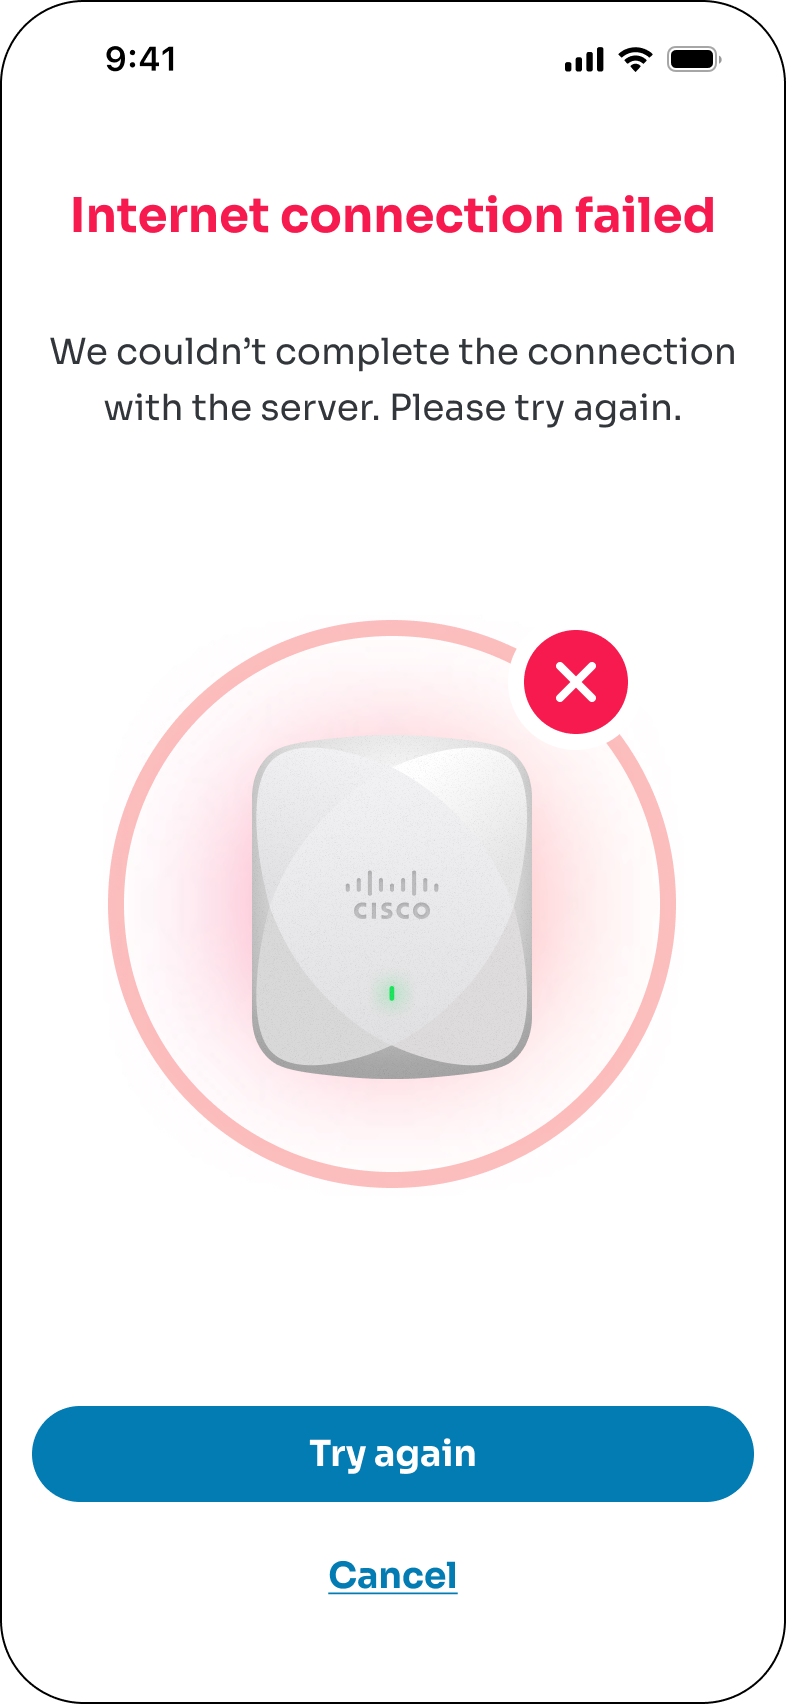
If there is any instability with the internet connection, the application will display this error and the user can try again once their connection is restored.
This feature provides users with seamless, location-aware access to their buildings the moment they log in.
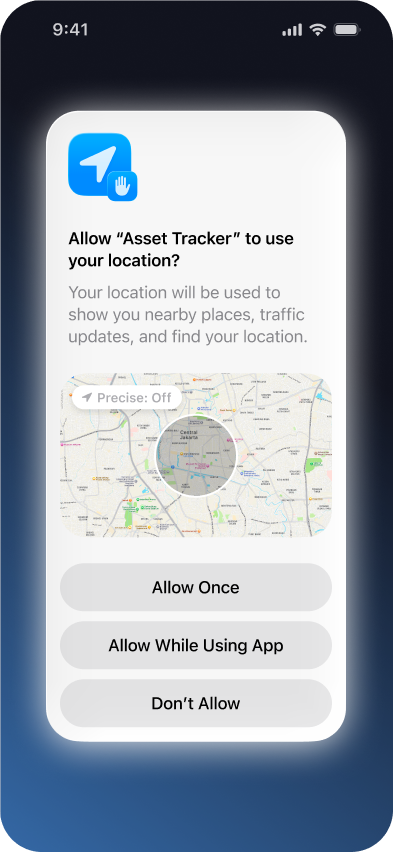
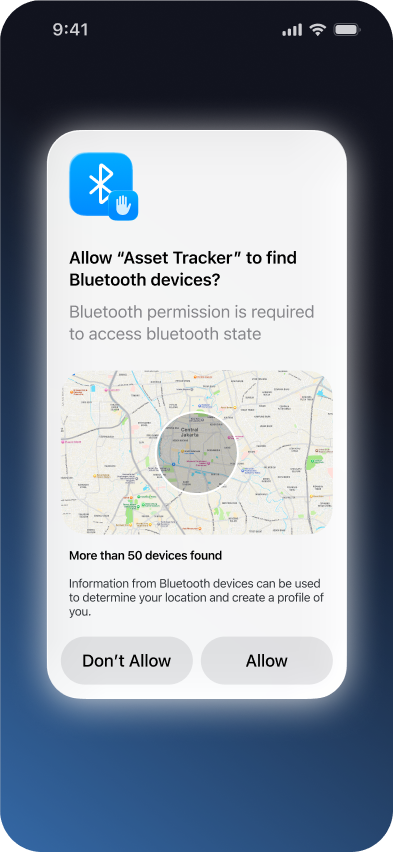
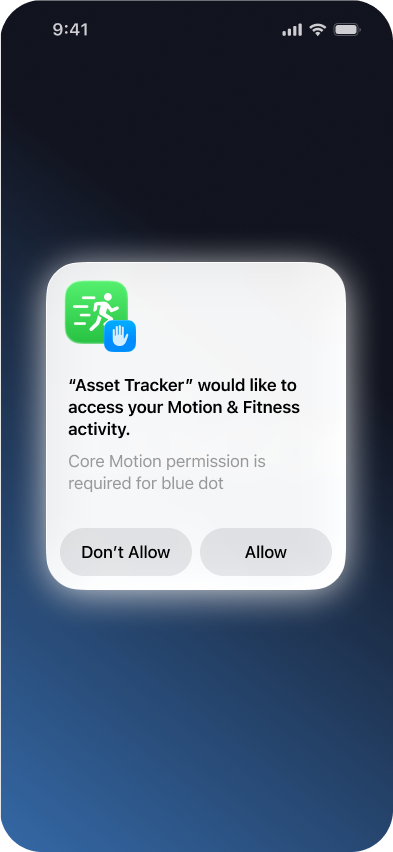
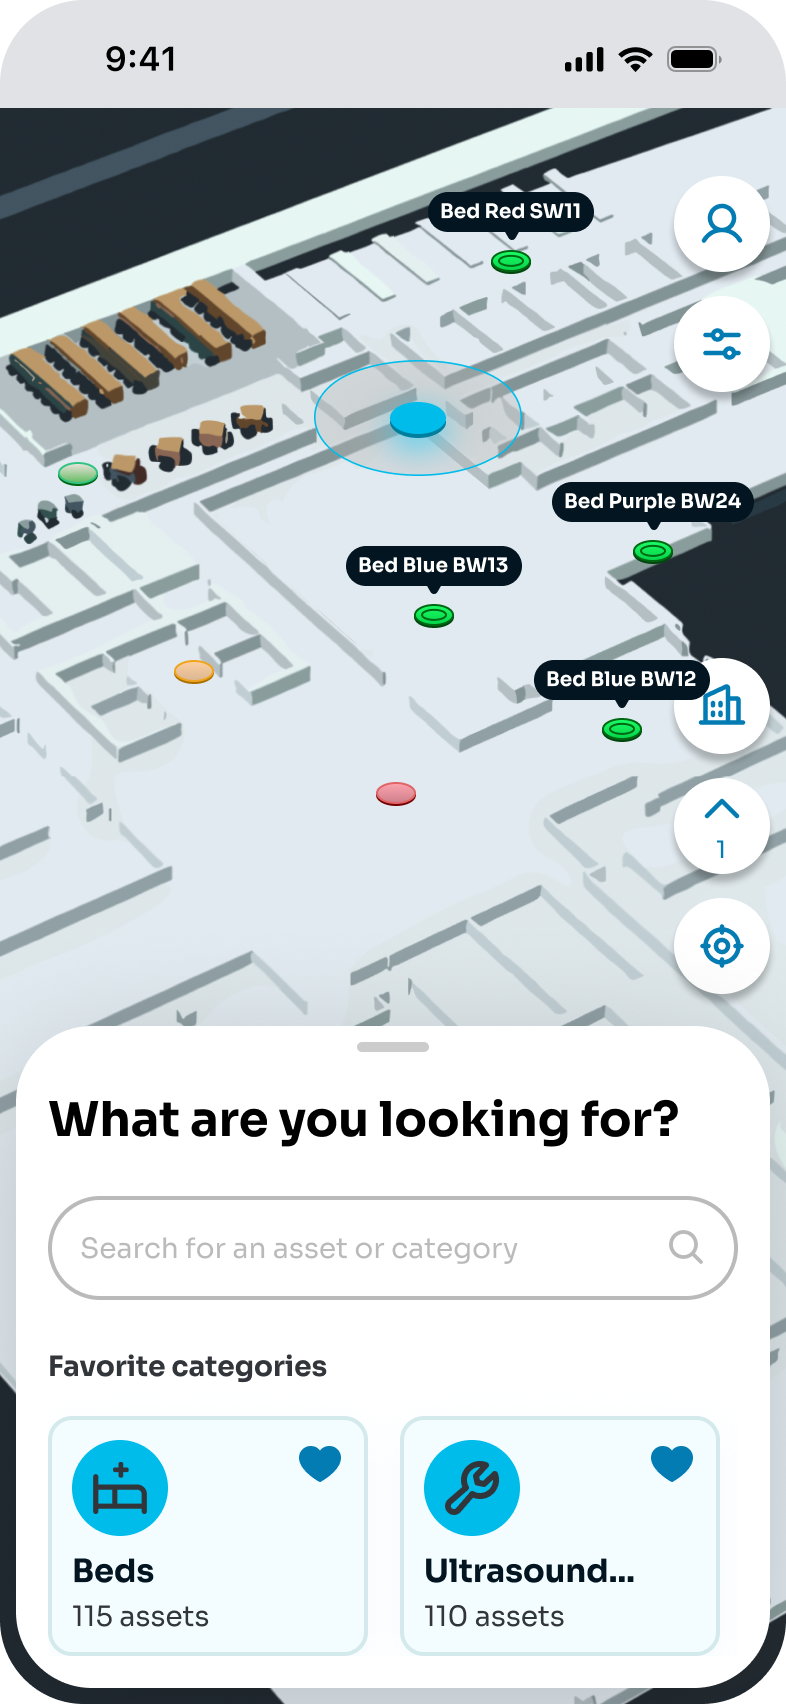
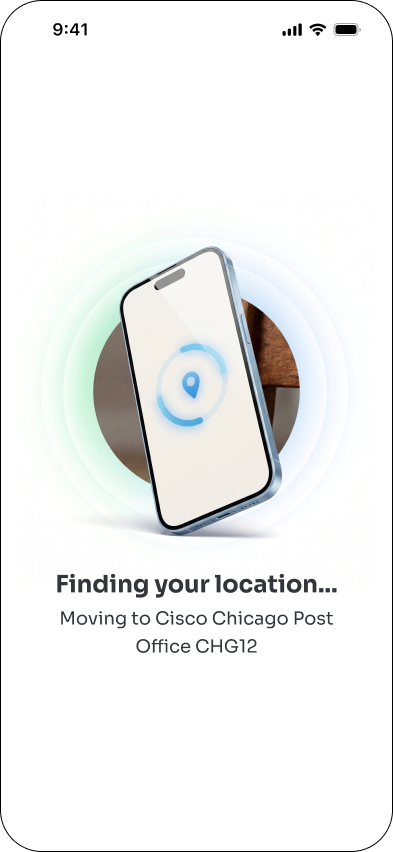
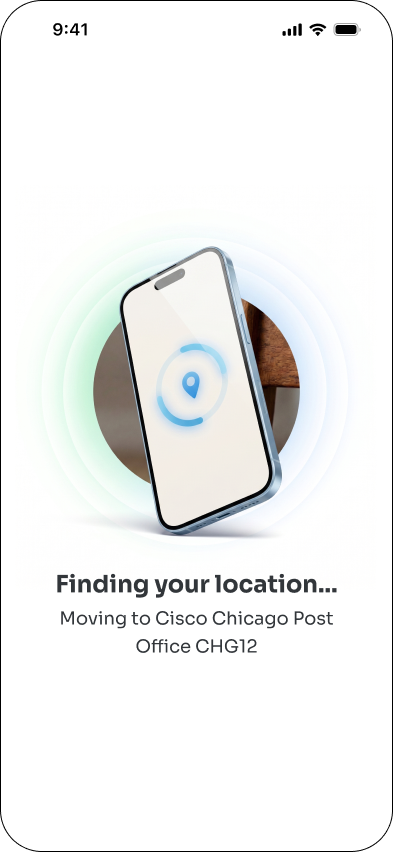
On first launch, the app requests the permissions needed for indoor positioning – Location (GPS), Bluetooth, and Motion & Fitness – and uses them to automatically detect the user’s current building and floor. If the user is in a building they have access to, the corresponding map loads instantly, showing exactly where they are.
After a successful login, if this is the user’s first access, the app will request permission to use his Location (GPS), Bluetooth, and Motion & Fitness.
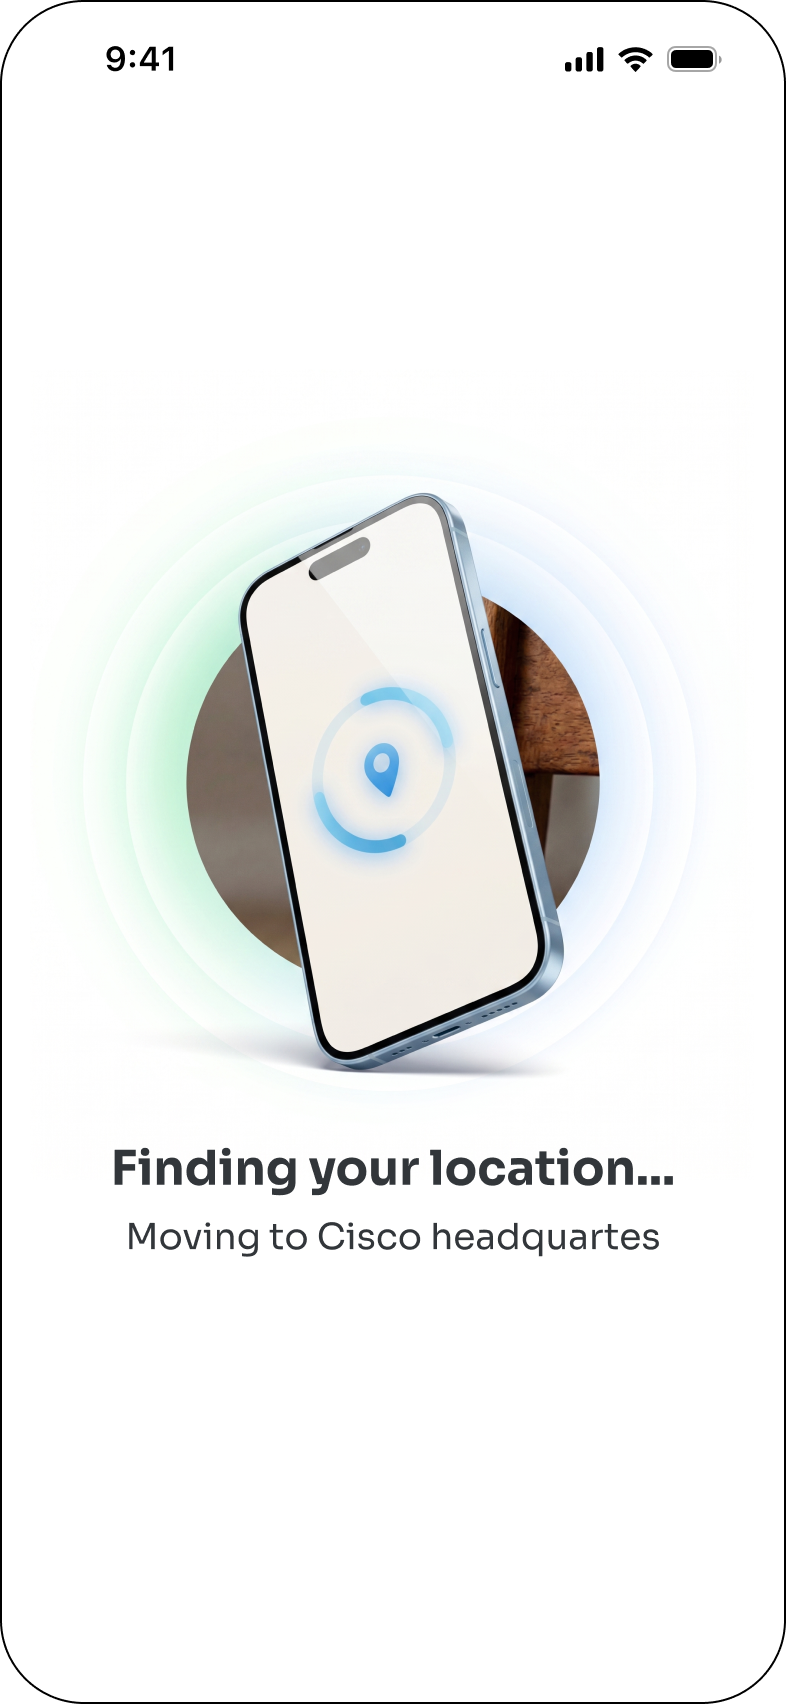
Once Bluetooth permission is granted, the app can detect the user’s current location.
If the user is in a building he has access to (access granted by the ADMIN through the Asset Tracking Dashboard),
the map of that building will be loaded.
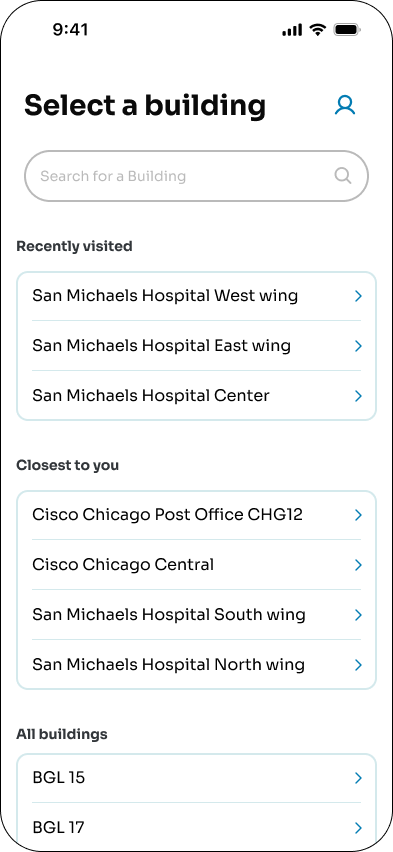
The user can also switch navigation to another building through the building floating button in the map menu.
When tapping this button, they will see a list of all buildings they have access to (defined by the ADMIN through the Asset Tracking Dashboard).
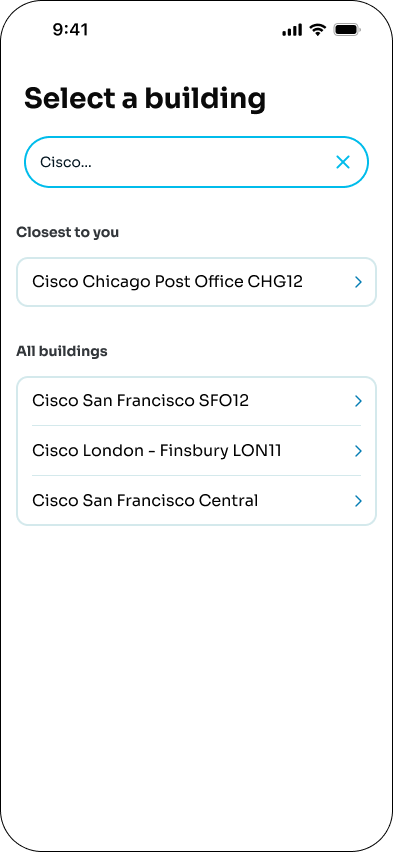
They can search for a specific building from this list.
Support Users can search by Tenant IDs – the buildings will be filter by the searched Tenant iD.
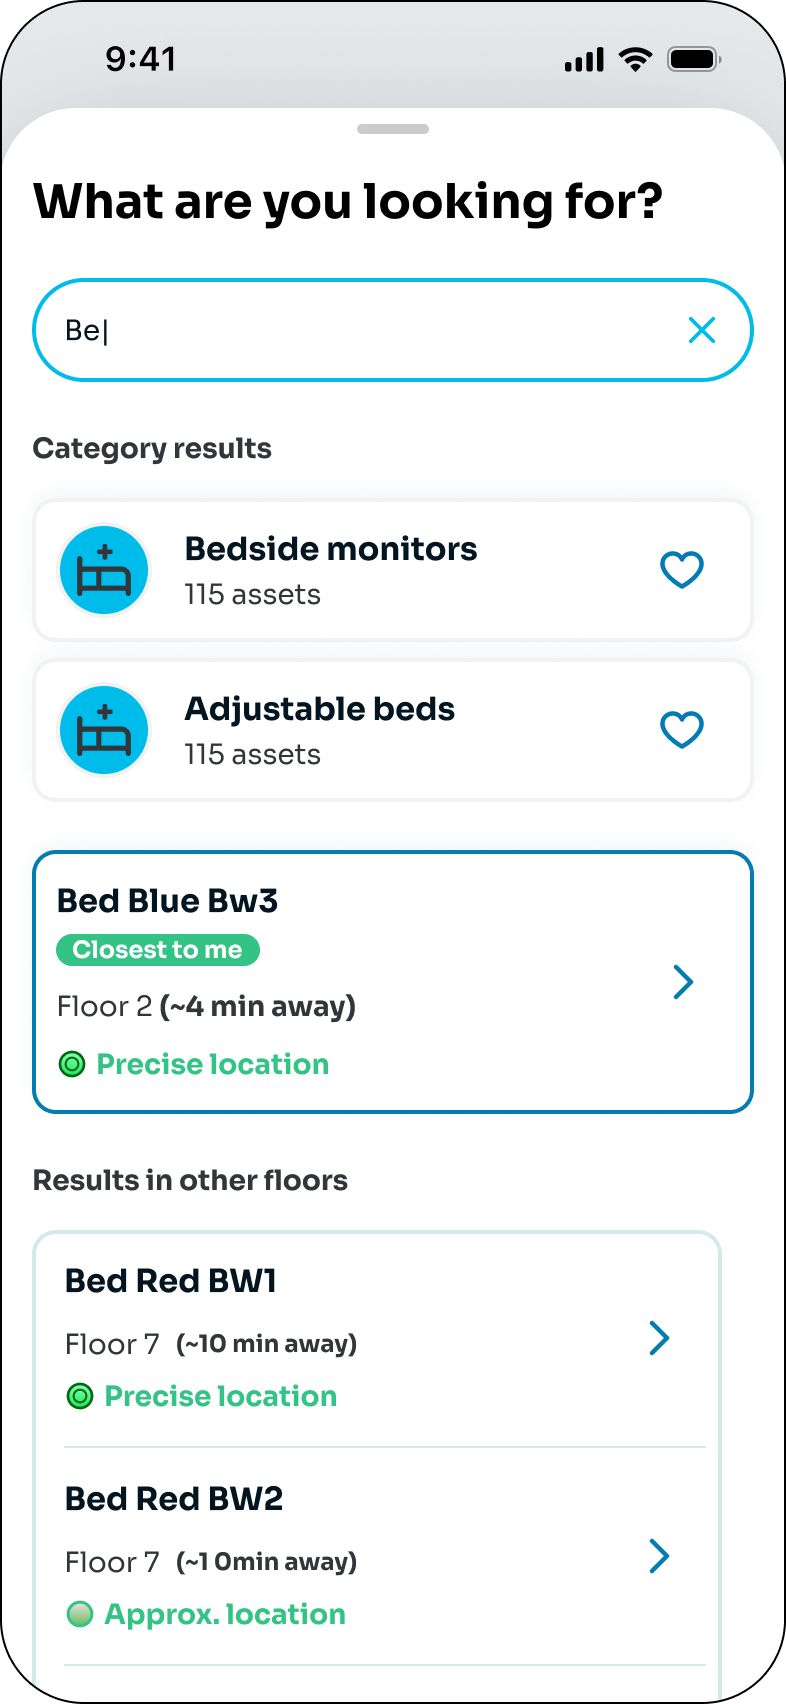
The Search for an asset feature permits users to search for an item or category previously registered on the tenant database, showing the asset detailed information or the list of registered assets inside a category.
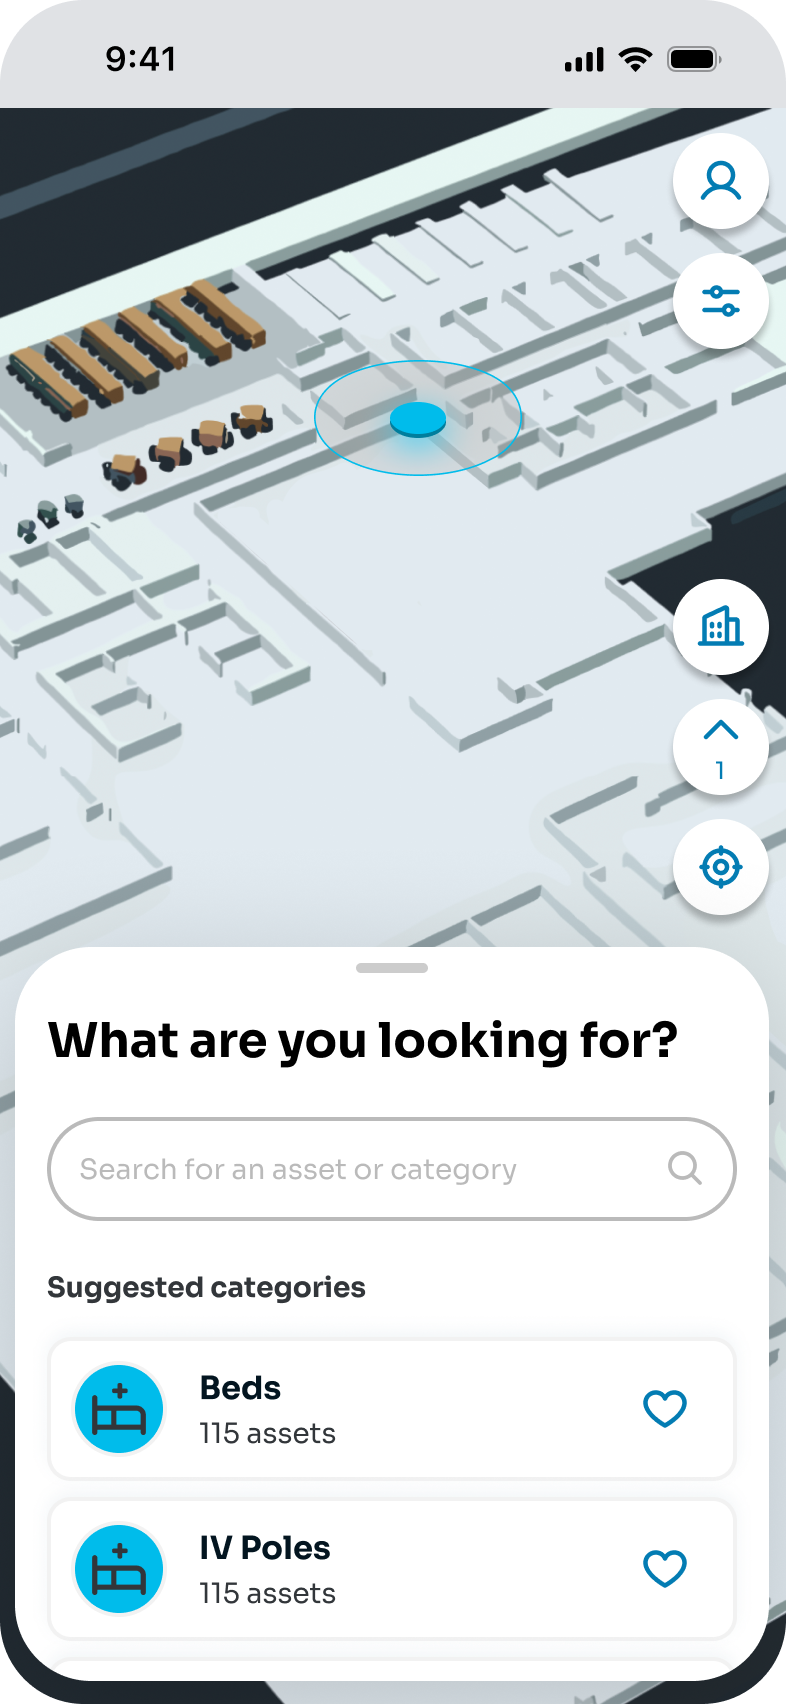
The search is always visible from the main home screen on the action bottom sheet.
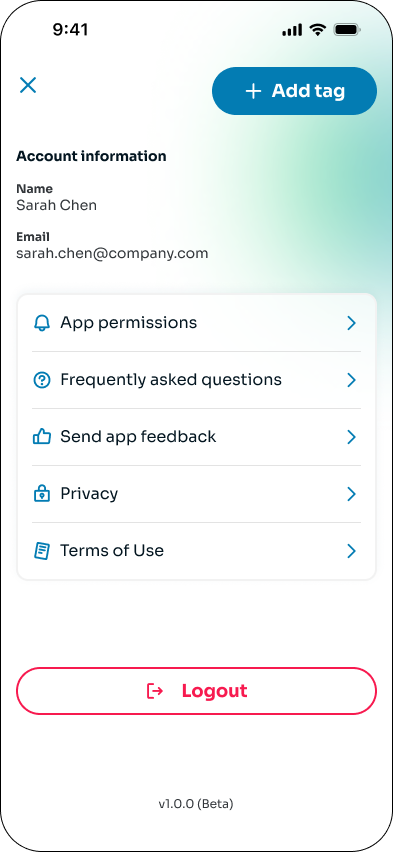
After logging in and selecting a building, on the map view, click the profile button in the top-right corner.
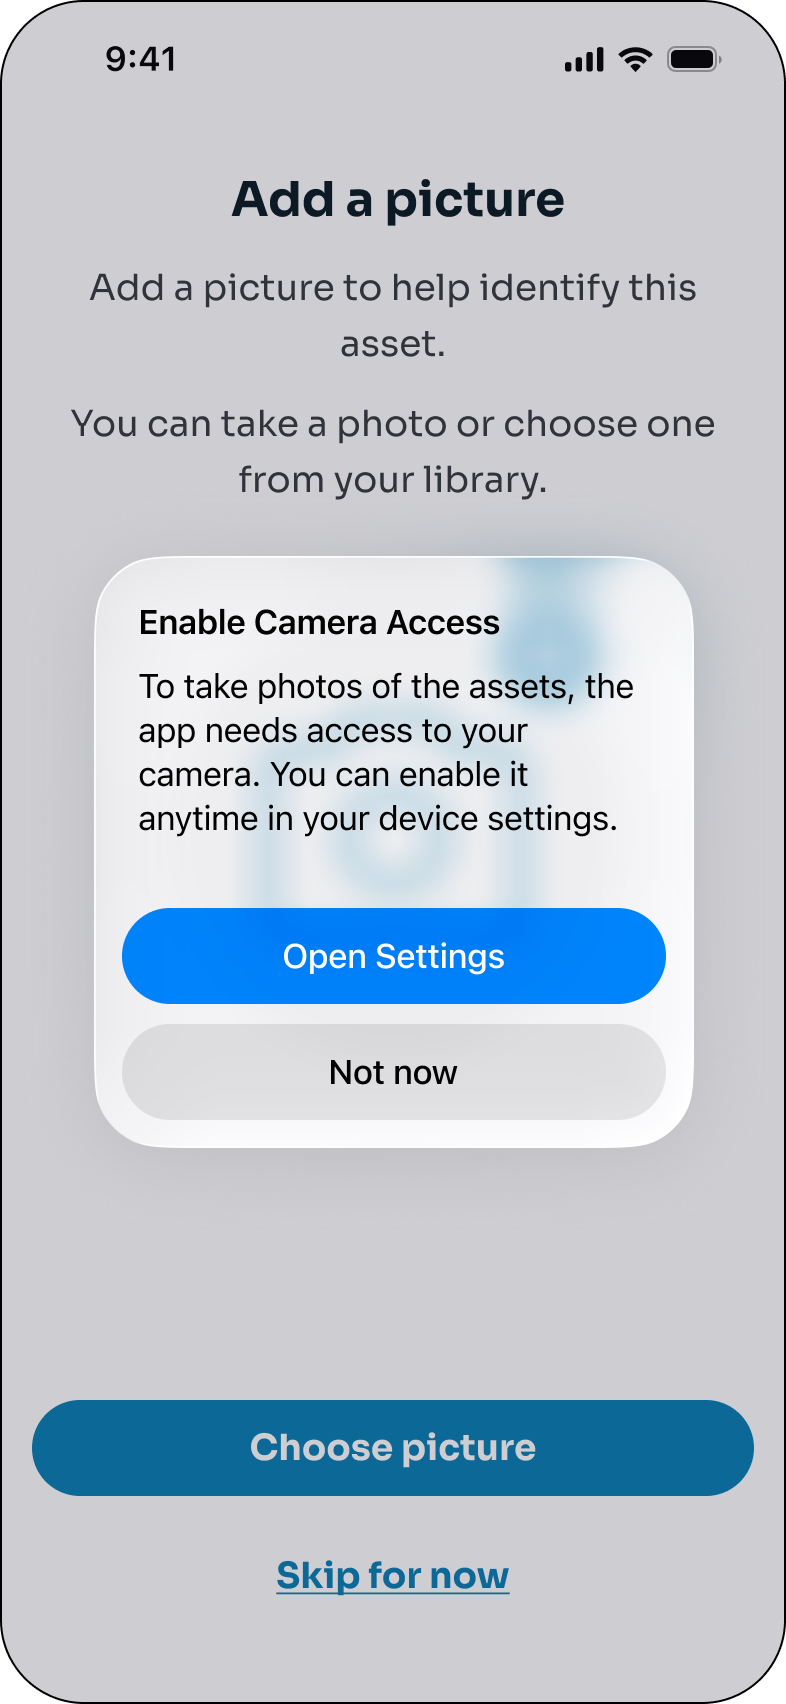
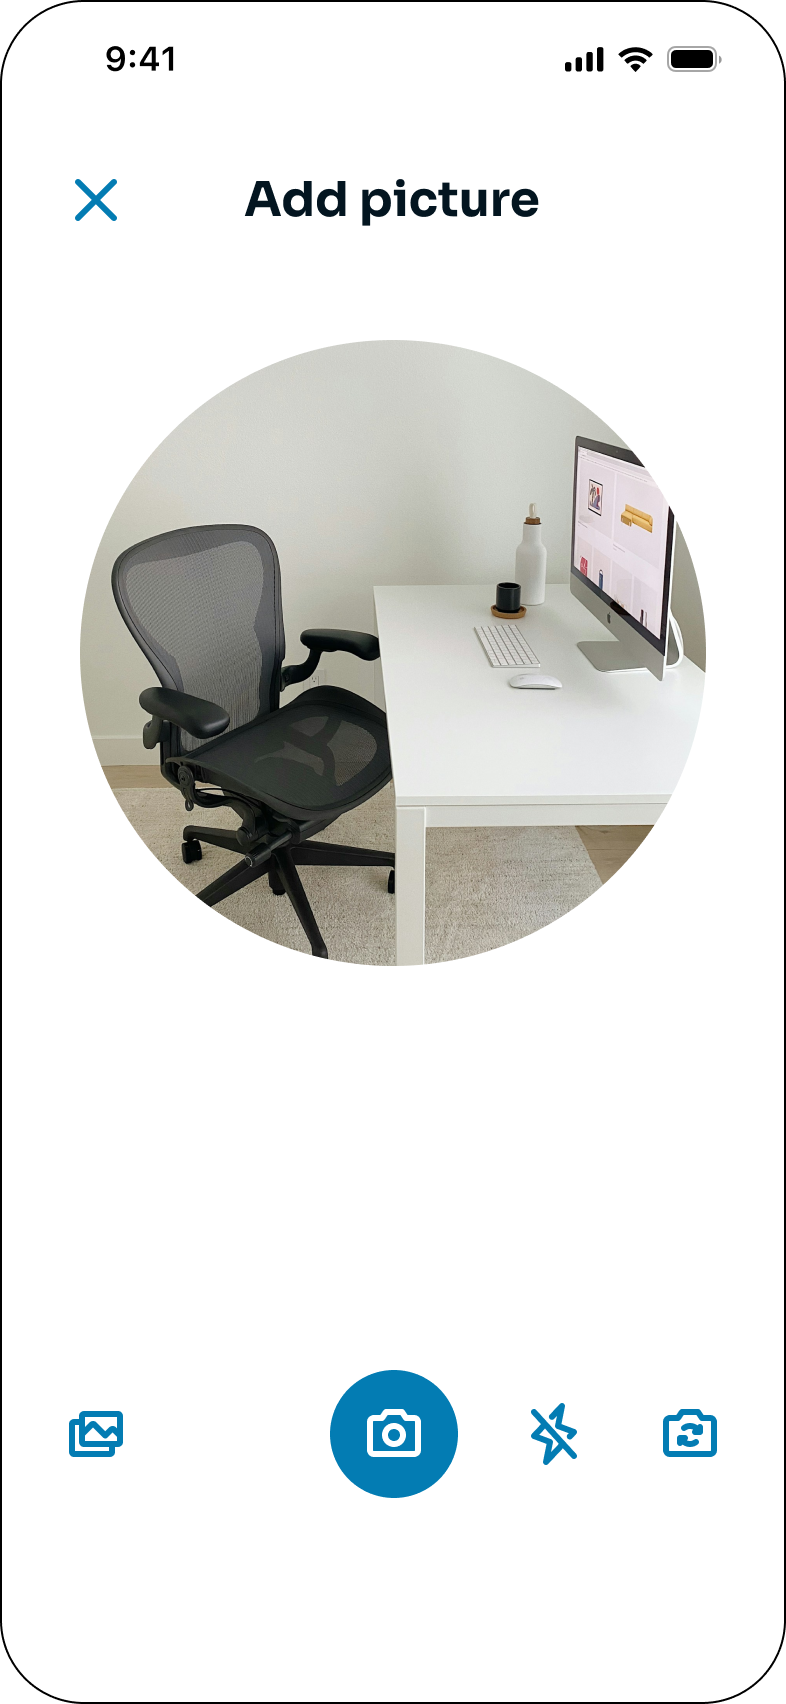
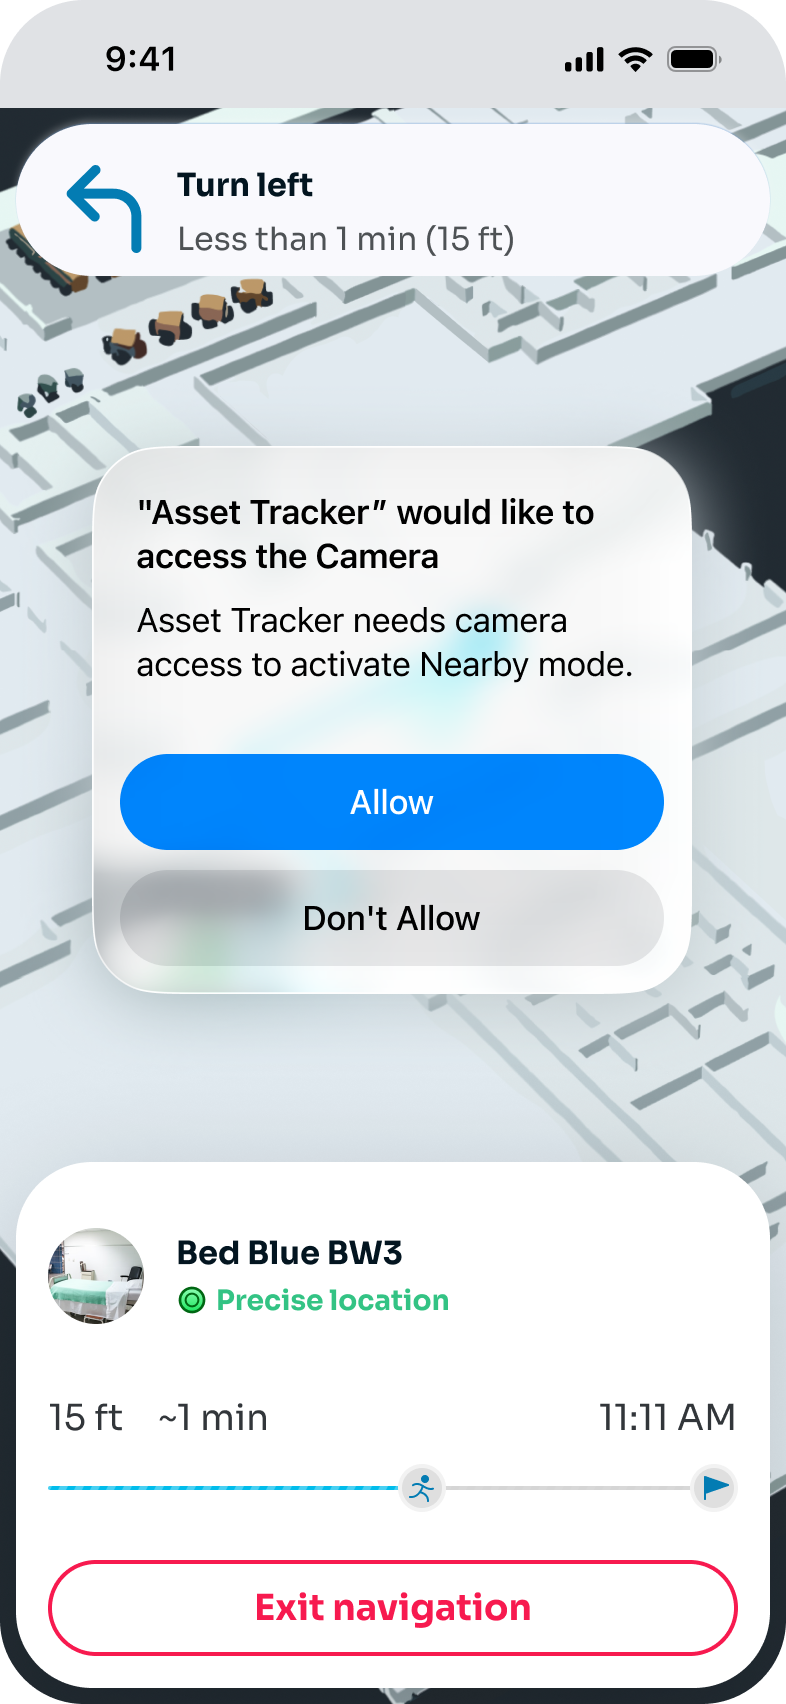
If this is the first time the device is accessing the camera, you’ll be prompted to grant camera permission, which must be accepted. Library access permission is not requested.
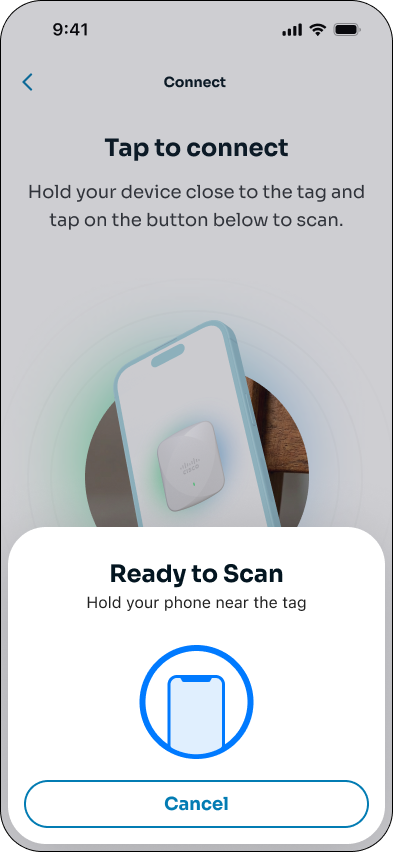
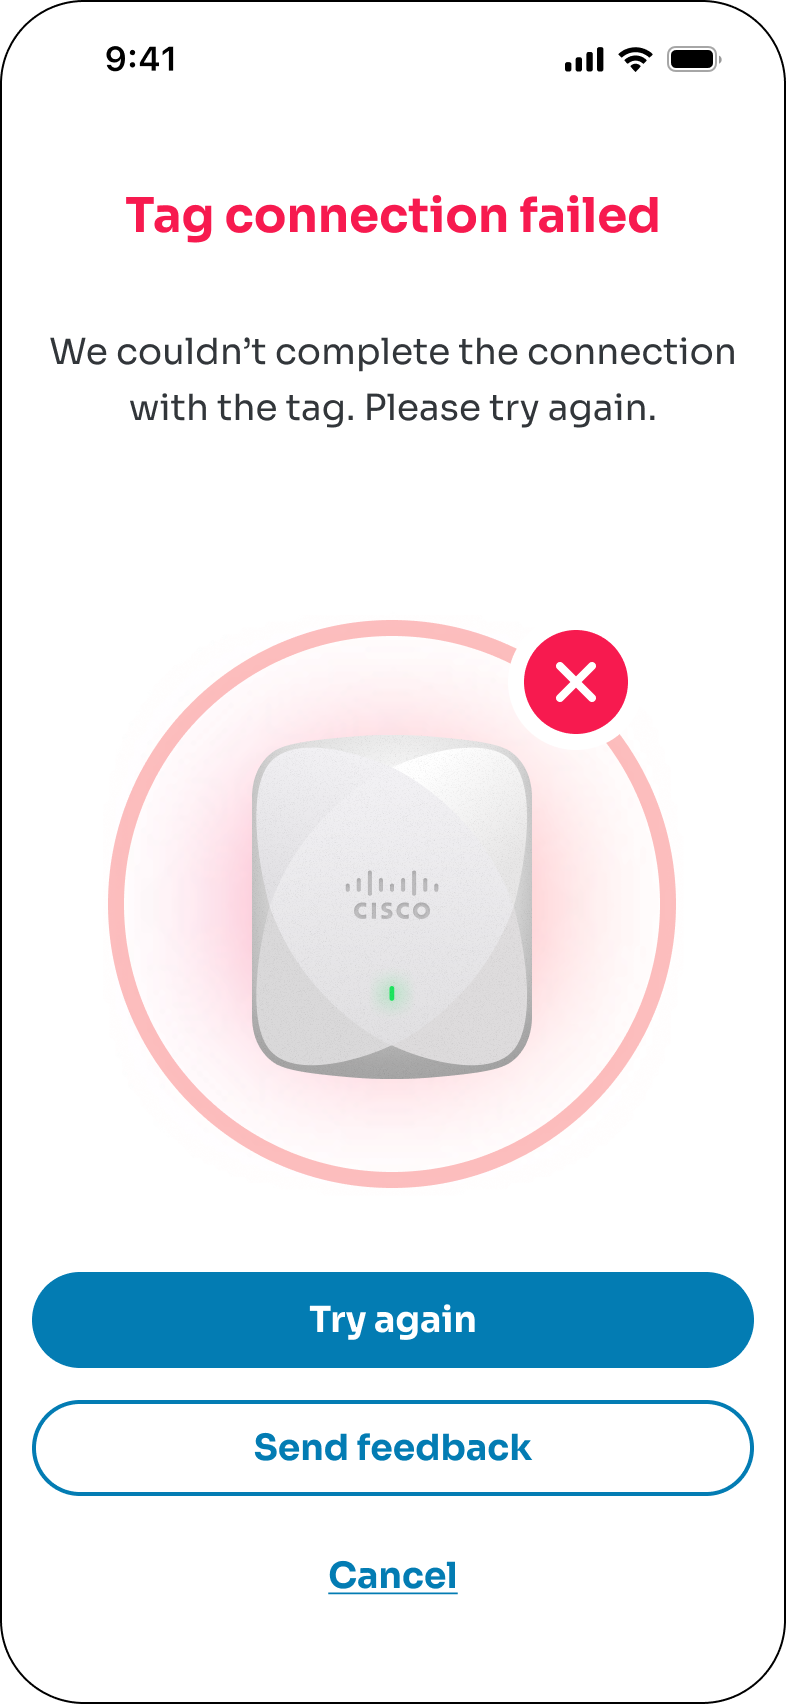
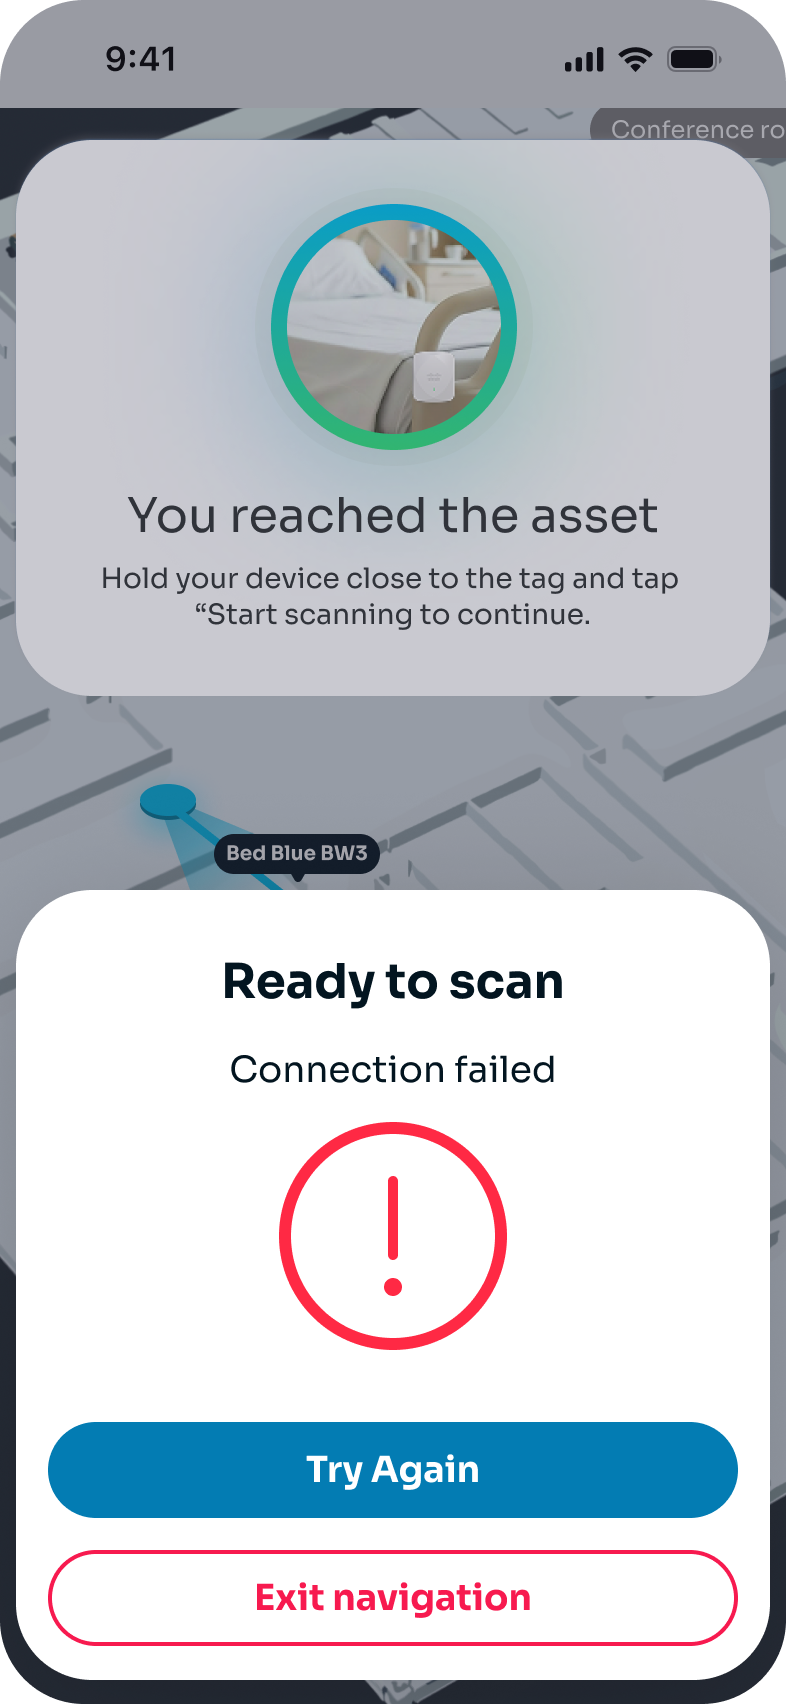
If NFC fails, the “Connection failed” error will be displayed.
The user can either “Try again” or ”Send feedback” – which opens the feedback form.
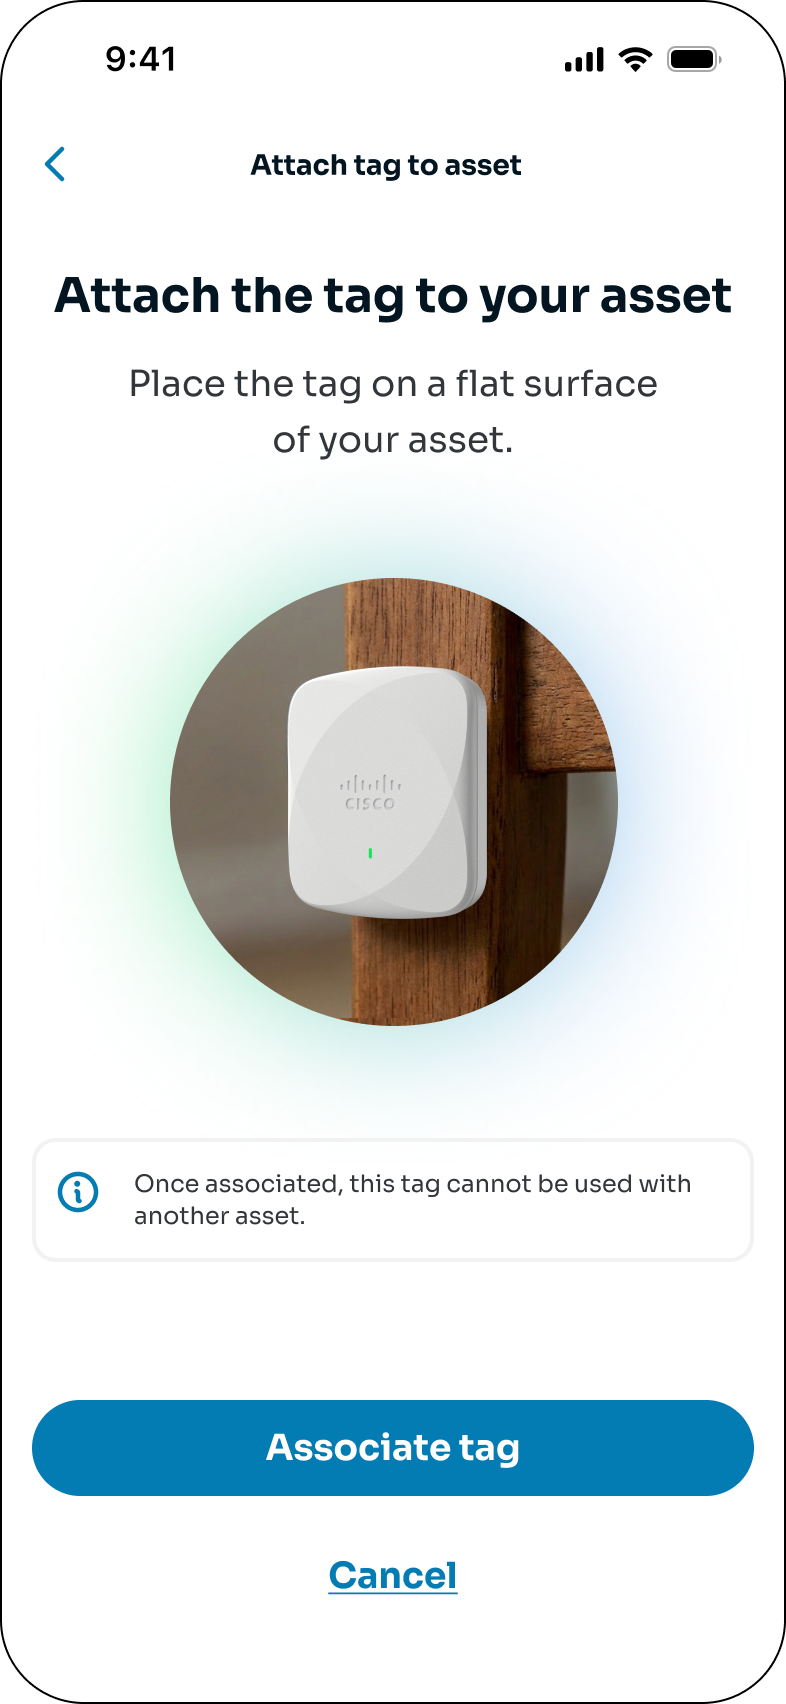
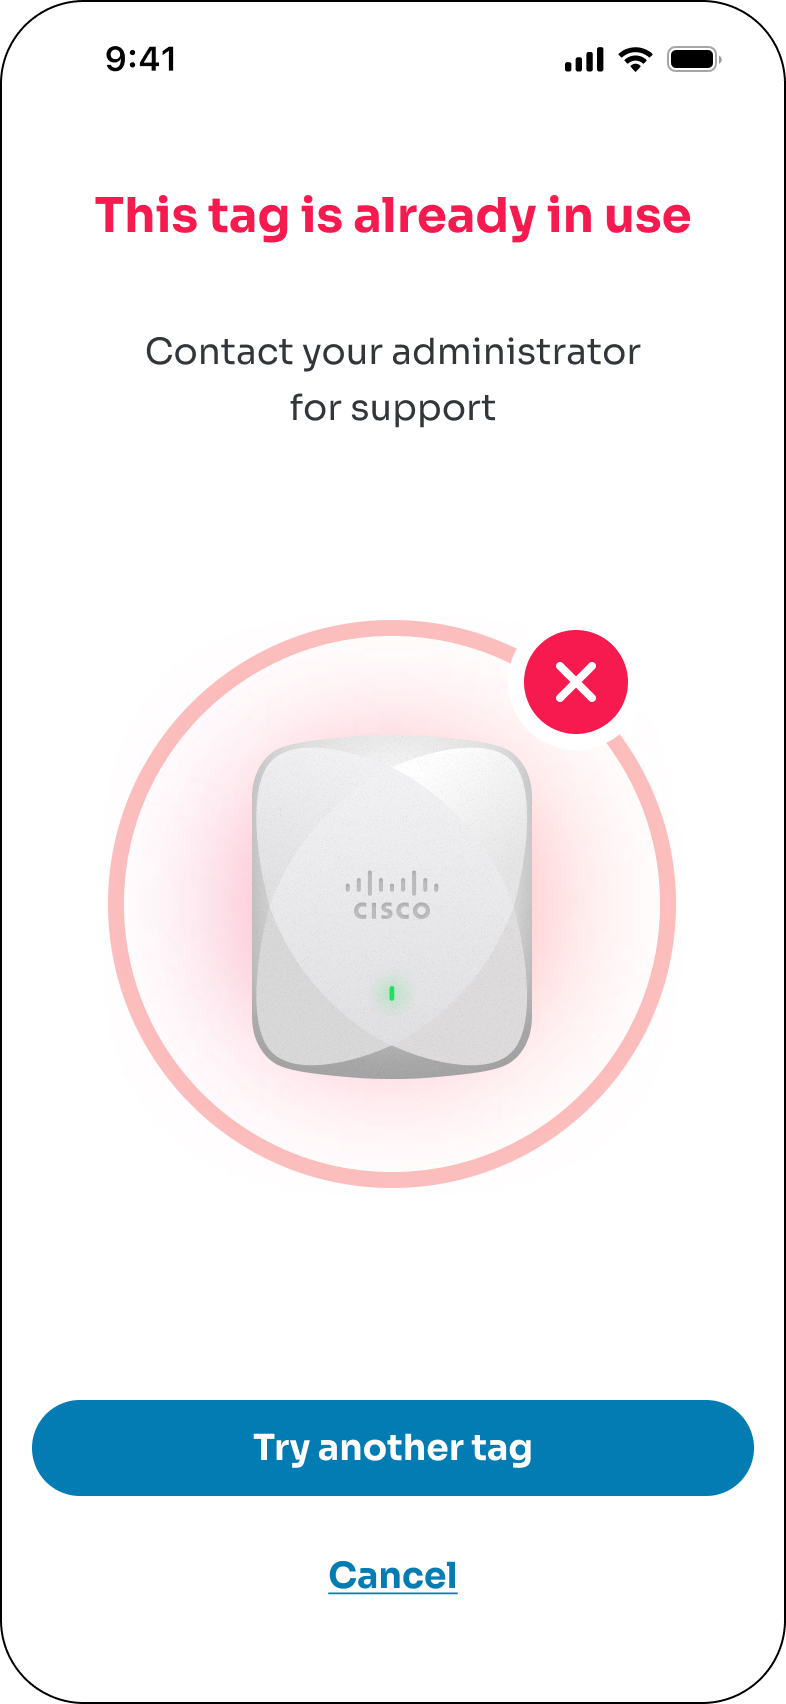
When the tag is already in use — meaning it has already been associated with an asset — the “This tag is already in use” error is displayed to the user.
The user can click “Try another tag” and scan a different one, or “Cancel” the add-a-tag process.
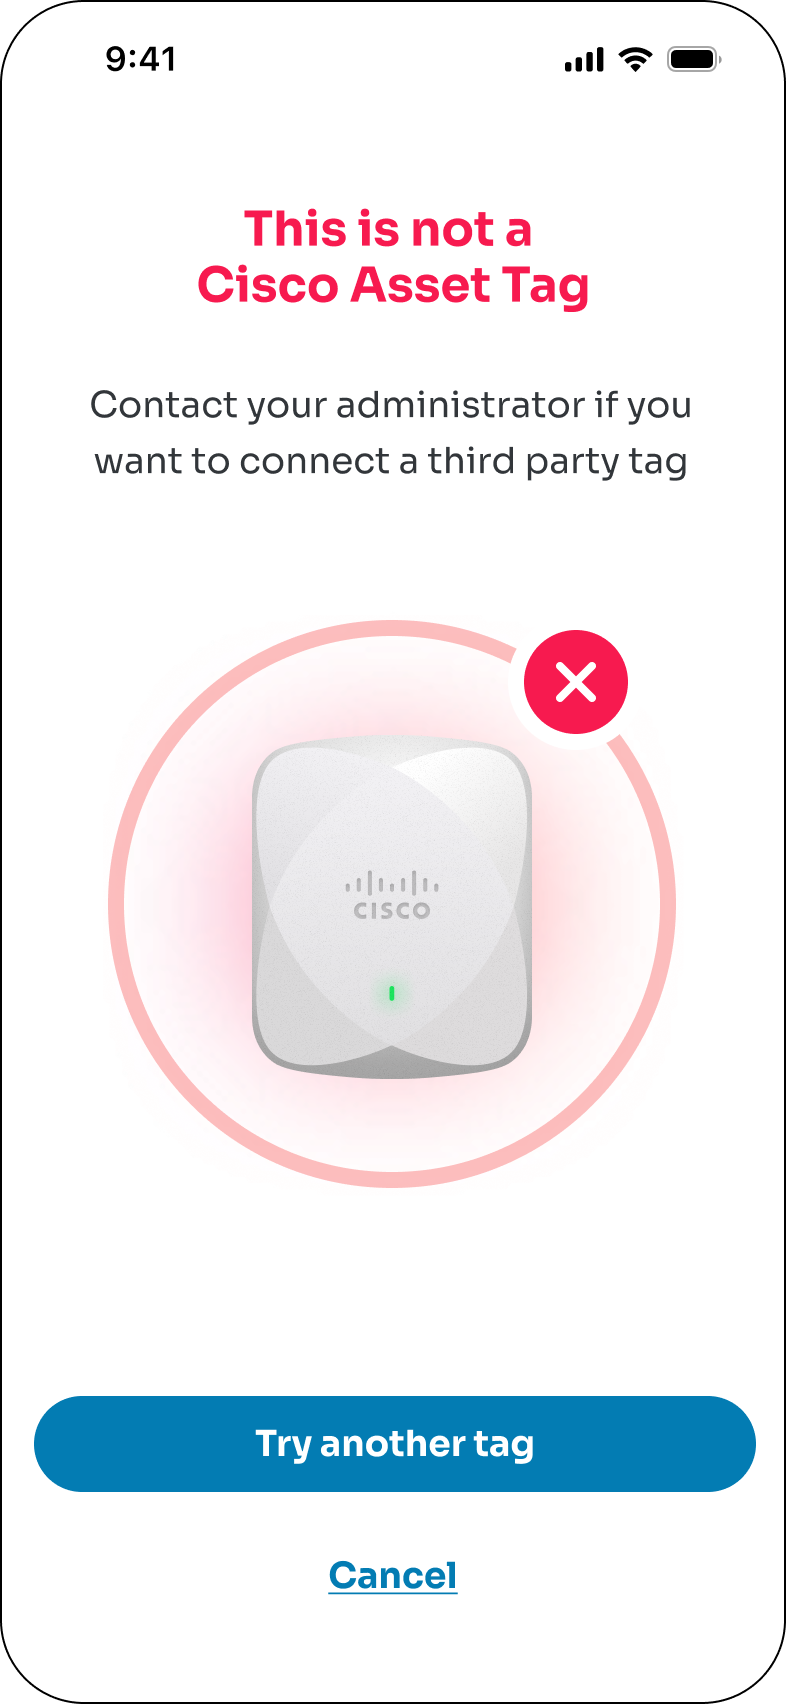
3rd-party tags cannot be onboarded through the mobile app. Therefore, when scanning a 3rd-party tag, the user will see the “This is not a Cisco Asset Tag” error.
The user can click “Try another tag” and scan a different one, or “Cancel” the add-a-tag process.
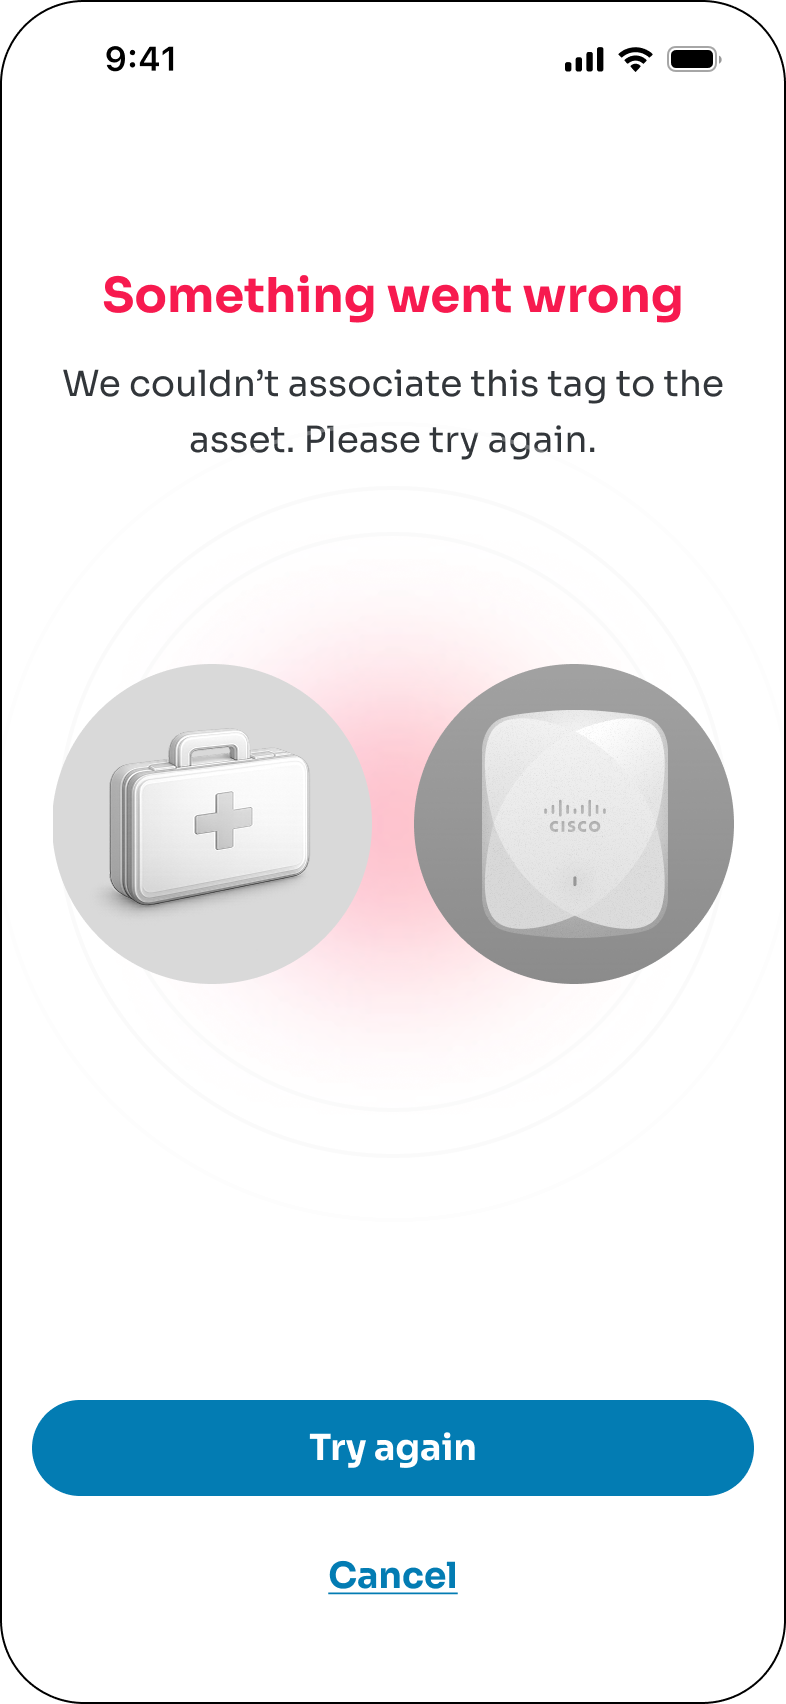
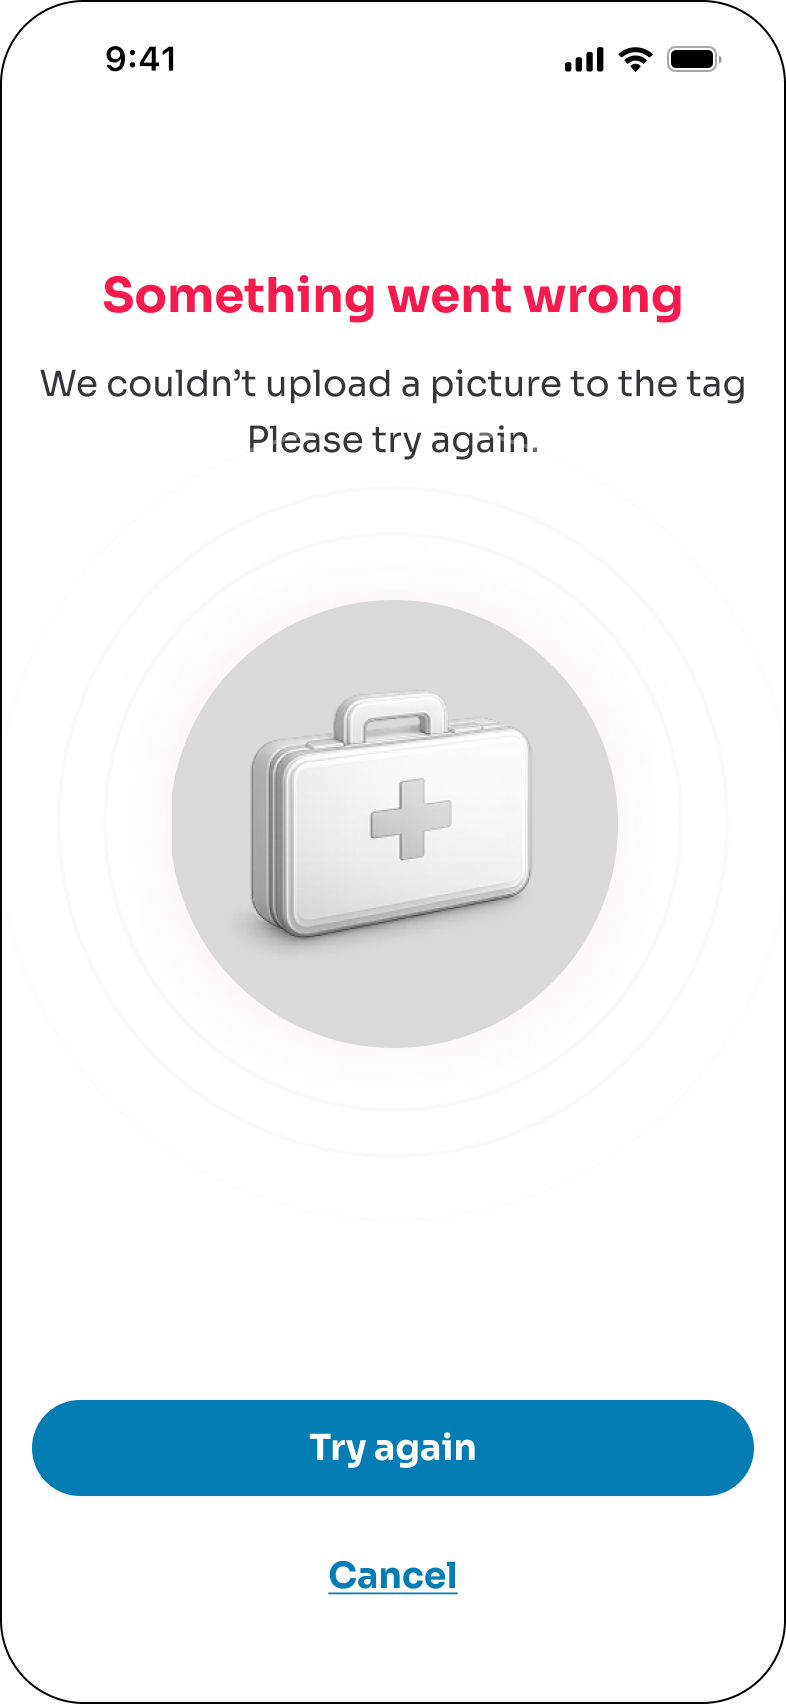
If the internet connection fails or the app encounters an error while trying to associate the tag with the asset, the “Something went wrong” error will be displayed.
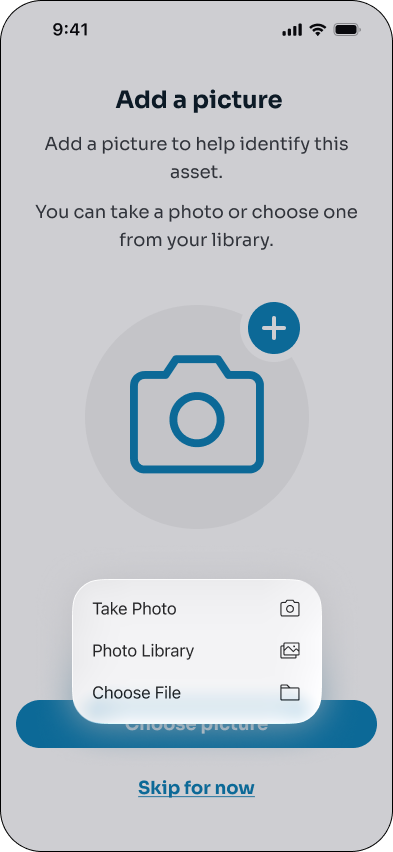
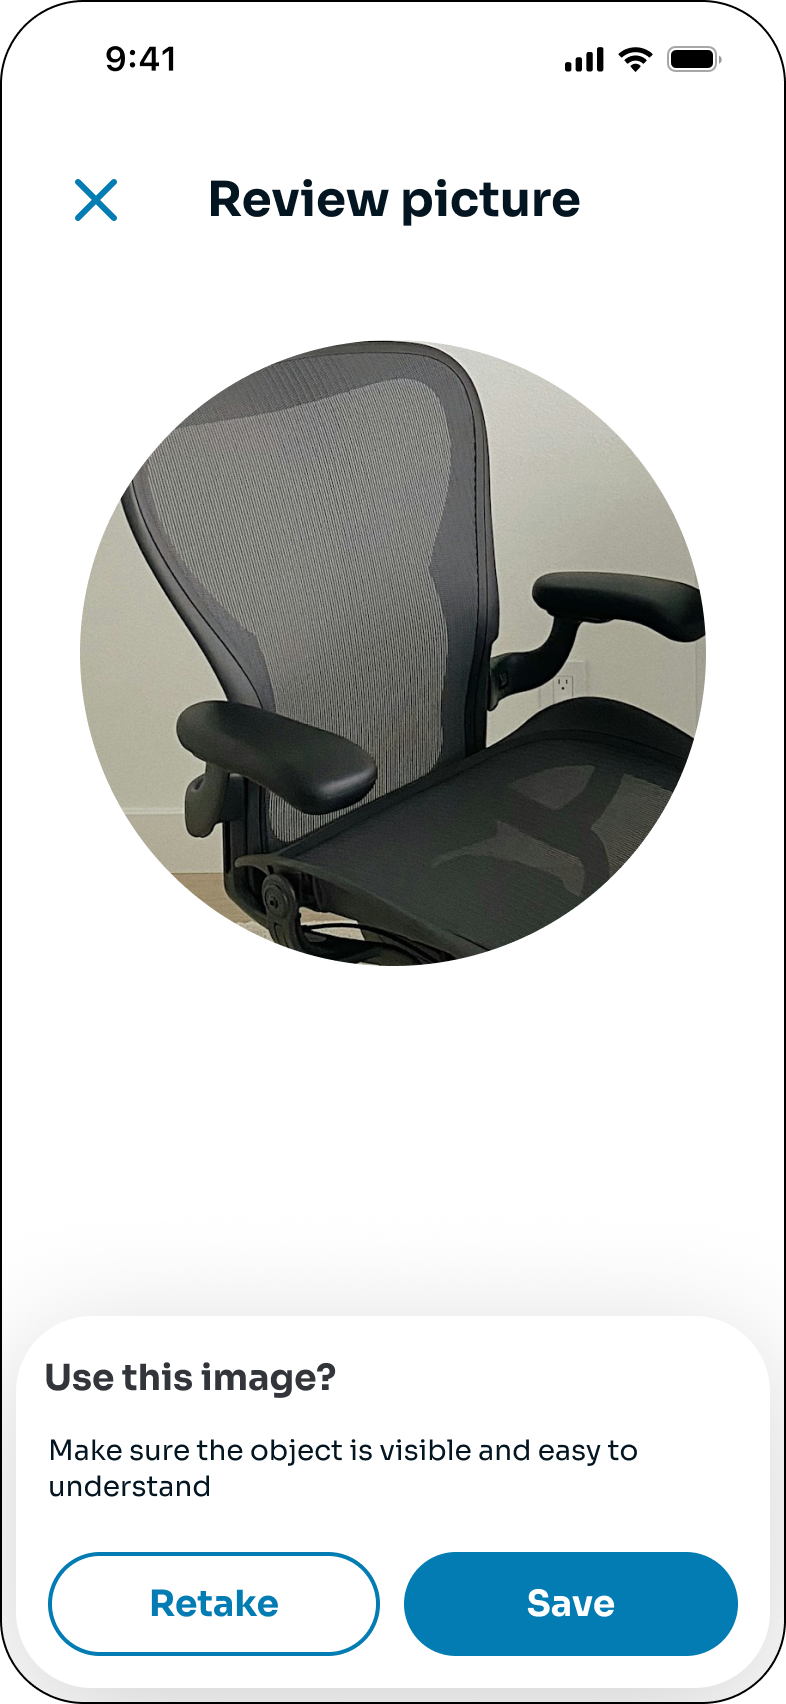
If the internet connection fails or the app encounters an error while uploading an image for the asset, the “Something went wrong” error will be displayed.
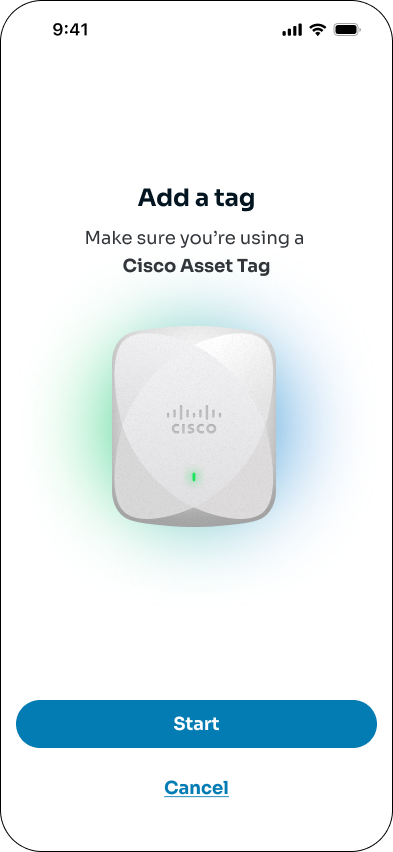
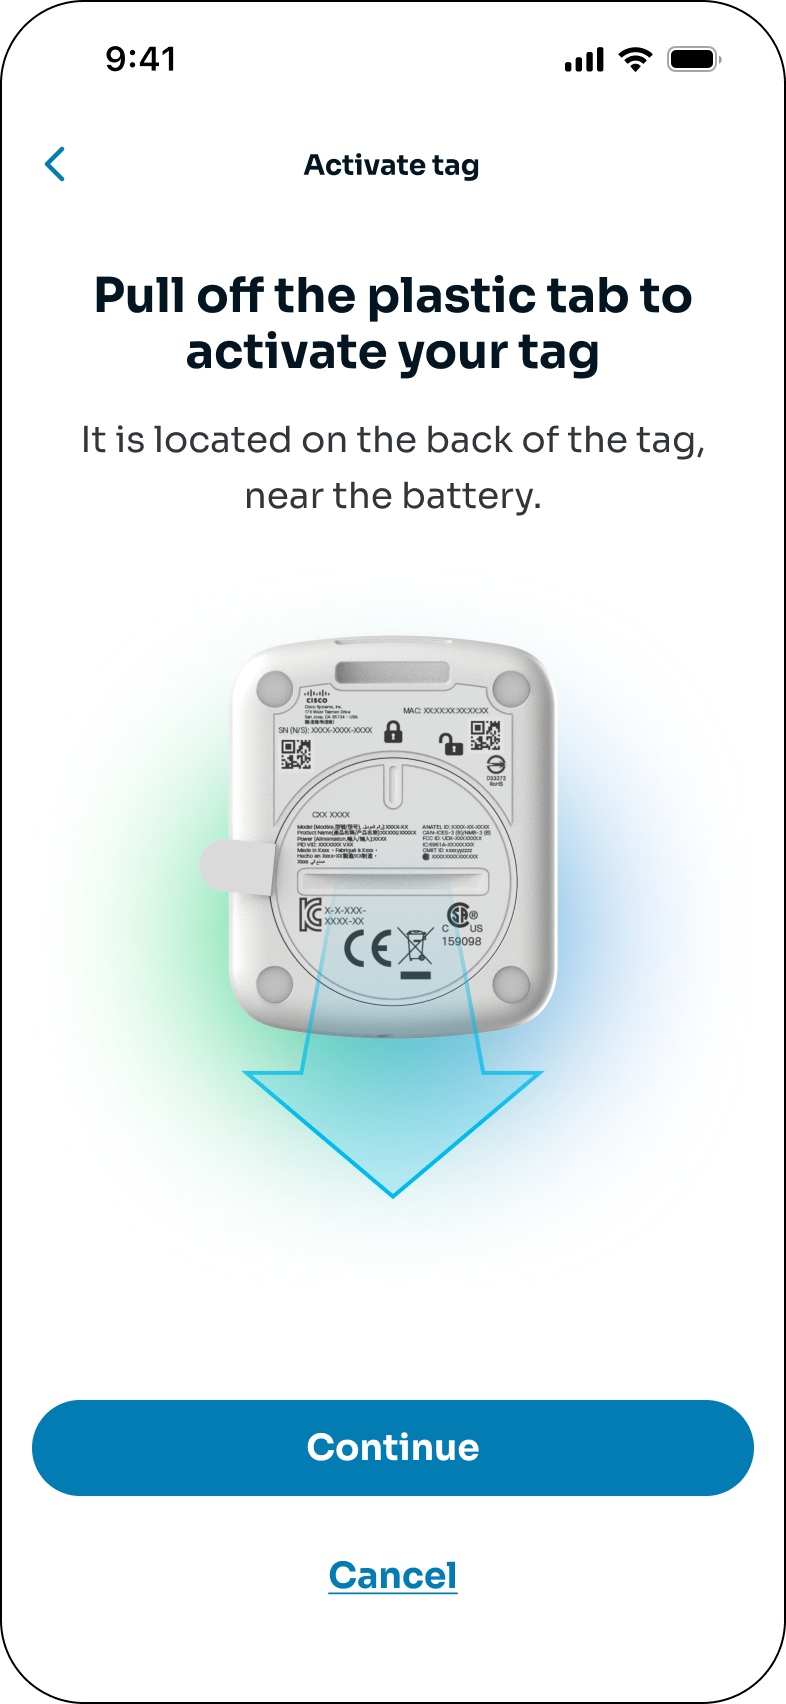
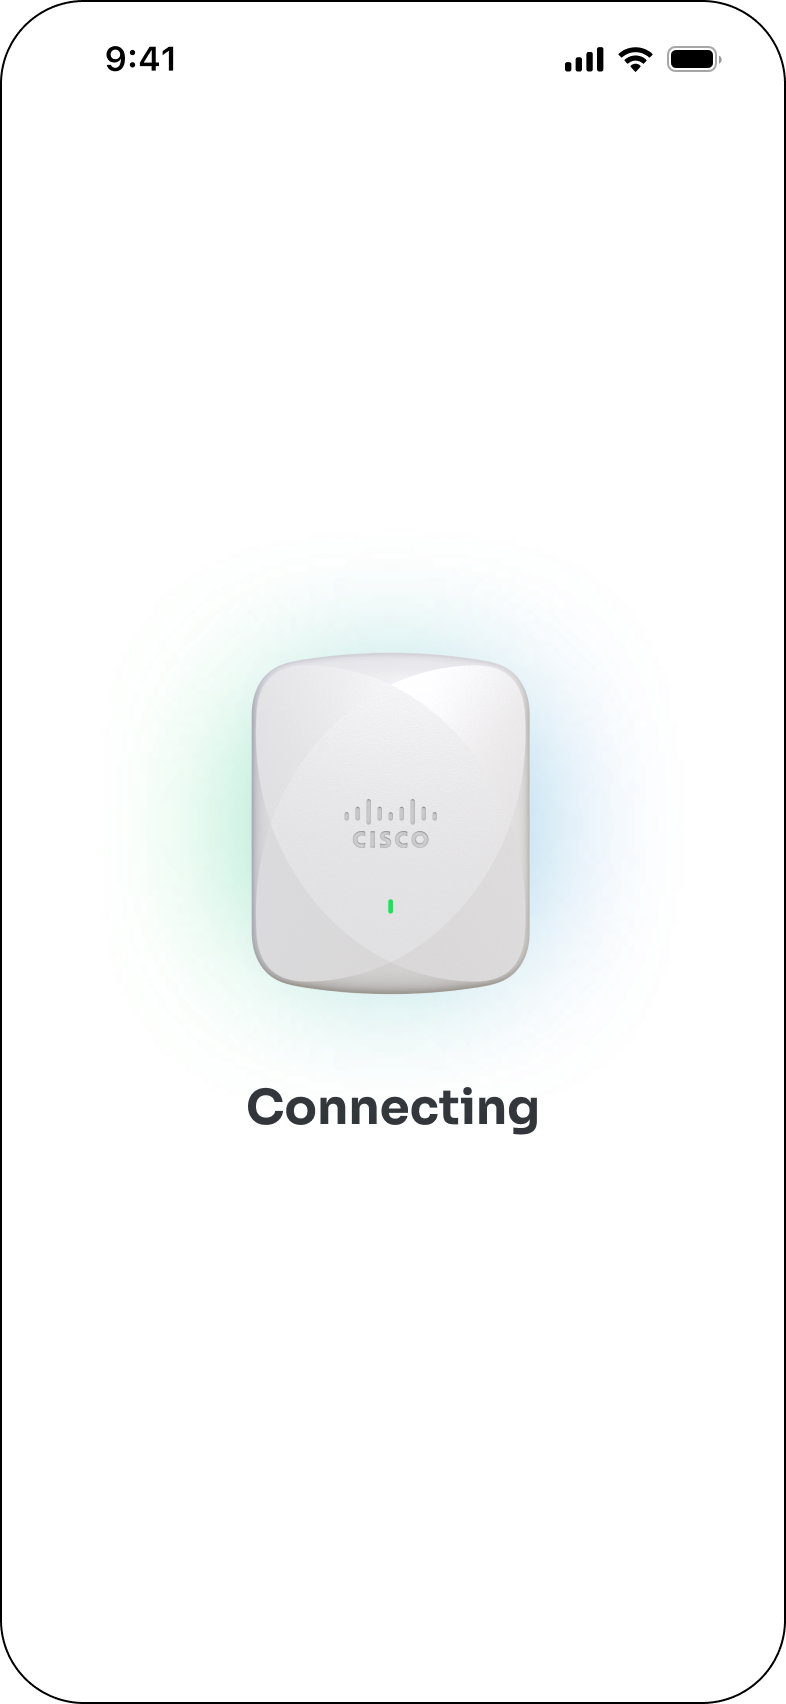
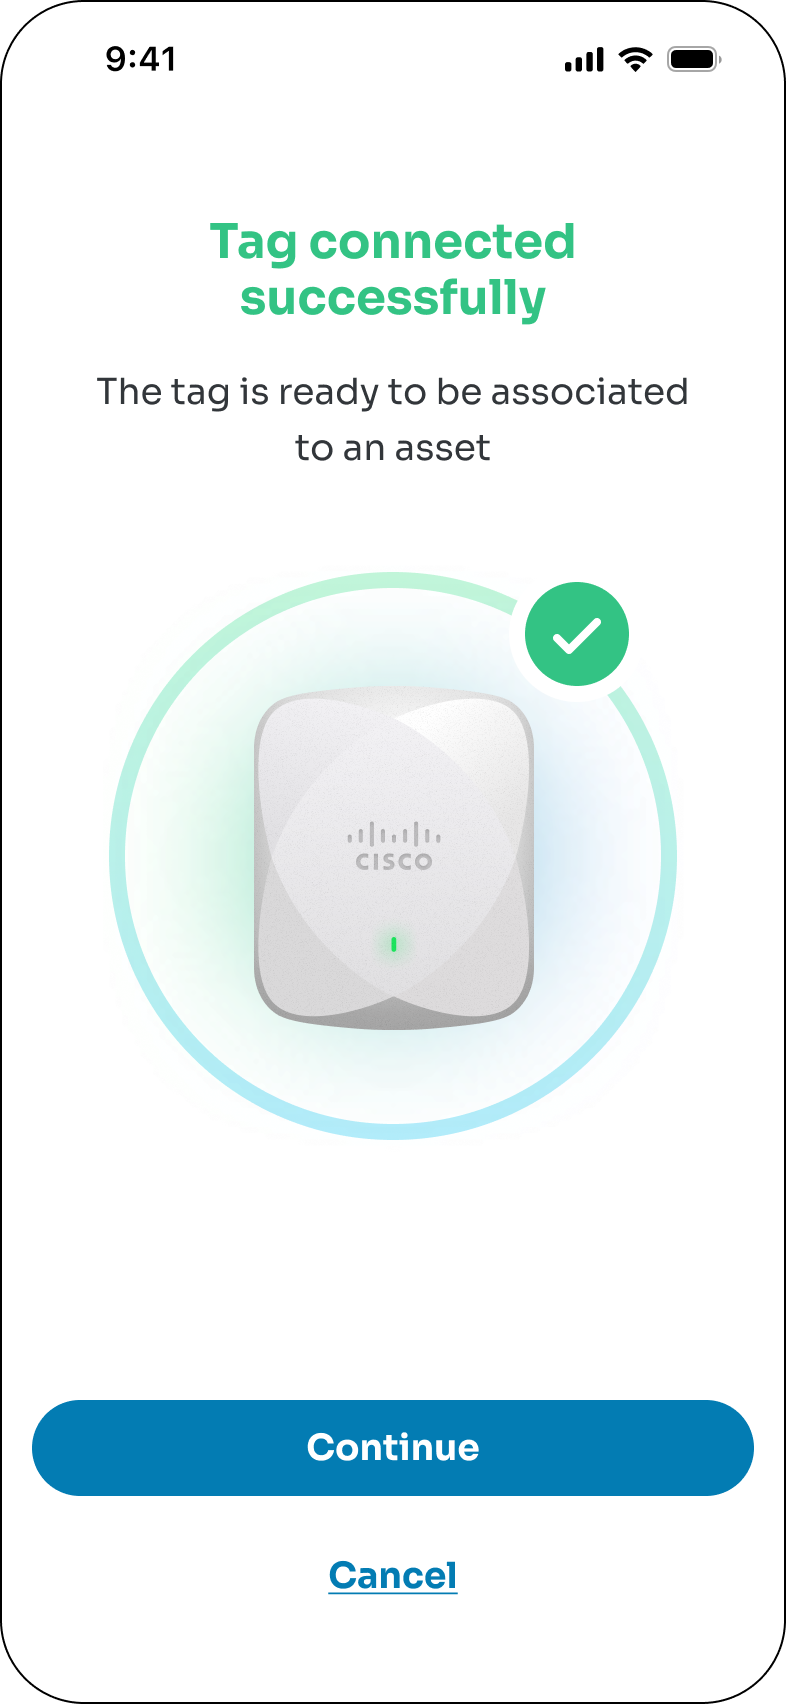
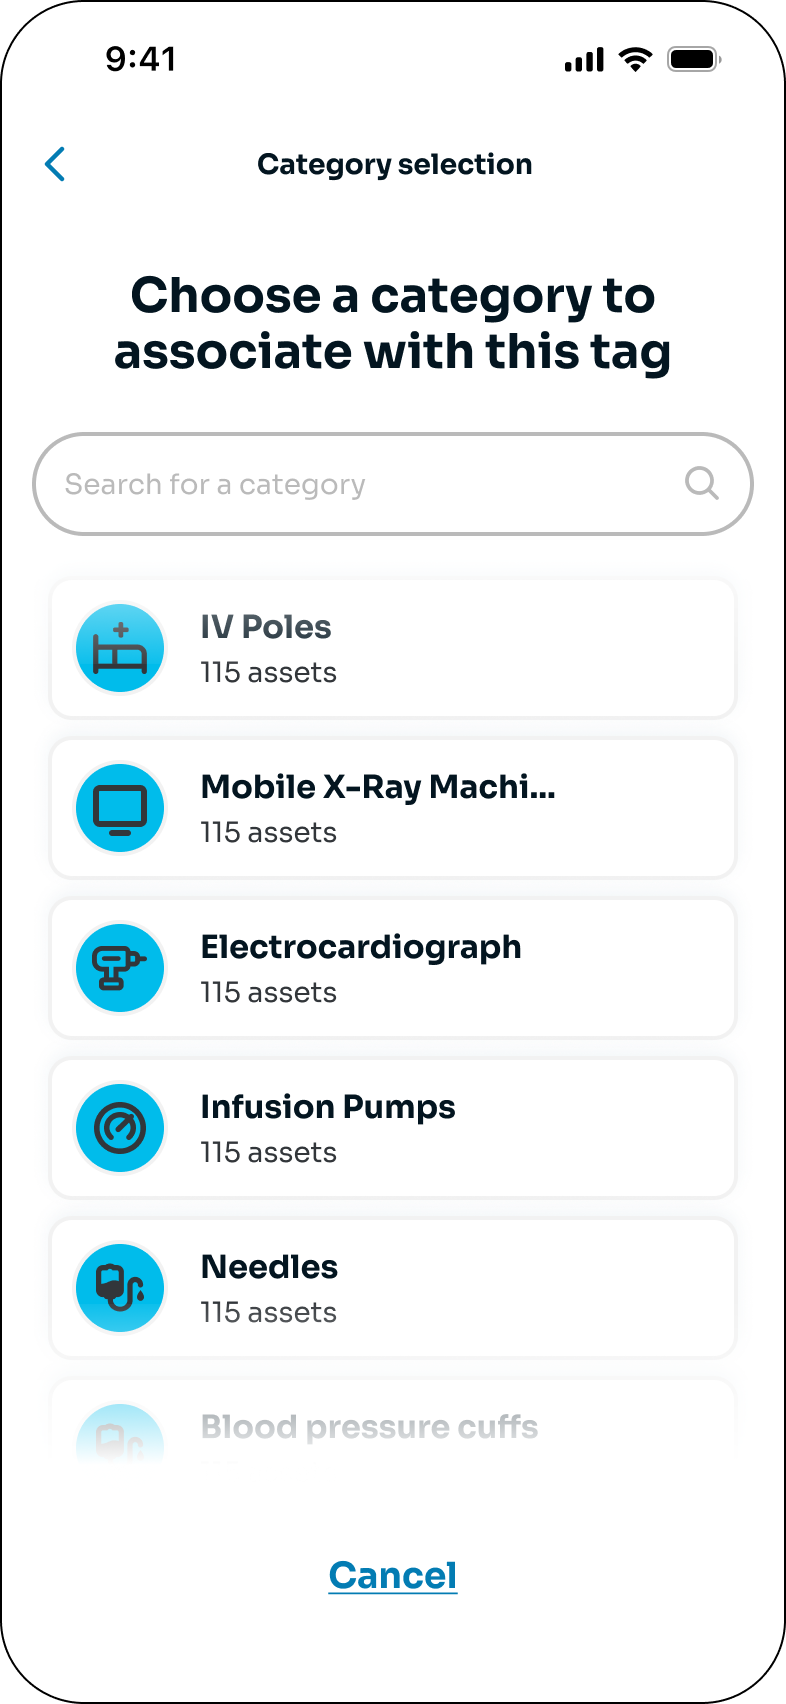
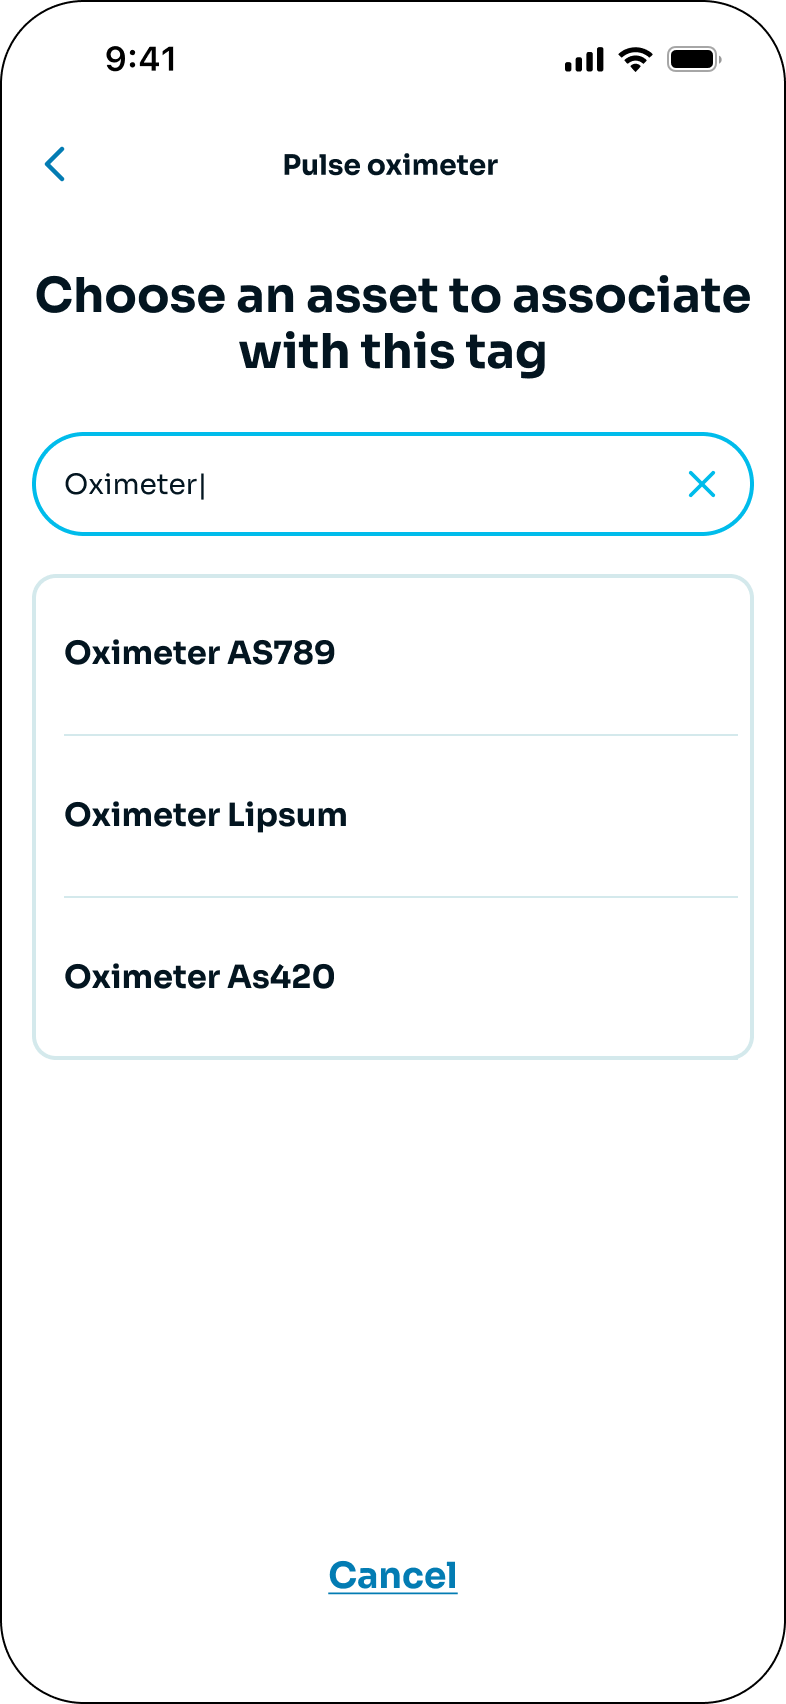
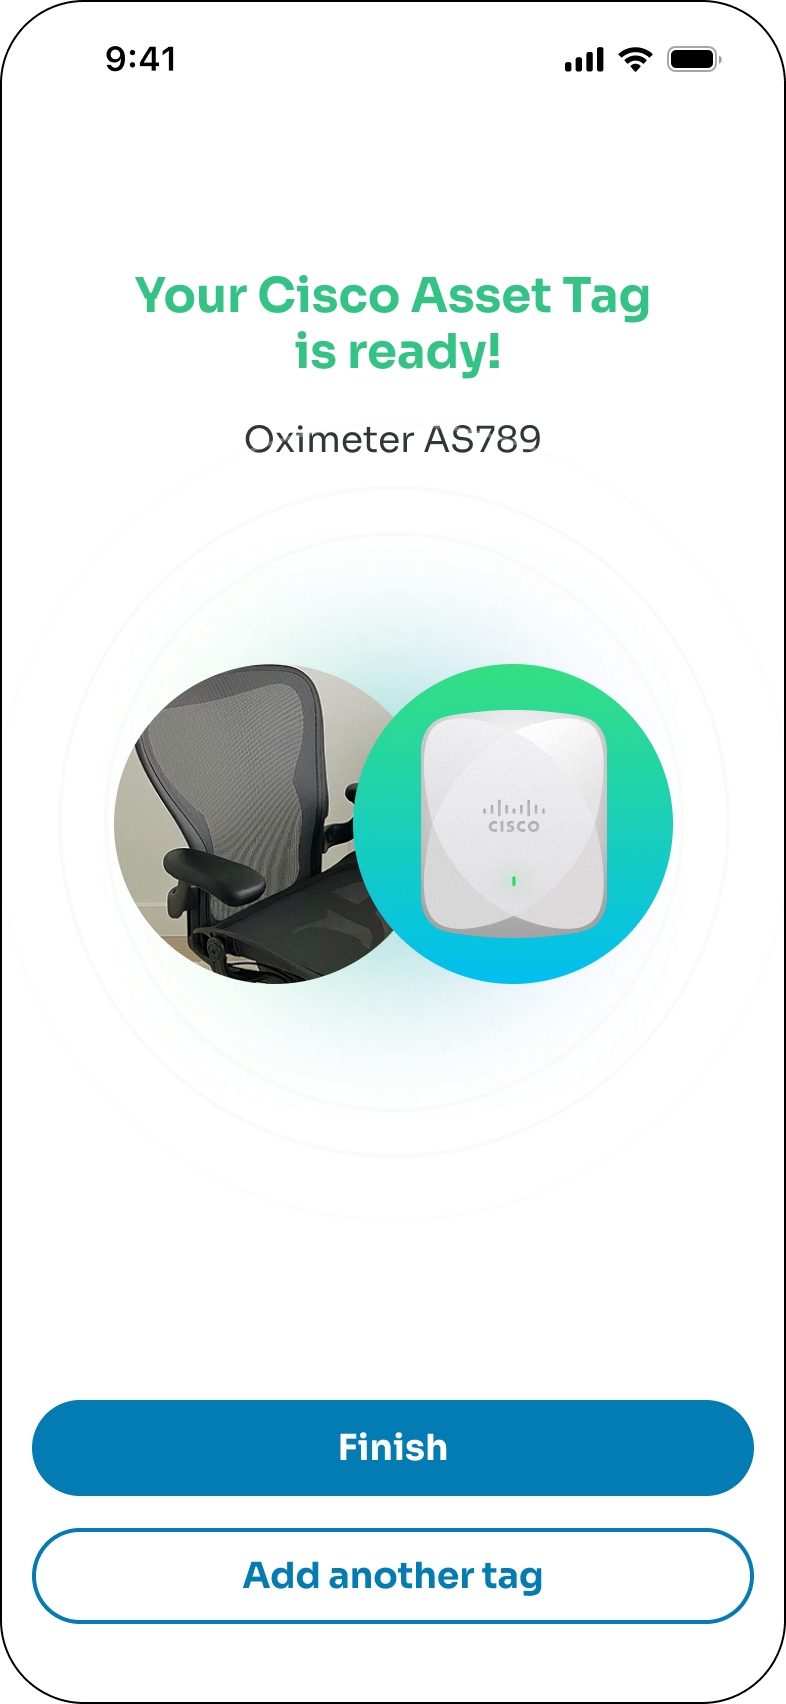
The Onboard a Tag flow lets an authenticated mobile user pair a physical Cisco Asset Tag with an existing asset directly from the field, eliminating the round-trip through the admin panel for tag-to-asset association.
Accessible from the Profile menu on the map view via “Add a tag,” the feature solves a single, high-value job: getting a new tag online and discoverable by end users in under a minute, without leaving the building they’re standing in.
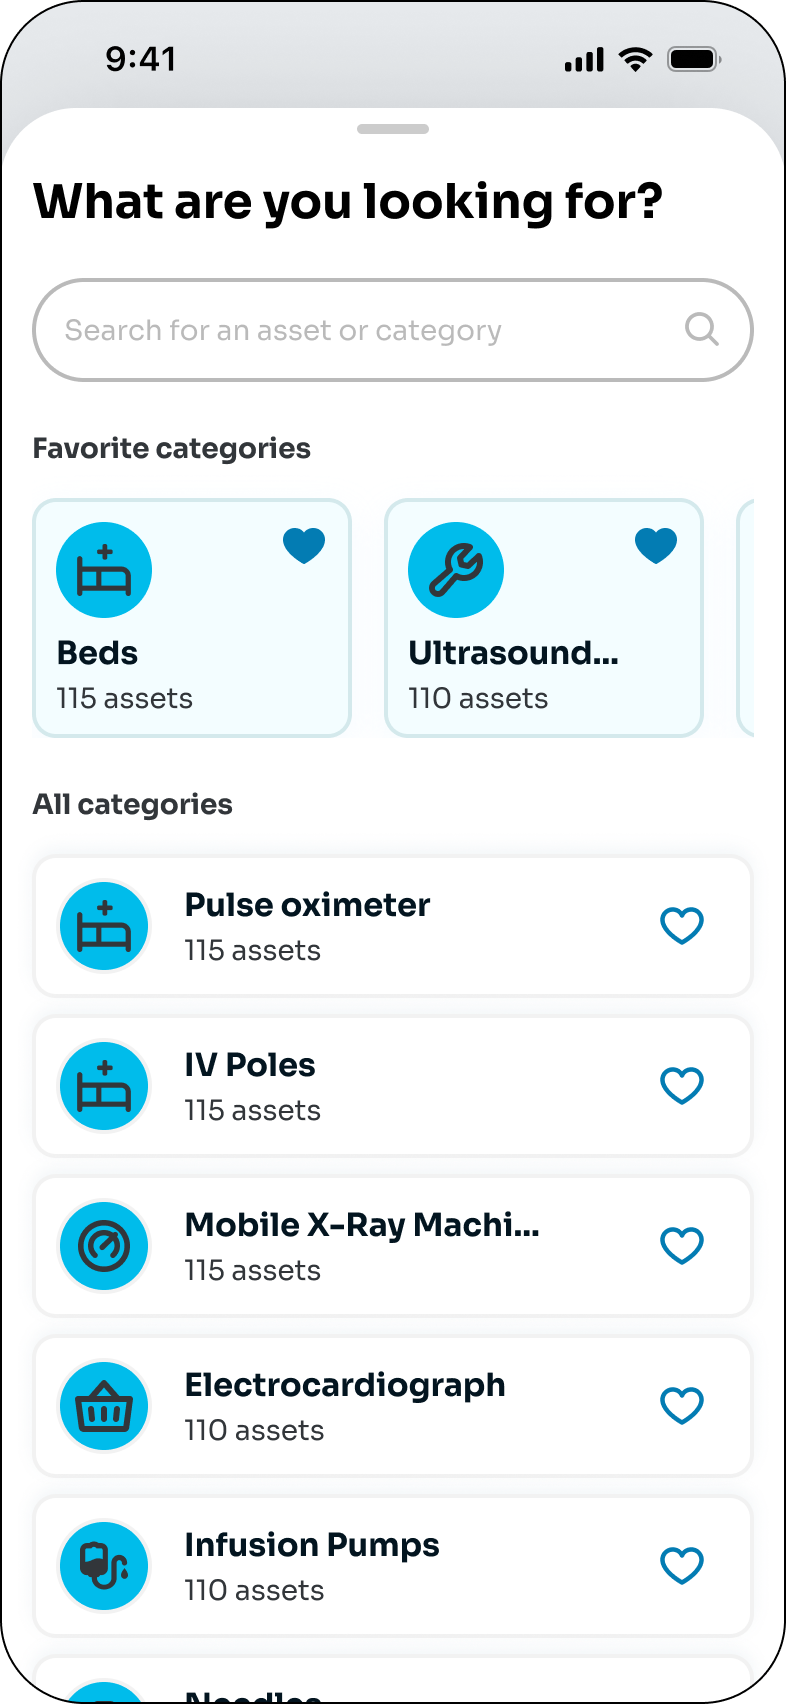
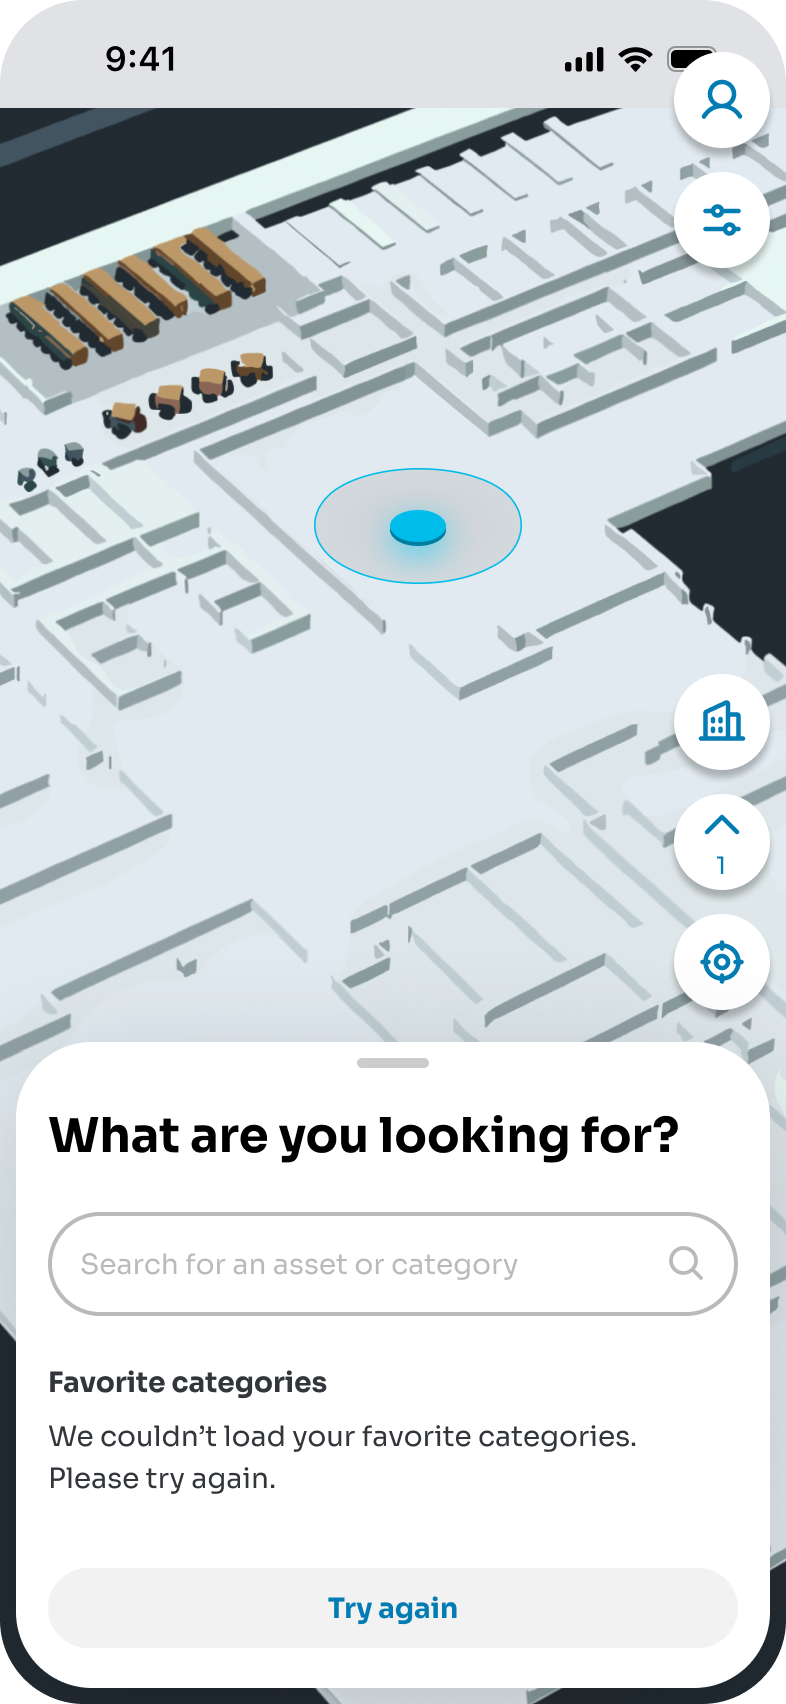
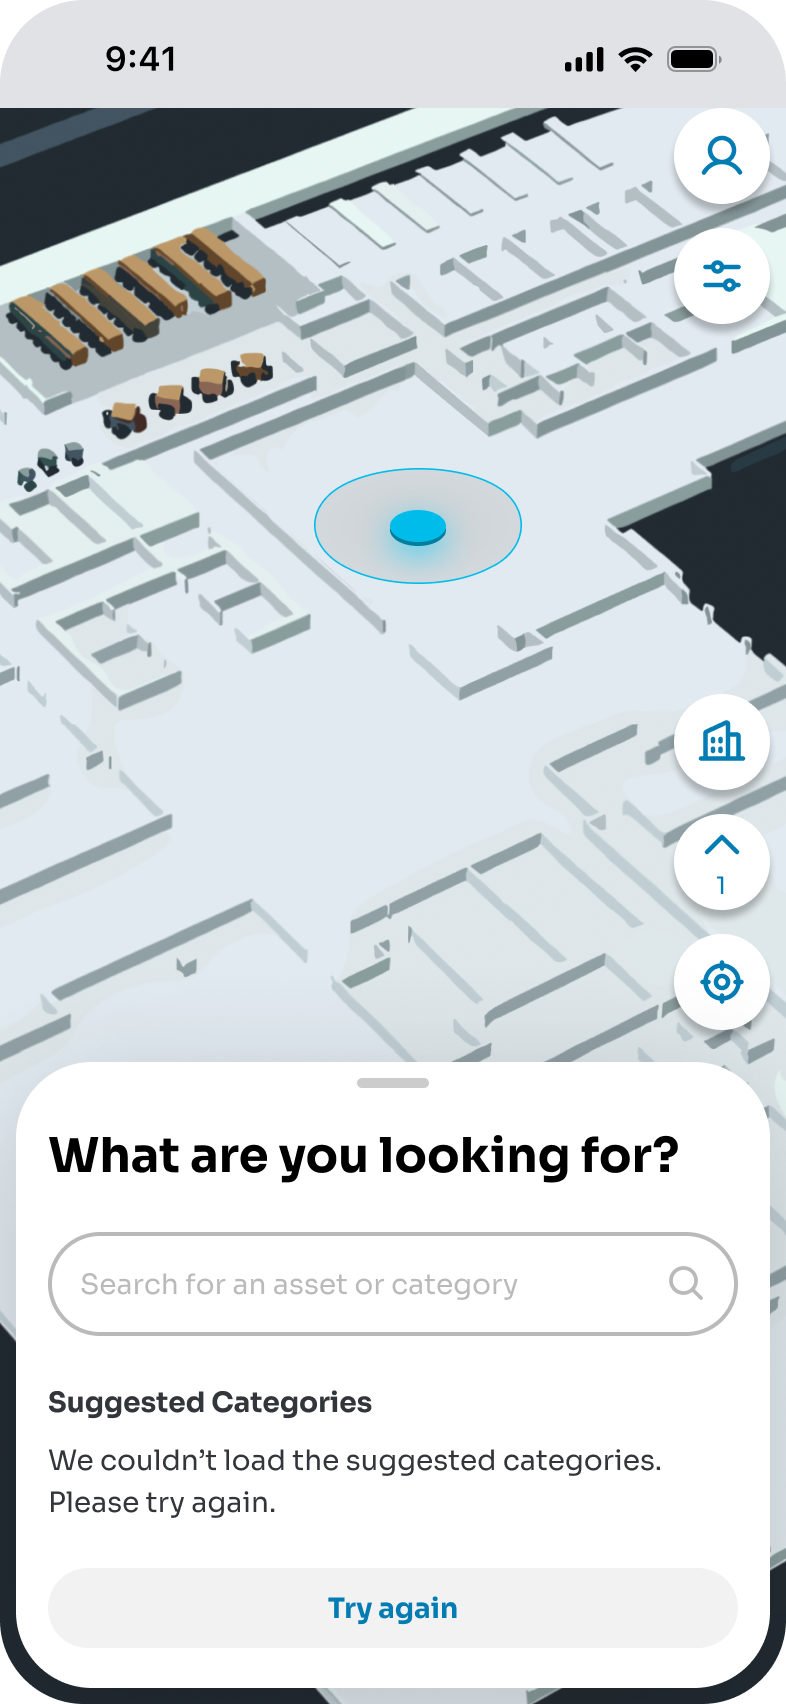
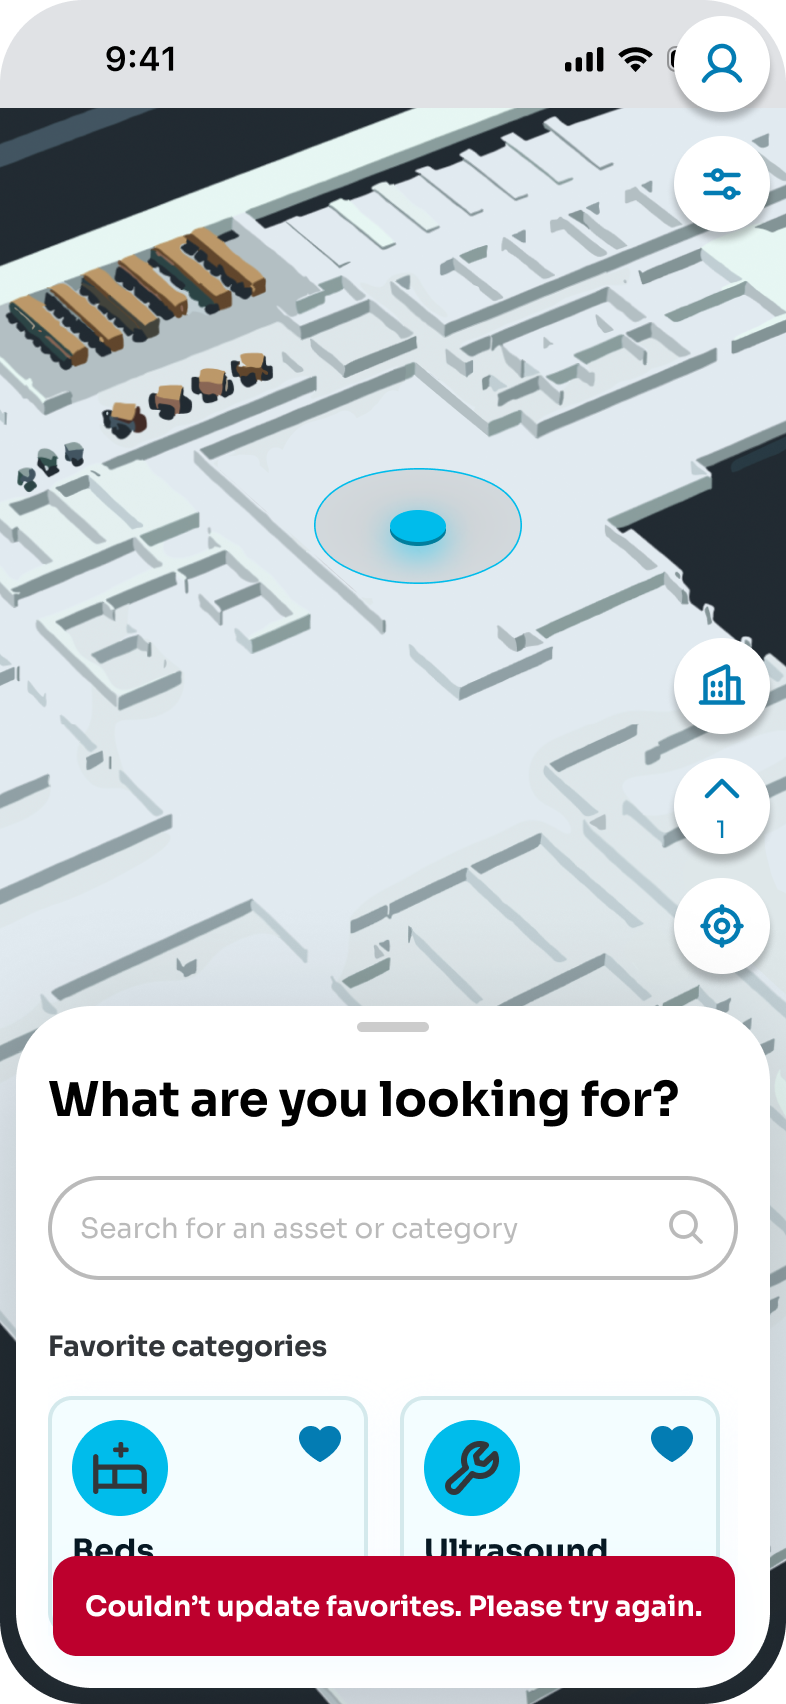
If there are no recent searches or favorite categories data, user will be presented with suggested categories pre set by their system admin
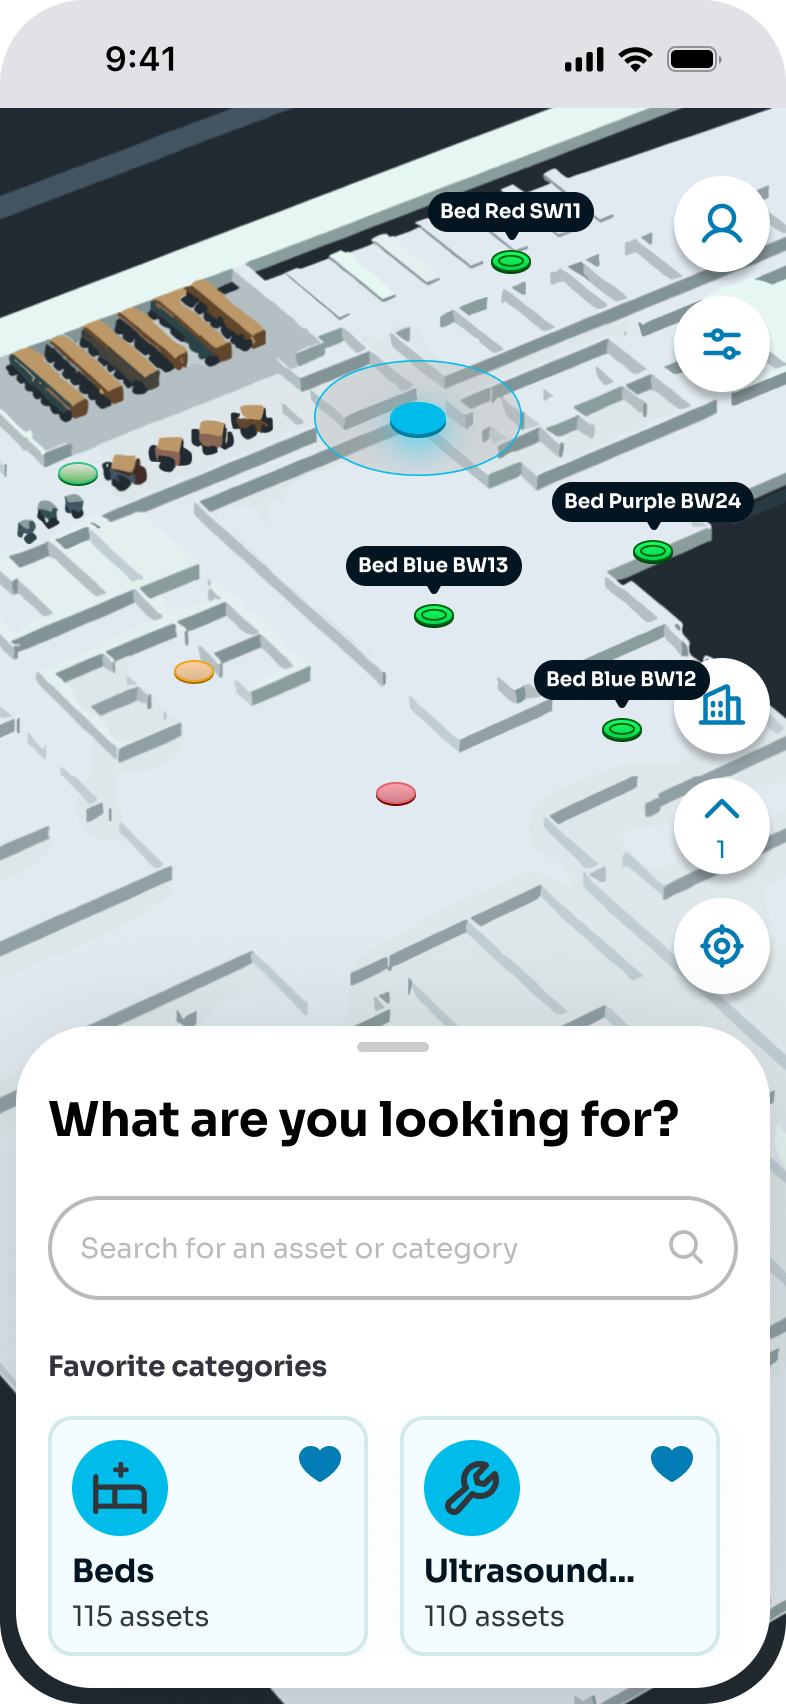
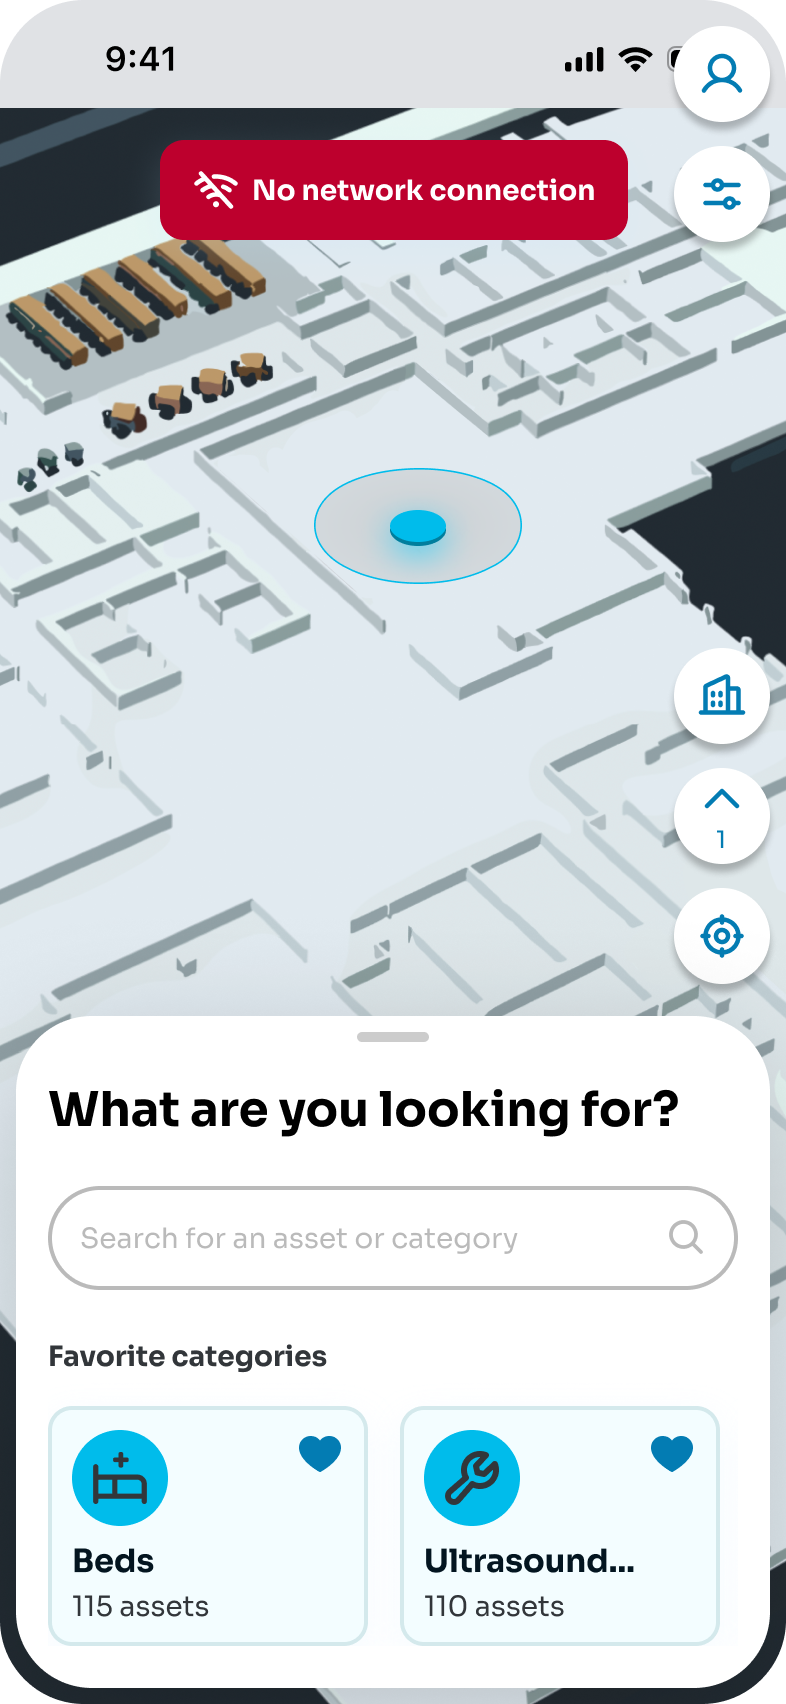
If the user already have favorite categories, the user will see they right bellow the search bar, followed by the the all categories list.
Users can also swipe up the search bottom sheet for a full screen view.
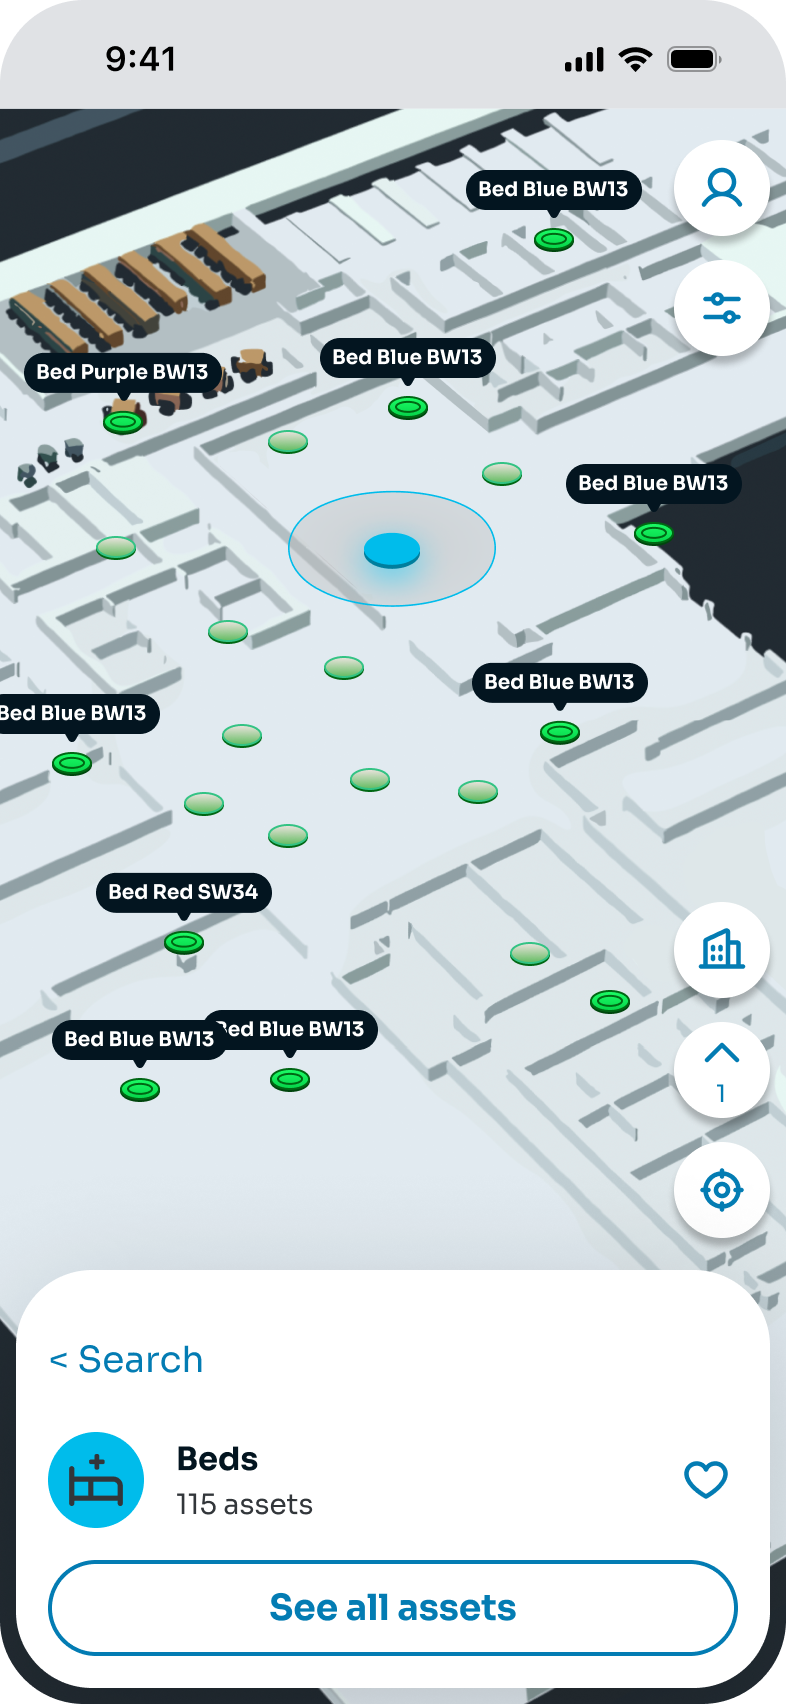
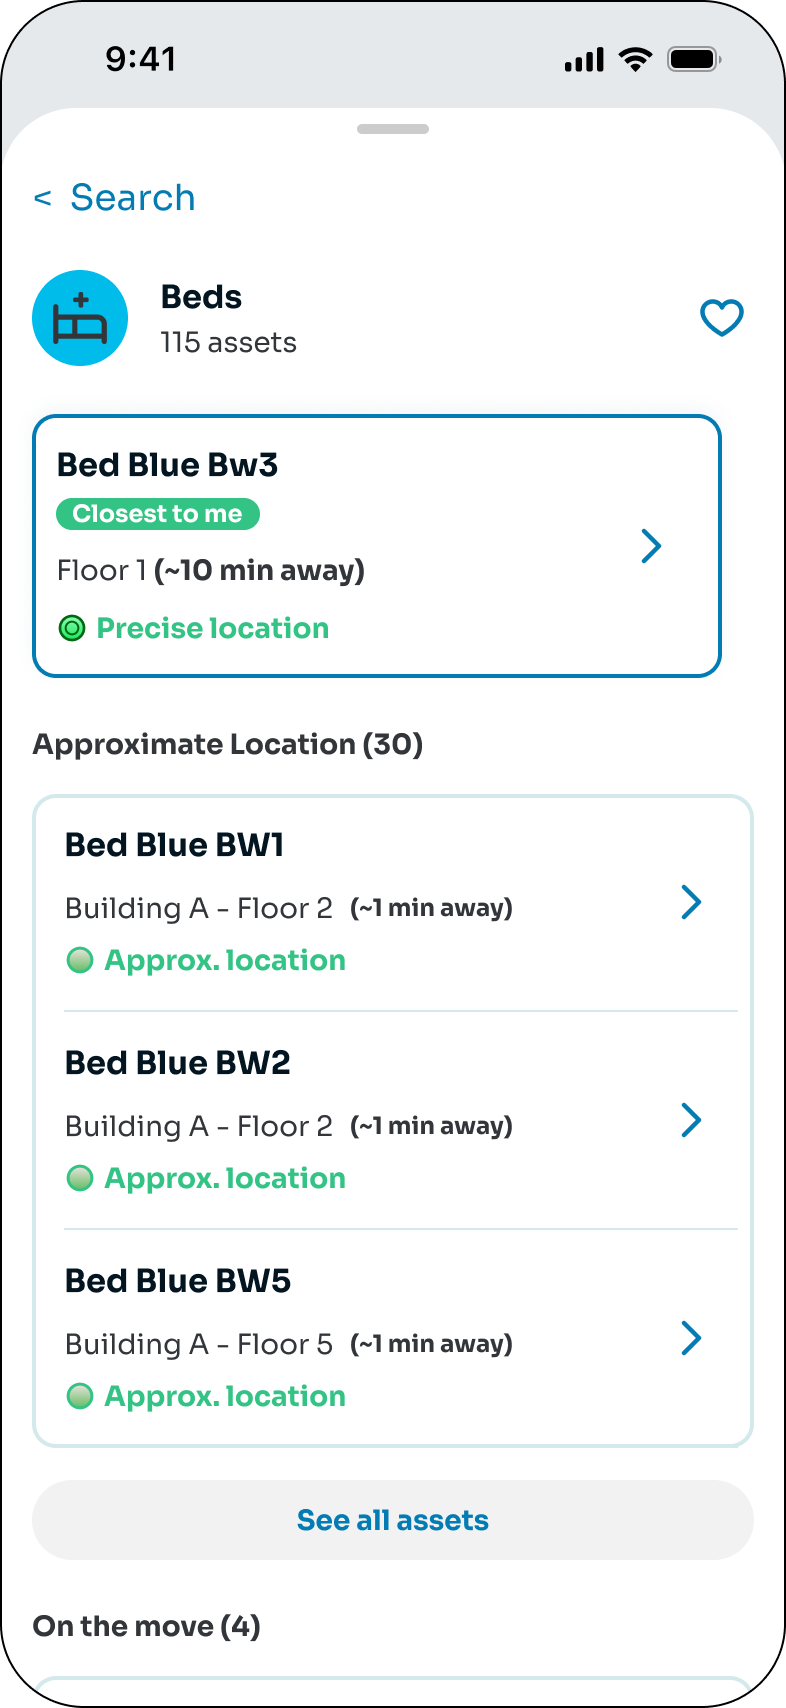
Them users can tap in any category to see the list of assets registered within it.
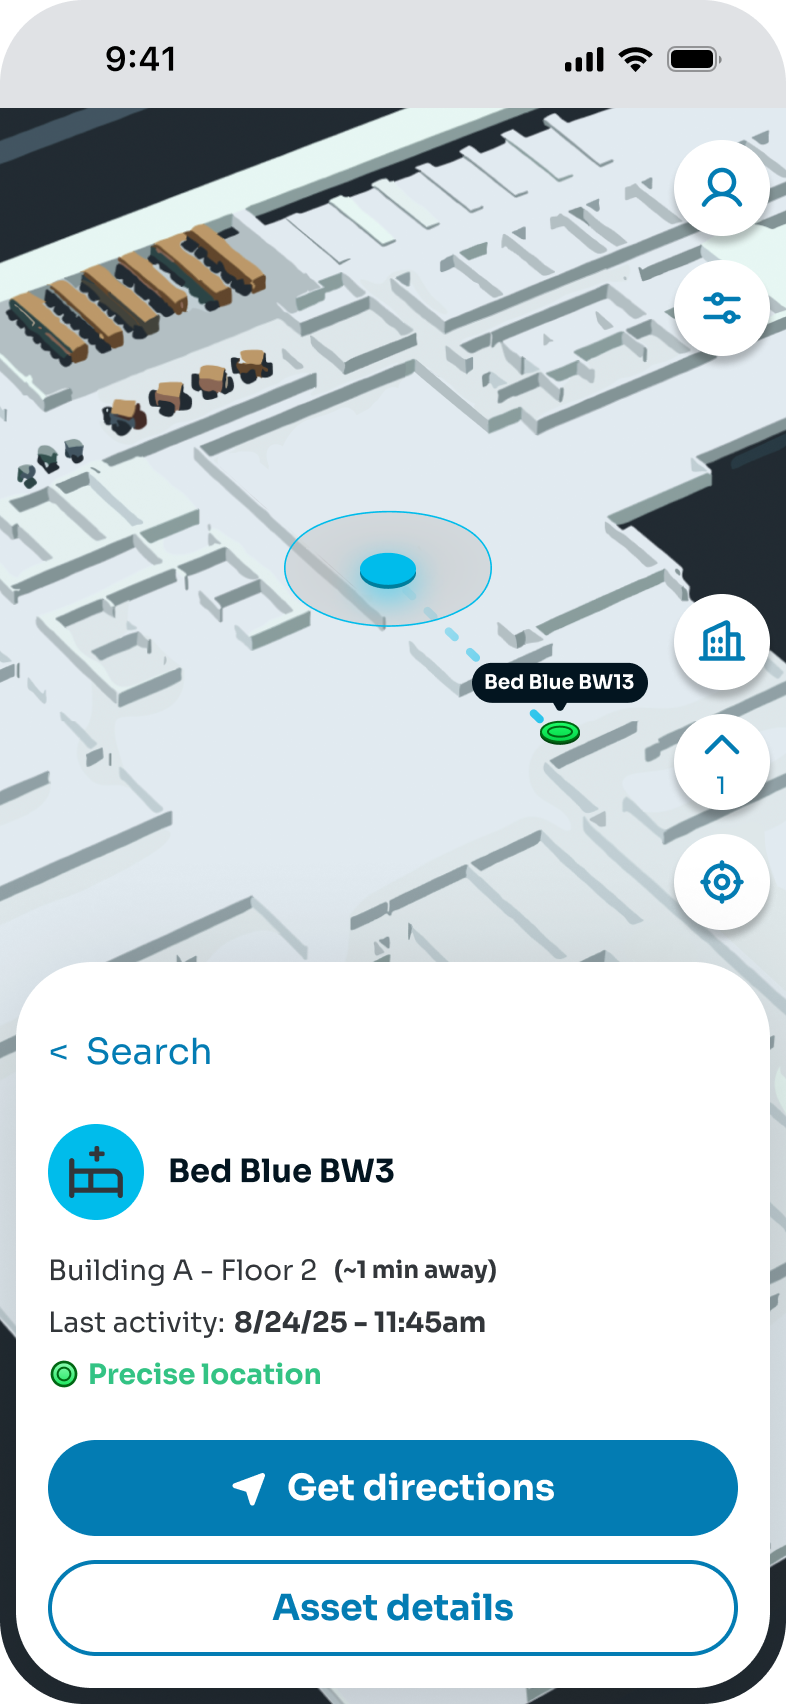
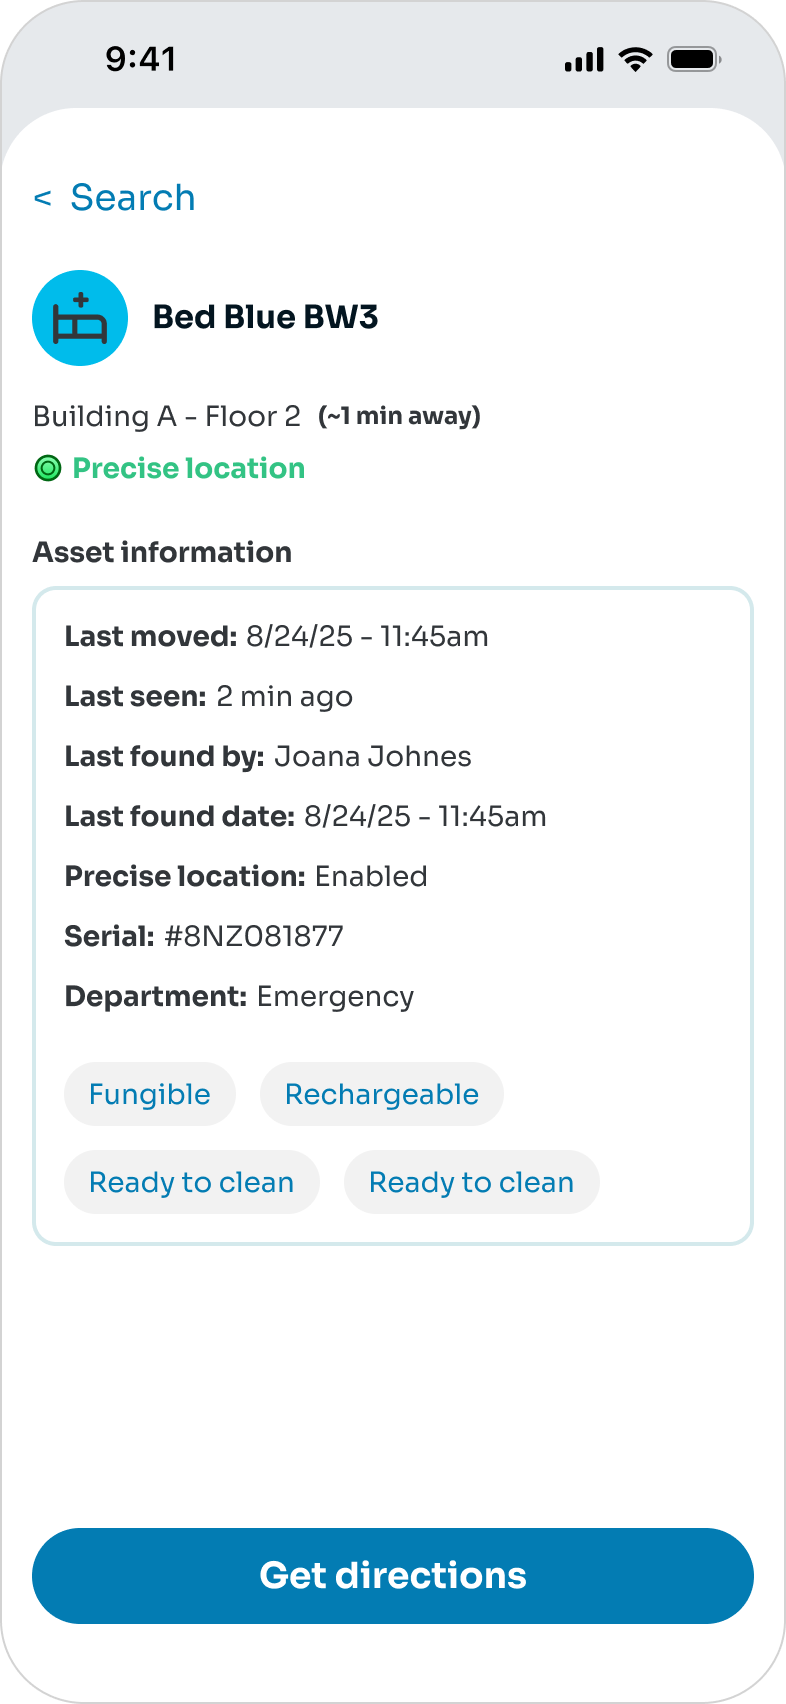
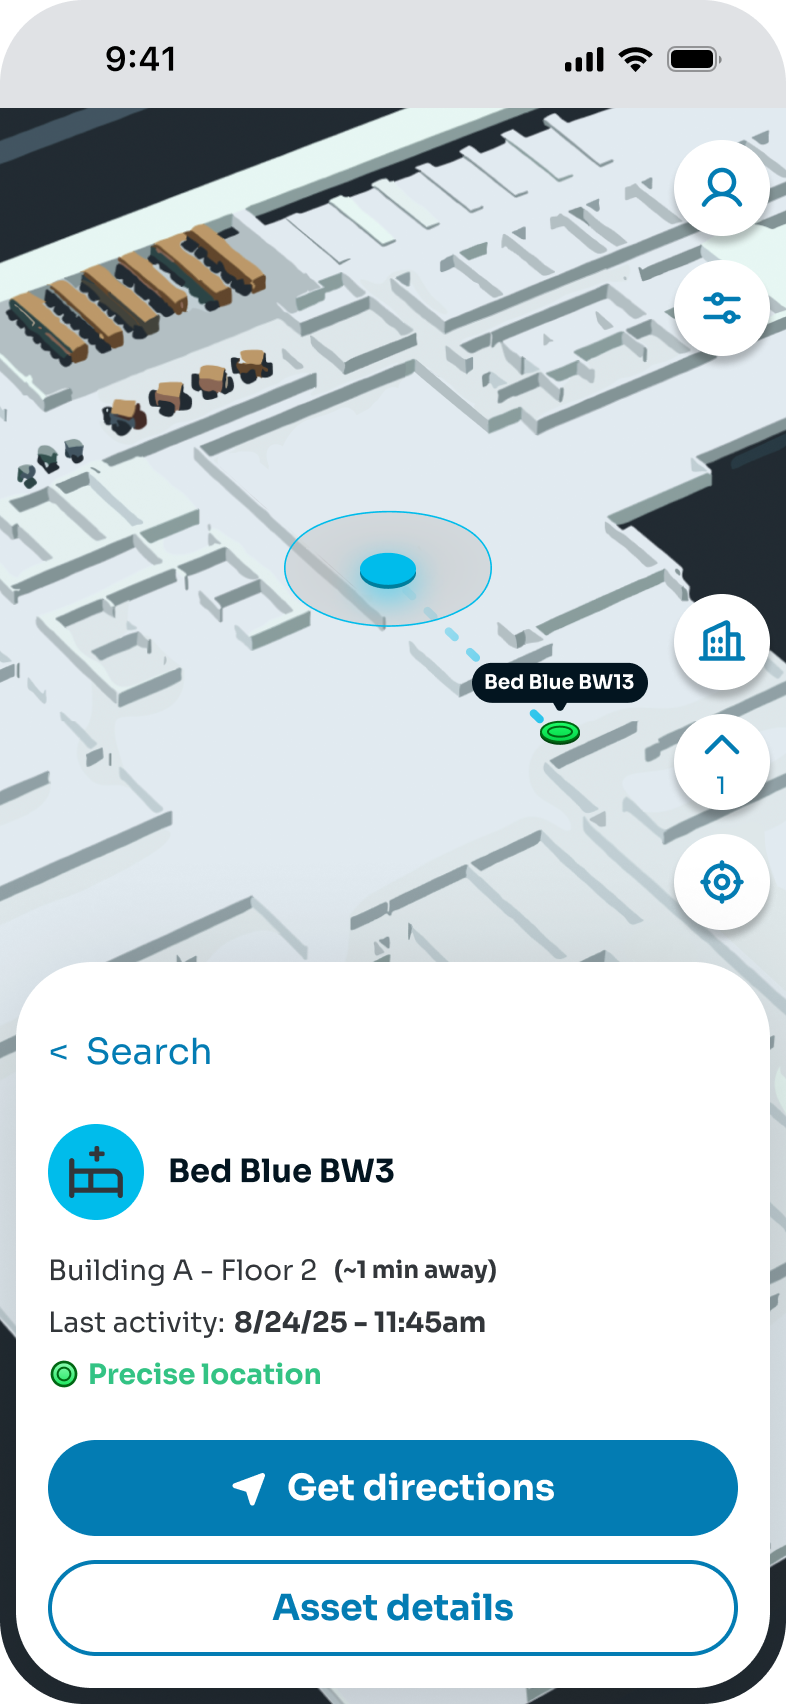
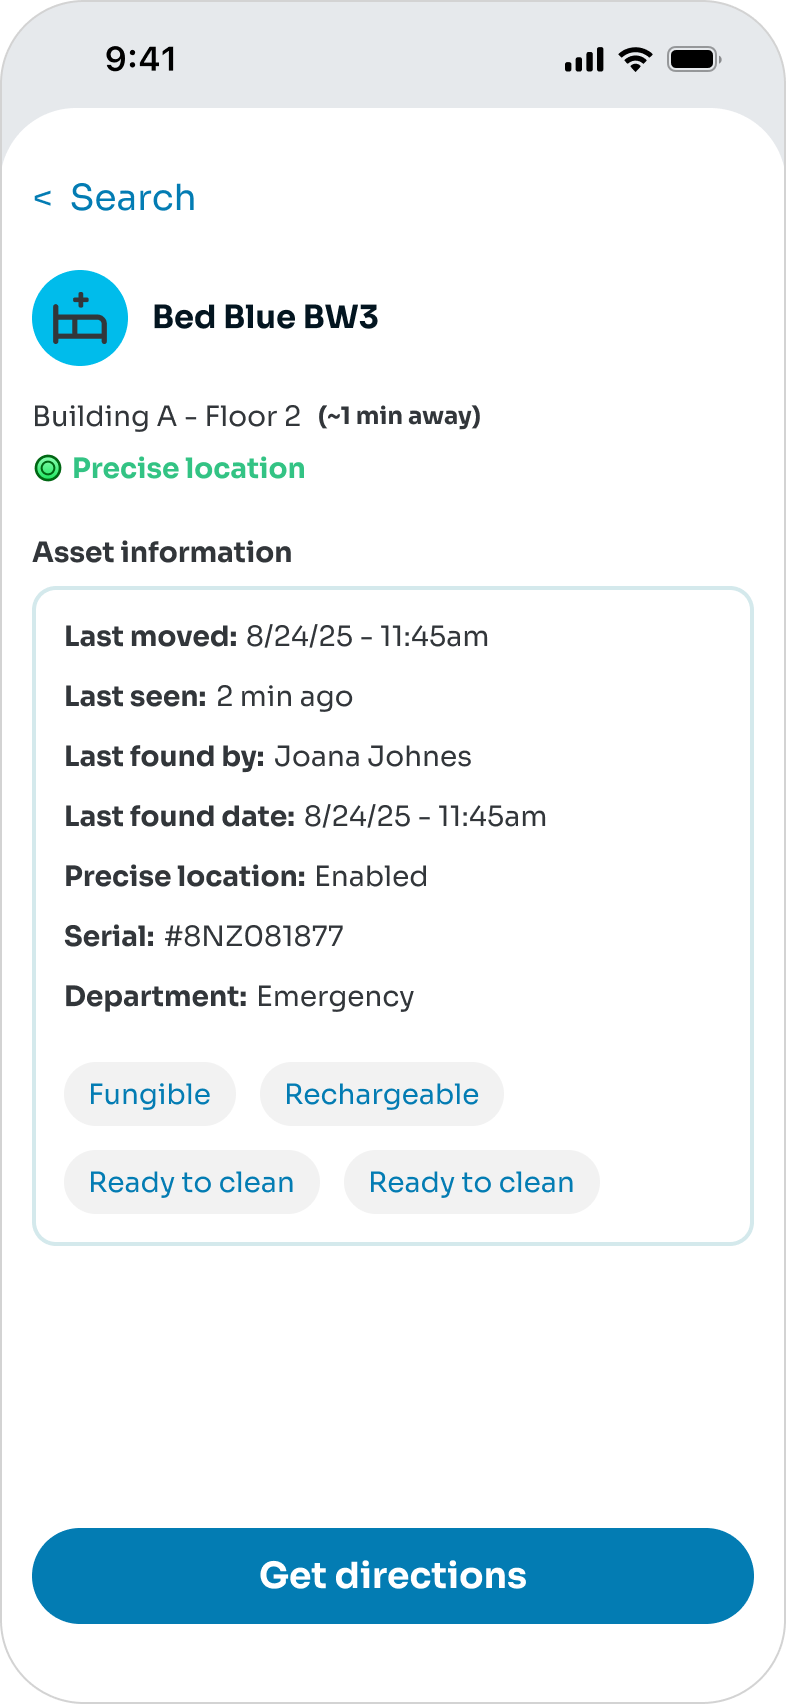
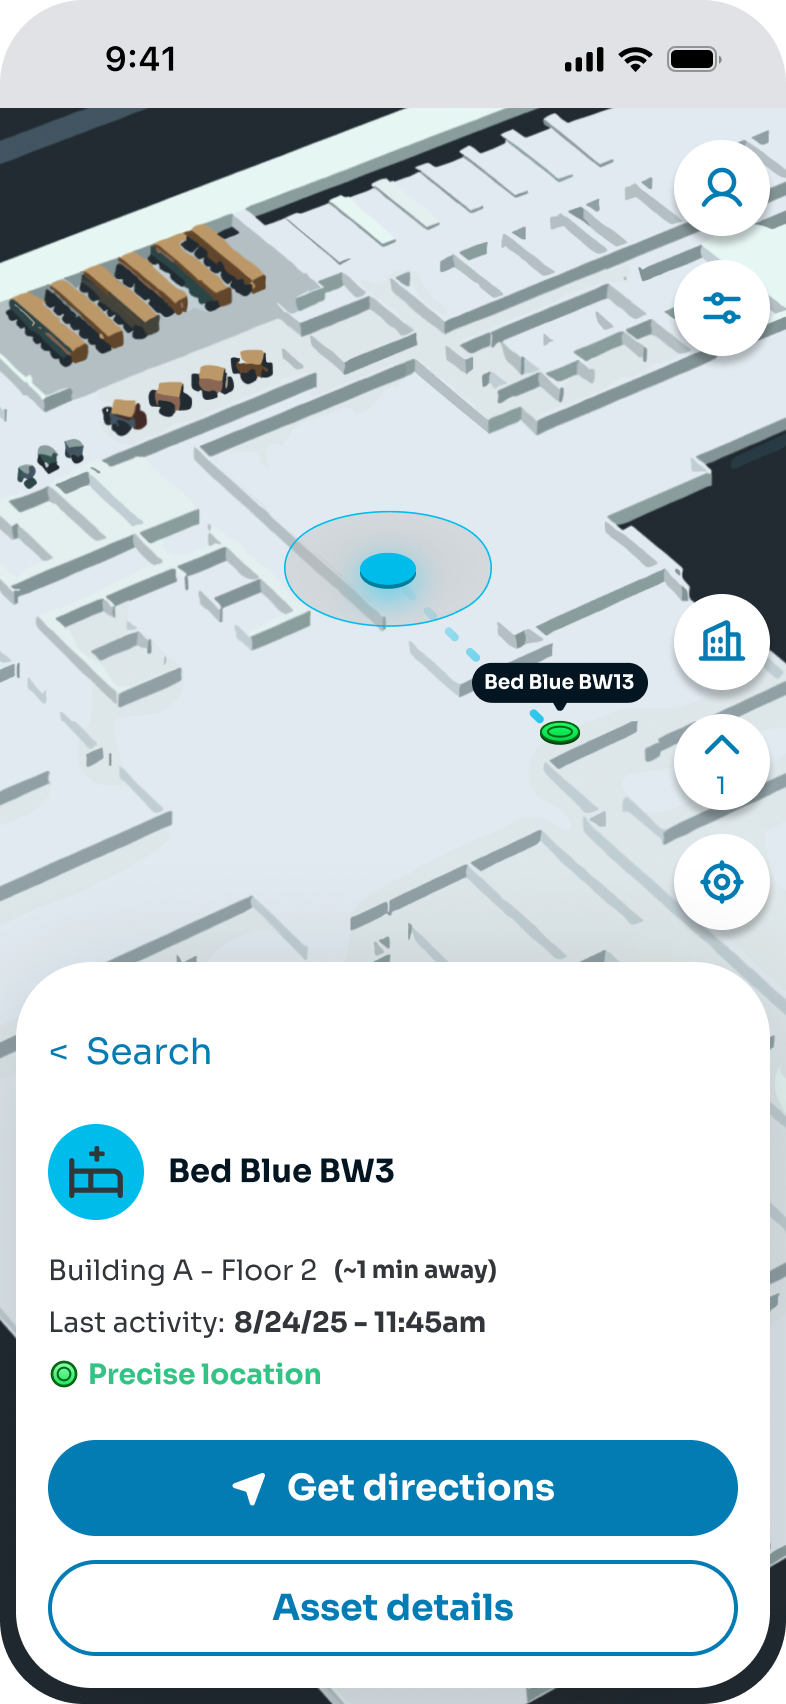
By tapping an asset on the list or in the map, users will be directed to the asset detail screen.
The asset will be highlighted on the map.
Users can swipe up to see the all the asset details and tap on ”Get directions” and start to navigate to the asset.
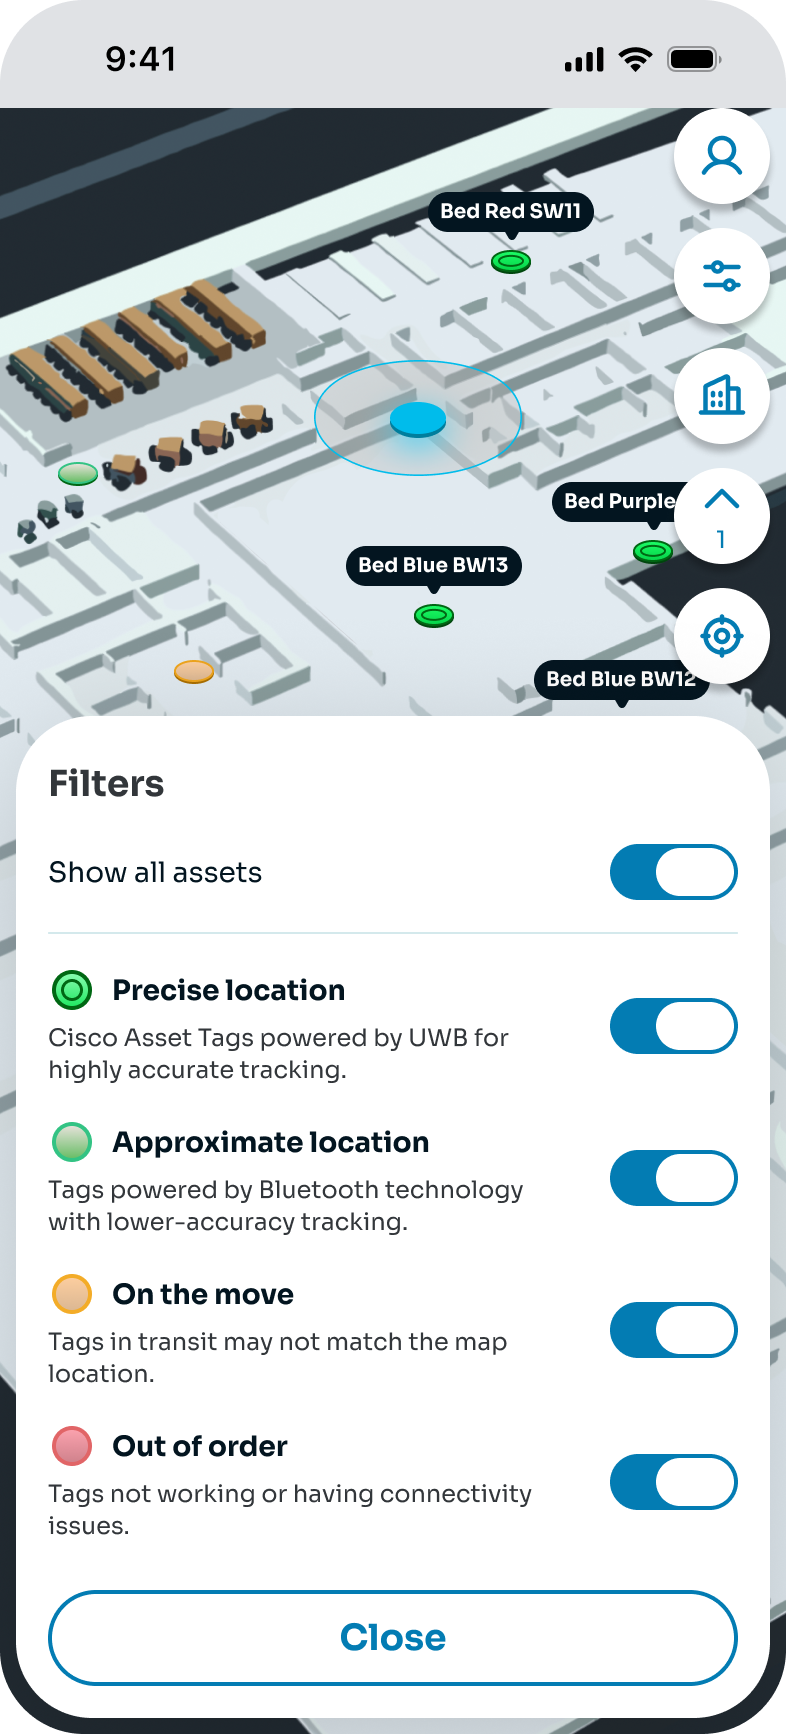
Users can filter the results the assets shown on the map by tapping the ”filters” icon button.
Here users can toggle which assets are shown on the map.
The user can also tap the asset directly on search. They will them be redirected to the asset detail screen.
This feature provides in-building navigation, guiding the user step-by-step from their current location to the selected asset within the building they are in.
Navigation works whether the asset is on the same floor as the user or on a different floor. When the asset is on another floor, the route includes the necessary floor transitions (such as stairs or elevators), and the map updates as the user advances, recalculating directions and reducing the remaining distance in real time.
To enable this experience, the user must grant the app permission to access the device’s Location (GPS), Bluetooth, and Motion & Orientation sensors. These permissions are required so the app can determine the user’s position inside the building, detect movement and heading, and keep the route accurate as the user walks.
After searching for an asset and selecting it, the user will see the option to “Get directions” to the asset.
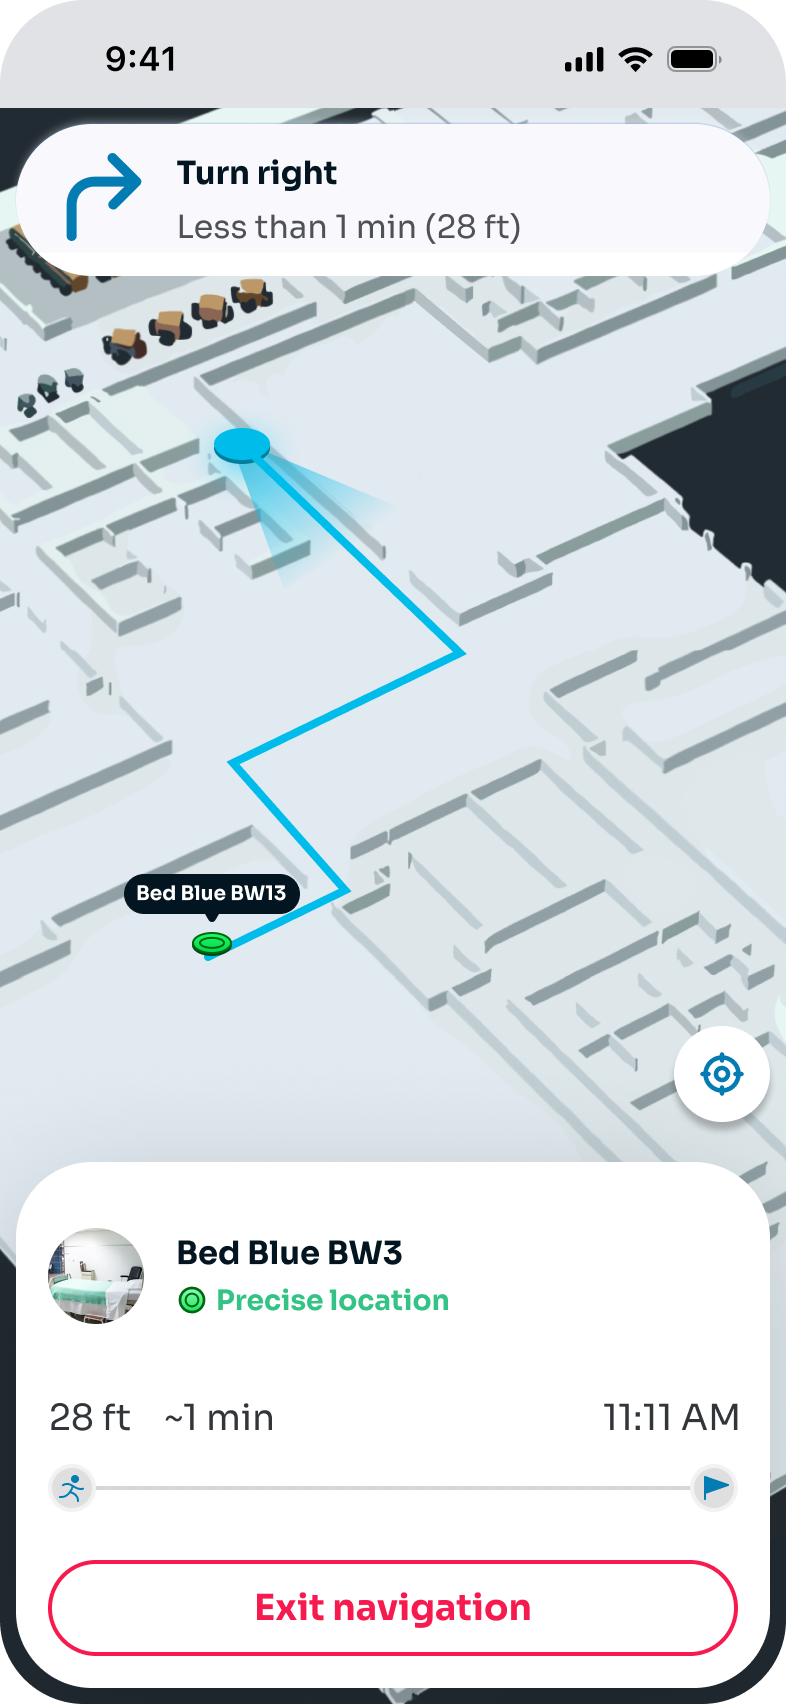
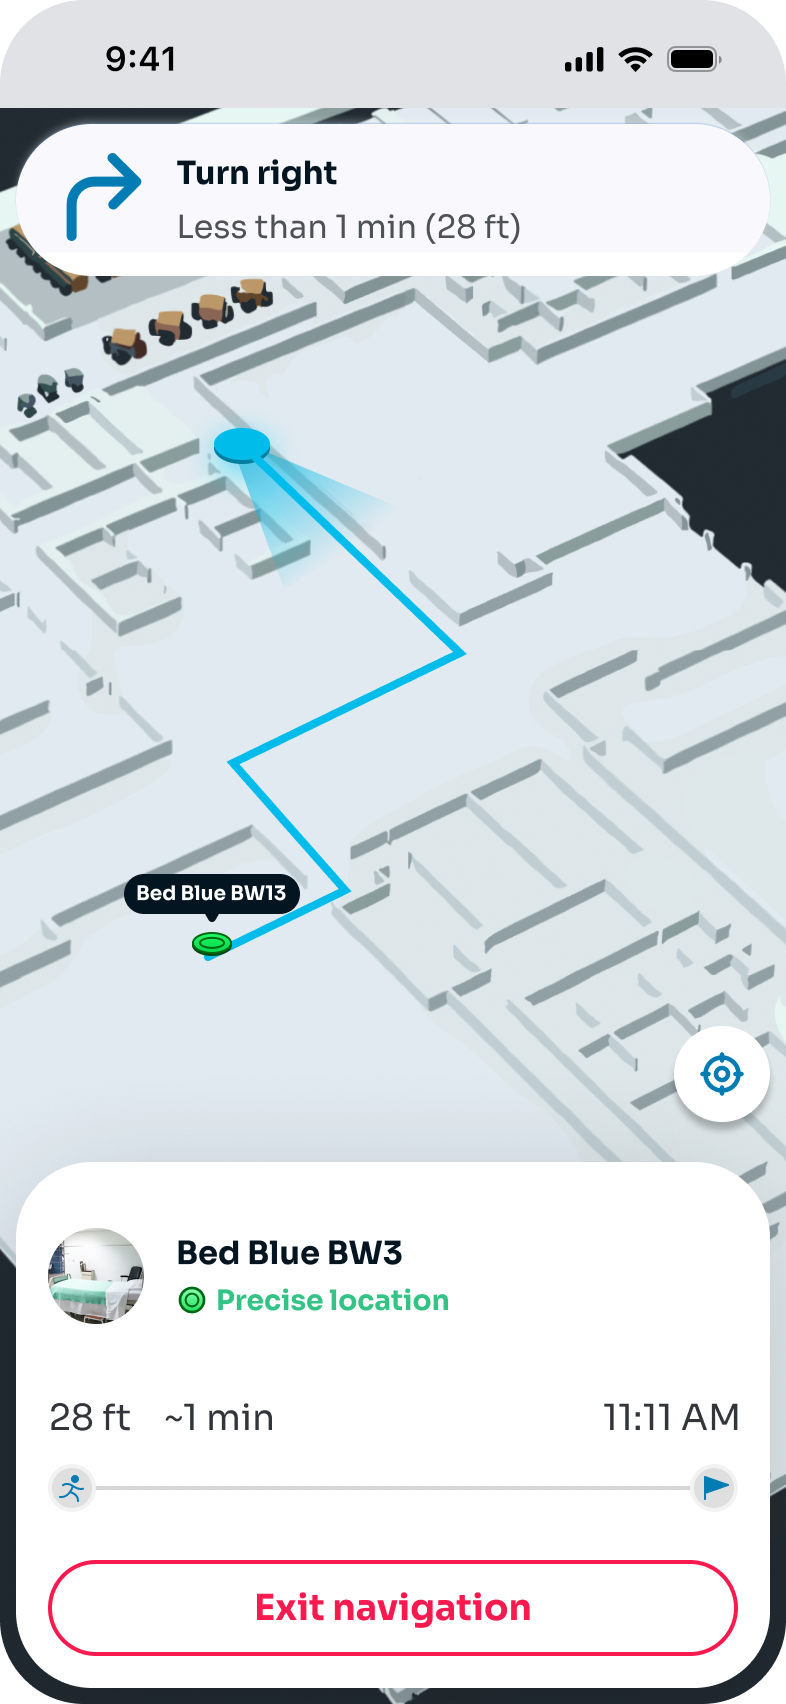
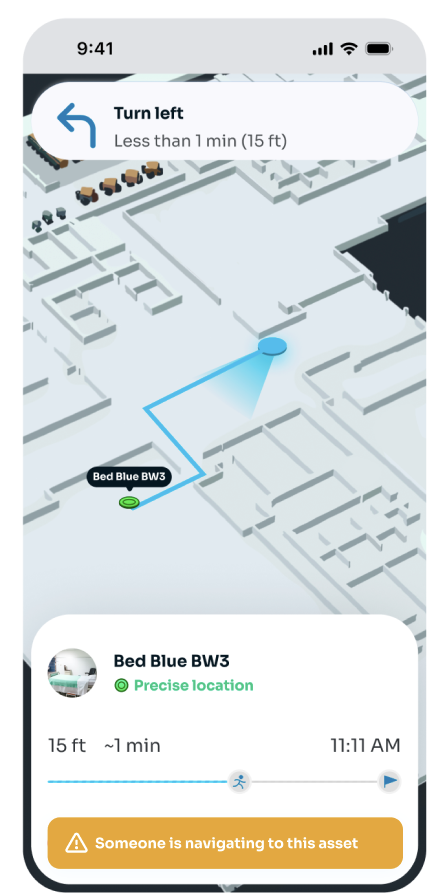
When clicking on “Get directions”, the user will see on the map the route to follow from their current location to the selected asset.
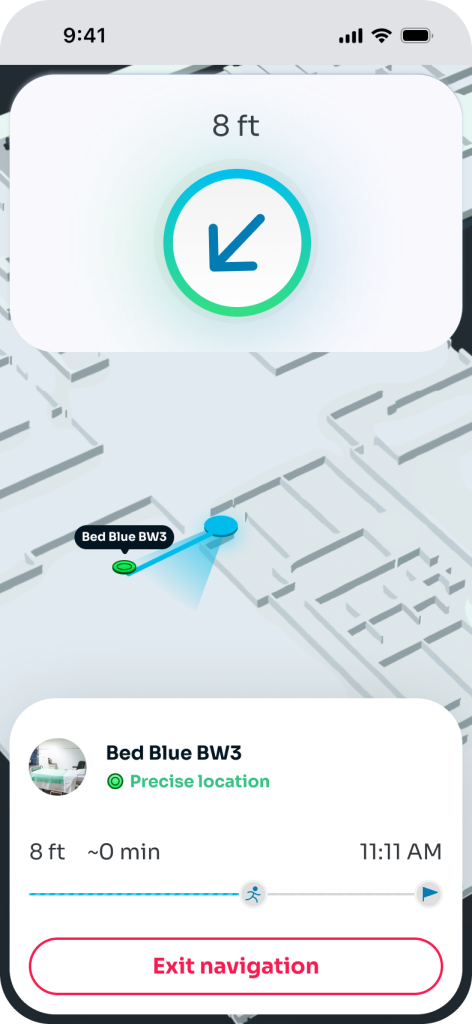
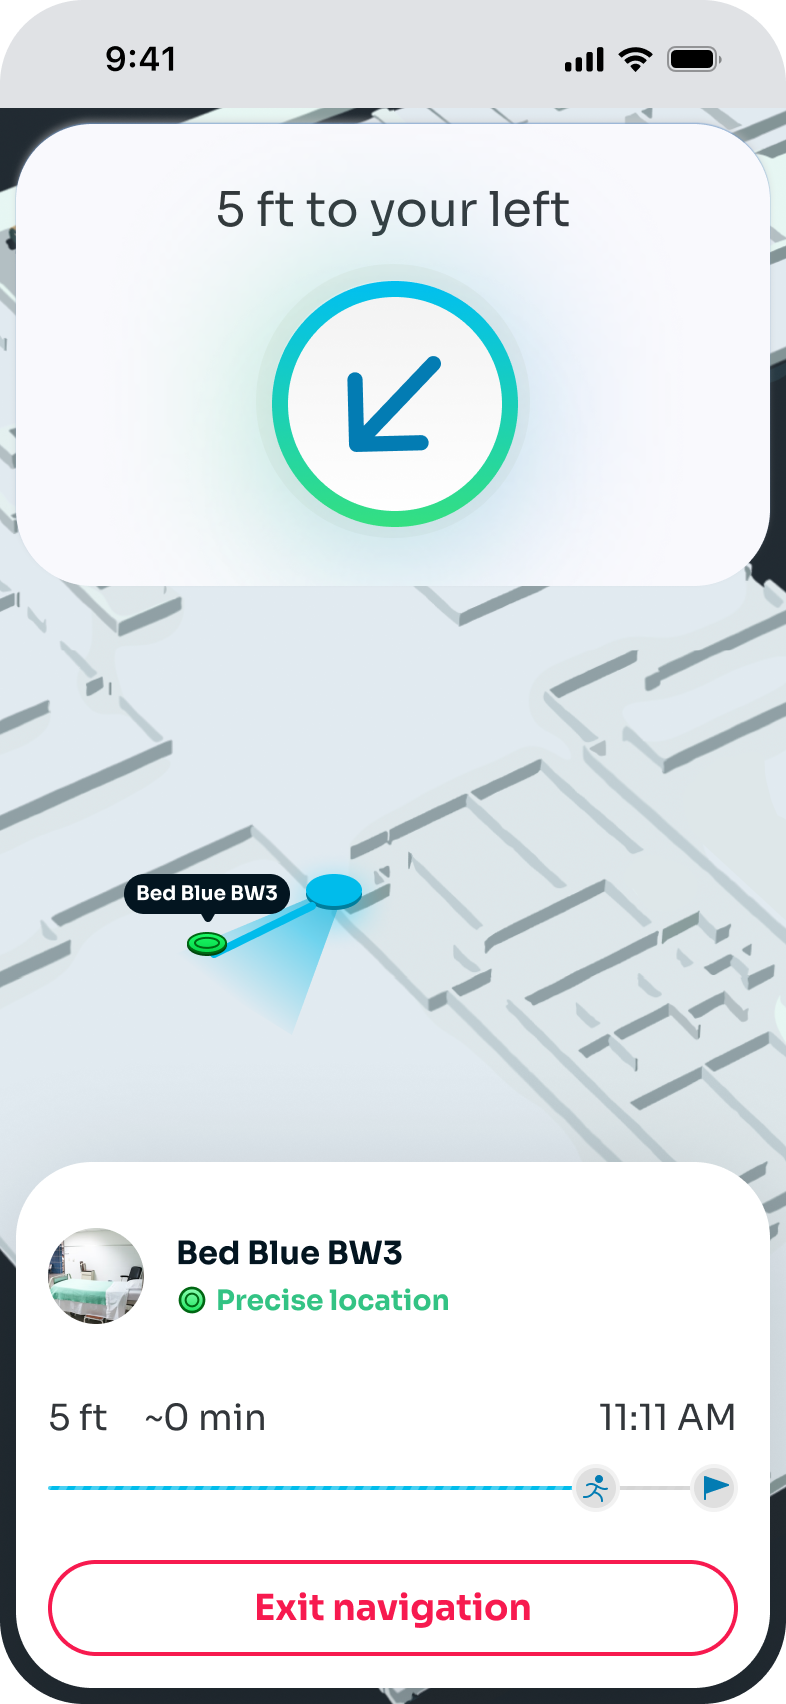
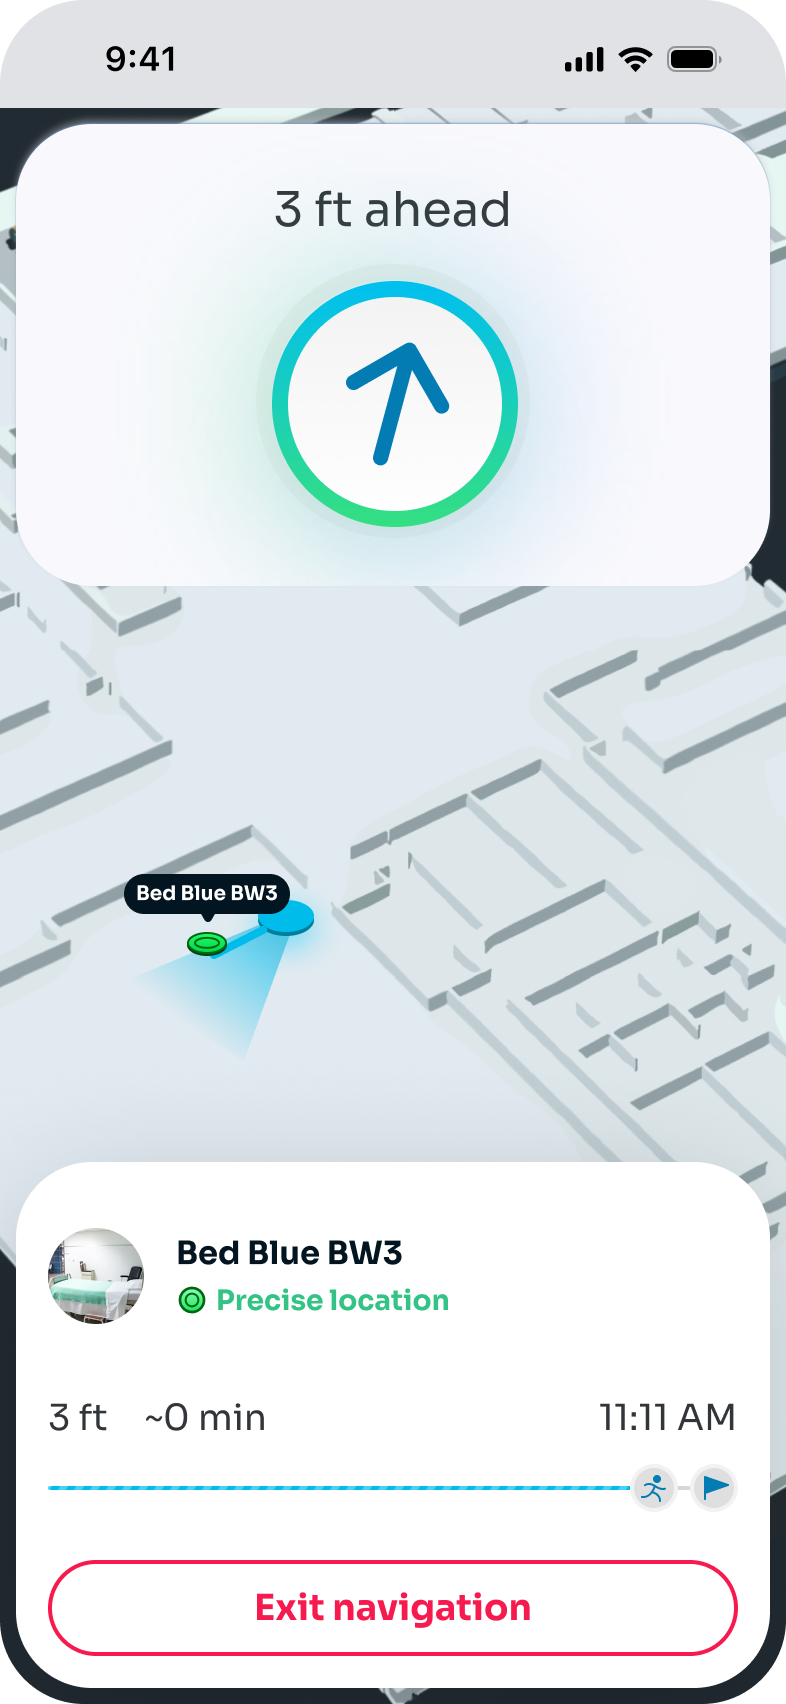
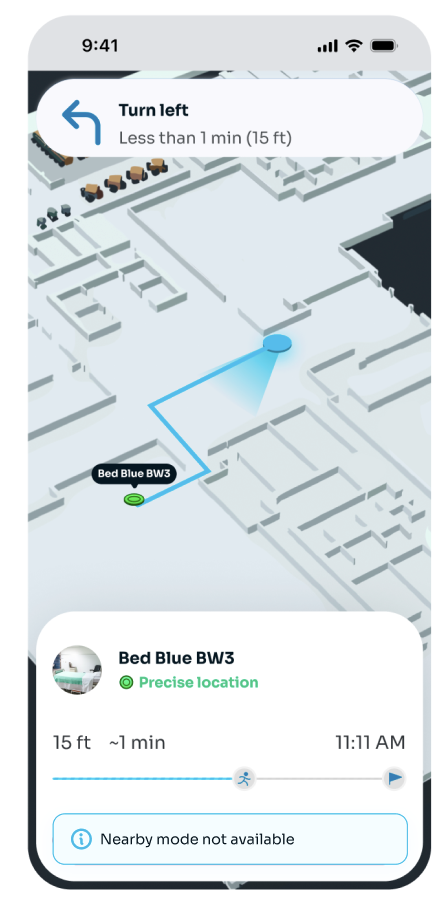
At the top of the map, the user can see their next direction, such as “Turn right”, and at the bottom of the map, the details for distance, time, and ETA to reach the asset.
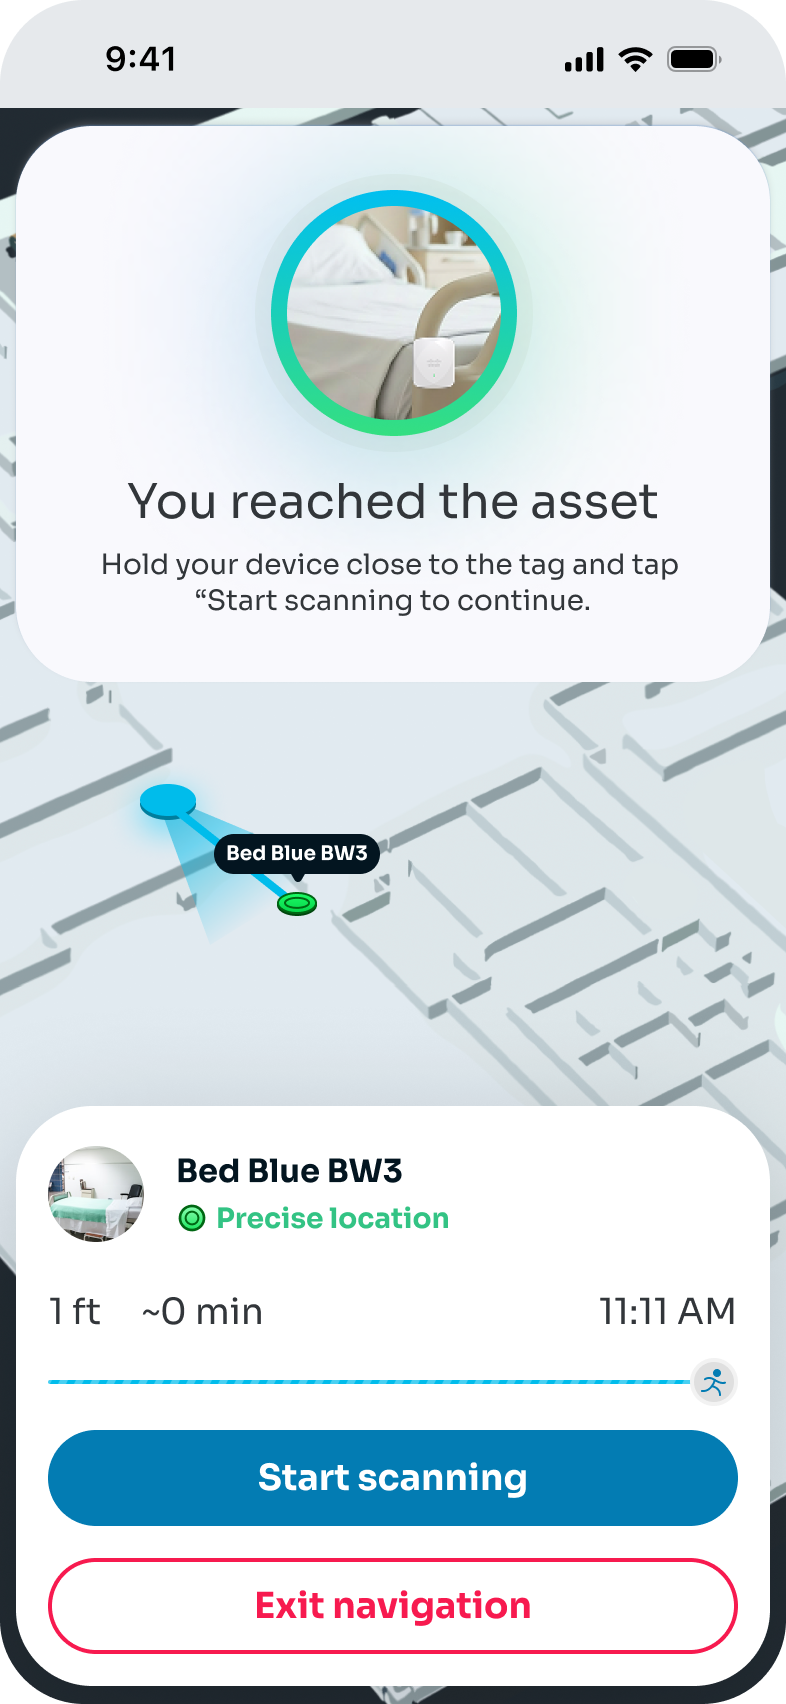
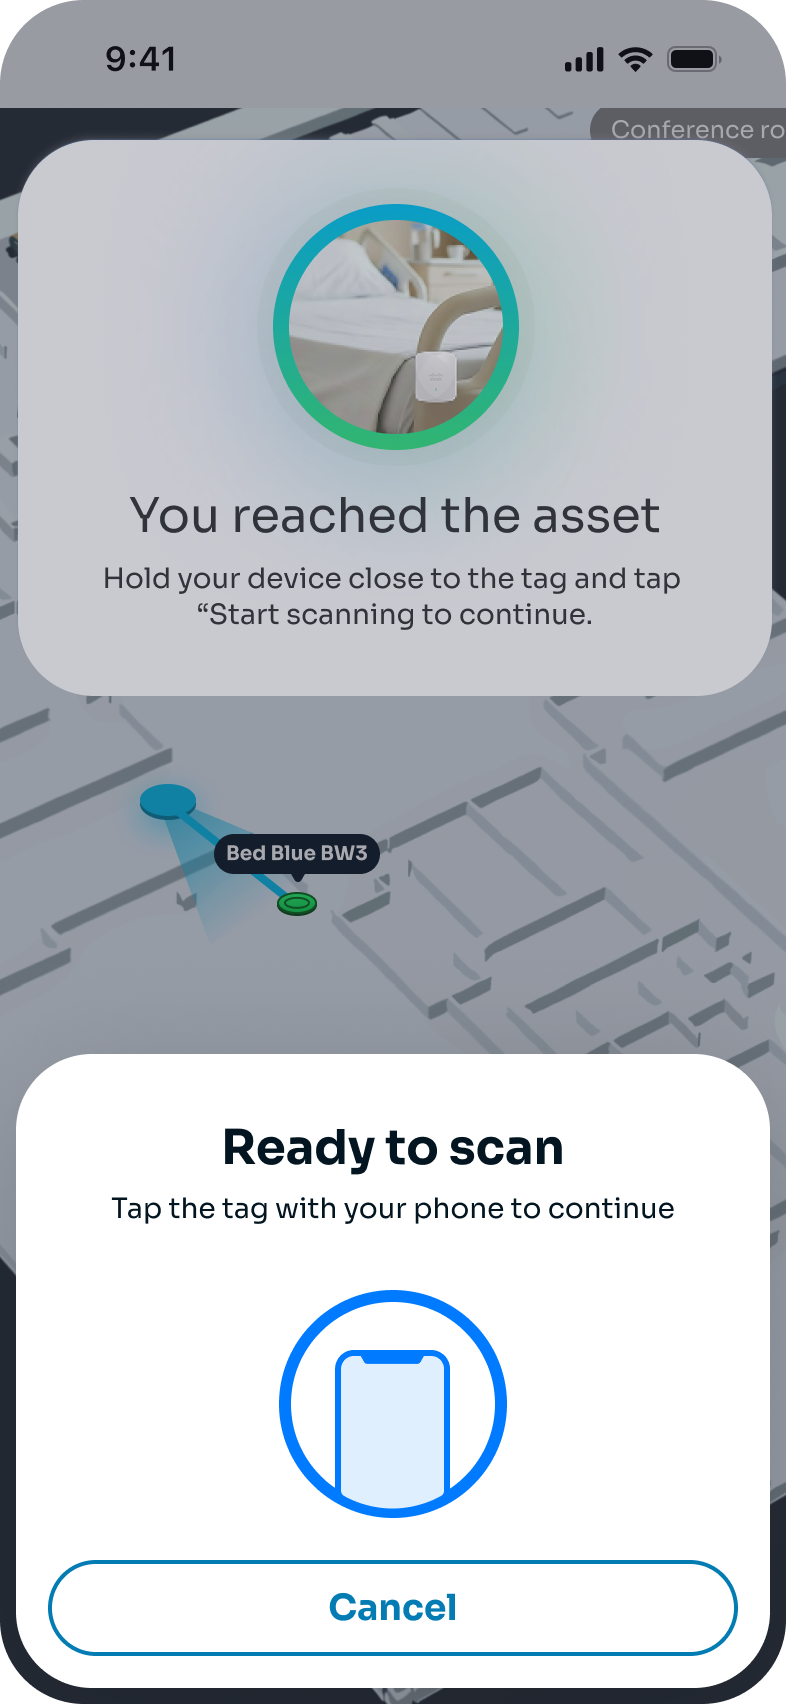
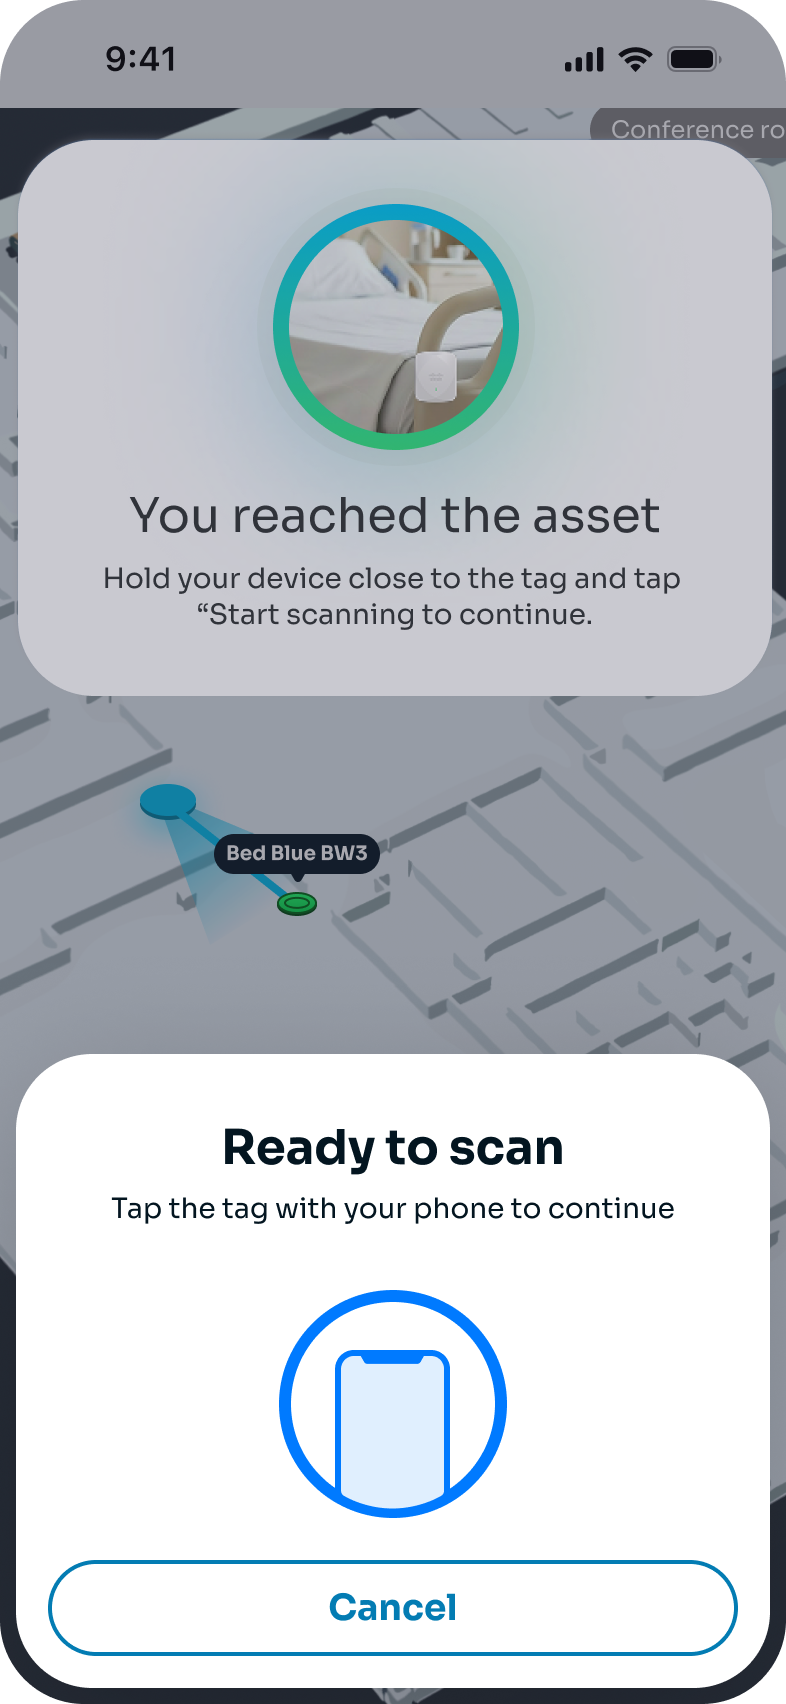
When the user gets within less than 2 ft of the asset, the app detects that the asset has been reached and automatically displays the confirmation
“You reached the asset.”
To confirm the find, the device’s NFC is automatically activated so the user can scan the tag.
(Continues in the “Found a tag” step)
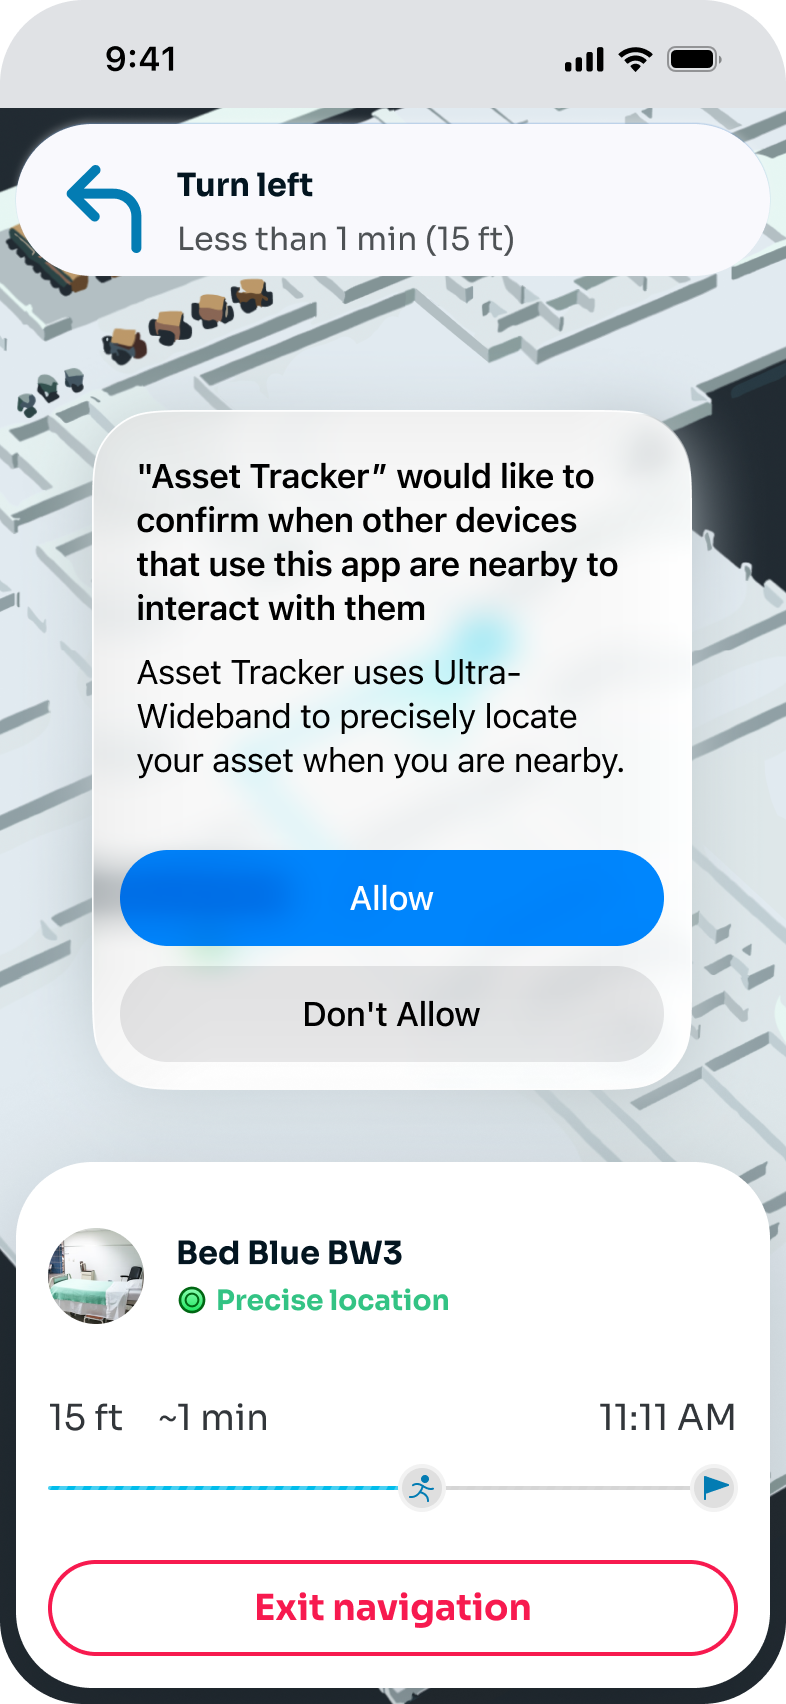
While navigating to the asset, if the tag attached to the asset supports Cisco’s Ultra-Wideband (UWB) technology, the user gains access to the “Nearby” navigation mode as they get close to the tag.
UWB is a short-range radio standard built into modern iPhones (U1/U2 chip), designed for precision finding: unlike Bluetooth or Wi-Fi, it can report both distance and direction to a paired accessory with centimeter-level precision.
In Cisco Asset Tracker App we use UWB for the very last leg of indoor navigation: while the user is far from the asset, the app guides them to the asset with a turn-by-turn route on the map; once UWB takes over, the app switches into Nearby mode and renders a live arrow plus a distance readout that points the user straight at the tag.
While navigating to the asset, if the tag attached to the asset supports Cisco’s Ultra-Wideband (UWB) technology, the user gains access to the “Nearby” navigation mode as they get close to the tag.
Once both permissions are granted, Nearby mode is activated.
During activation, the user briefly sees only the asset’s image and its distance for a few seconds.
After a few seconds, the user sees a large arrow along with the distance to the asset.
This arrow points to the direction where the asset is located at close range.
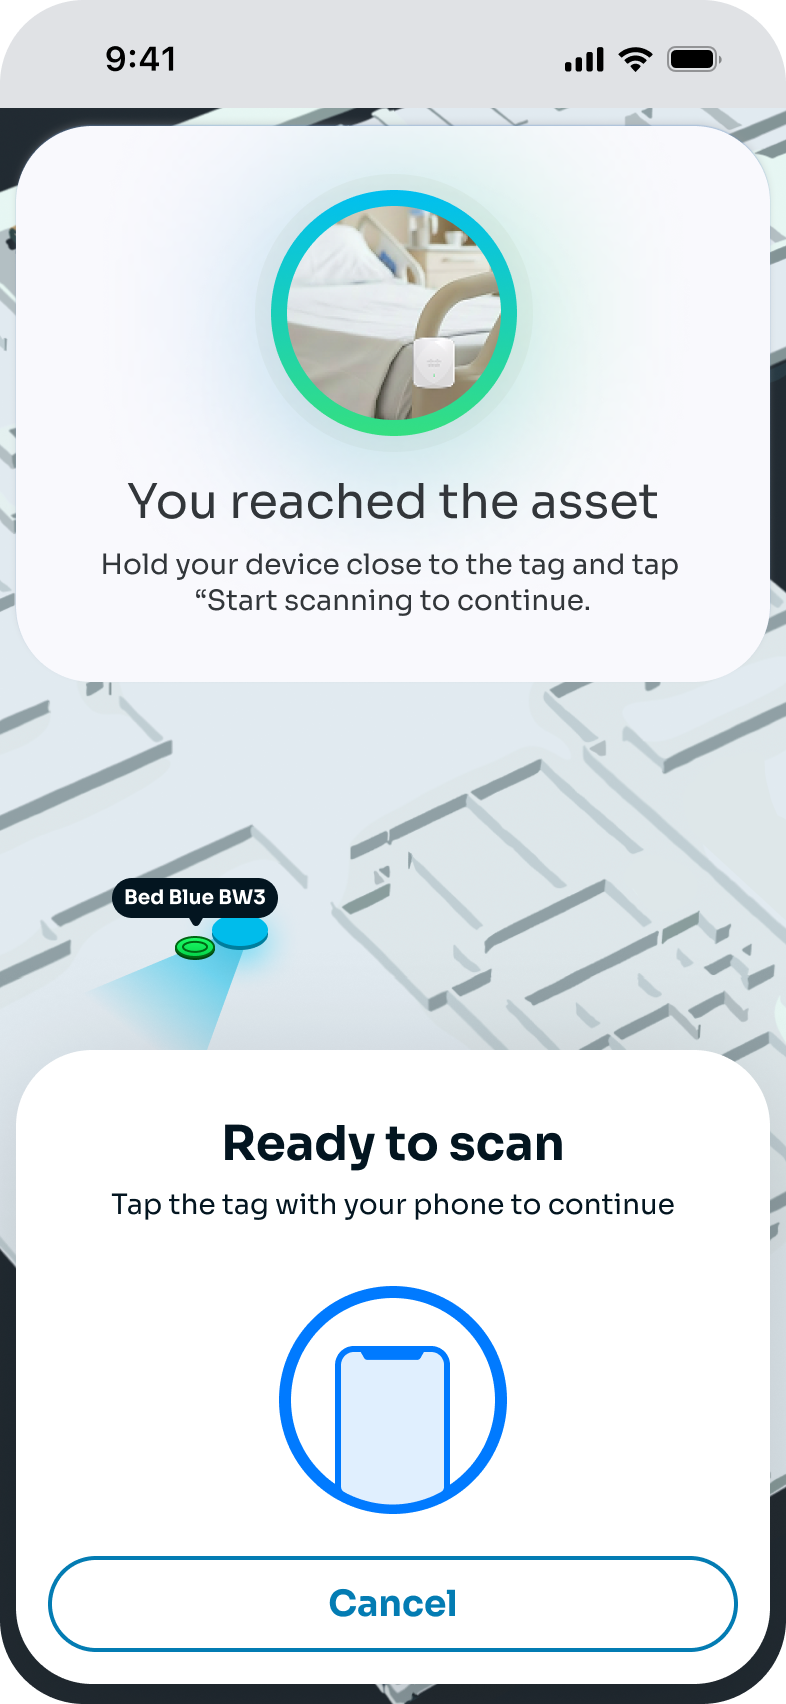
When the user gets within less than 3 ft of the asset, the app detects that the asset has been reached and automatically displays the confirmation
“You reached the asset.“
To confirm the find, the device’s NFC is automatically activated so the user can scan the tag.
(Continues in the “Tap a tag” step.)
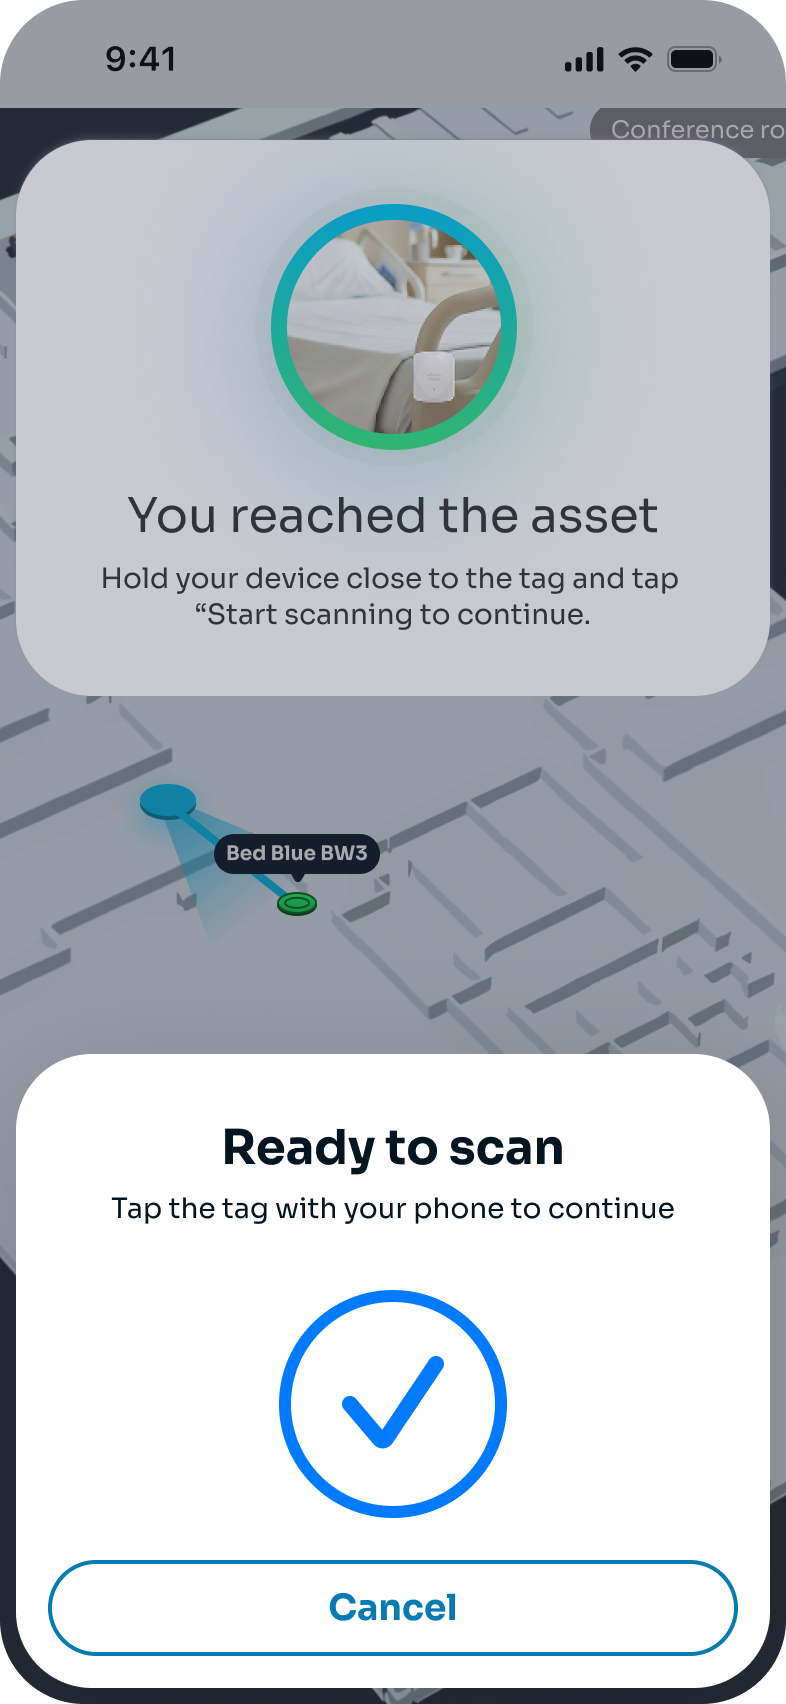
As the user moves toward a target asset, the app continuously tracks proximity and, once the device is within 3 ft of the asset, automatically displays the “You reached the asset.” confirmation. At that moment, the device’s NFC reader is activated automatically signaling the user that the asset is ready to be physically confirmed by scanning its tag.
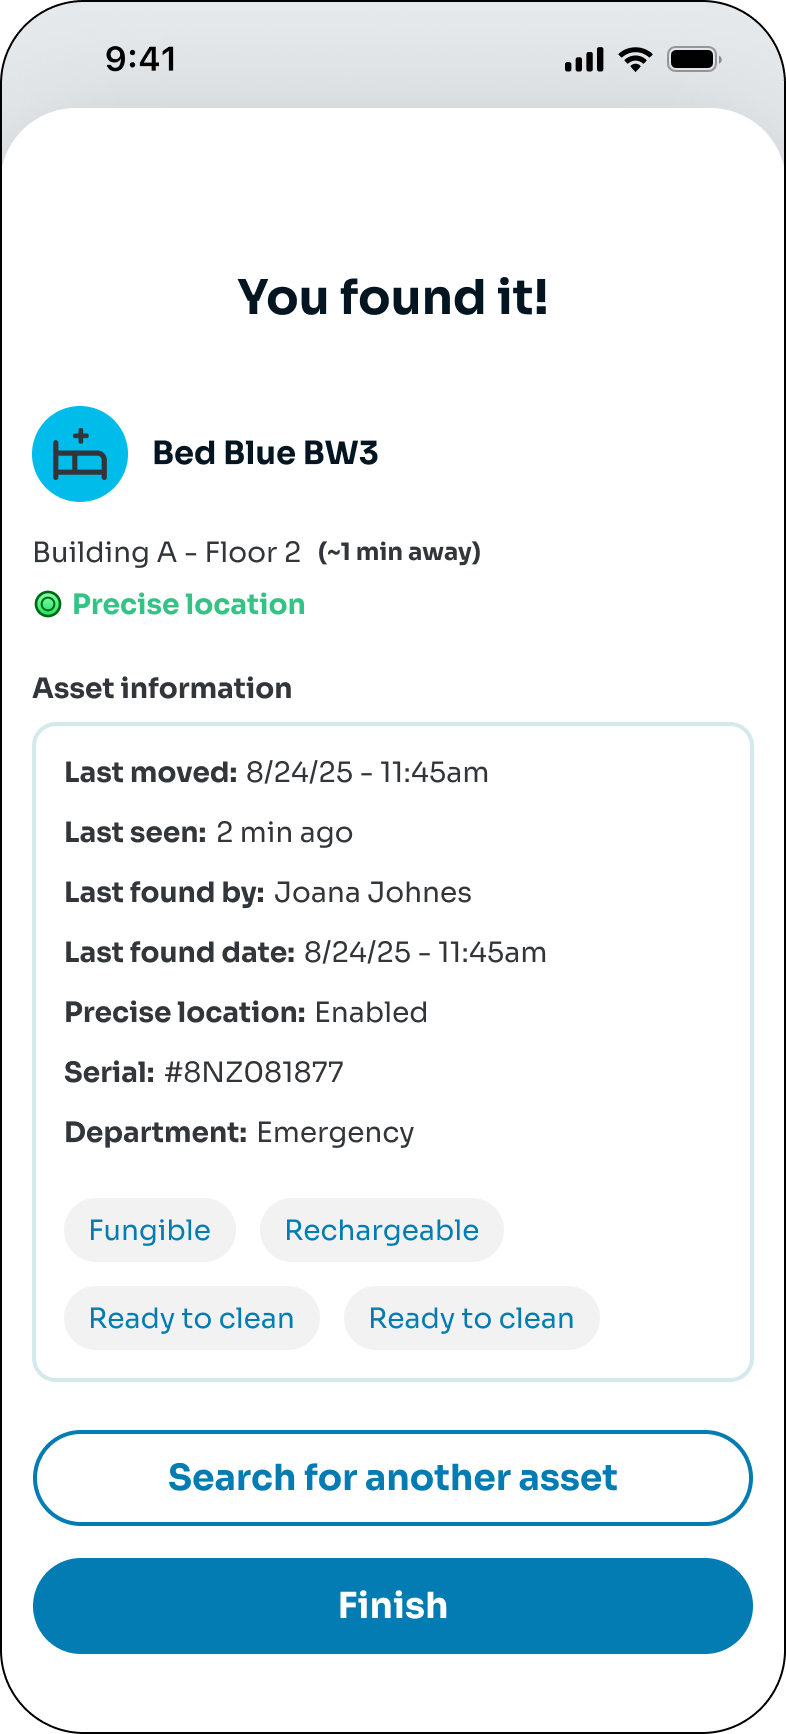
To complete the find, the user simply brings the device close to the Cisco Asset Tag attached to the asset. Once the tag is recognized, the app displays the asset’s information and gives the user a clear next step: end the navigation session or search for a new asset.
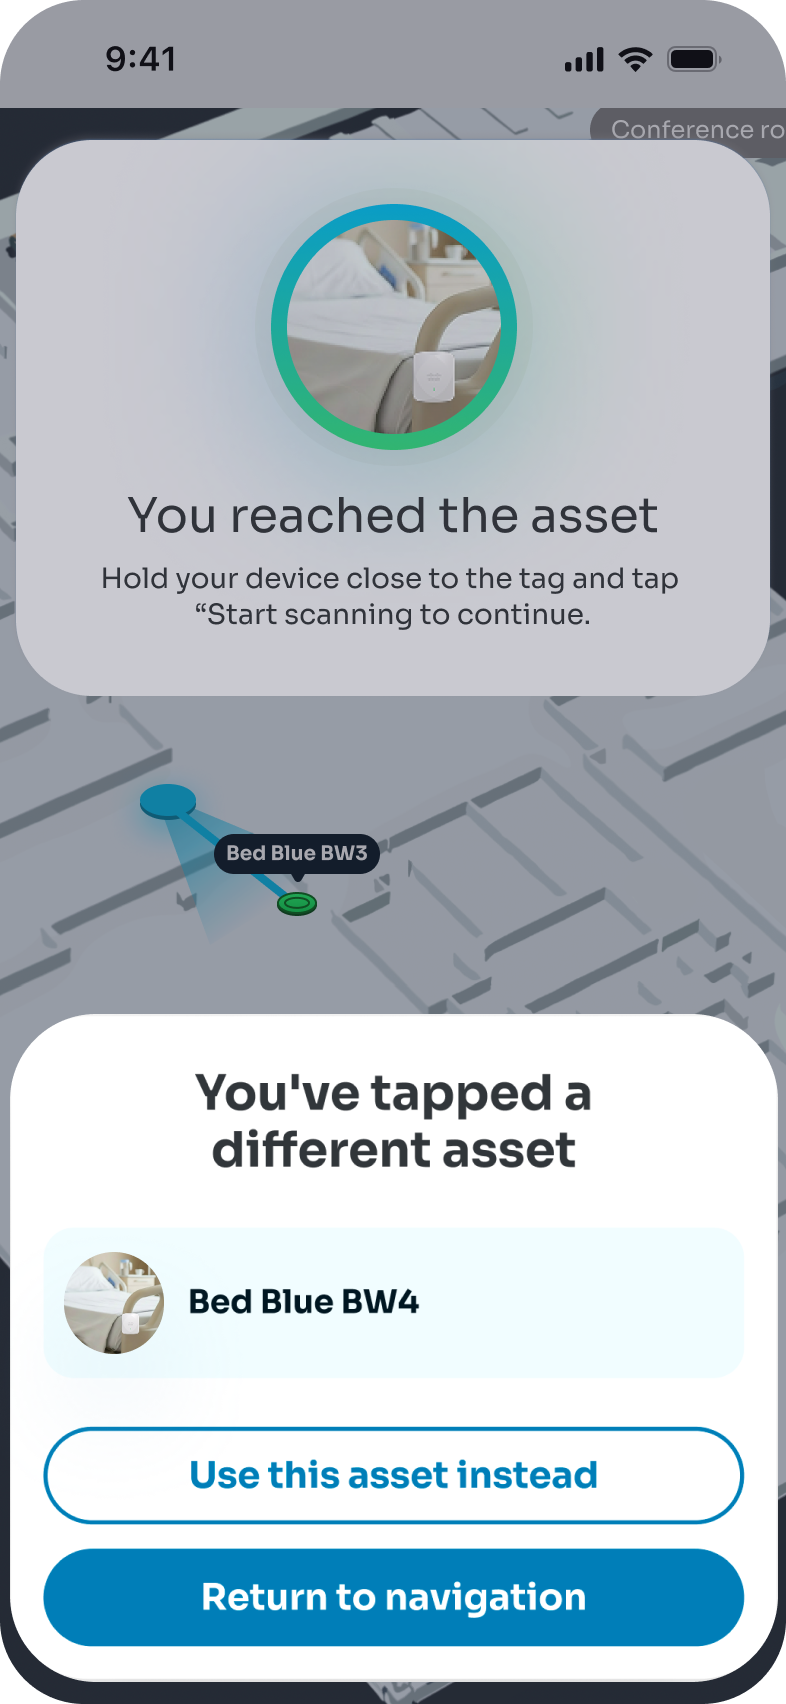
This handoff between proximity detection and tag confirmation ensures the user has located the exact physical asset, not just an approximate area, which is critical in environments with multiple assets in close range.
When the user gets within less than 3 ft of the target asset, the app detects that the asset has been reached and automatically displays the confirmation
“You reached the asset.”
To confirm the find, the device’s NFC is automatically activated so the user can scan the tag.
If the scan or NFC read fails, the “Connection failed” screen appears. The user can tap “Try again” to retry. This error typically occurs when the device is brought to the tag too abruptly.
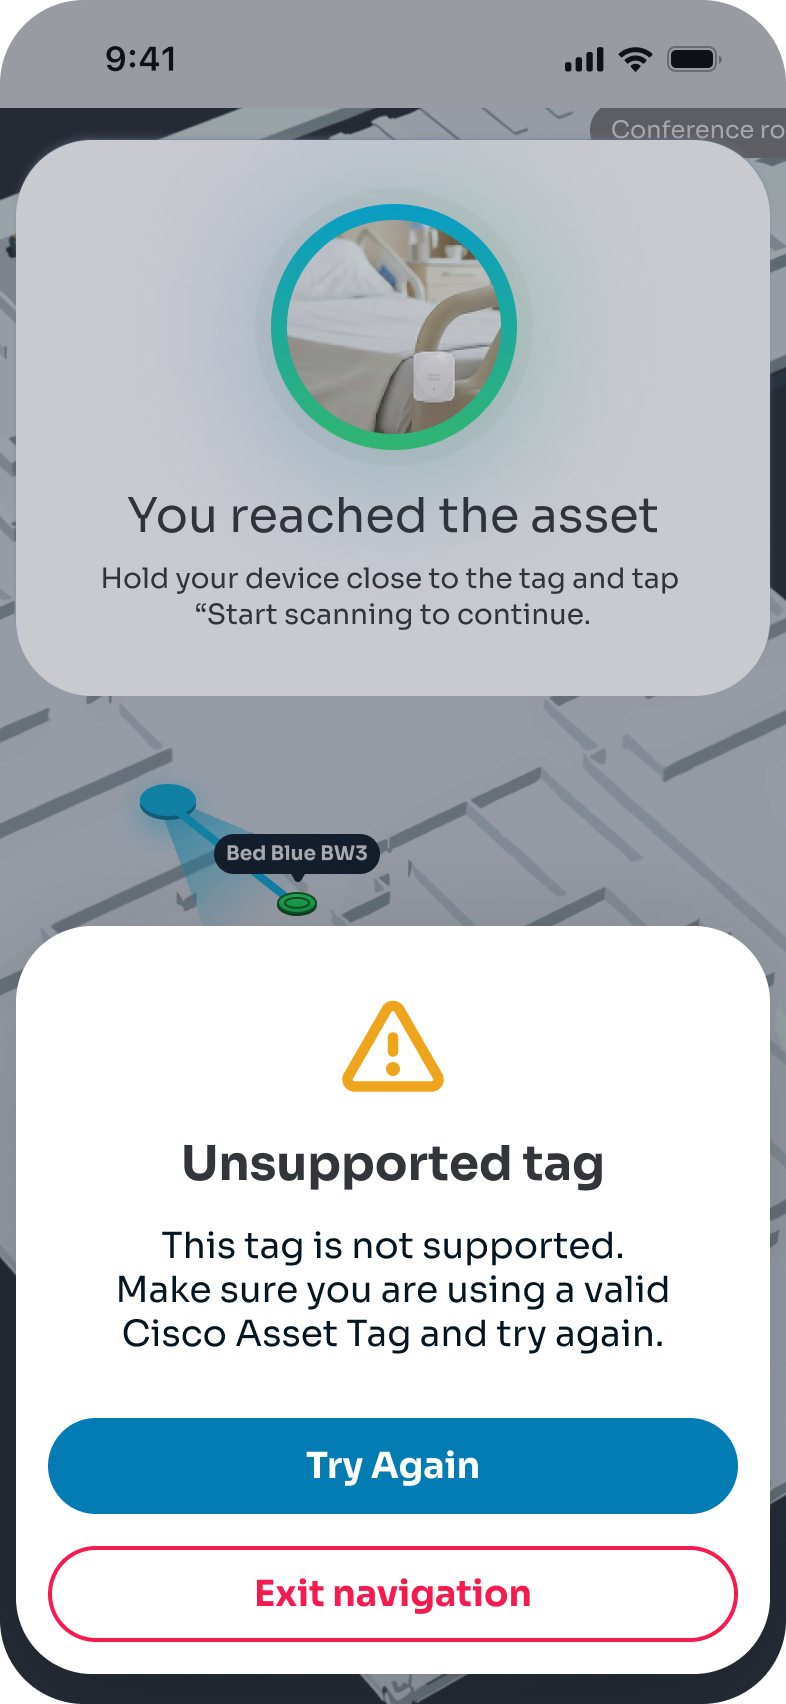
The NFC feature only supports Cisco Asset Tags. If the app detects a non-Cisco Asset Tag, it displays the “Unsupported tag” message.
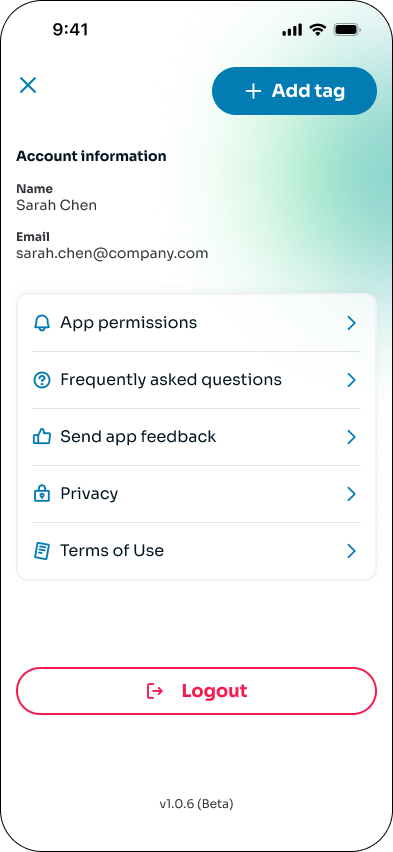
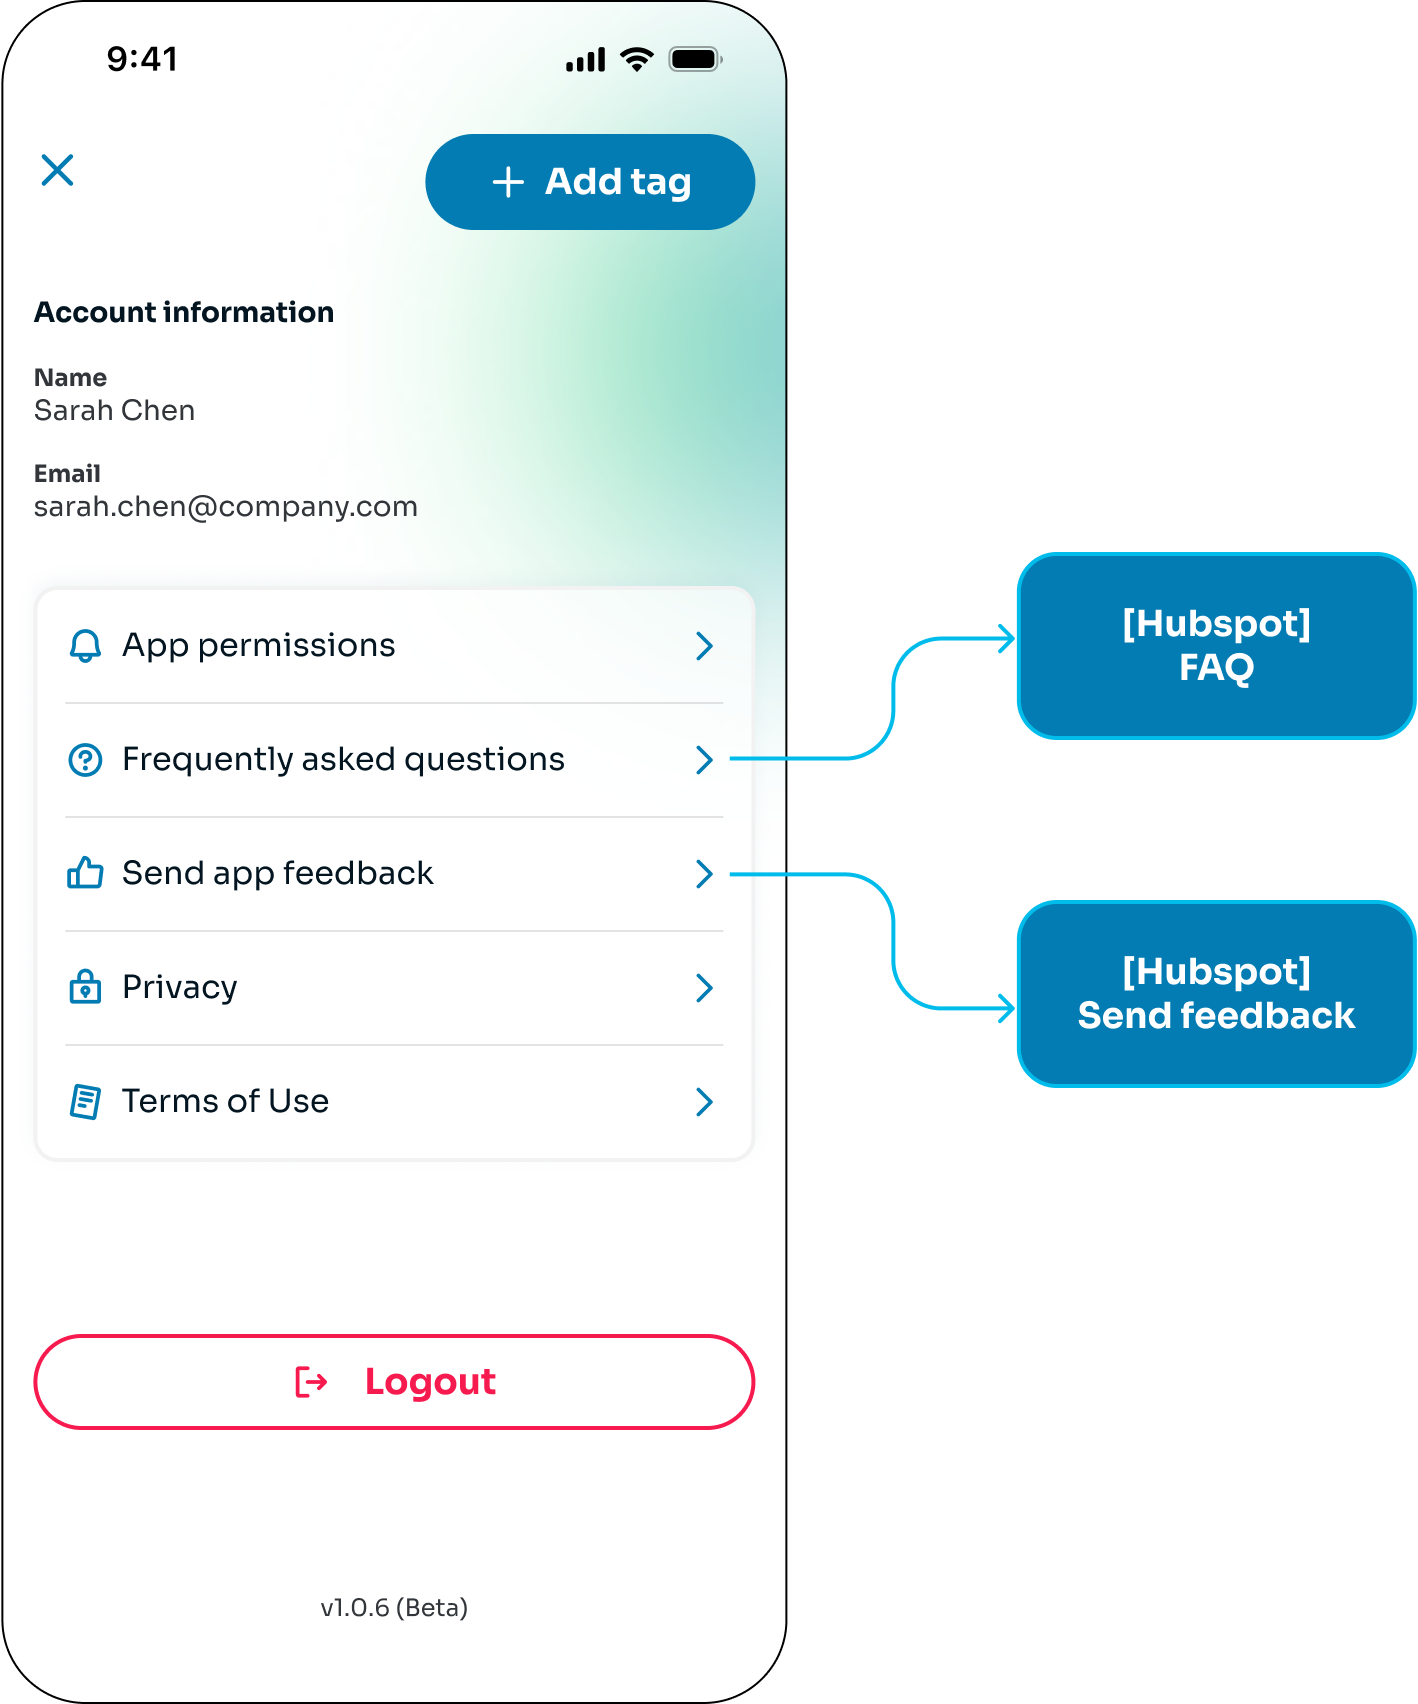
Users can access the User profile to get more information regarding their account, app permissions, FAQ, Policies and termos of use by tapping the User icon button over the map on the home screen.
Users can also send feedback and logout of the app.
To access the the Profile screen, users should tap the User icon button, located on the top right corner of the map.
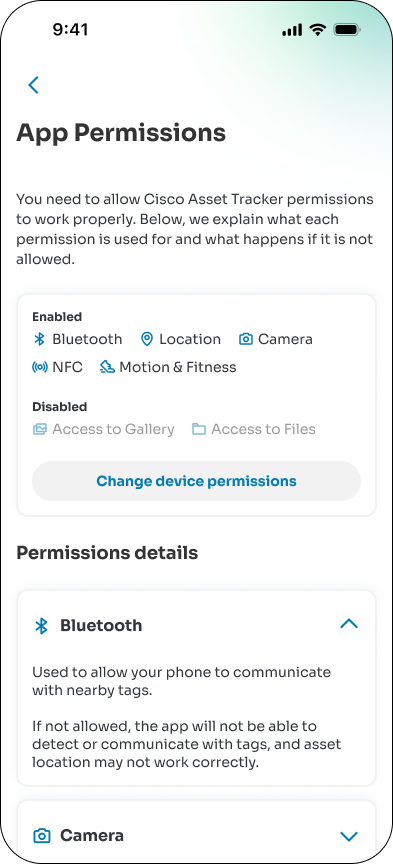
If users tap on app permissions, they wil land on the app permissions screens. This screen has all information regarding each permission needed to access the apps full experience.
By tapping change permissions users will be redirected to their native permission phone settings screen.
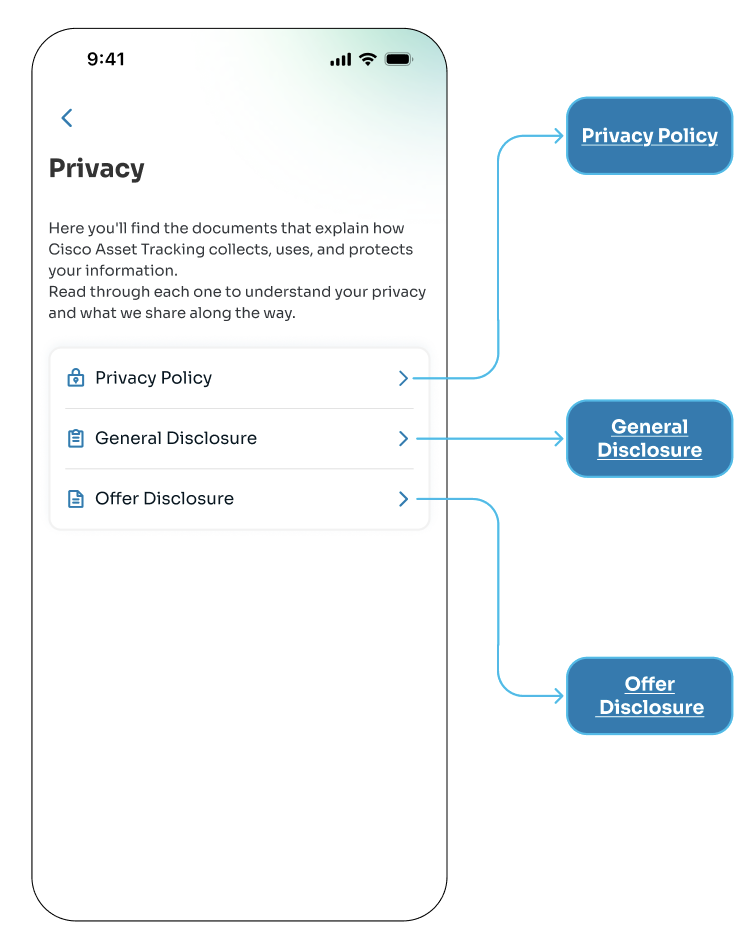
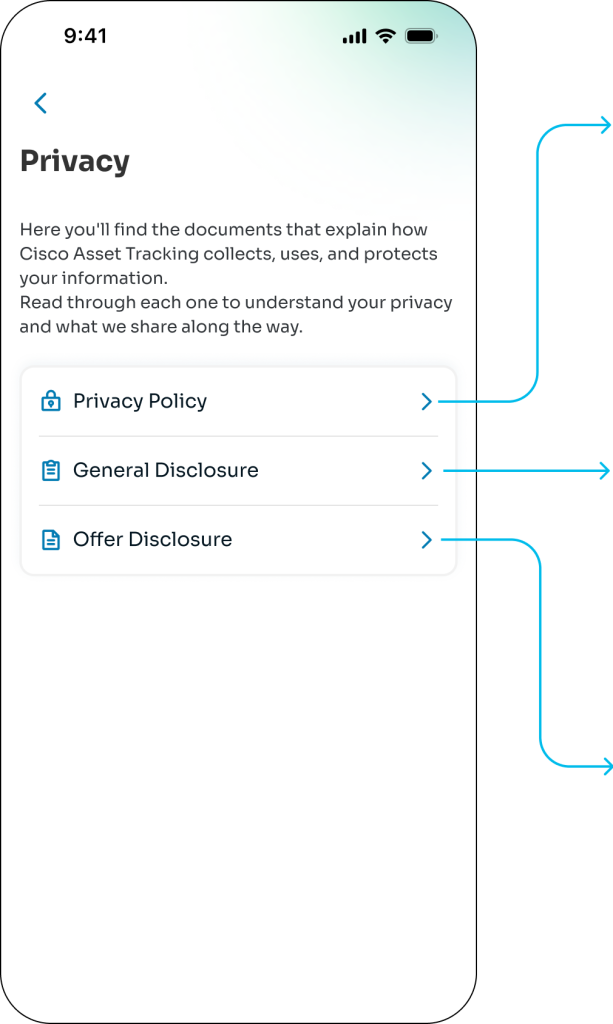
By clicking on the Privacy button, the user will be redirected to the Privacy page and be able to access the Privacy documents.
The above buttons will lead the user will be redirected to Cisco’ Official documents and external links.
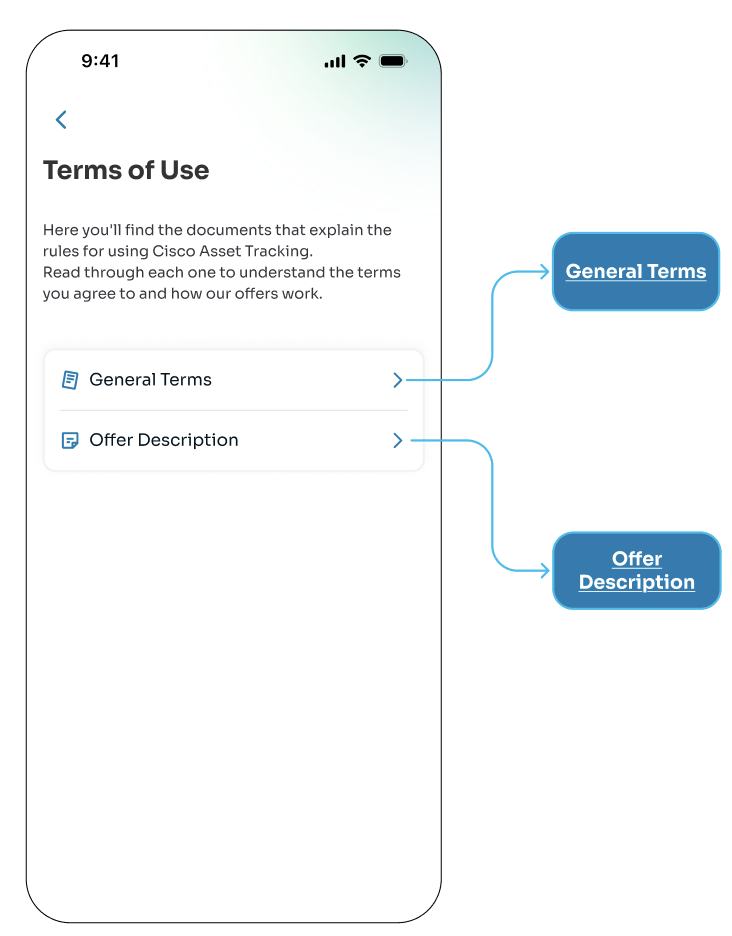
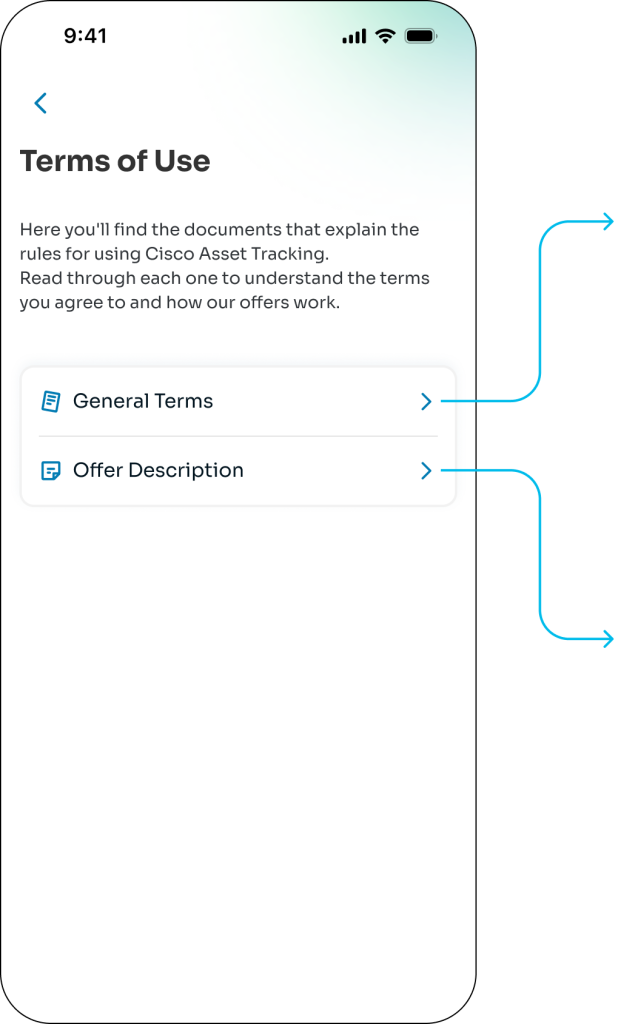
By clicking on the Terms of Use button, the user will be redirected to the Privacy page and be able to access the Privacy documents.
The user will be redirected to Cisco’ Official documents and external links.
By clicking on the Privacy button, the user will be redirected to the Privacy page and be able to access the Privacy documents.
The user will be redirected to Cisco’ Official documents and external links.
By clicking on the Terms of Use button, the user will be redirected to the Privacy page and be able to access the Privacy documents.
The user will be redirected to Cisco’ Official documents and external links.
User provisioning is handled centrally to ensure that only authorized corporate users access the platform. New accounts must be registered by an ADMIN through the Asset Tracking Dashboard. If you can’t sign in, contact your administrator and confirm that your corporate email has been added to the Dashboard.
This error usually means one of two things: your email hasn’t been registered in the Asset Tracking Dashboard yet, or there was a temporary issue communicating with the login service. Double-check that you’re using the exact corporate email registered by your ADMIN, then try again. If the error persists, ask your administrator to confirm your registration in the Dashboard.
The Identity Provider is set per user in the Asset Tracking Dashboard. When your ADMIN has already assigned one to your account, the app routes you directly to that provider after you enter your email. When no provider has been assigned yet, the app shows all three options so you can pick the one your organization uses, and authentication continues normally from there.
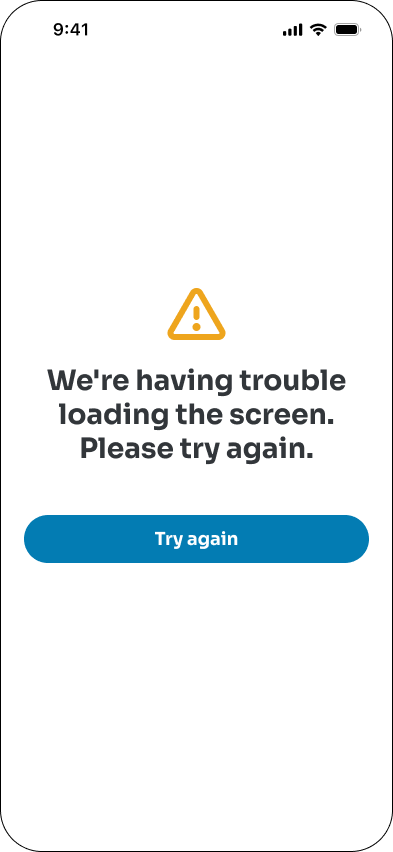
First, make sure you have a stable internet connection – connectivity issues will block authentication and the app will prompt you to retry once you’re back online. If you see a generic application error, tap retry. If the problem continues, fully close the app (not just send it to the background) and reopen it. If it still fails, confirm with your ADMIN that your email and Identity Provider are correctly configured in the Asset Tracking Dashboard.
These permissions are required for the app to detect your current location inside a building and show you on the correct floor of the map. Location (GPS) and Bluetooth work together to pinpoint your position, while Motion & Fitness helps the app understand your movement between floors and areas. Without these permissions, indoor positioning won’t work.
This usually happens for one of two reasons: either your Bluetooth is turned off, or you don’t have access to the building you’re in. Building access is granted by your ADMIN through the Asset Tracking Dashboard. In either case, the app will automatically open the last building you accessed. If you’ve never accessed a building before, you’ll be taken to the manual building selection screen instead.
Tap the building floating button in the map menu. You’ll see a list of all the buildings you have access to, and you can search for a specific one. Once you select a building, the app loads its map so you can view and search for assets – even if you’re not physically there.
The list only shows buildings that your ADMIN has granted you access to through the Asset Tracking Dashboard. If a building is missing, reach out to your ADMIN to confirm your access has been set up correctly.
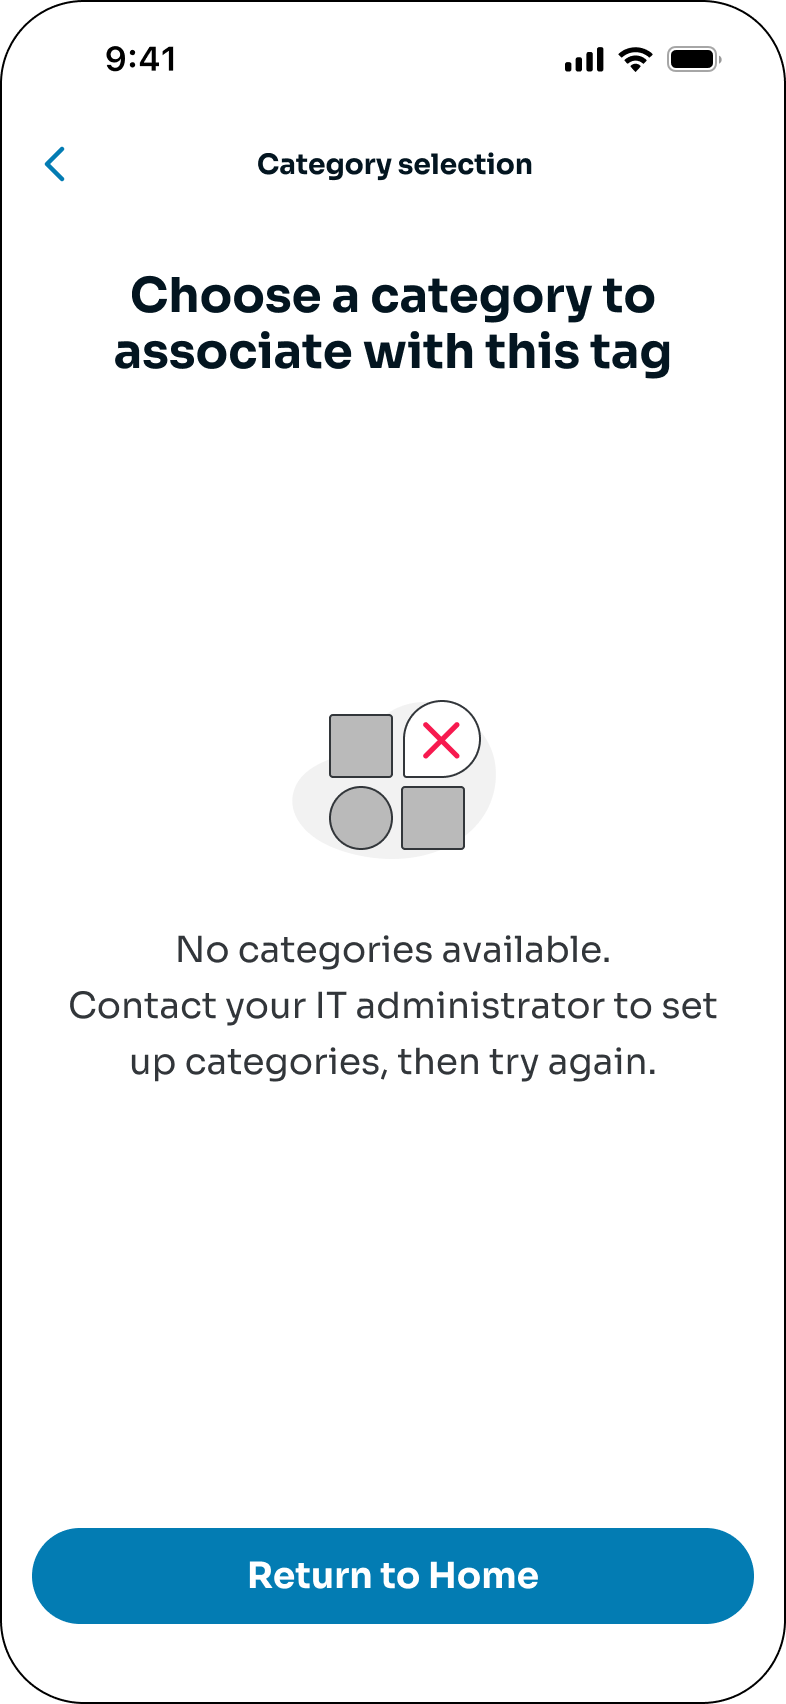
The “Add a tag” entry point is available to all authenticated users, but the flow can only be completed if you have permission to at least one asset category. If you reach the category step and see no categories, your account permissions need to be updated by an admin through the ADMIN panel.
Any iOS device with NFC hardware (iPhone 7 and newer). NFC access does not require an explicit user permission inside the app – the system handles it natively when the scan is invoked.
No. iOS does not expose an NFC toggle to end users — NFC is always available for app-initiated reads on supported devices. If the scanning sheet doesn’t appear, the issue is usually device hardware support, not a setting you need to flip.
This means the NFC read didn’t complete. Tap “Try again” and re-scan. If it keeps failing, tap the Send Feedback button to send a feedback to Cisco Team.
Categories setup is done by the client system admin, you’ll need to contact the system admin and ask to update the category settings.
Assets can be scattered through out the building, you can use the floor icon button on the map to change floors and browse for the asset that you are looking for.
Assets on the move are the assets that change location recently, we can assume that someone else already took this asset.
Precise location assets are the assets that have the Ultra Wide Band (UWB) enabled. This means that the location of the asset is more accurate than the located ones.
Just tap the heart icon to favorite a category
These three permissions work together to determine your exact position inside the building and keep the route accurate as you move. Location (GPS) provides your general position, Bluetooth detects nearby beacons used for indoor positioning, and Motion tracks your movement and heading. If any of them is disabled, the app cannot guide you to the asset.
Yes. If the asset is on a different floor, the route will include the necessary floor transitions (such as stairs or elevators) and the map will update as you move from one floor to the next.
The route will automatically recalculate based on your new position, and the next direction at the top of the map will be updated so you can continue toward the asset without restarting navigation.
The ETA, distance, and time are recalculated continuously based on your real-time position and pace. As you get closer to the asset, the remaining distance decreases and the ETA adjusts accordingly.
Yes. When the selected asset uses a Cisco UWB Tag, the app switches to Nearby mode, which uses ultra-wideband technology for higher-precision proximity guidance during the final approach. See the Nearby mode documentation for details.
Nearby mode requires a modern iPhone with a U1 or U2 chip (iPhone 11 and later) and a Cisco Asset Tag that supports Cisco’s UWB technology.
Nearby mode activates as soon as the device detects the tag’s UWB signal during navigation – typically within ~20 ft of the tag as the user approaches the asset.
Nearby mode won’t activate; the app keeps guiding the user with the turn-by-turn route on the map until it detects arrival and shows the “You reached the asset” confirmation with the ”Ready to Scan” popup.
Move the device side to side and make sure nothing is obstructing the camera or the top edge of the phone, so the directional arrow can lock onto the tag.
If the signal can’t recover, it falls back to map navigation.
When you get within 3 ft of the target asset, the app automatically detects that you’ve arrived and displays the “You reached the asset.” confirmation. The device’s NFC reader is then activated automatically so you can scan the tag to confirm the find.
Scanning the tag confirms that you’ve located the correct physical asset, not just an area near it. Once the tag is recognized, you’ll see the asset’s information and can either end the navigation or start searching for a new asset.
This usually means the NFC scan didn’t complete successfully — most often because the device was moved toward the tag too abruptly. Tap “Try again” and slowly bring the device close to the tag to retry the scan.
The NFC feature only supports Cisco Asset Tags. If you scan a tag from another manufacturer, the app won’t be able to read it and will display the “Unsupported tag” message. Make sure you’re scanning a Cisco-issued tag.
Once the tag is recognized, you’ll be able to view detailed information about that asset. From there, you can finish the navigation session or search for another asset to navigate to.