Use Cases & Value
Experience a comprehensive overview of your workplace within a single, real-time view of floor occupancy (and with 24-hour playback). In a captivating 3D virtual environment, visualize and discover how people and things come together in your indoor spaces. Identify gaps in coverage, manage new and existing IoT devices, link Wireless Access Points and Webex devices to workspaces, and much more.
Workplace Occupancy and Utilization
- View real-time Floor and Room utilization
- 24-hour playback of occupancy heat map data
- Overlay WiFi occupancy Heat Maps on Rich Maps
- Real-time metrics (building, floor, room, desk)
Value Delivered: space optimization, facilities services and real estate management
Useful to: Facilities, Real Estate and IT
Room Occupancy Reports
- Configure, view, and download Room Occupancy Reports for a floor or building.
- Export standardized room occupancy data based on Cisco Space Digital Maps Pro to a CSV file for further analysis
- Set date and time ranges to analyze specific or recurring reports
- Filter room occupancy data by day of week, hour of day, room capacity, and optionally exclude empty rows with no people detected
- The output CSV provides aggregated peak people count every 15, 30, or 60 minutes per room
- Import into Excel, PowerBI, Tableau, or an analytics tool of your choice to create custom graphs
Value Delivered: Build custom dashboards to visualize and analyze occupancy data by importing the CSV export into PowerBl, Tableau, etc., which allows users to make informed real estate and workplace decisions.
Useful to: Facilities, Real Estate and IT
Environmental Monitoring
Real-time metrics (indoor air quality, TVOCs, CO2, temperature, humidity, ambient noise, and more)
Value Delivered: Provides insights into comfort, safety, and sustainability metrics in the workplace
Useful to: Facilities, Real Estate and IT
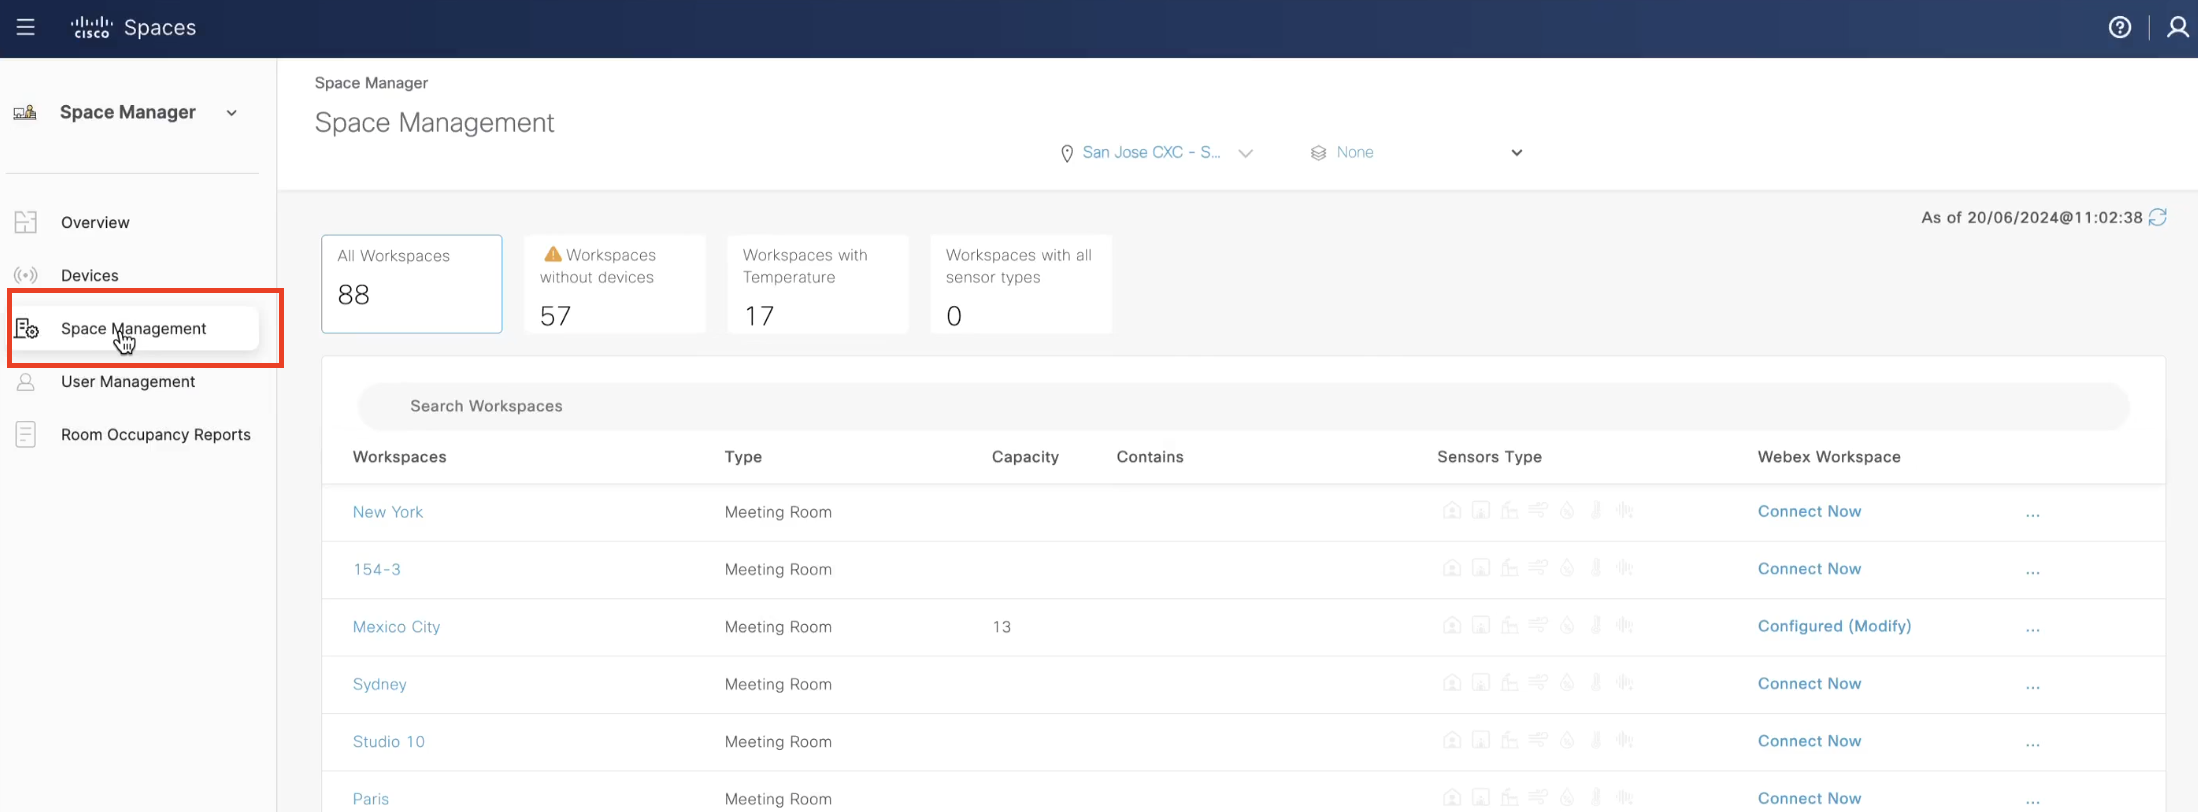
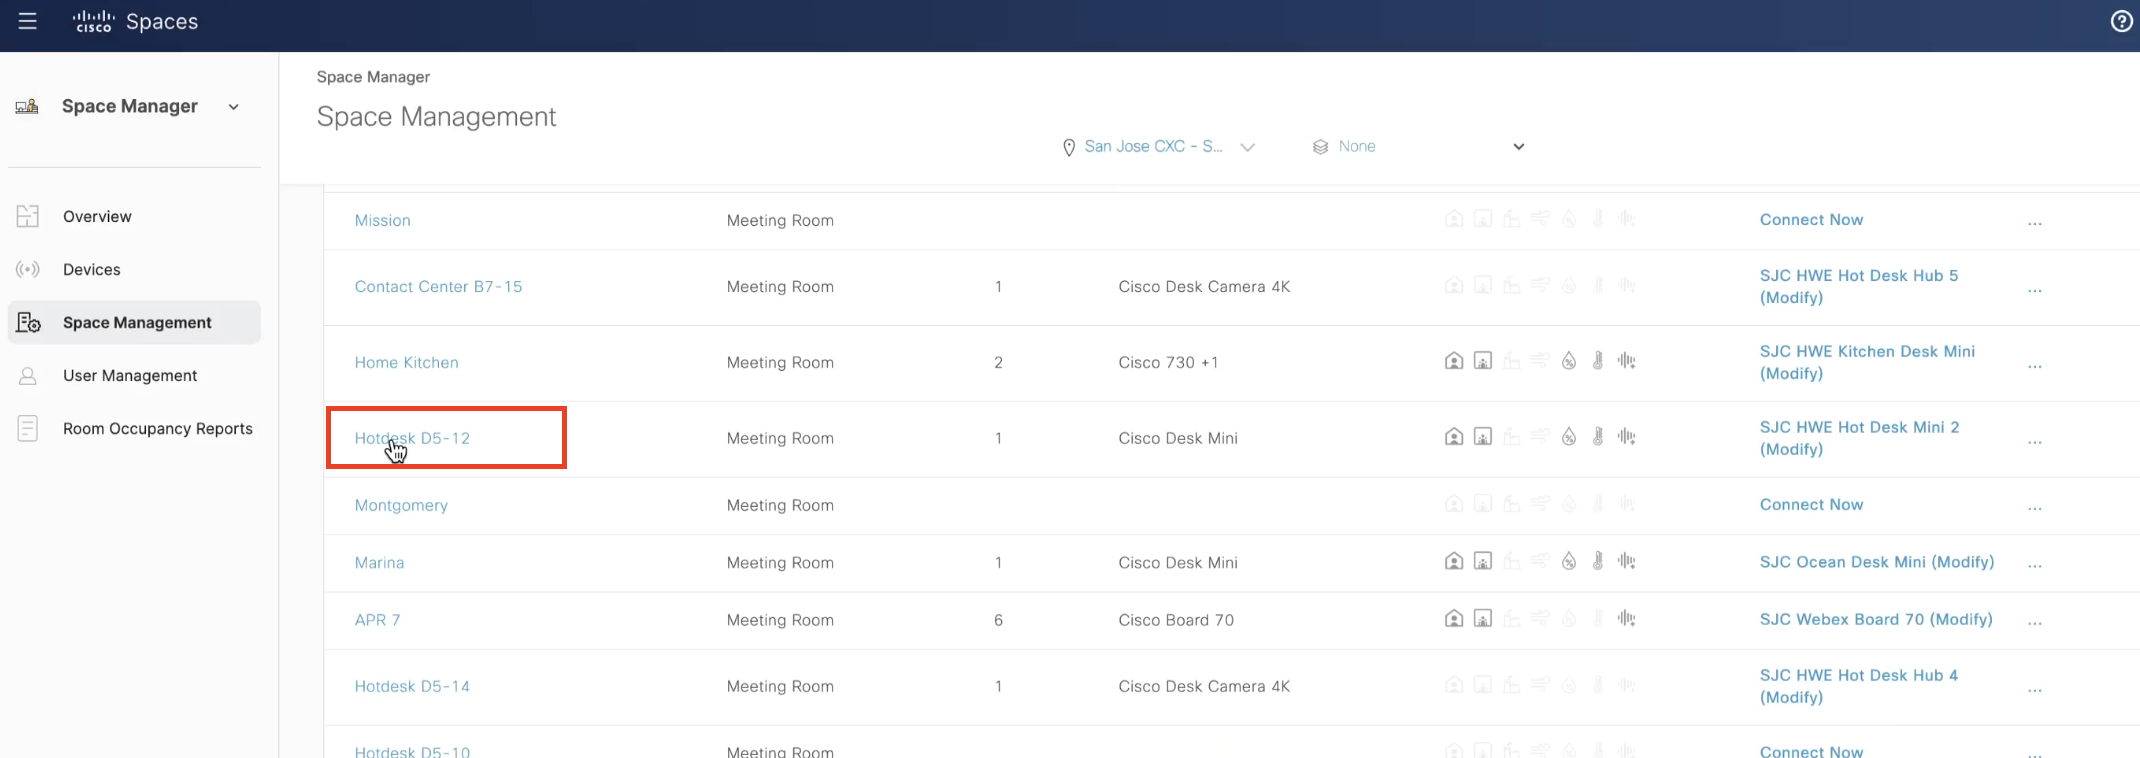
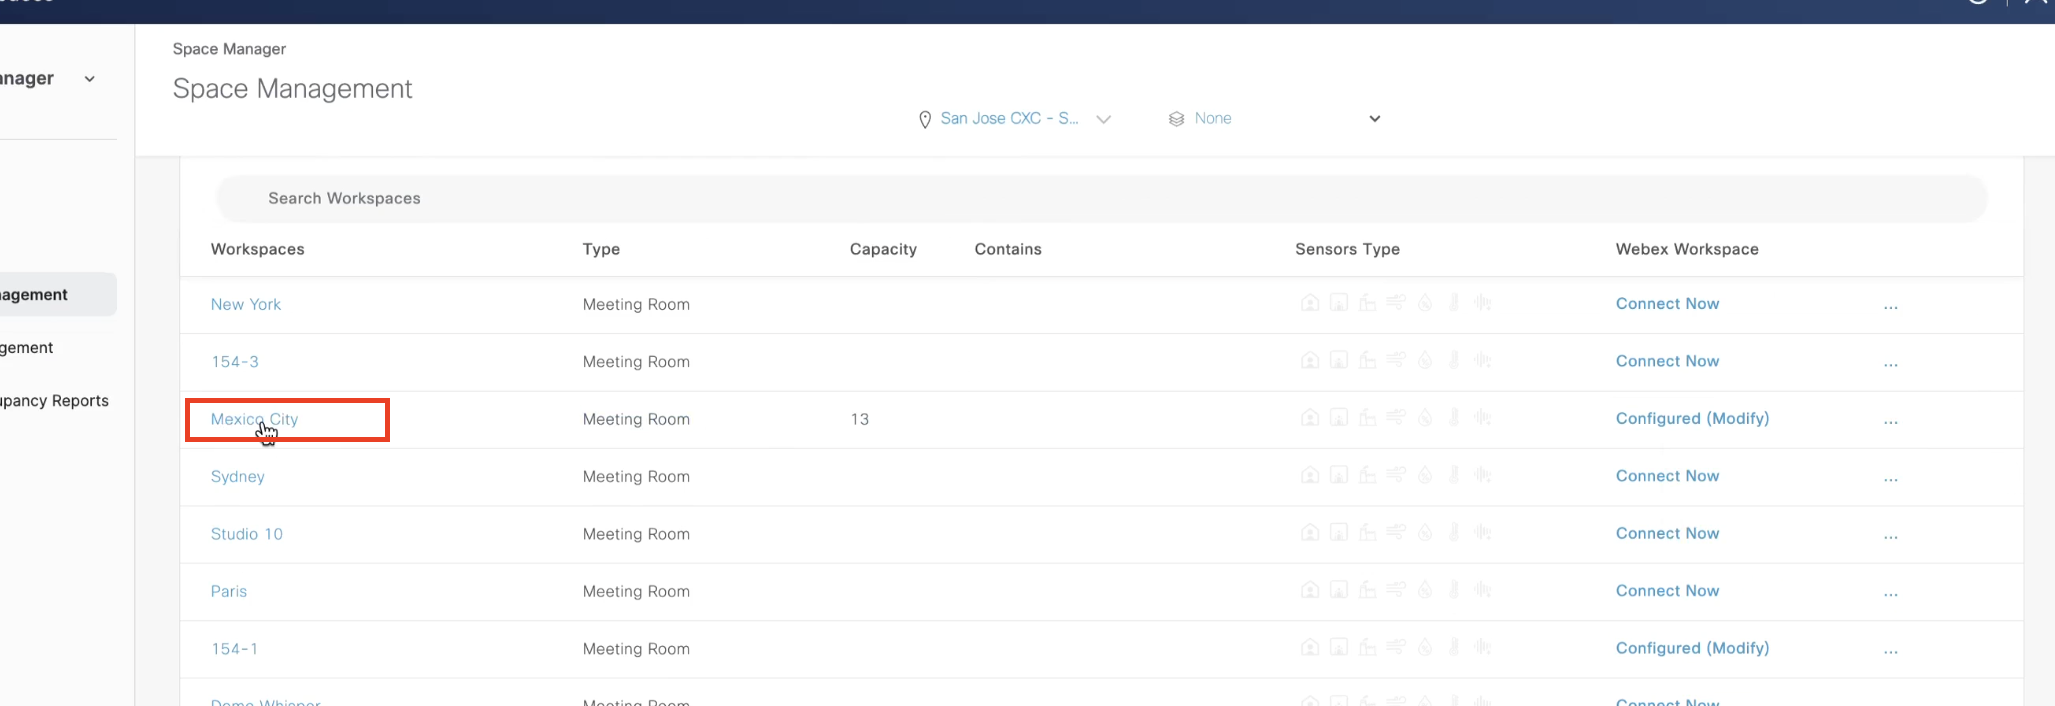
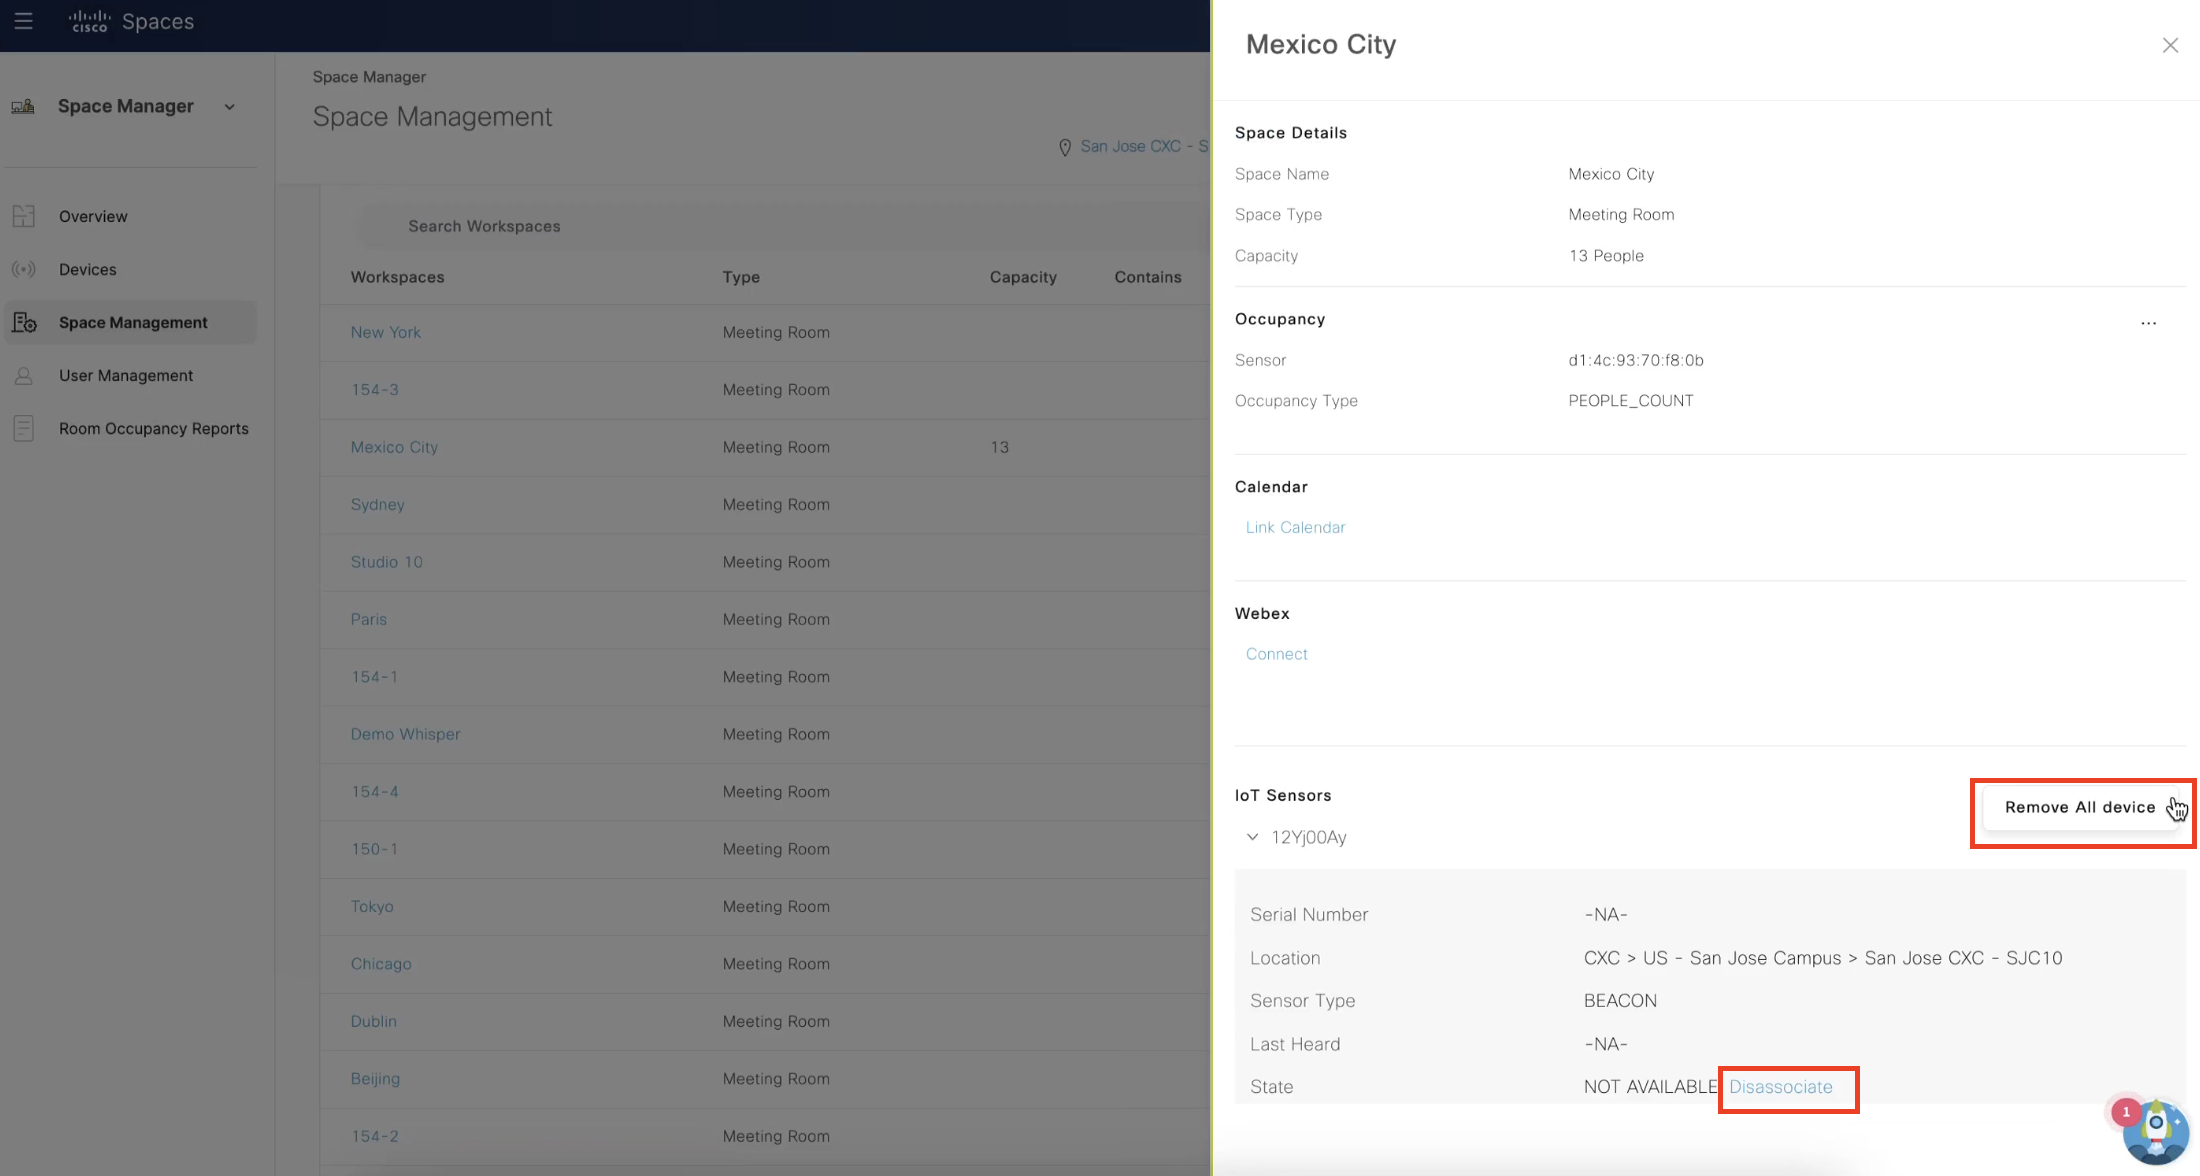
Manage Devices
- Associate Webex, Meraki and 3rd party IoT devices to Rich Map
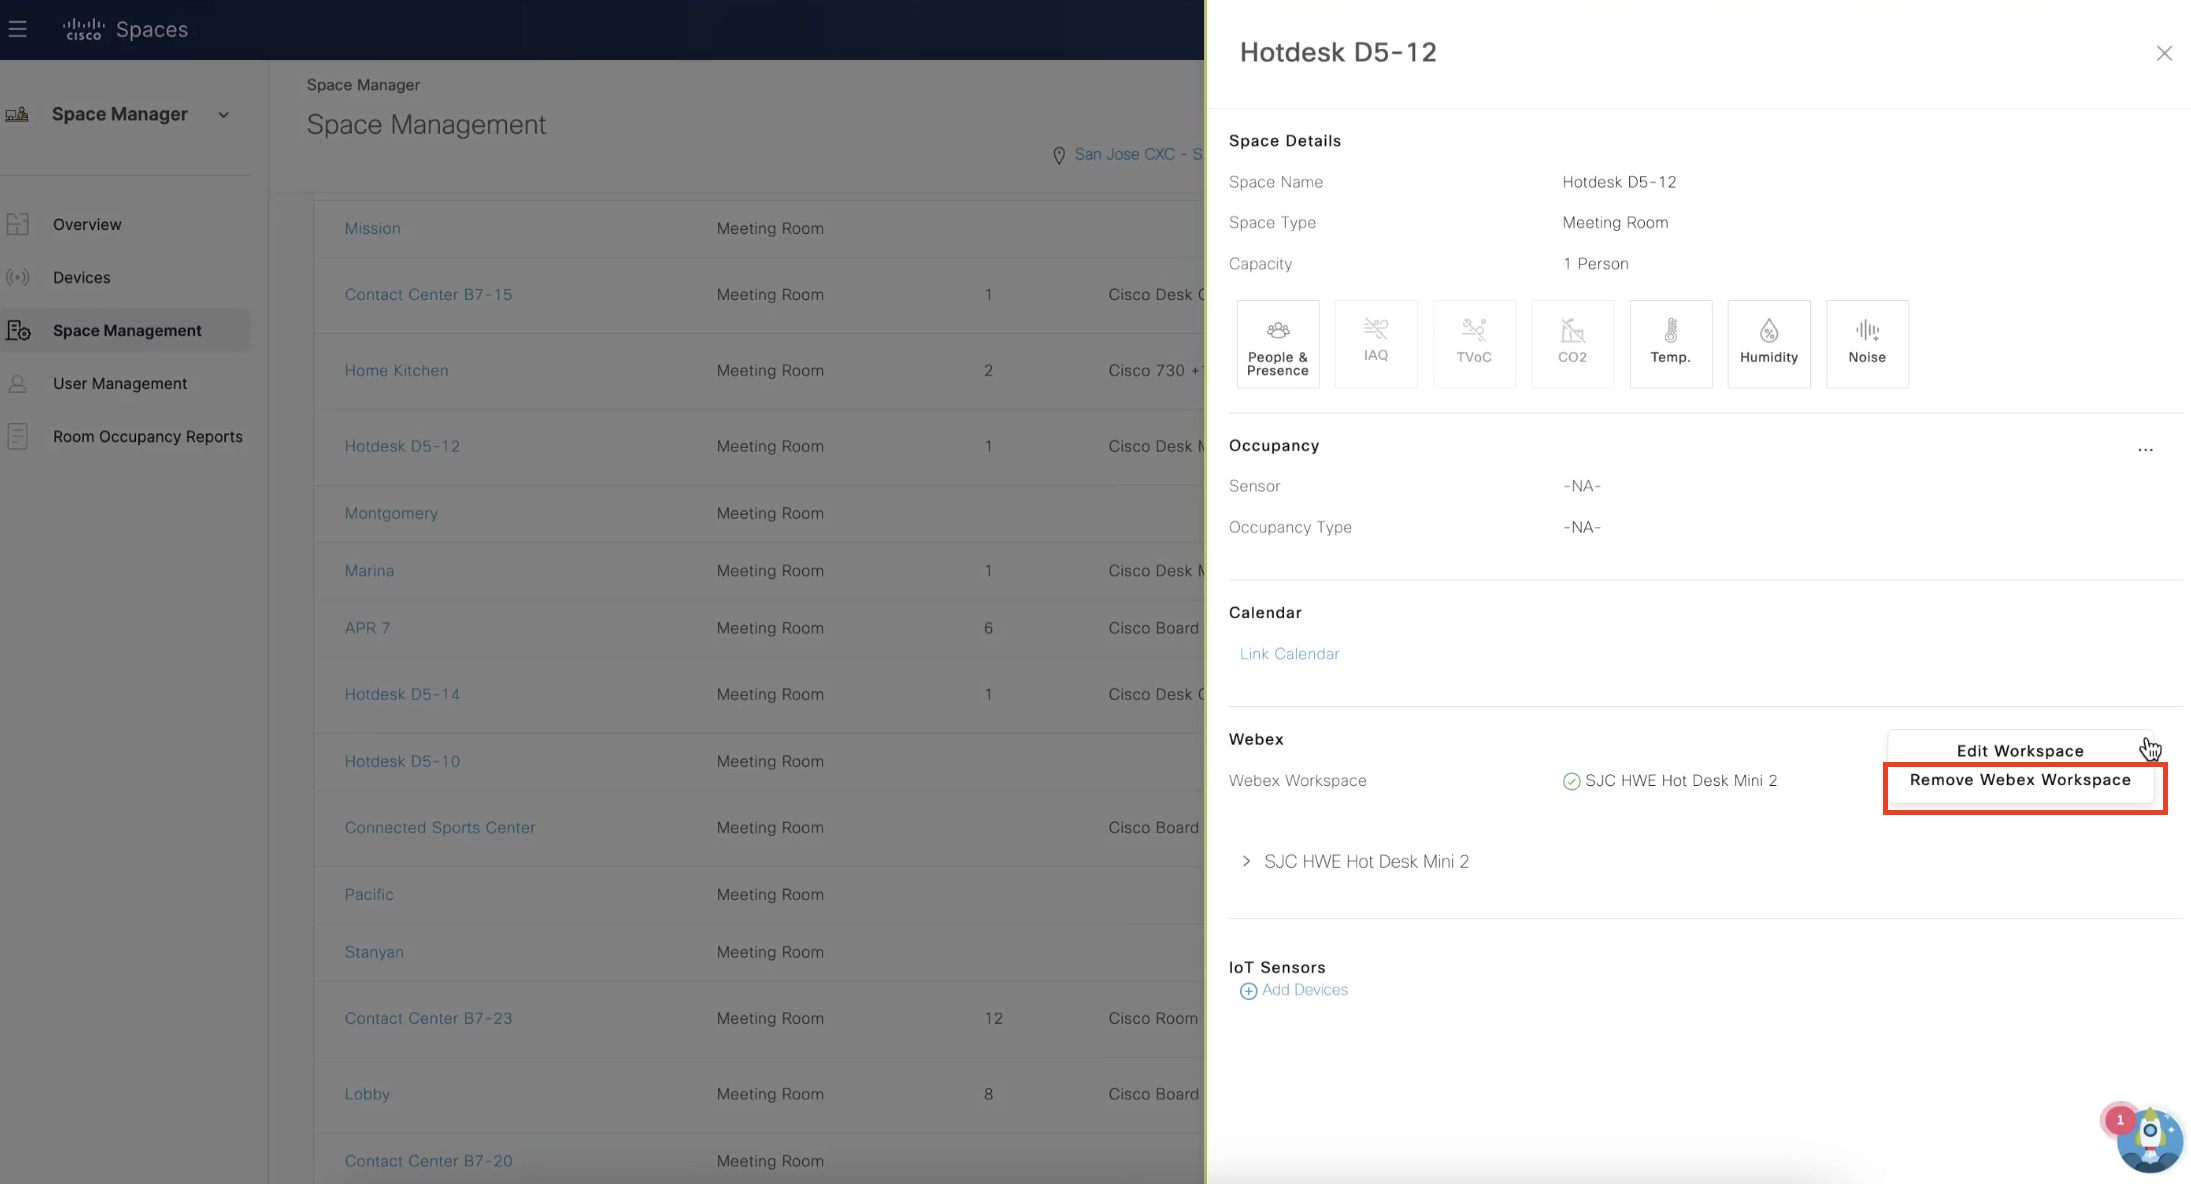
- Manage sensors – Add, Edit or Remove devices on the Workspace Management page
- Manage workspace metadata (e.g.: name, type, capacity)
Value Delivered: Assign devices to workspaces and check their status with real-time information.
Useful to: Facilities, Real Estate and IT
Visualize/Find Devices
- See device locations on the floorplan
- Identify gaps in device coverage
- Distinguish device types and data sources on Rich Maps
Value Delivered: Visualization of data sources
Useful to: Facilities, Real Estate and IT