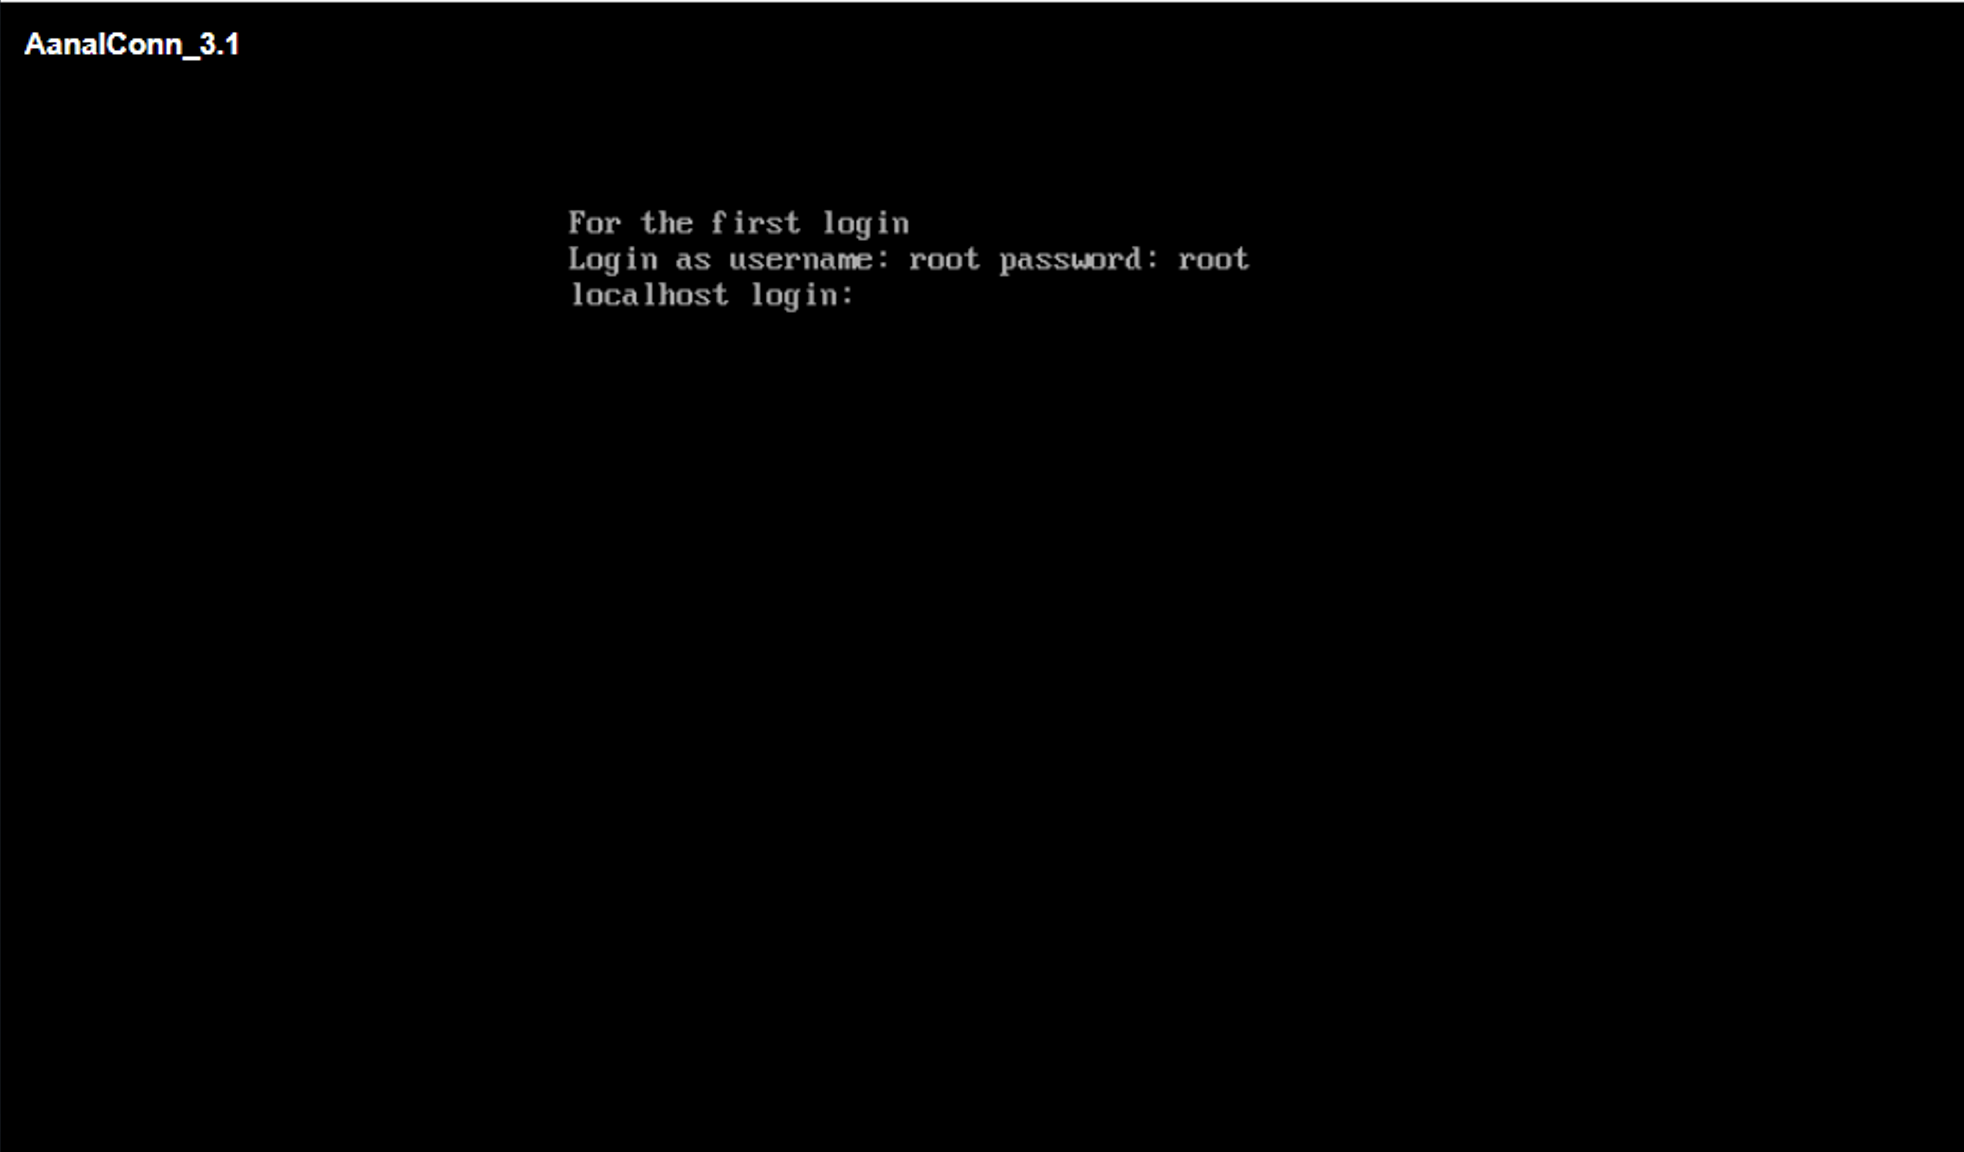
Once the OVA is deployed, you can log into the VMware console using the default username and password provided in the console, username: root Password:root
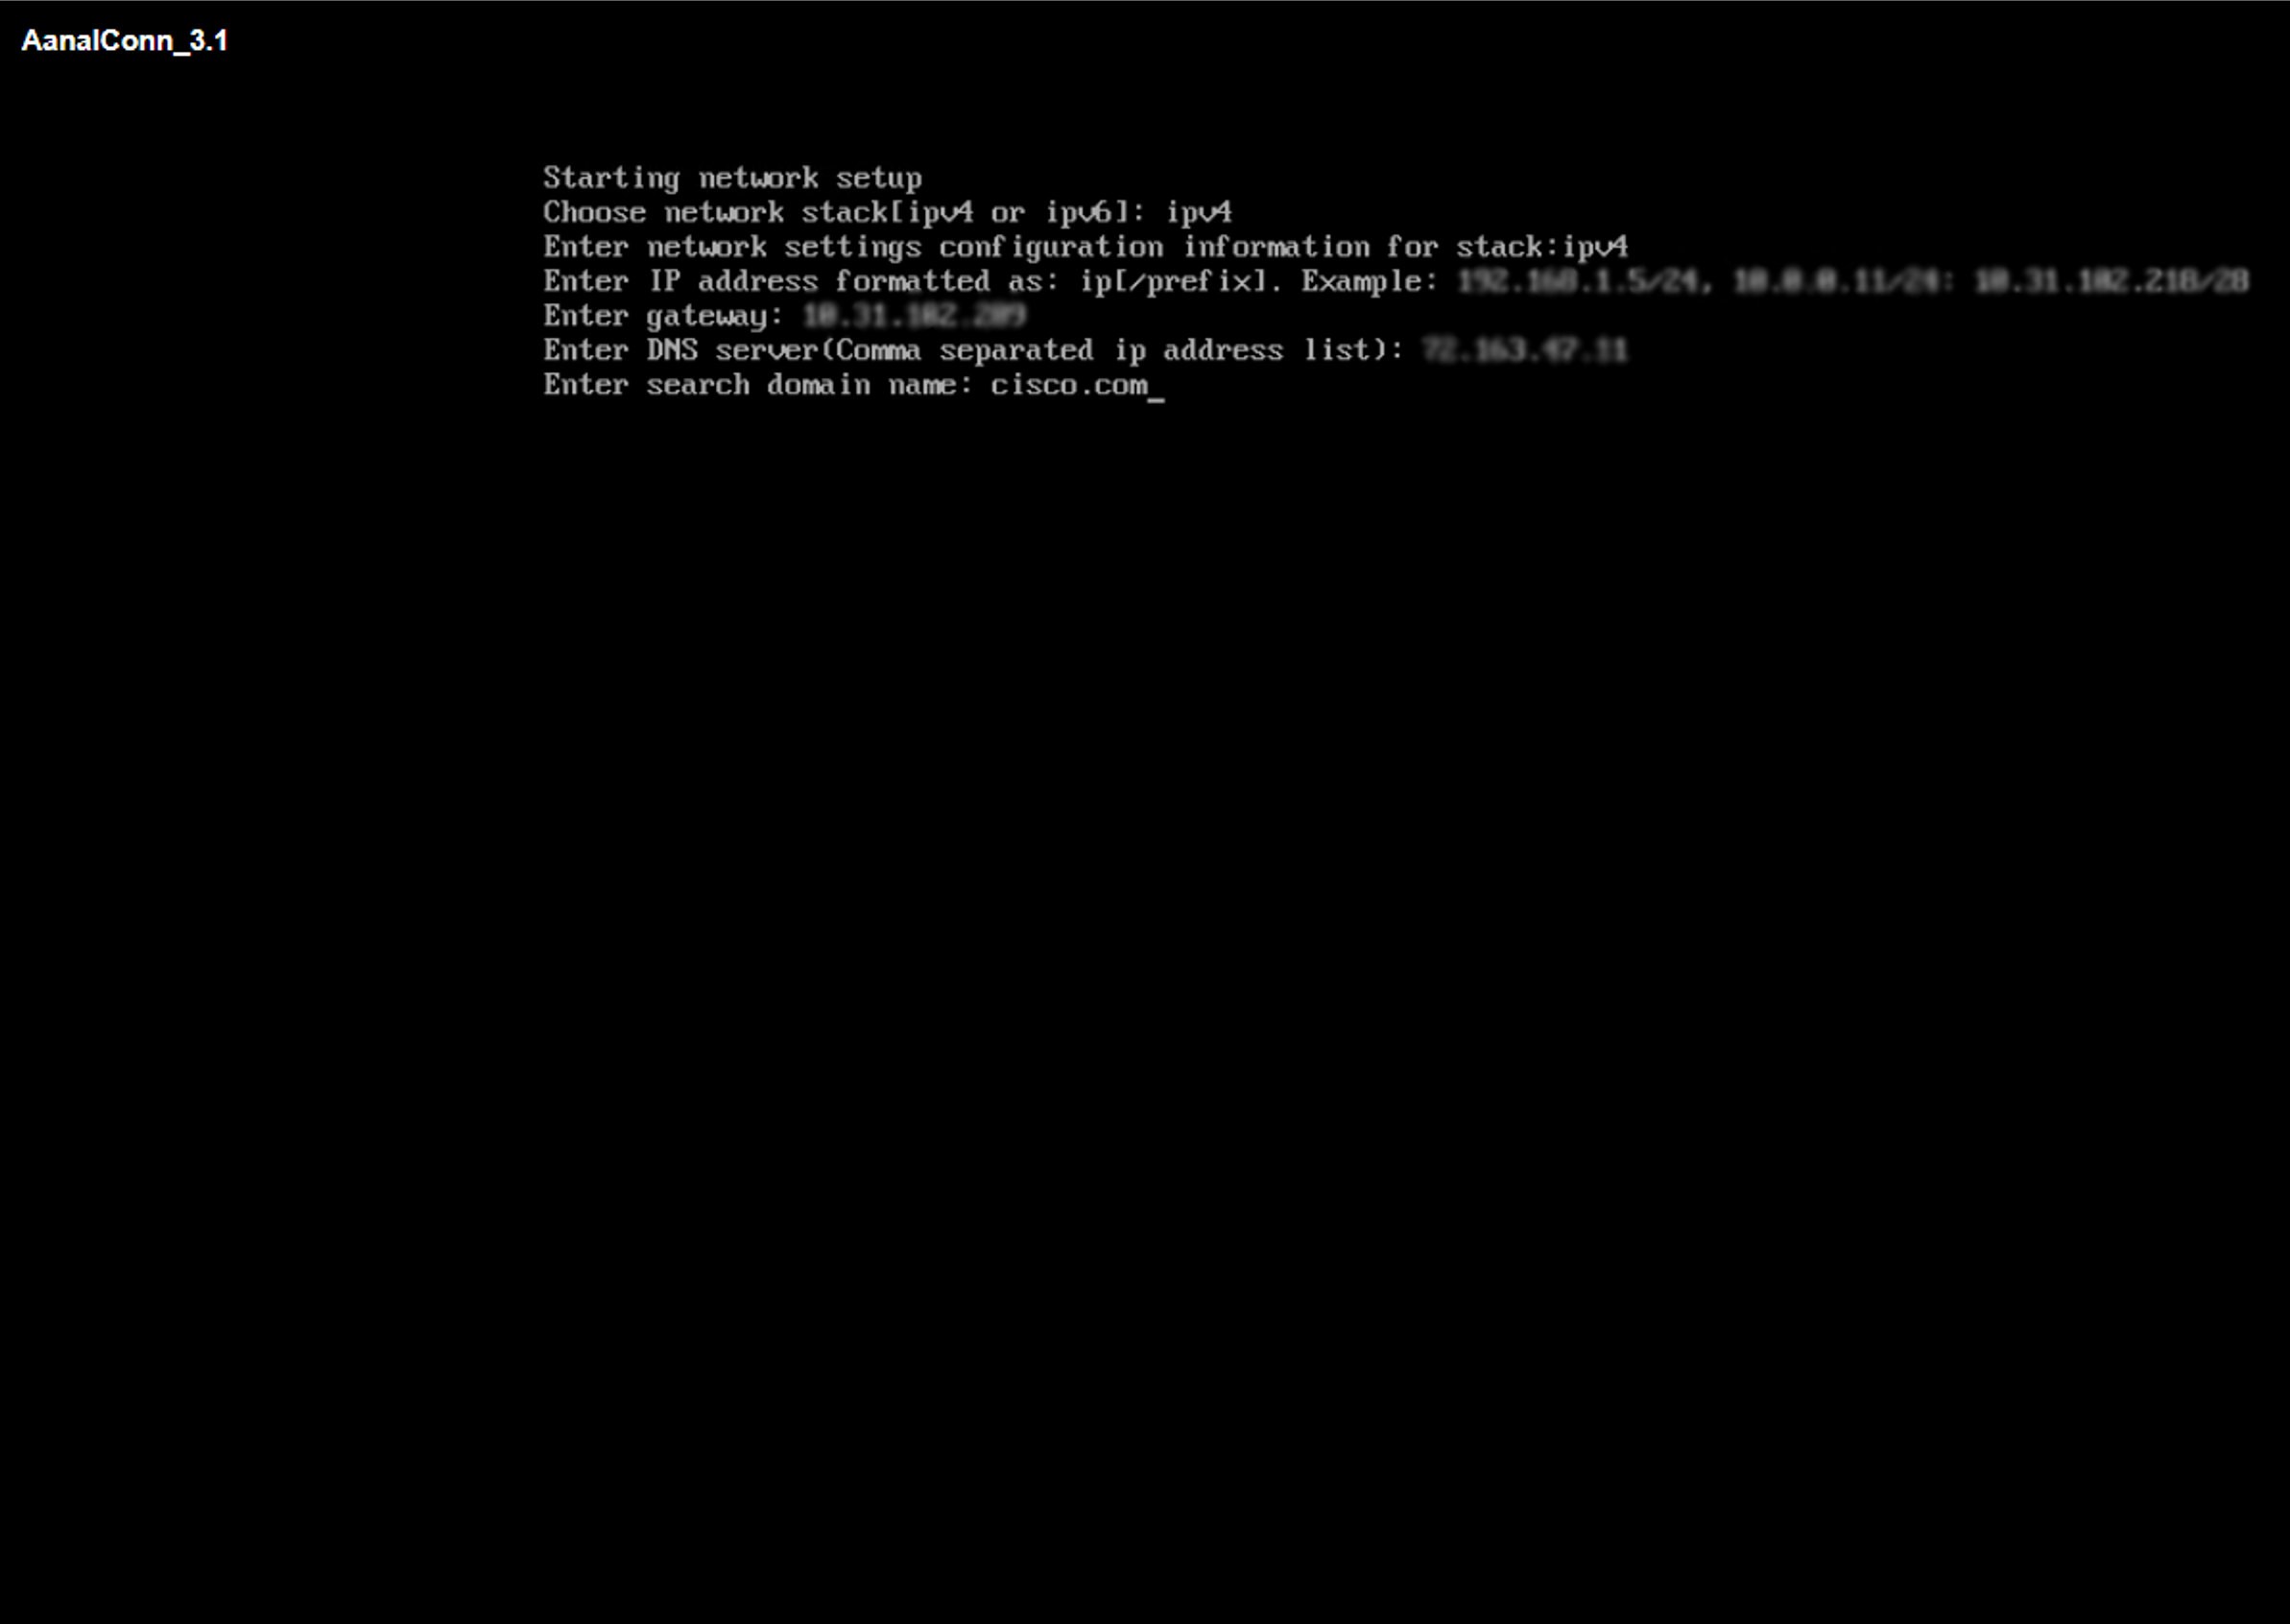
Enter the network settings.
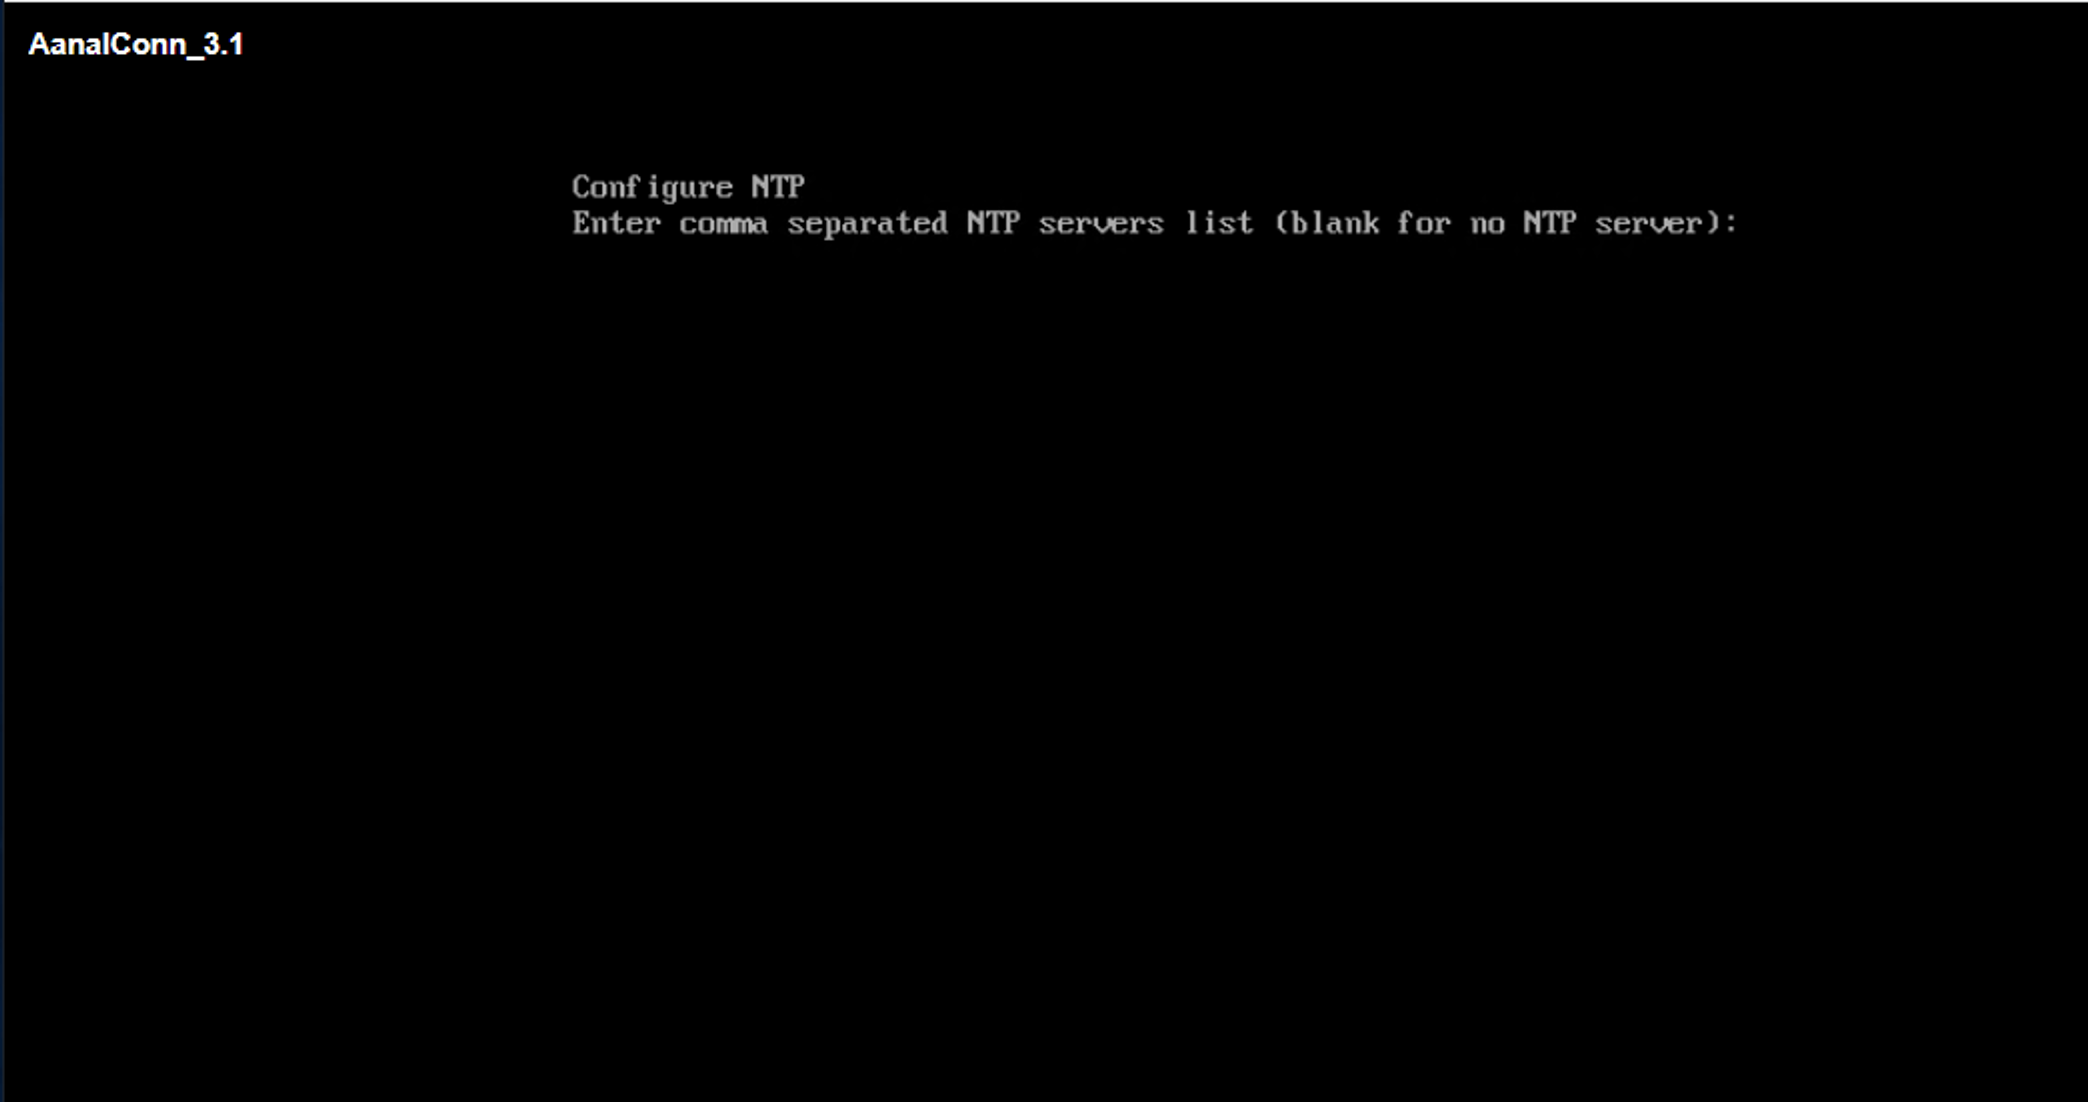
Enter NTP settings or leave it blank.
Set the password for spacesadmin user
- The connector is operating in restricted mode, if they want root access in CLI that will be restricted. For security reasons the root access is disabled.
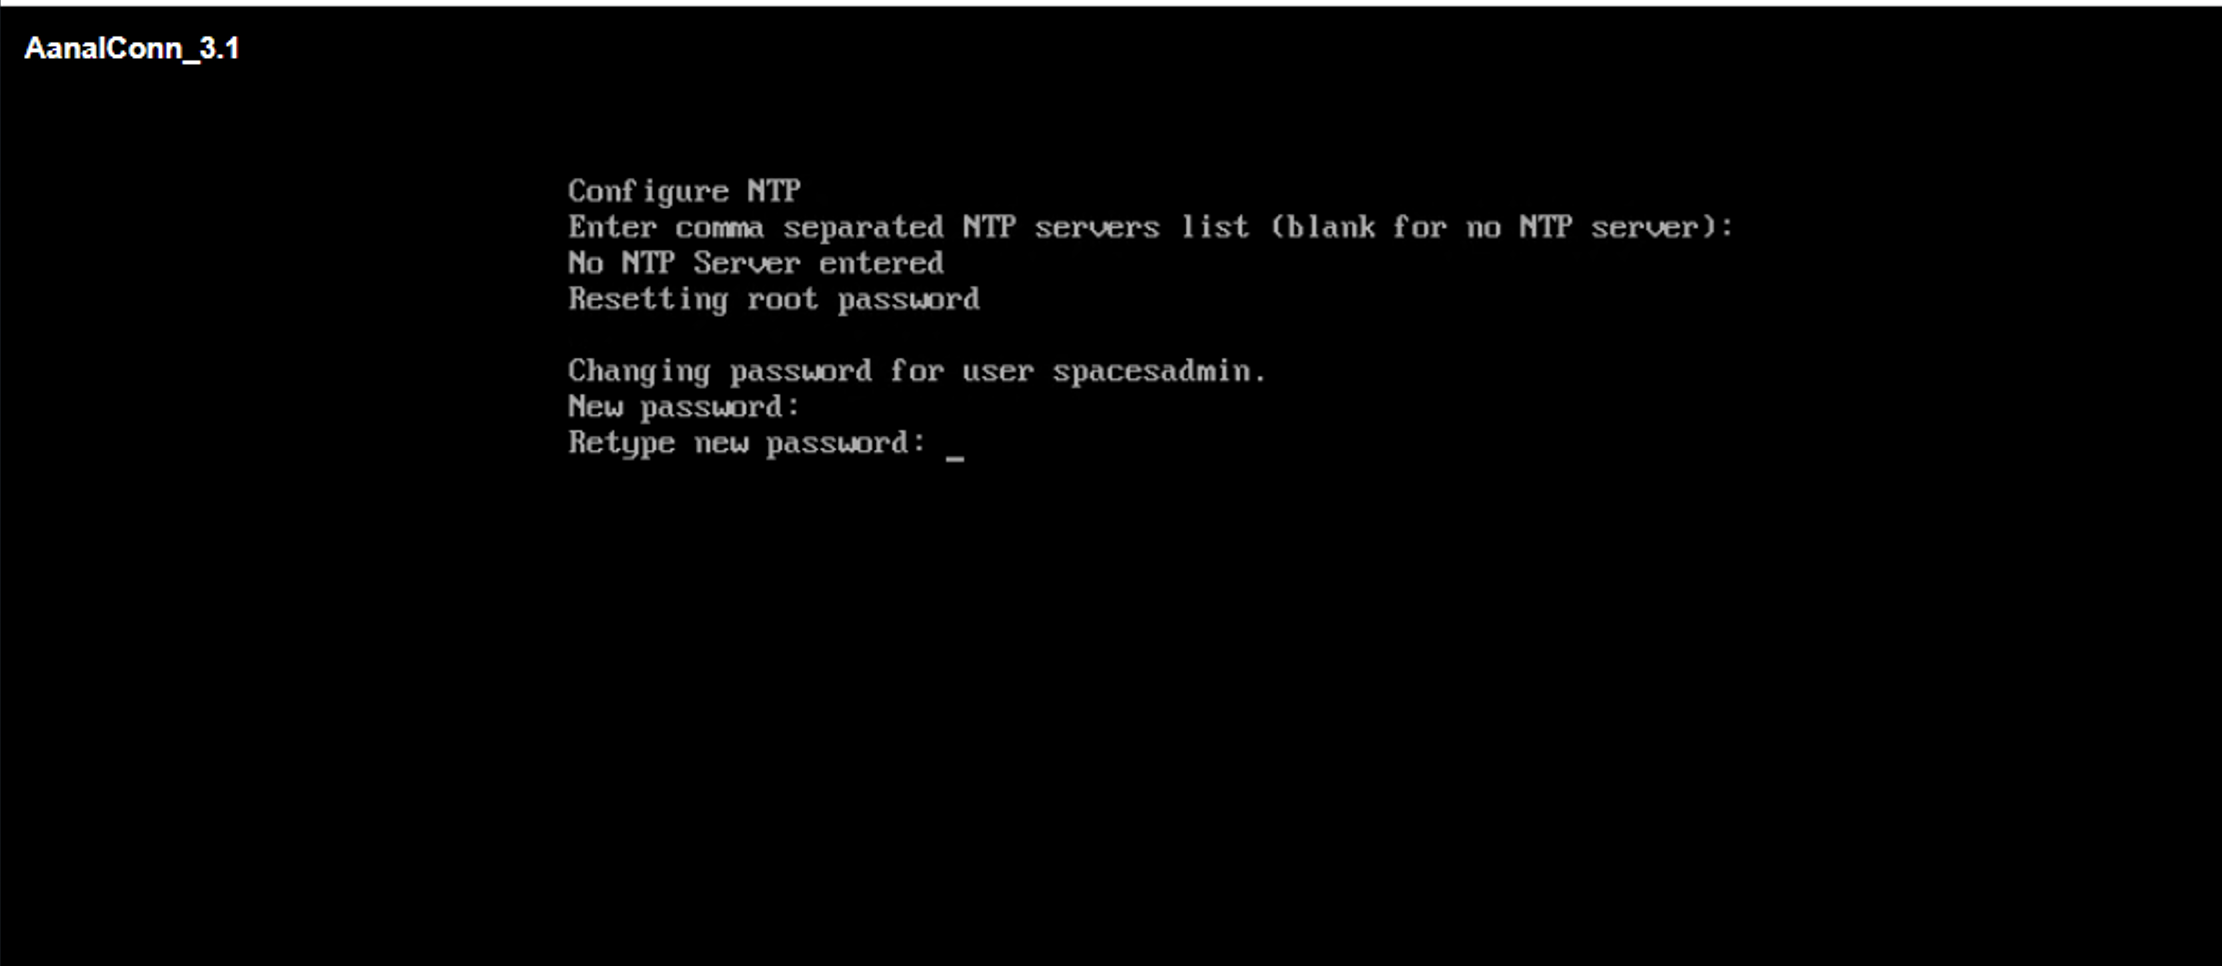
When prompted, reboot the device and open the WebUI using the address provided.
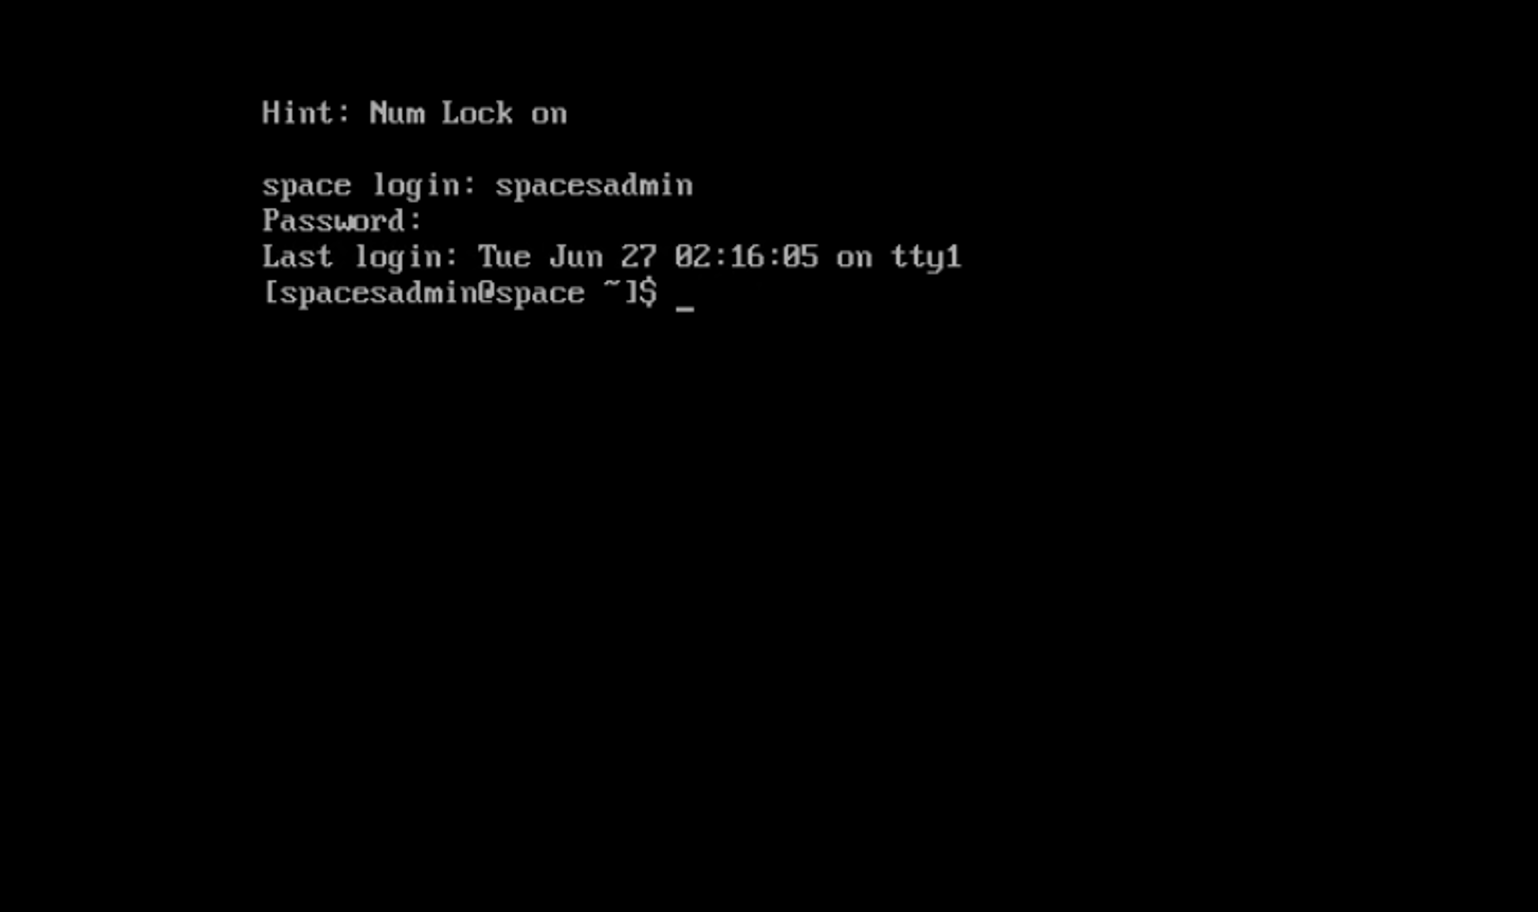
NOTE:
2.x will use dnasadmin
3.x will use spacesadmin
2.x and 3.x is selected when the customer selects the ova file download
Connector Configuration guide: https://www.cisco.com/c/en/us/td/docs/wireless/cisco-dna-spaces/connector/config/b_connector/m_ova.html
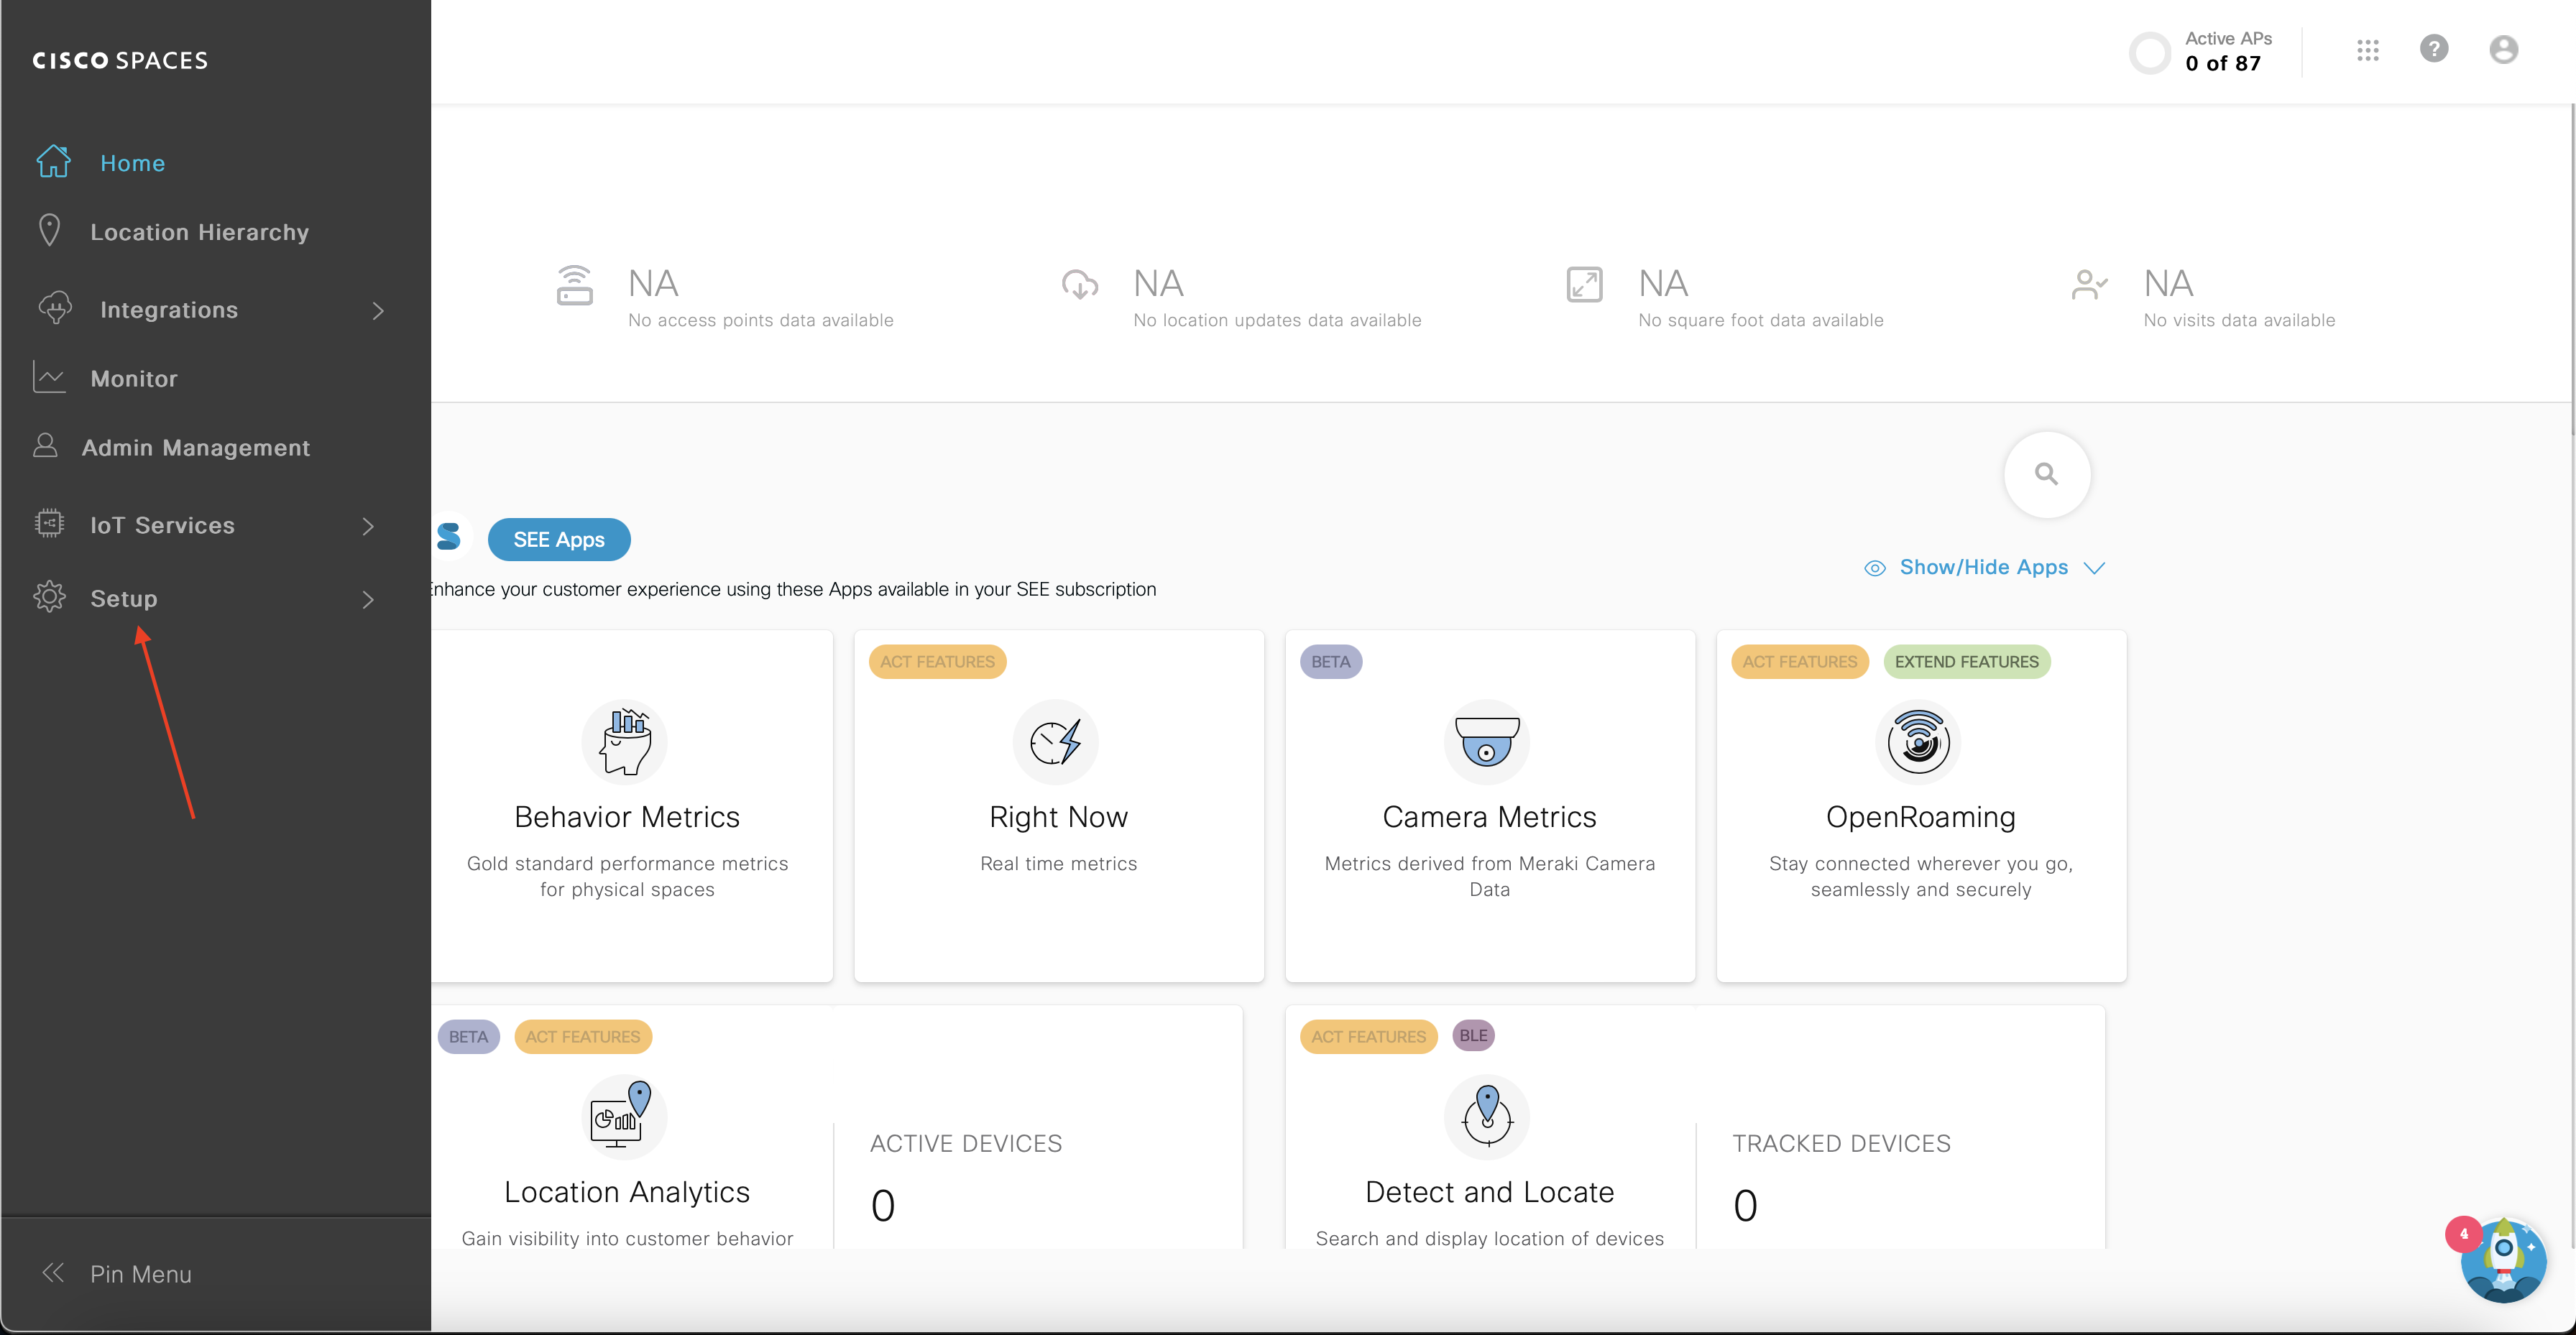
In the Cisco Spaces dashboard, click on “Setup” on the Menu
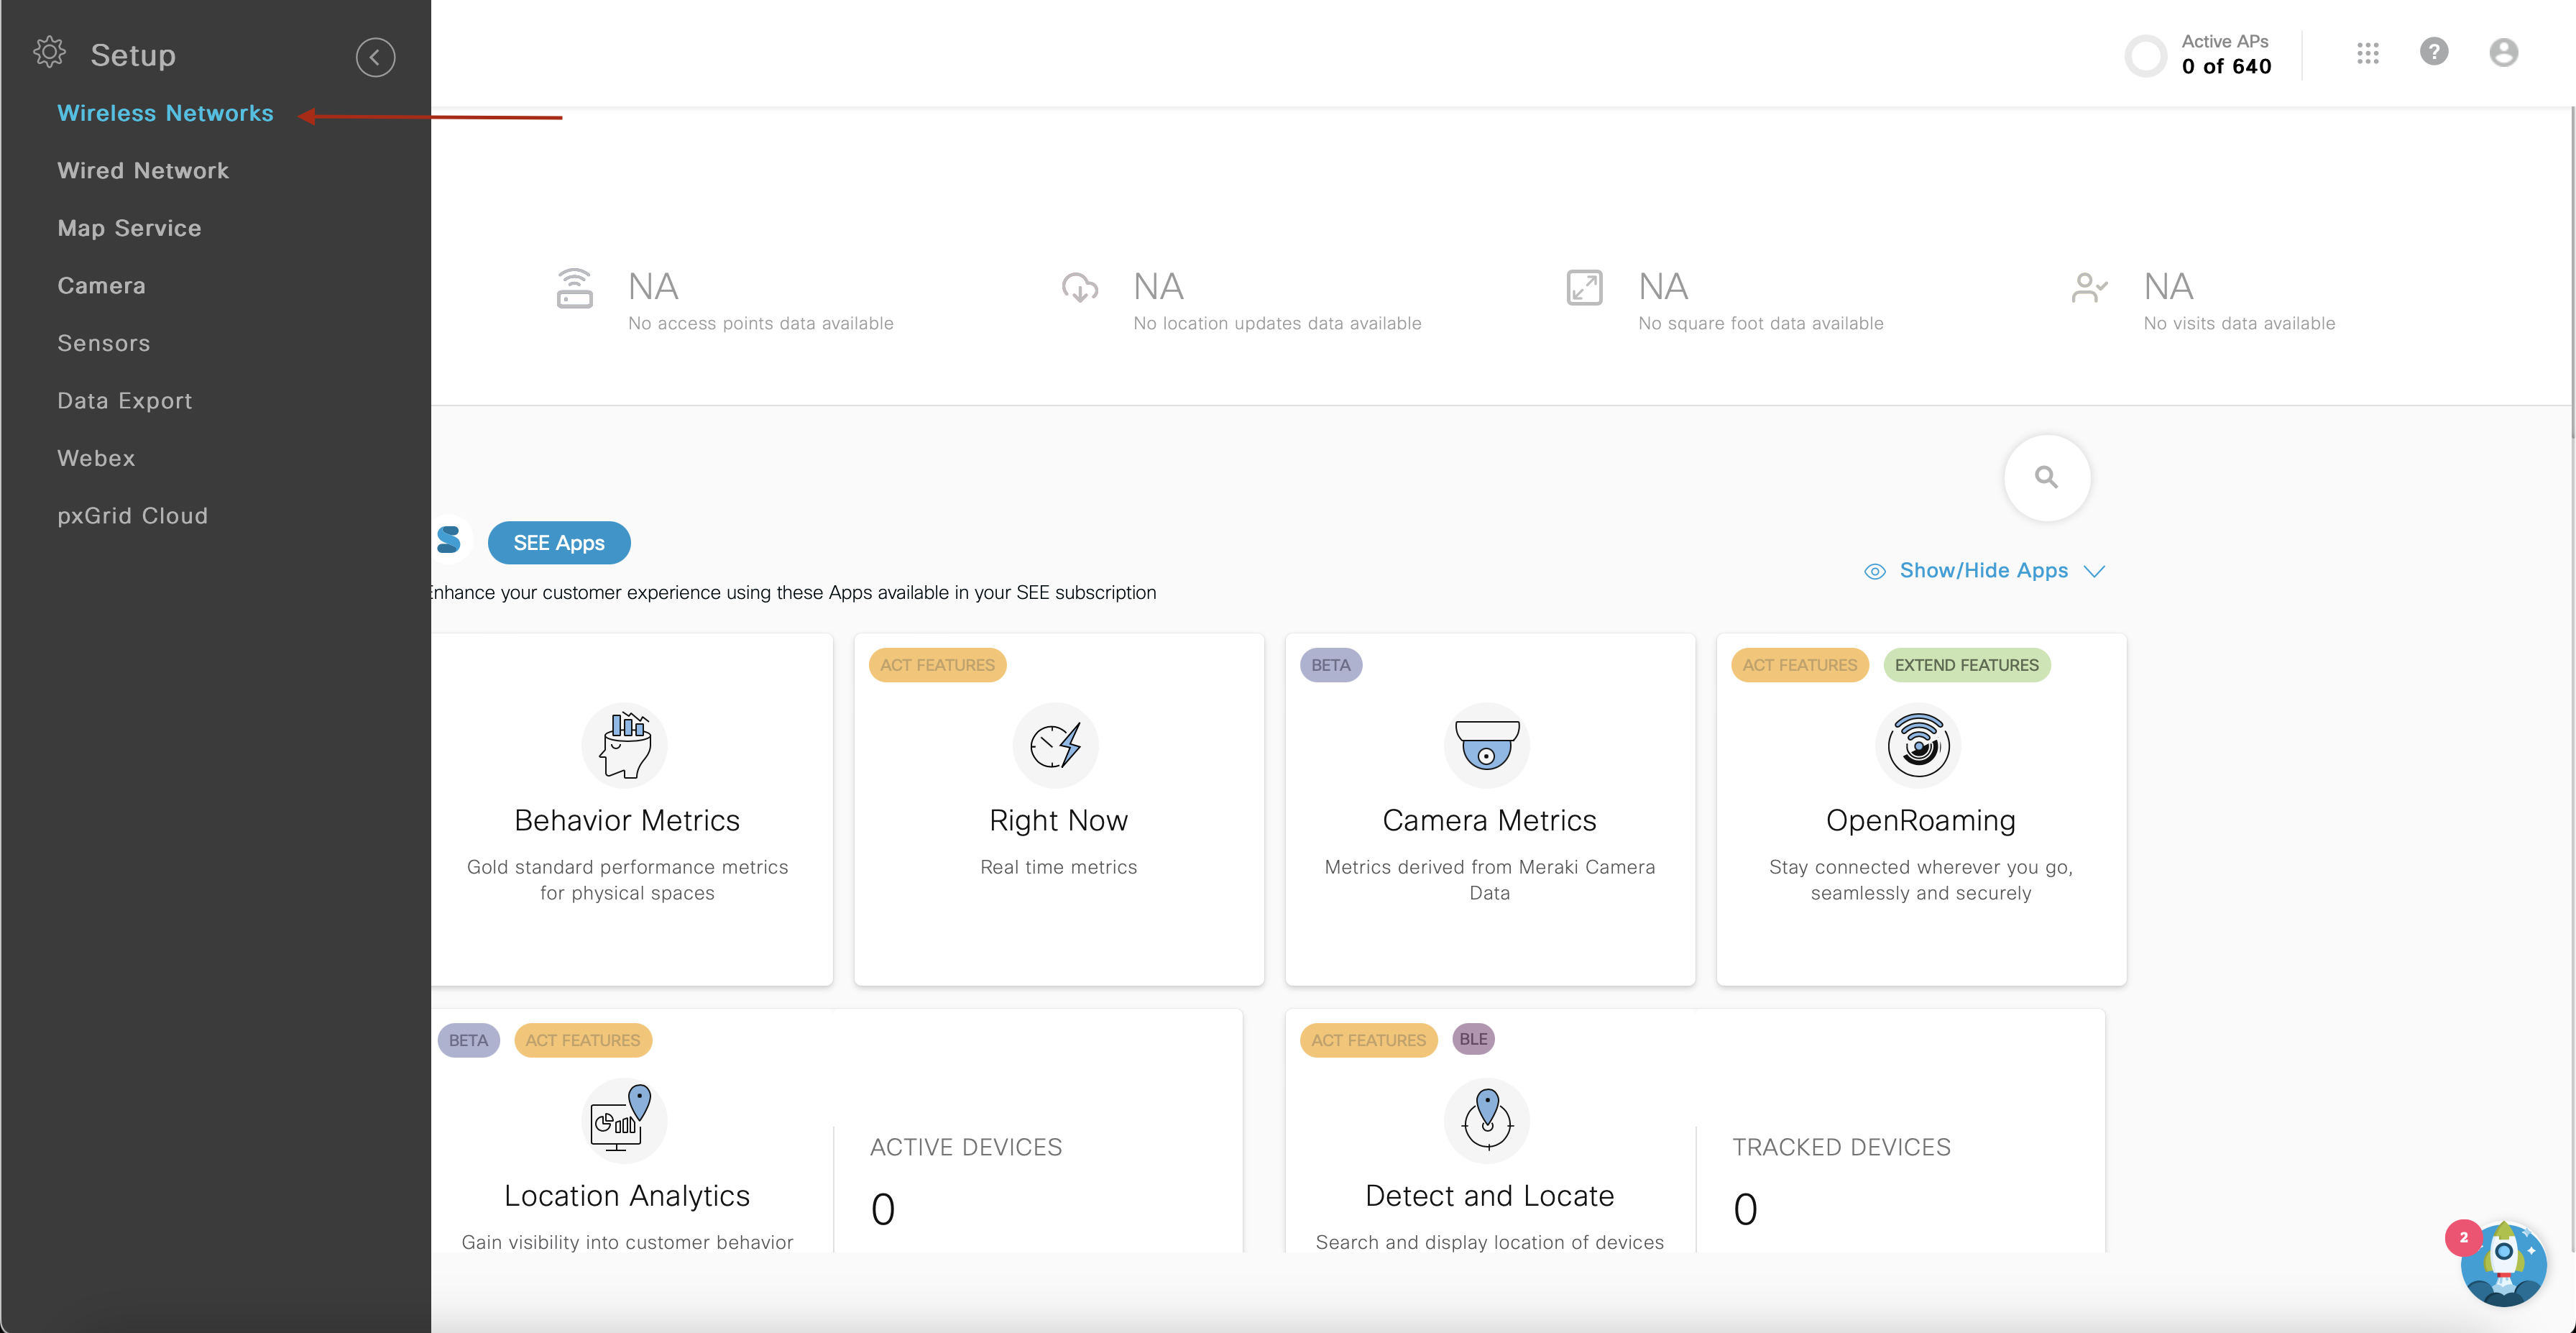
Select “Wireless Networks”
Click on “Get Started” button
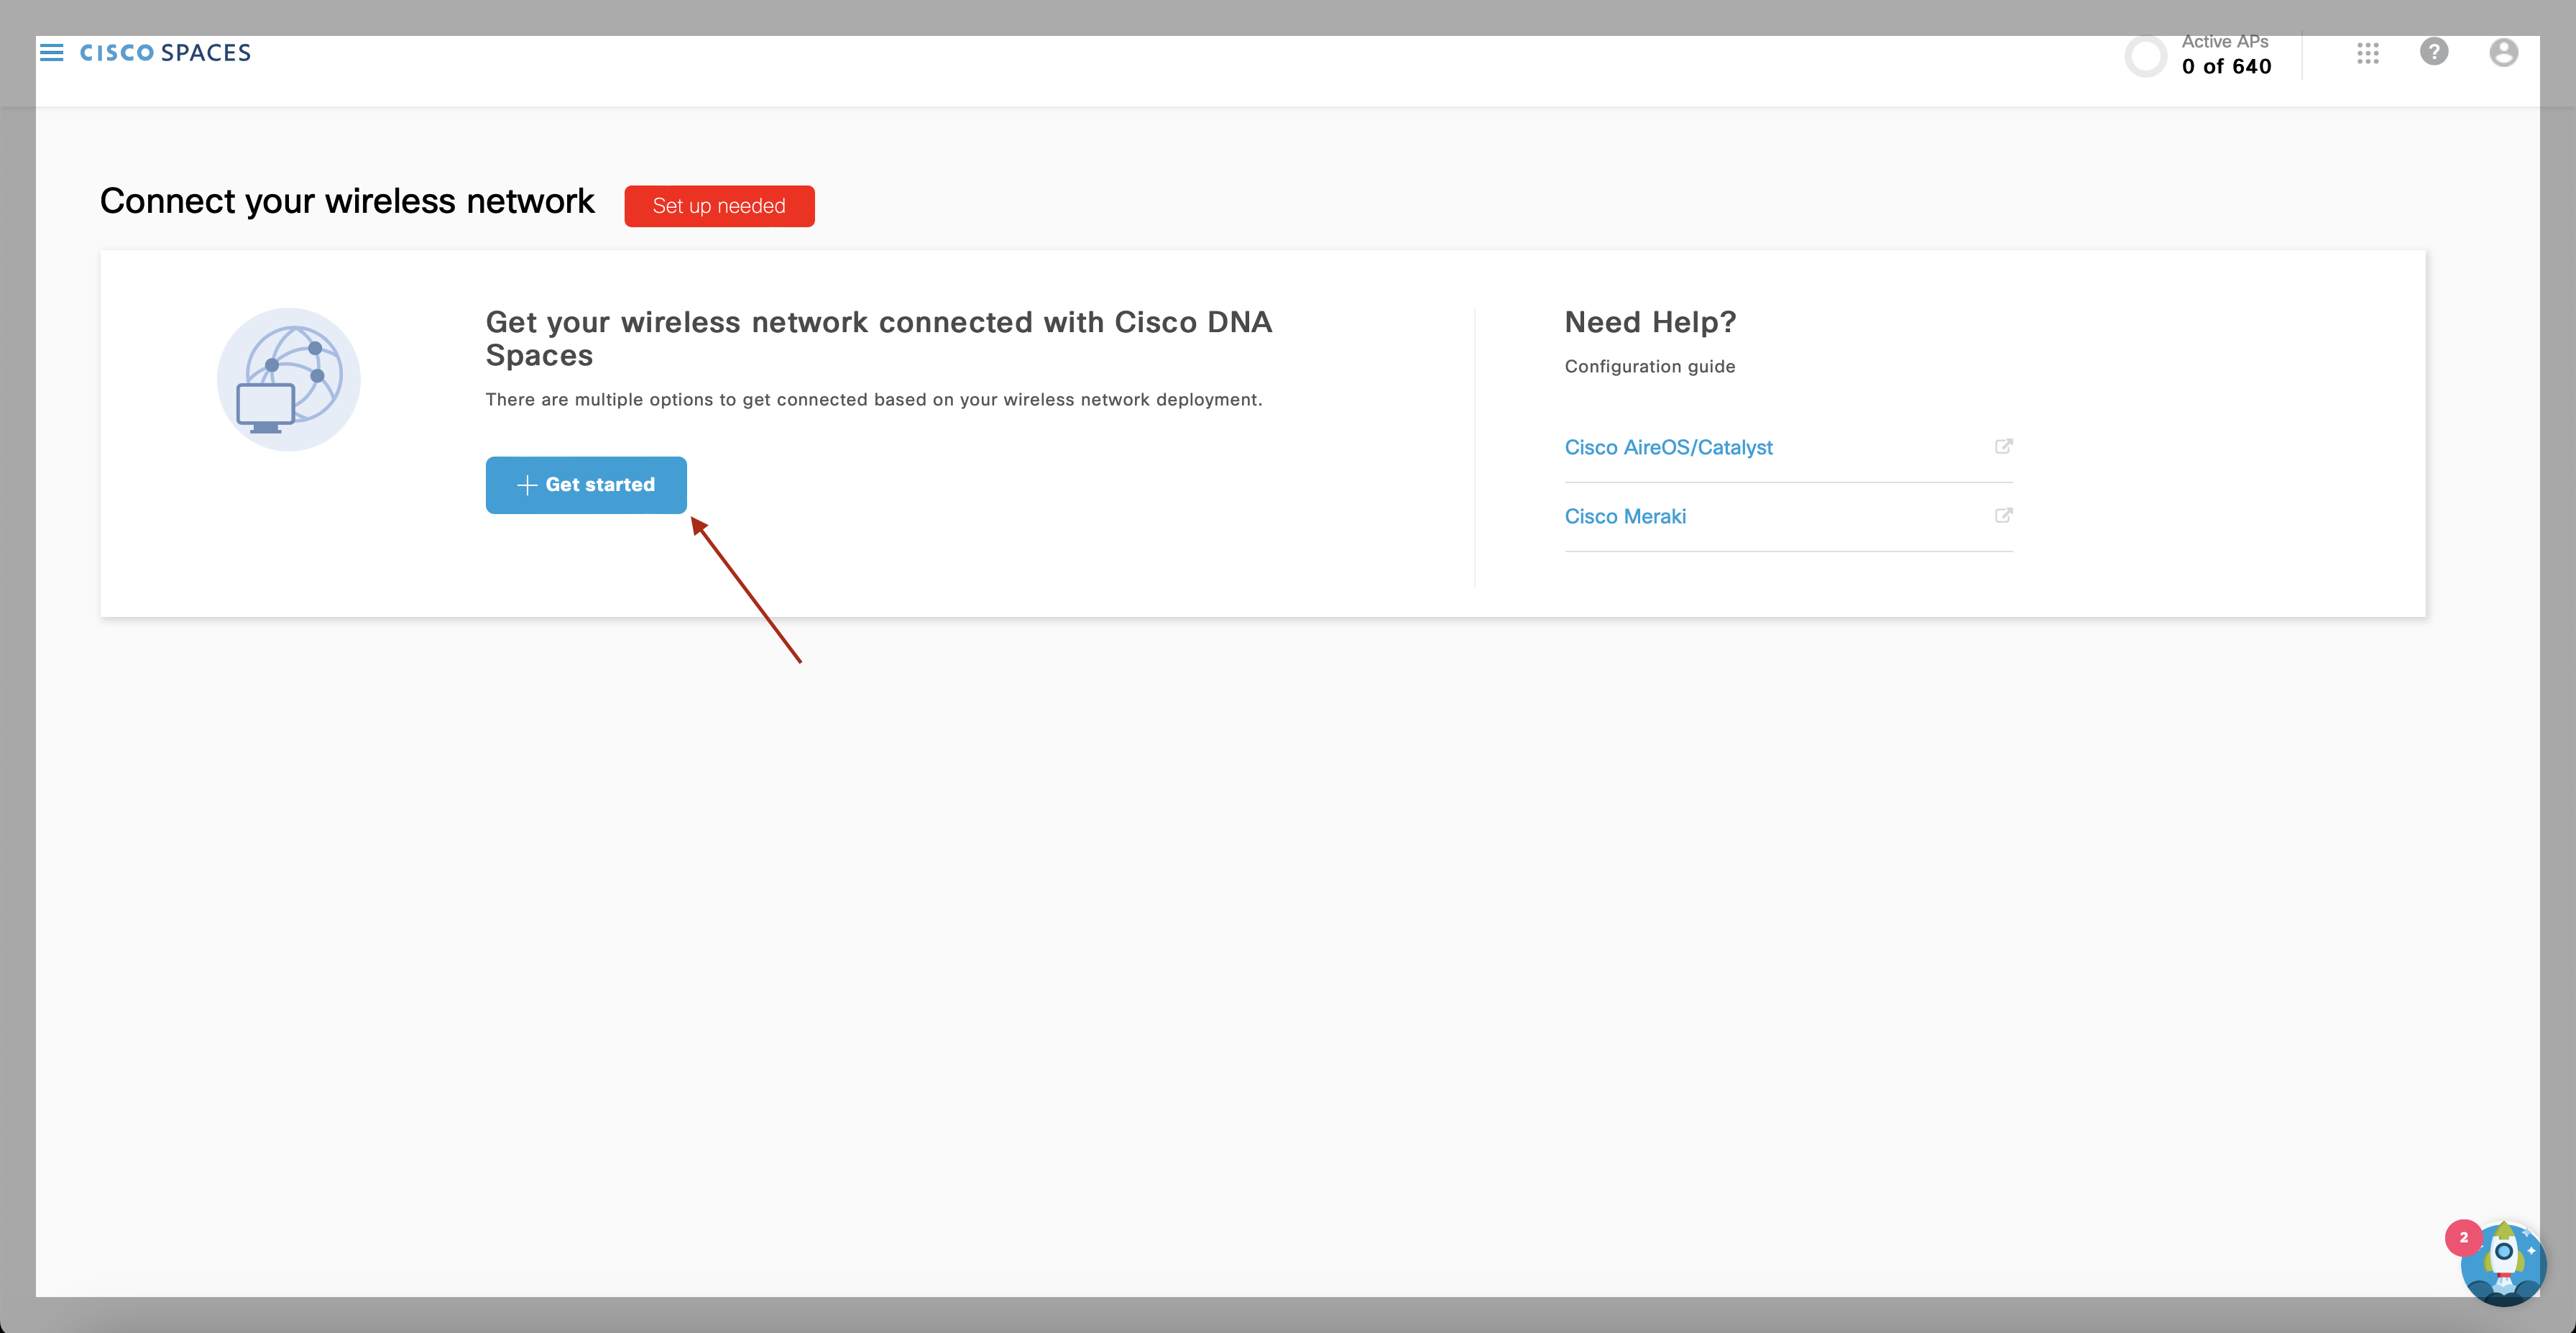
Select “Cisco AireOS/Catalyst”
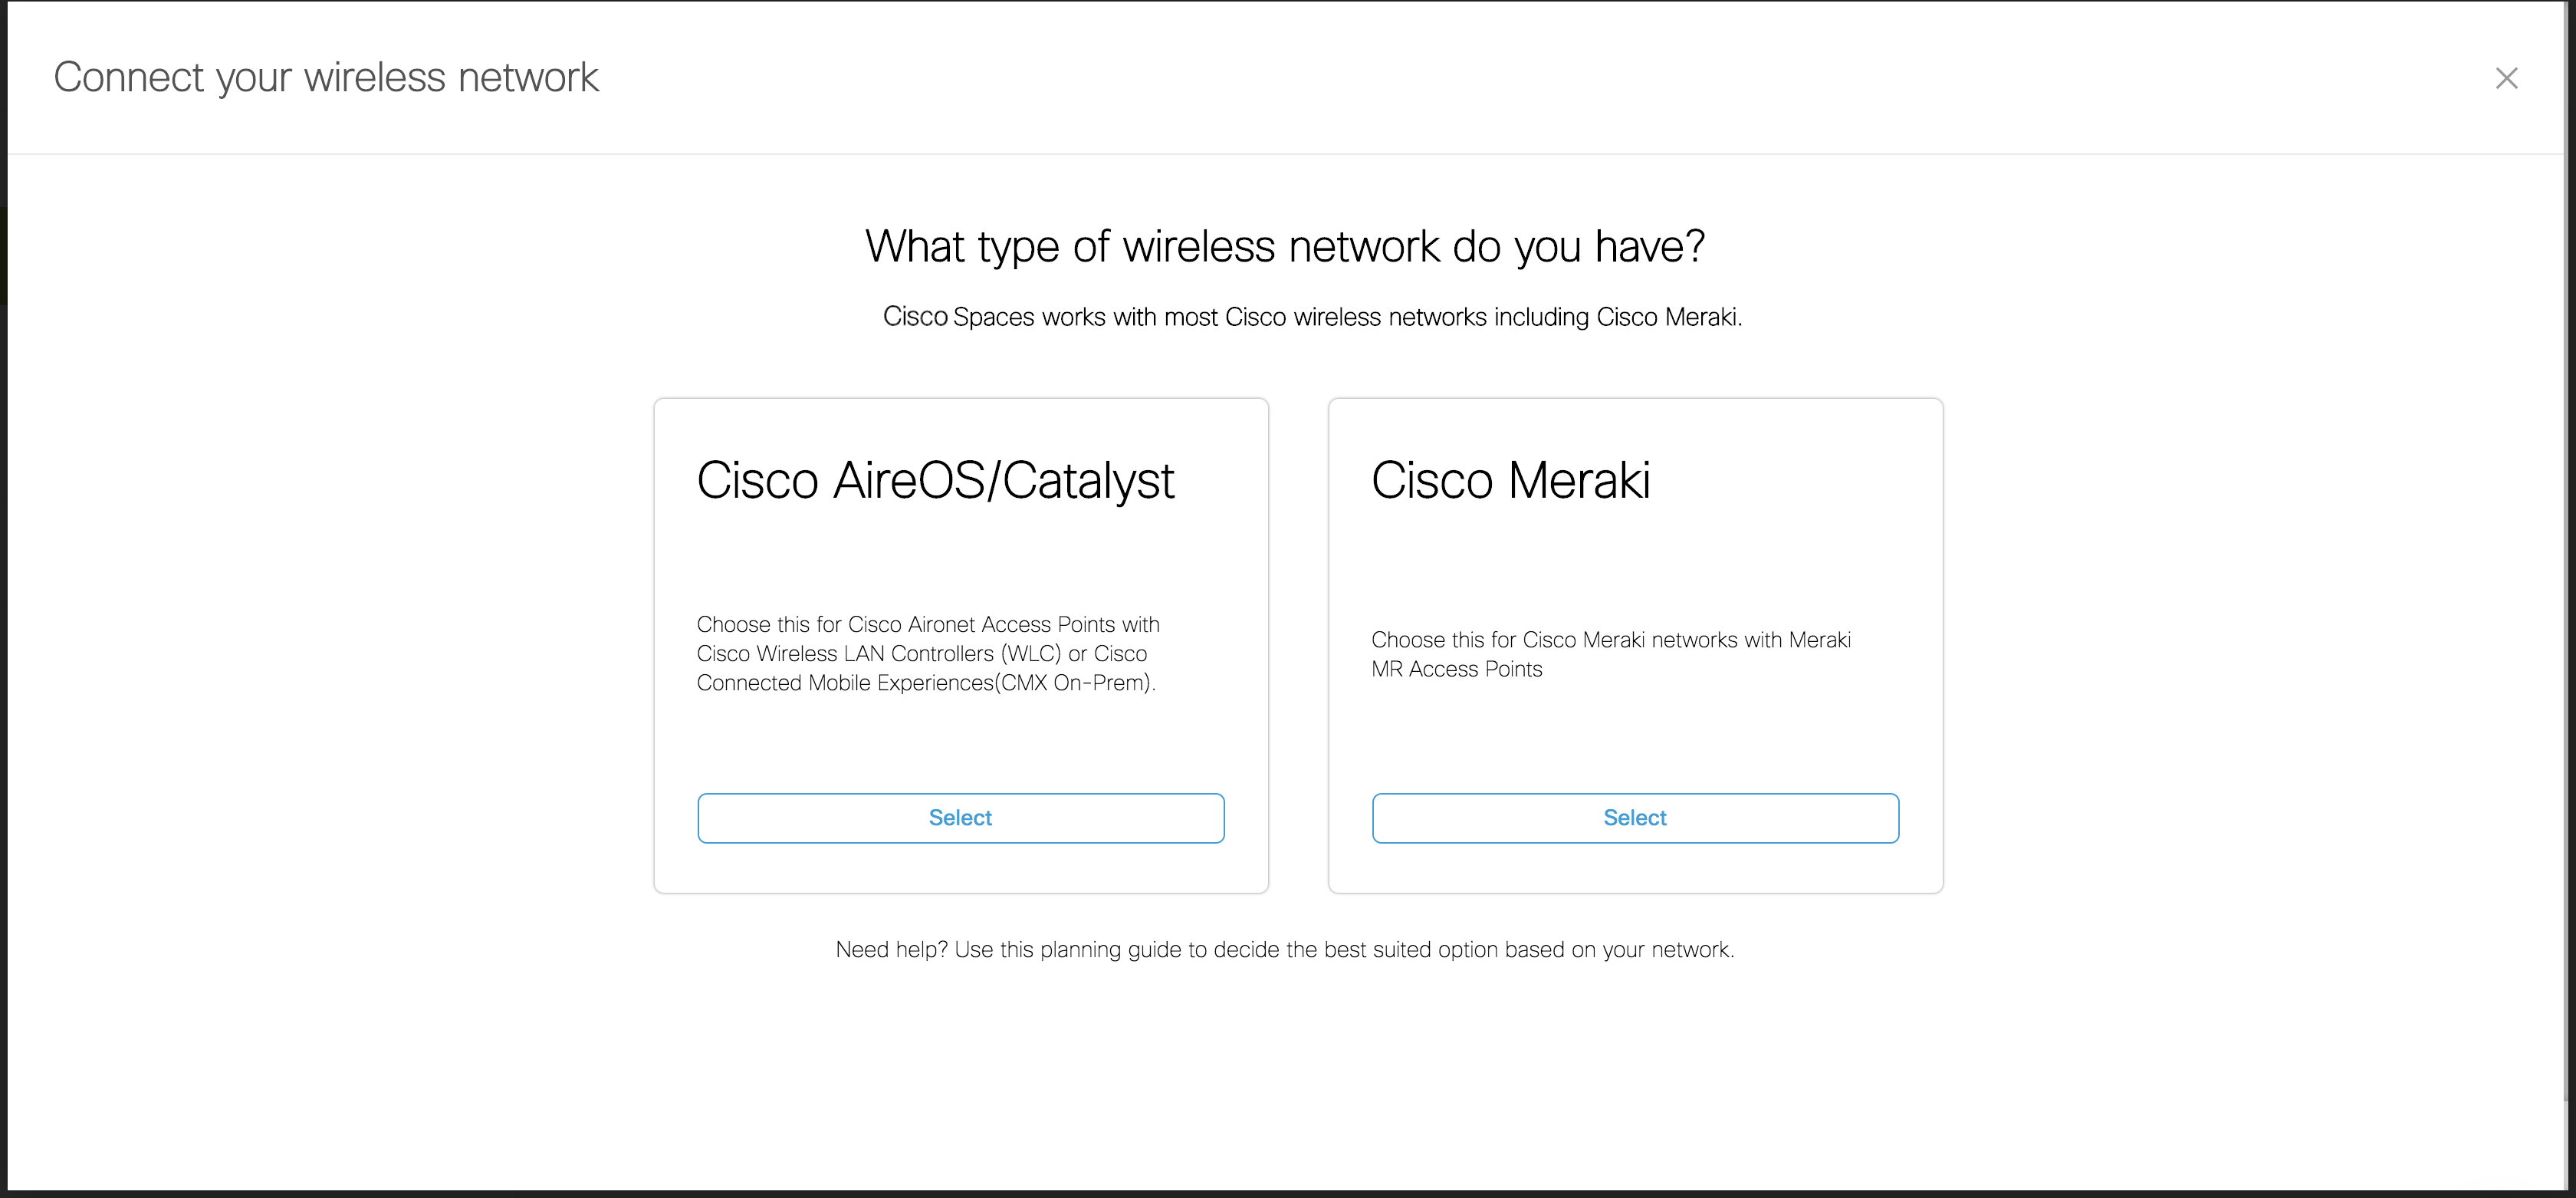
Select “via Spaces Connector”, then select “Continue Setup” button
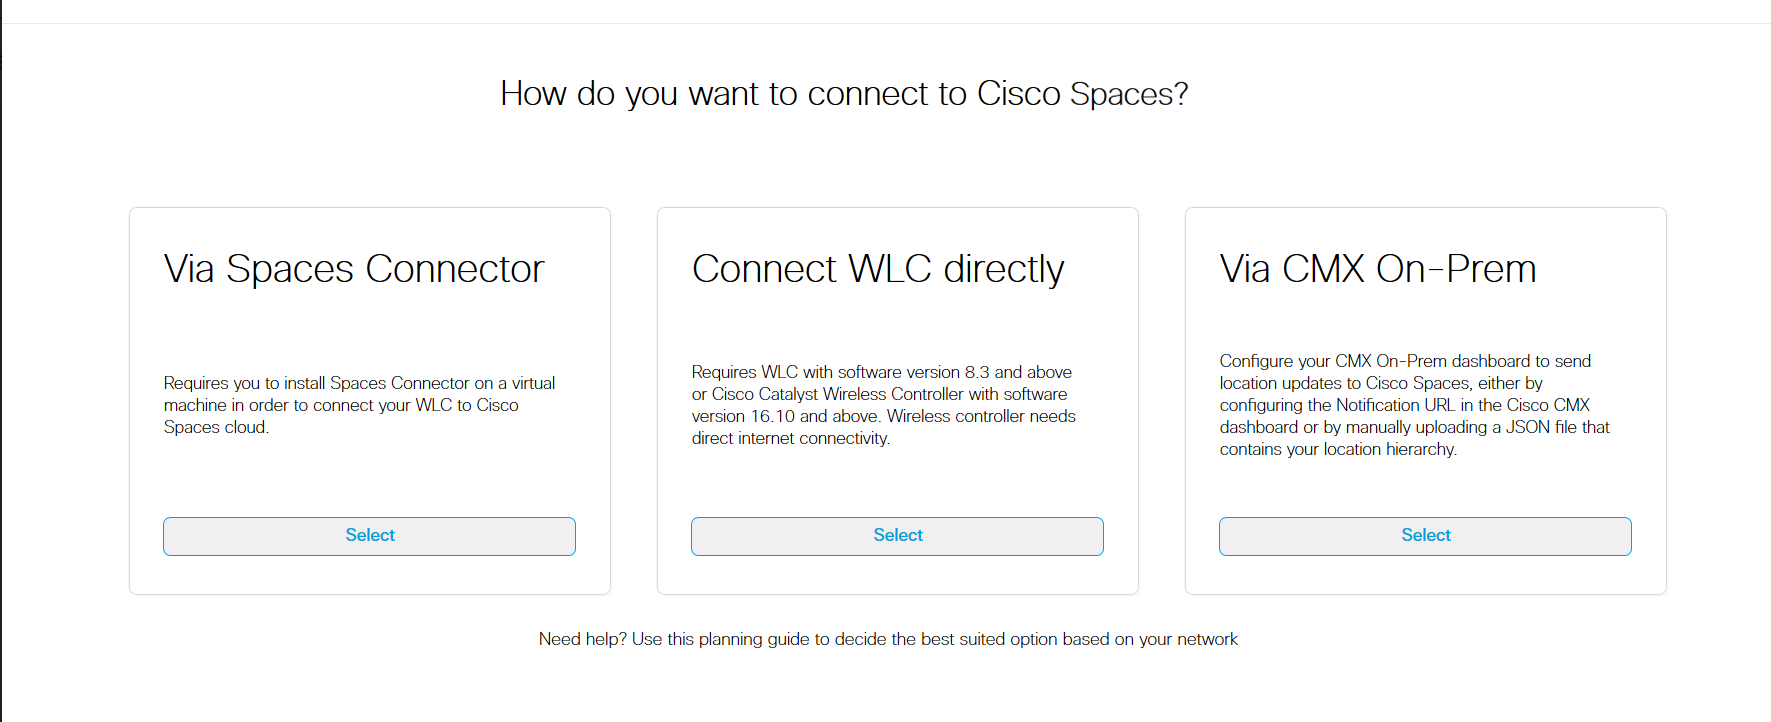
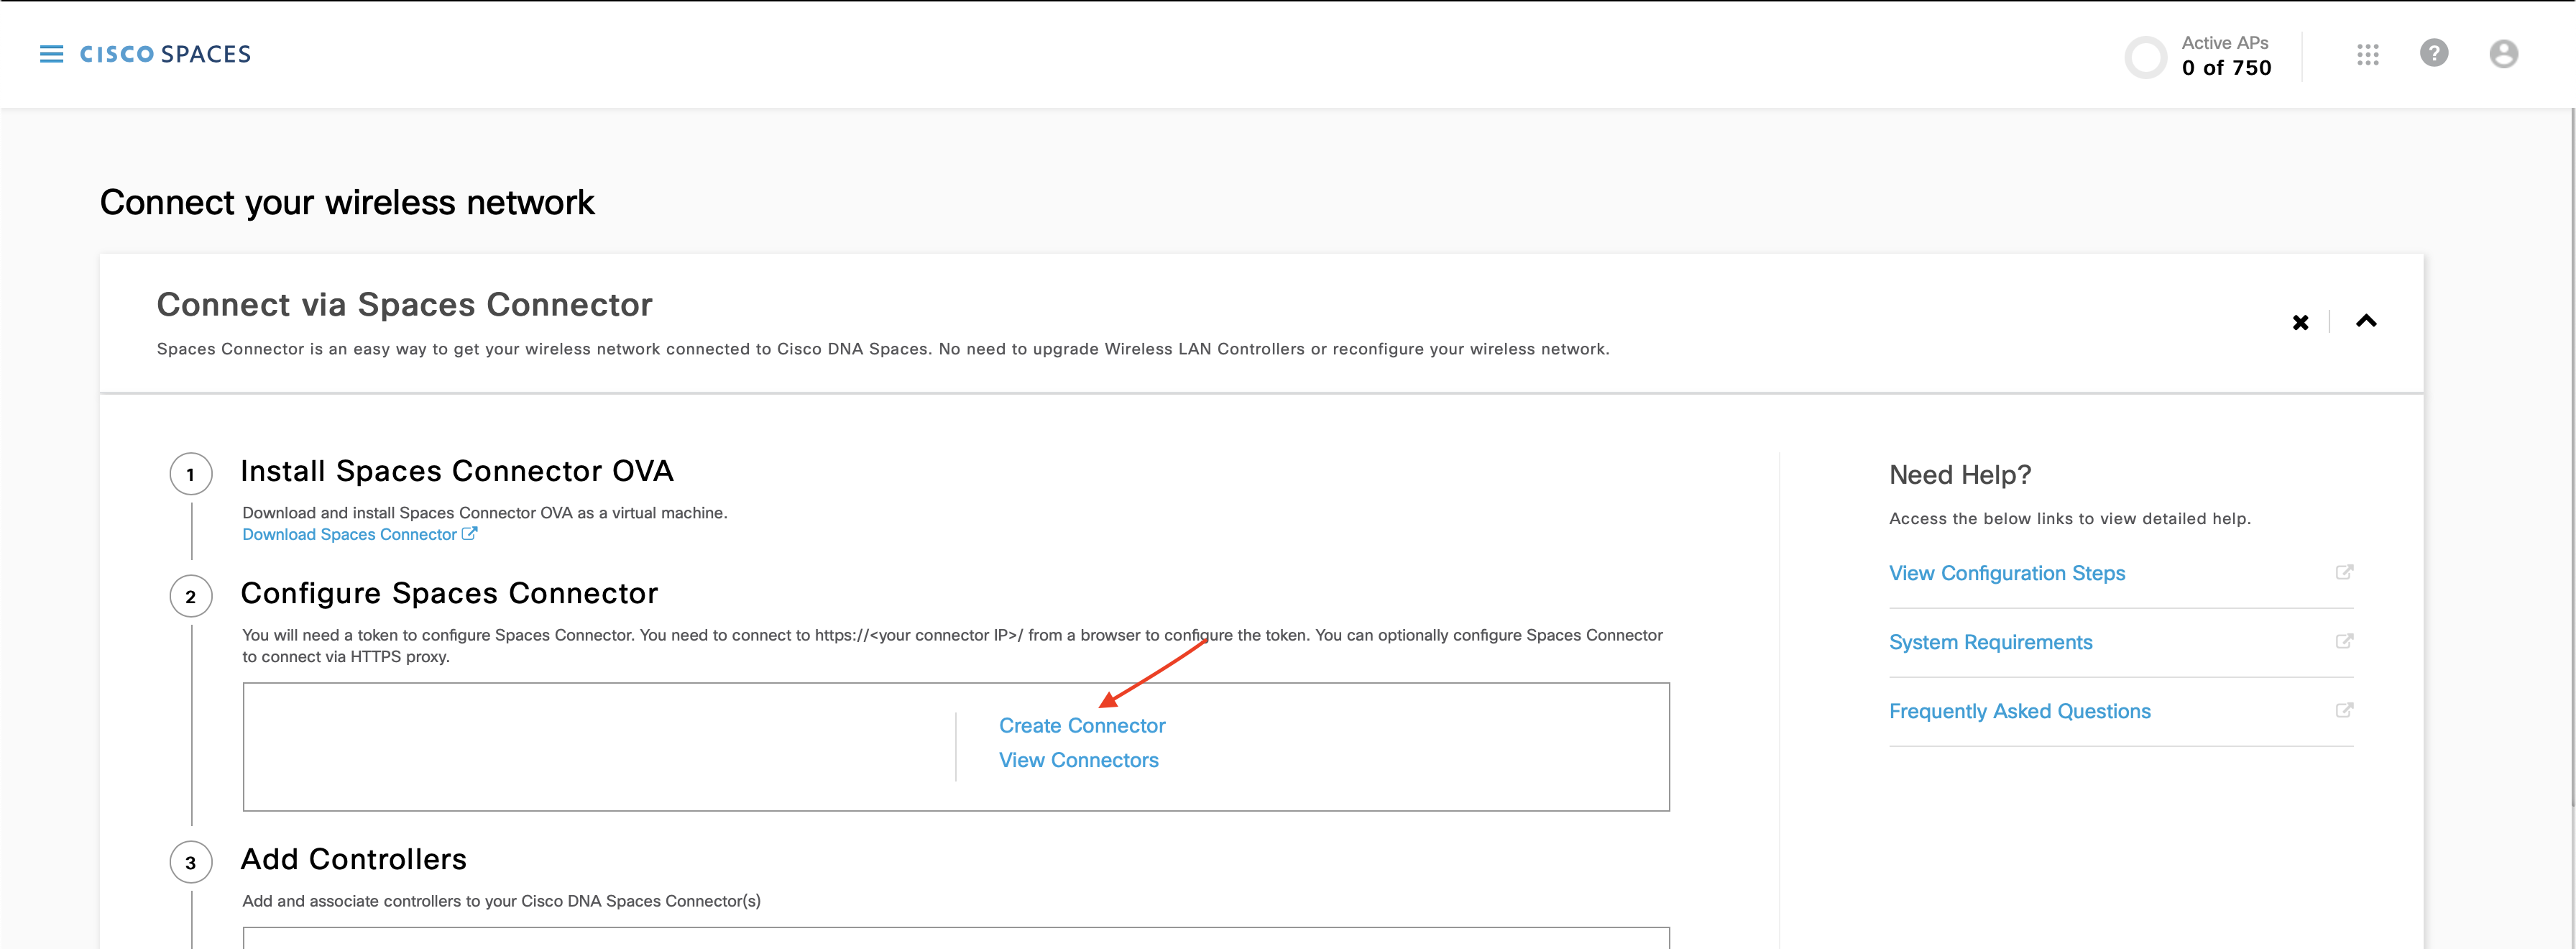
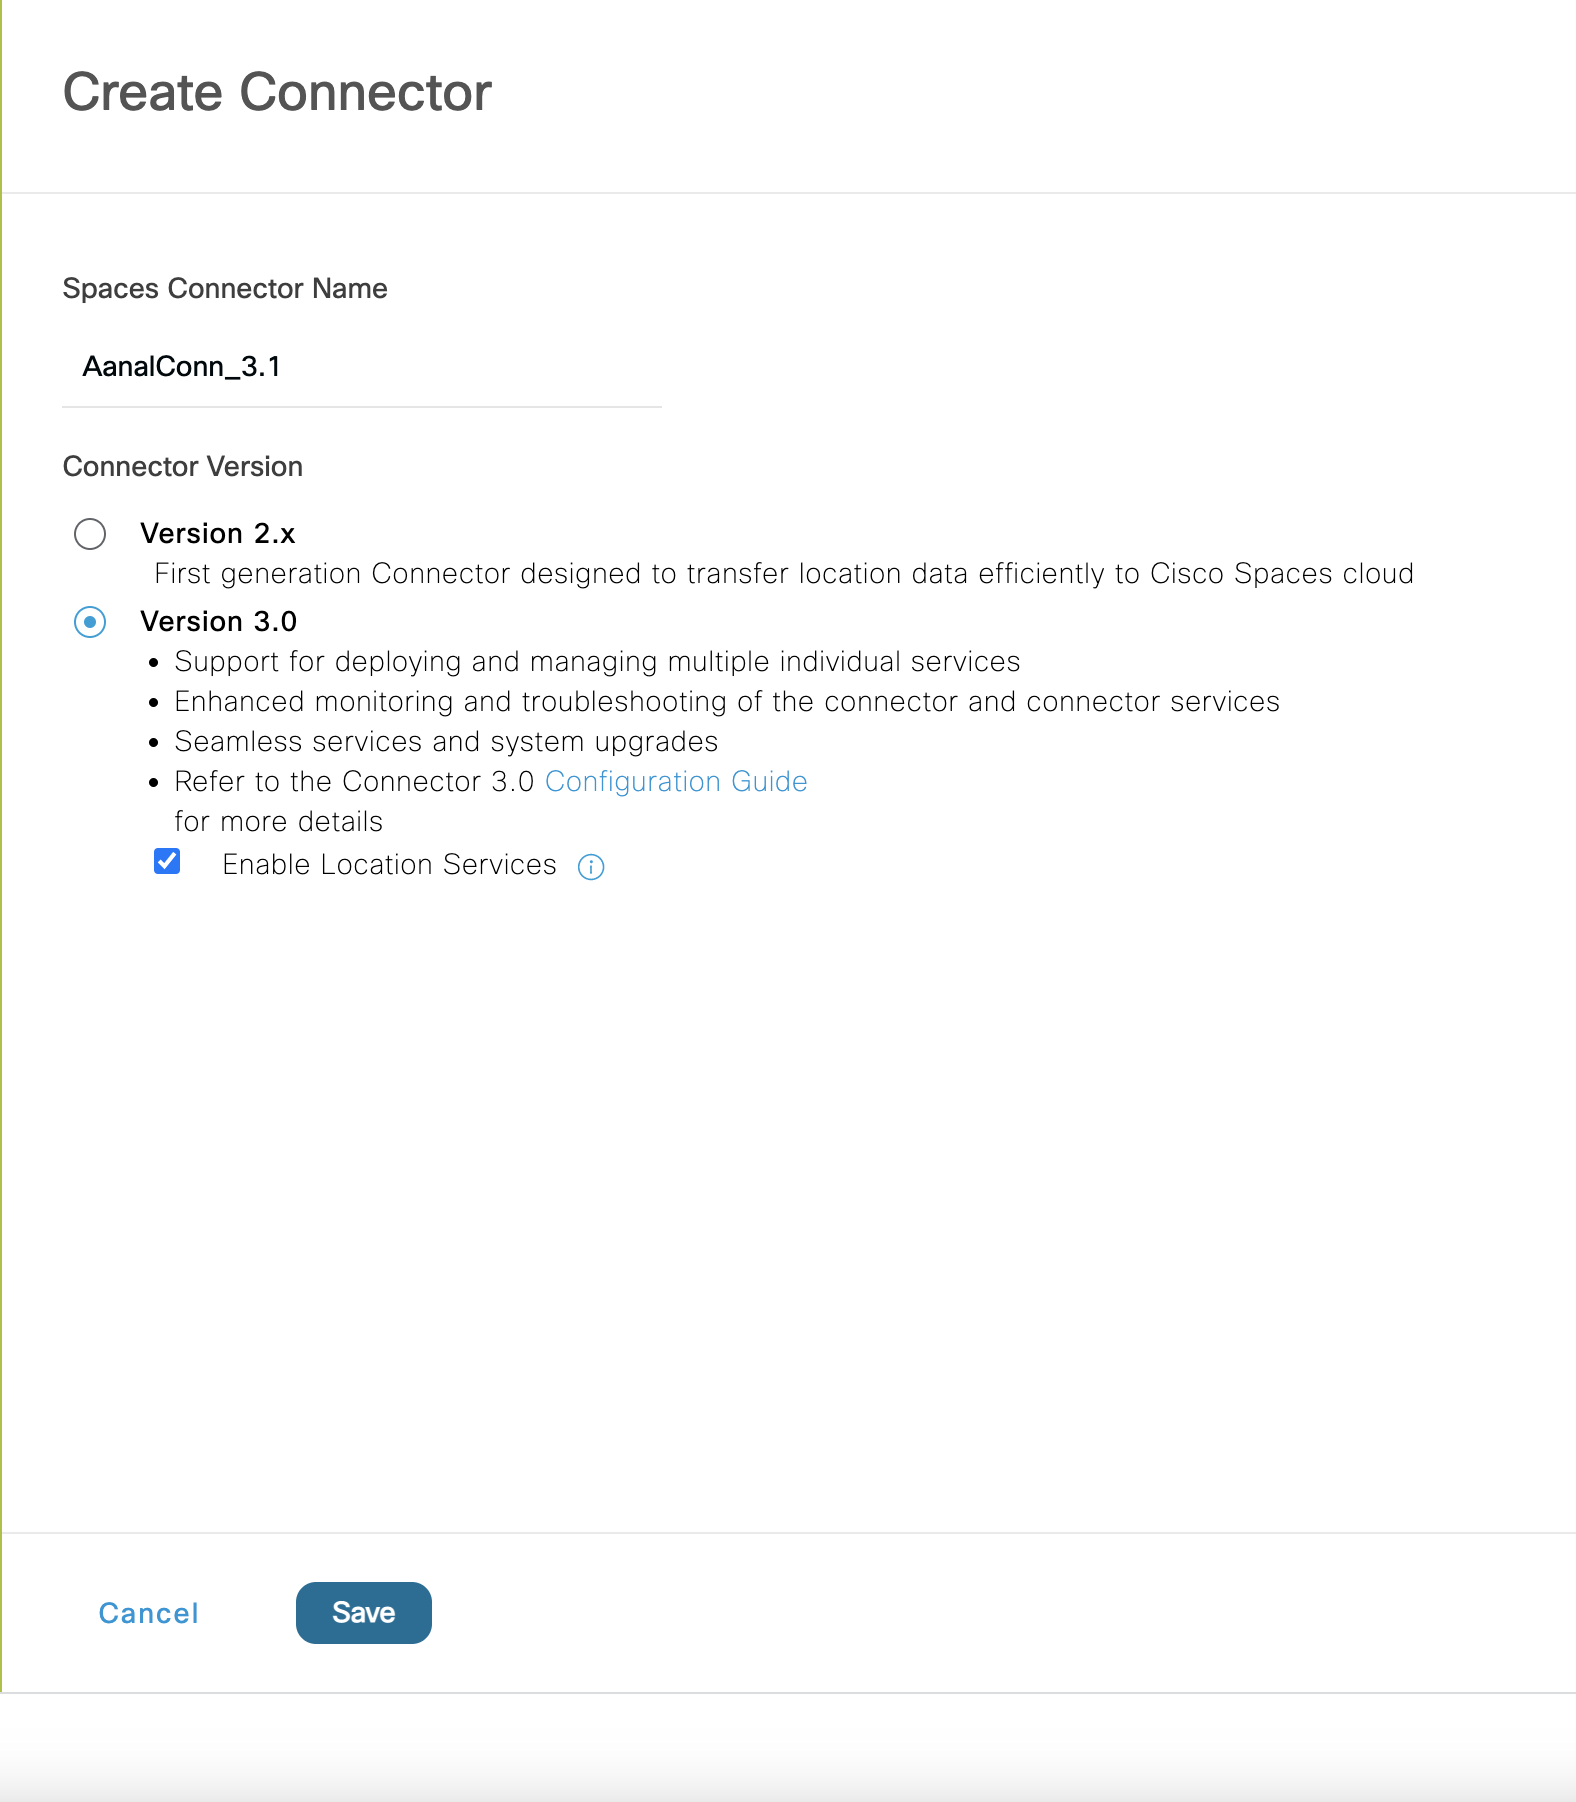
Under step 2 “Configure Spaces Connector”, click on “Create Connector”
In the “Connector Name” field, enter a name for the connector and click on “Save”.
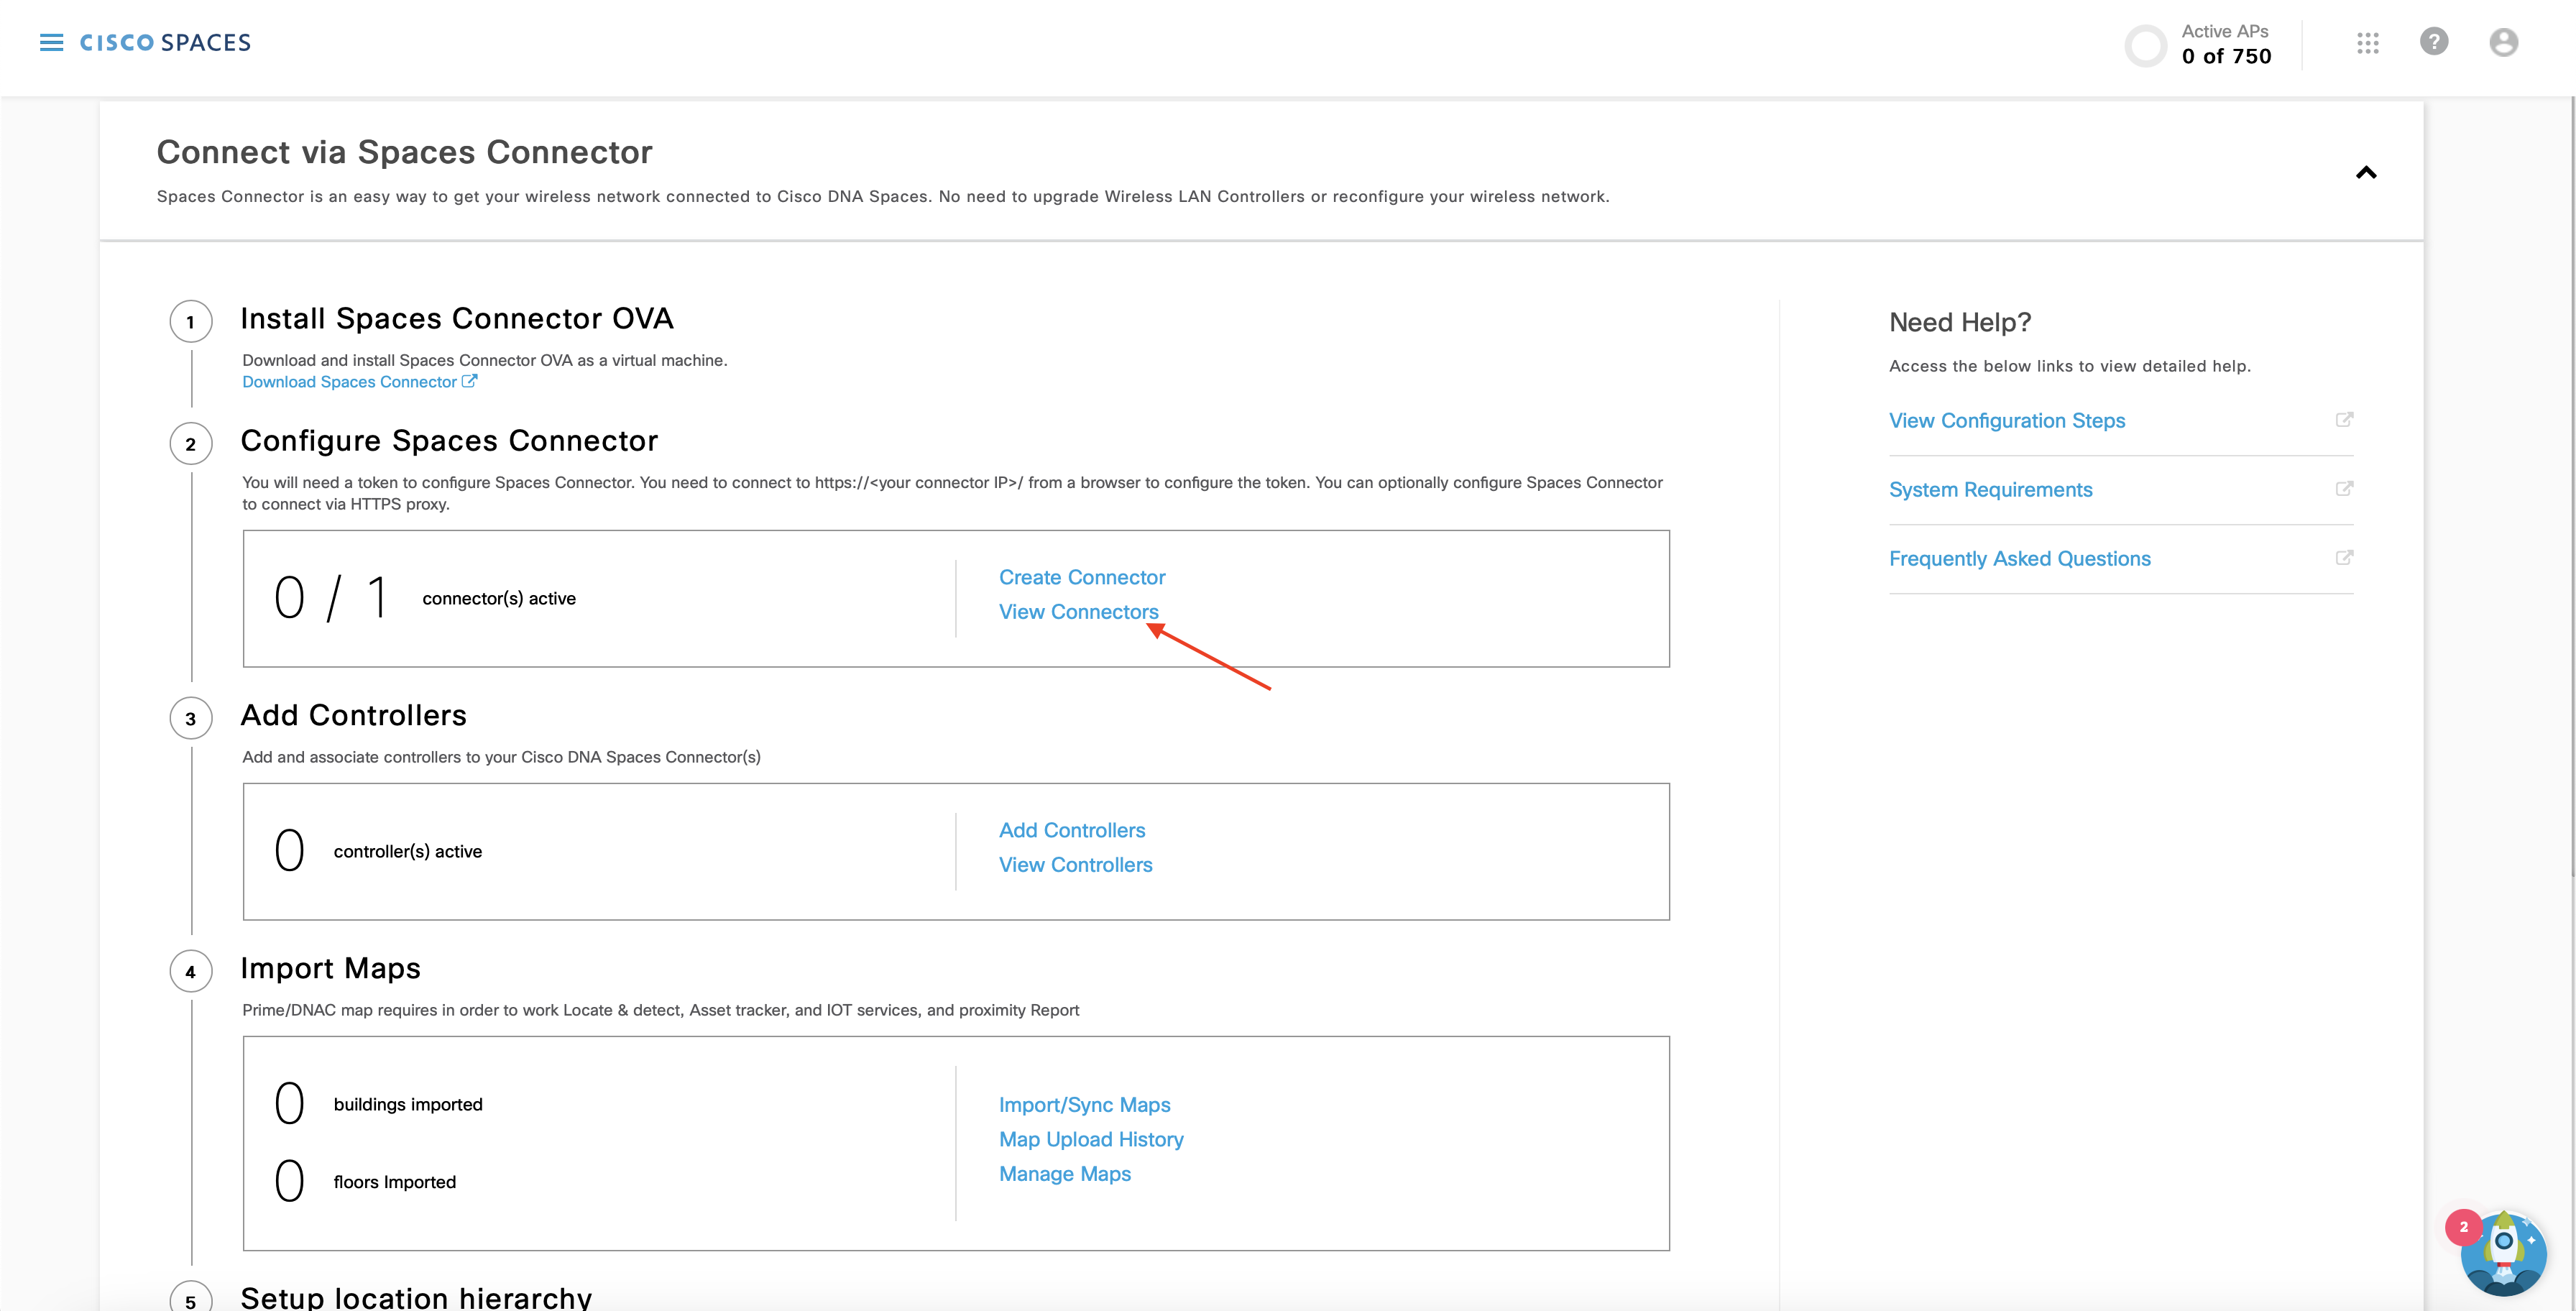
On the Customized Setup page step 2 “Configure Spaces Connector”, click on “View Connectors”
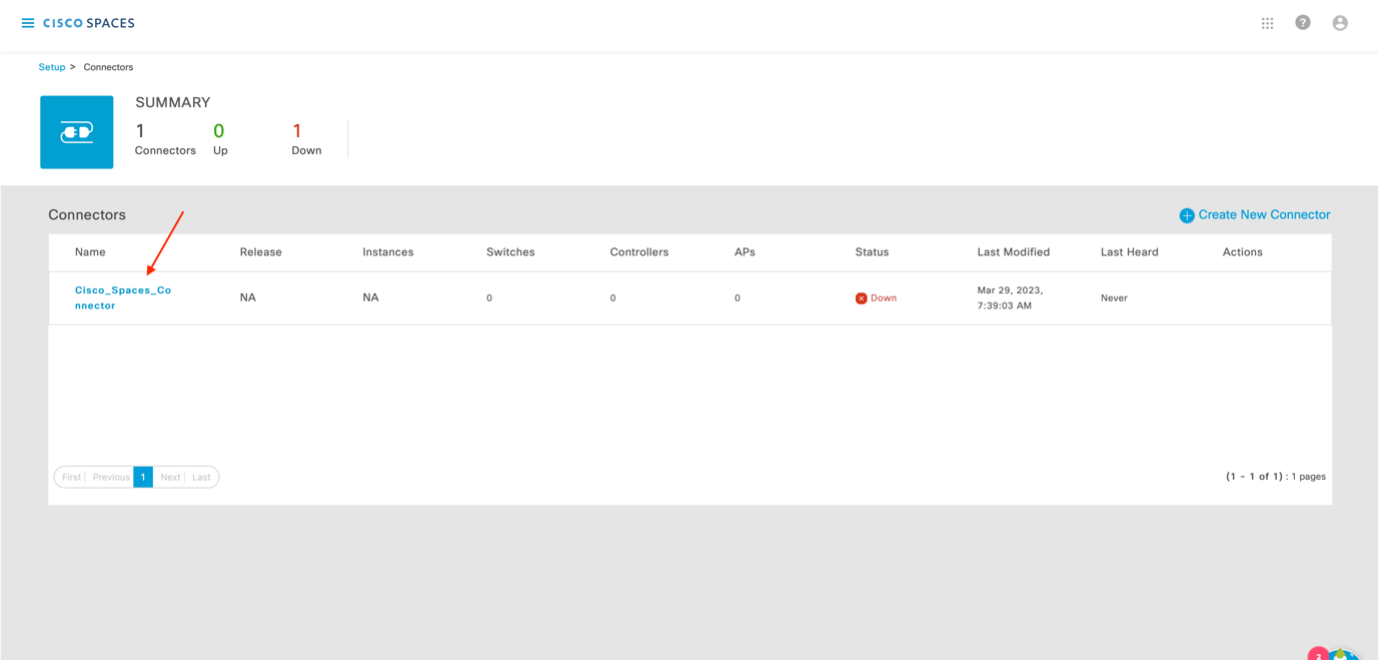
You will see the list of Connectors you’ve created. Select the desired Connector.
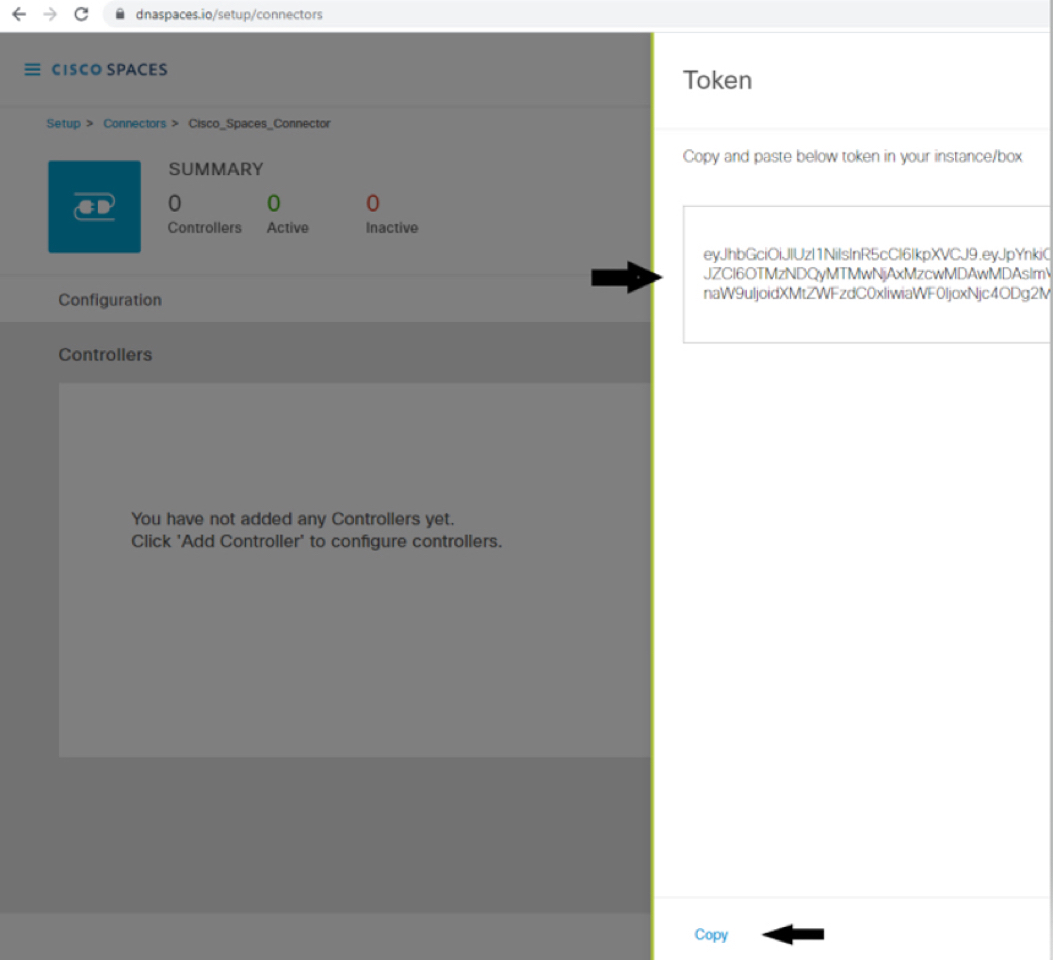
Click on ‘Generate Token’
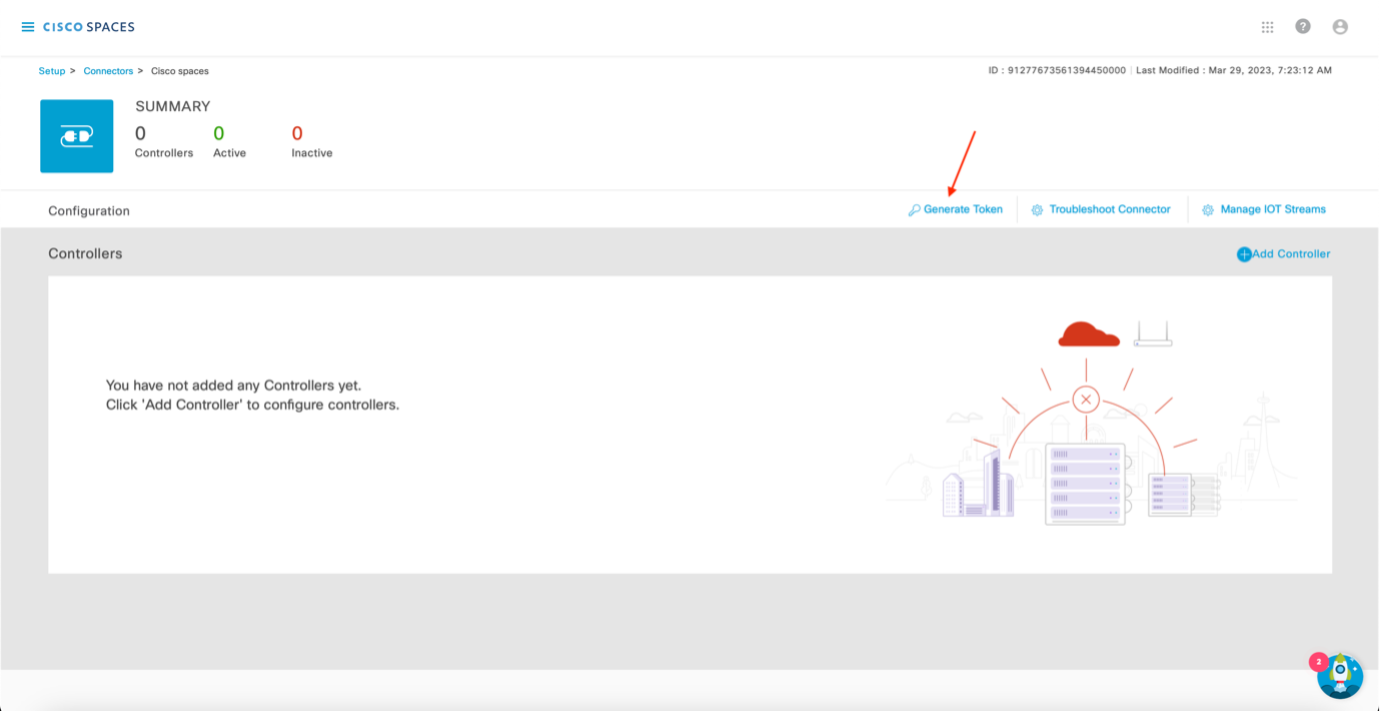
Copy the token that appears on the following screen of the Cisco Spaces dashboard
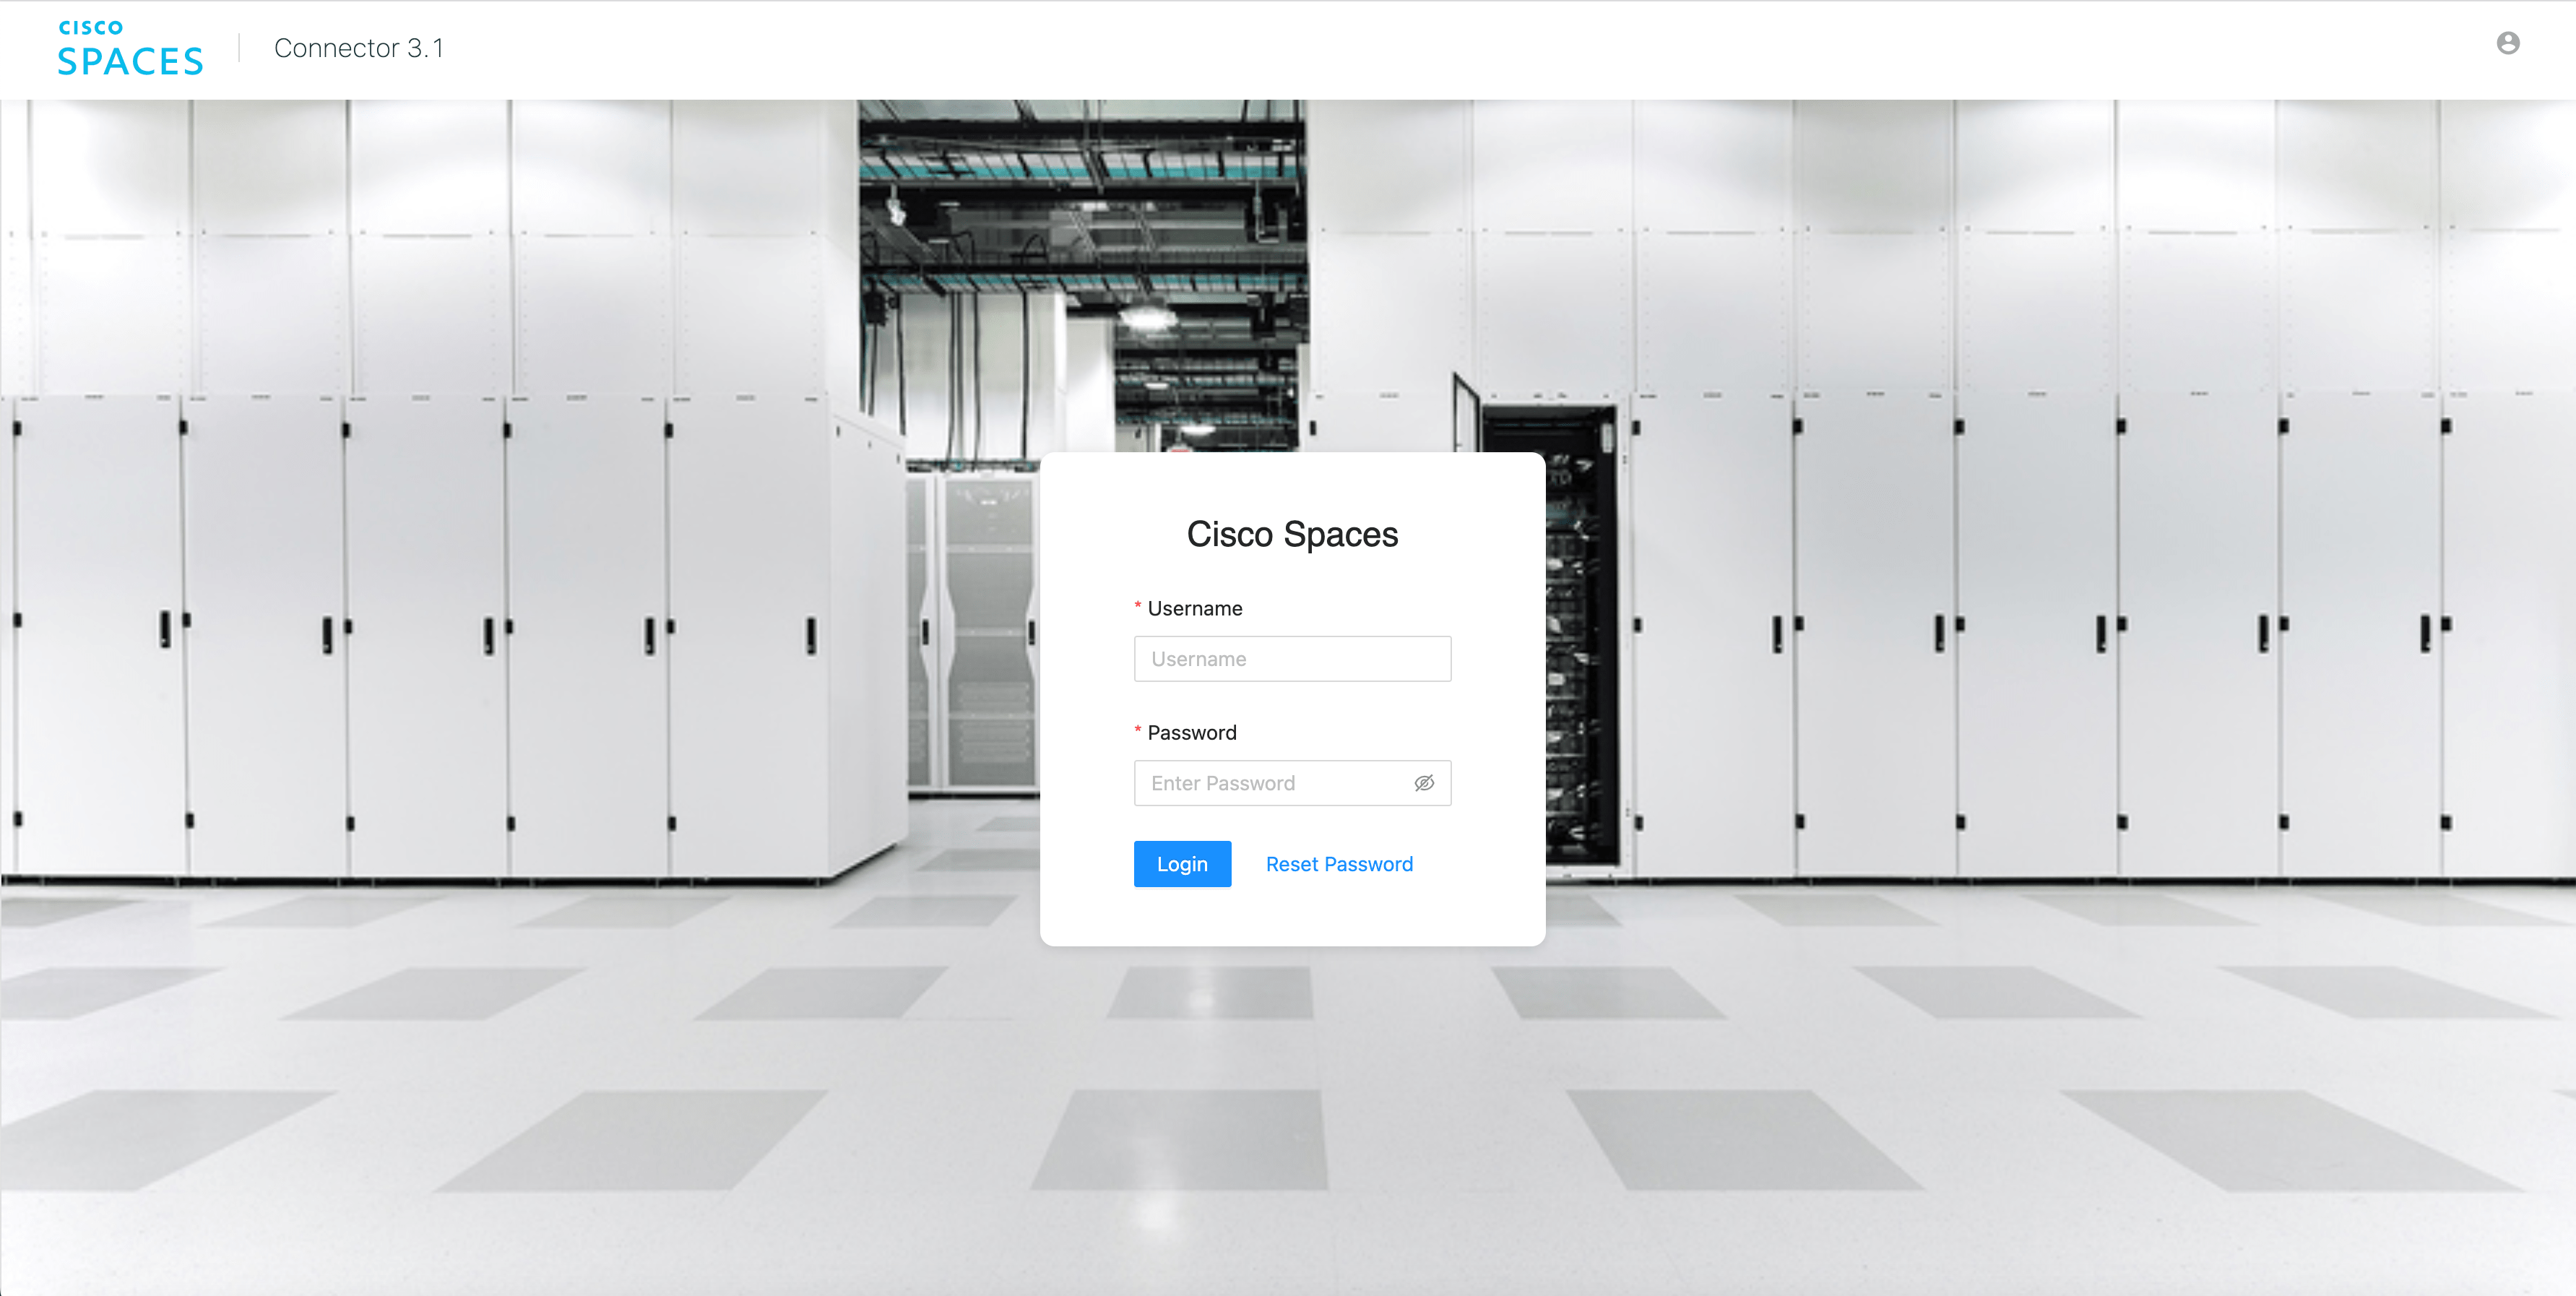
Launch the Cisco Spaces Connector using the HTTP address provided at the OVA deployment, https://< IP-address >/. In the Cisco Spaces Connector window that opens up, enter the username and password that was configured earlier.
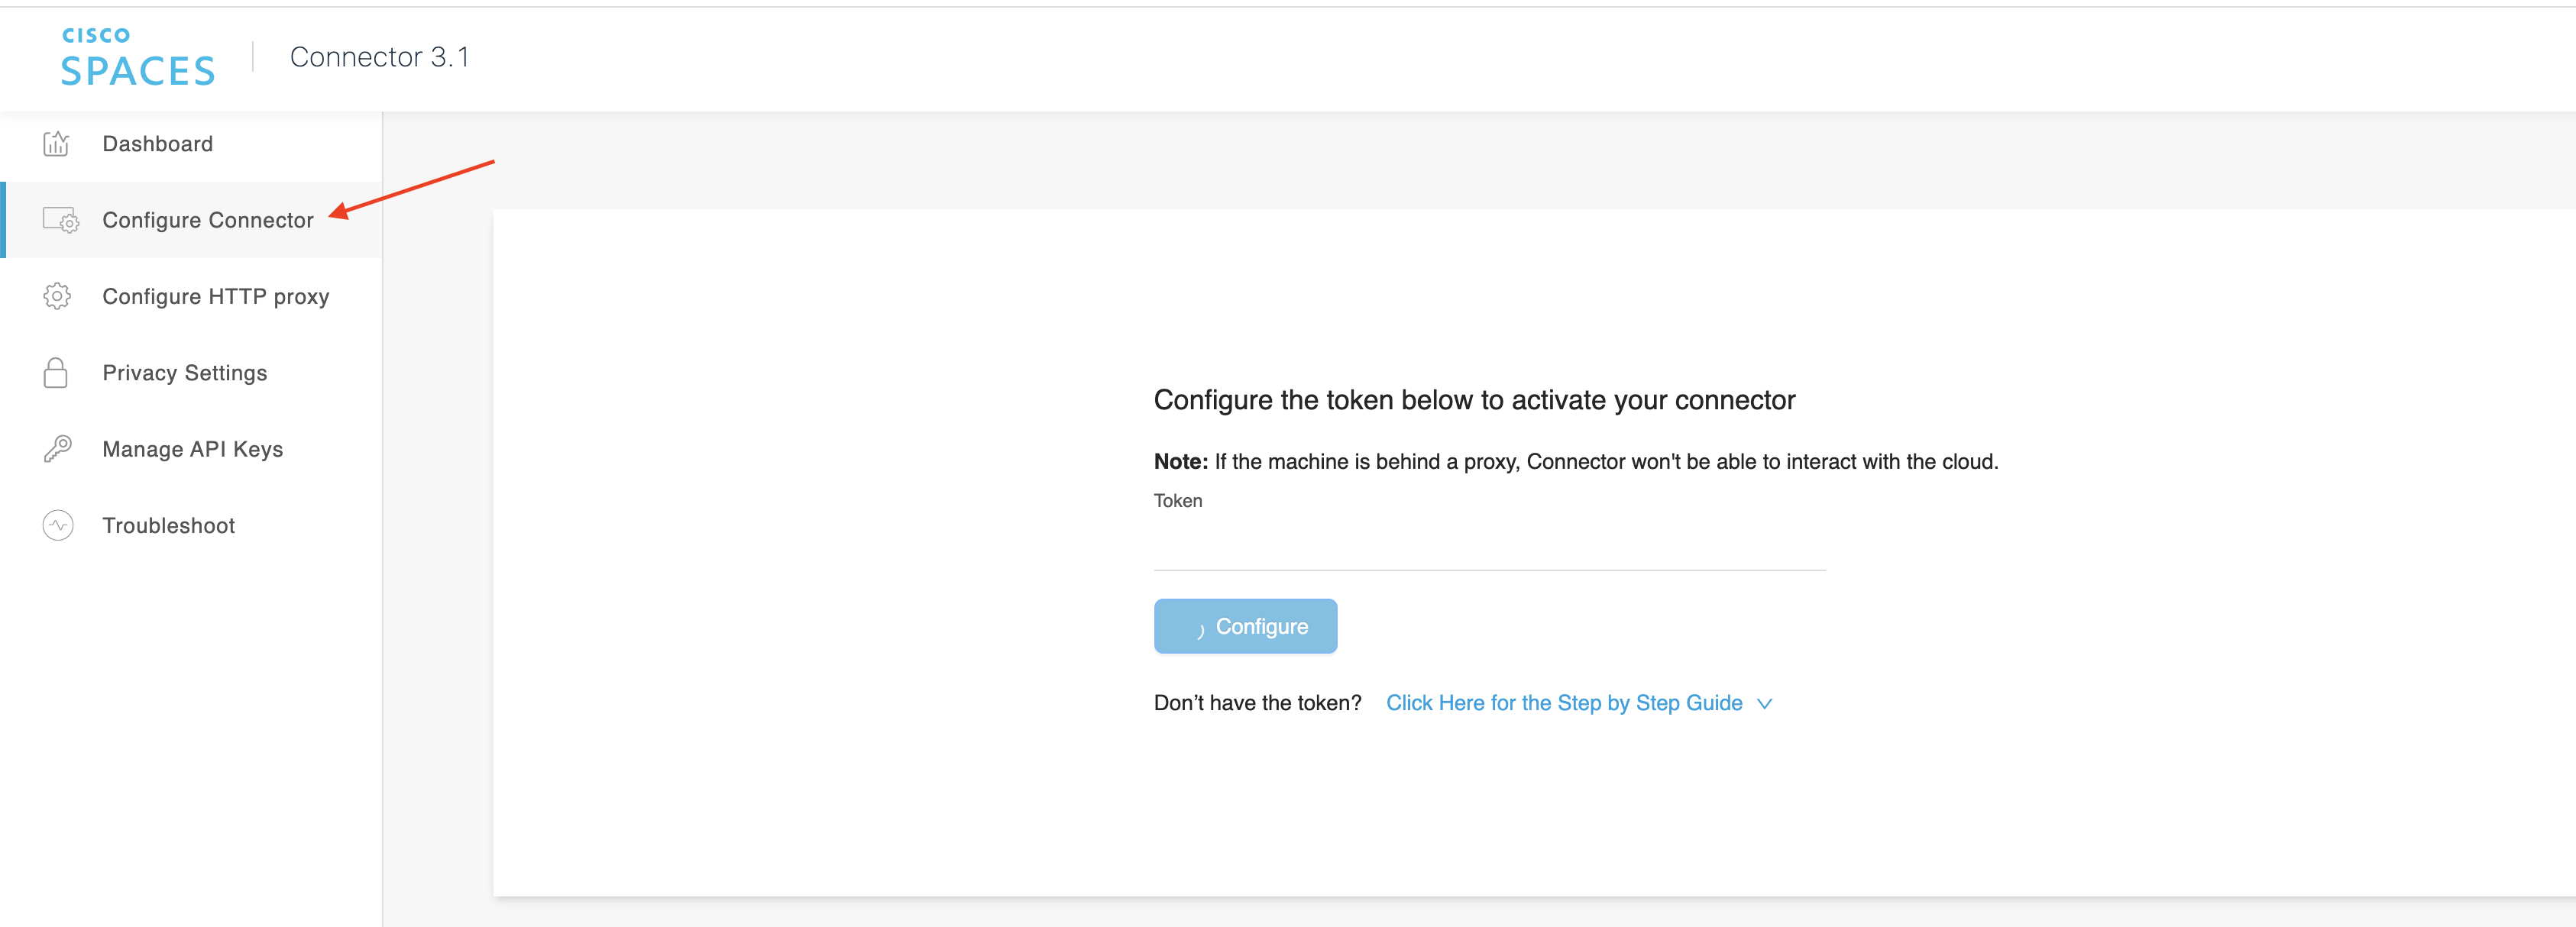
On “Configure connector” place the token, and click ‘save’
You may need to wait a few minutes for Cisco Spaces connector to start as images may take some time to download. The wait time is dependent on the speed of your connection
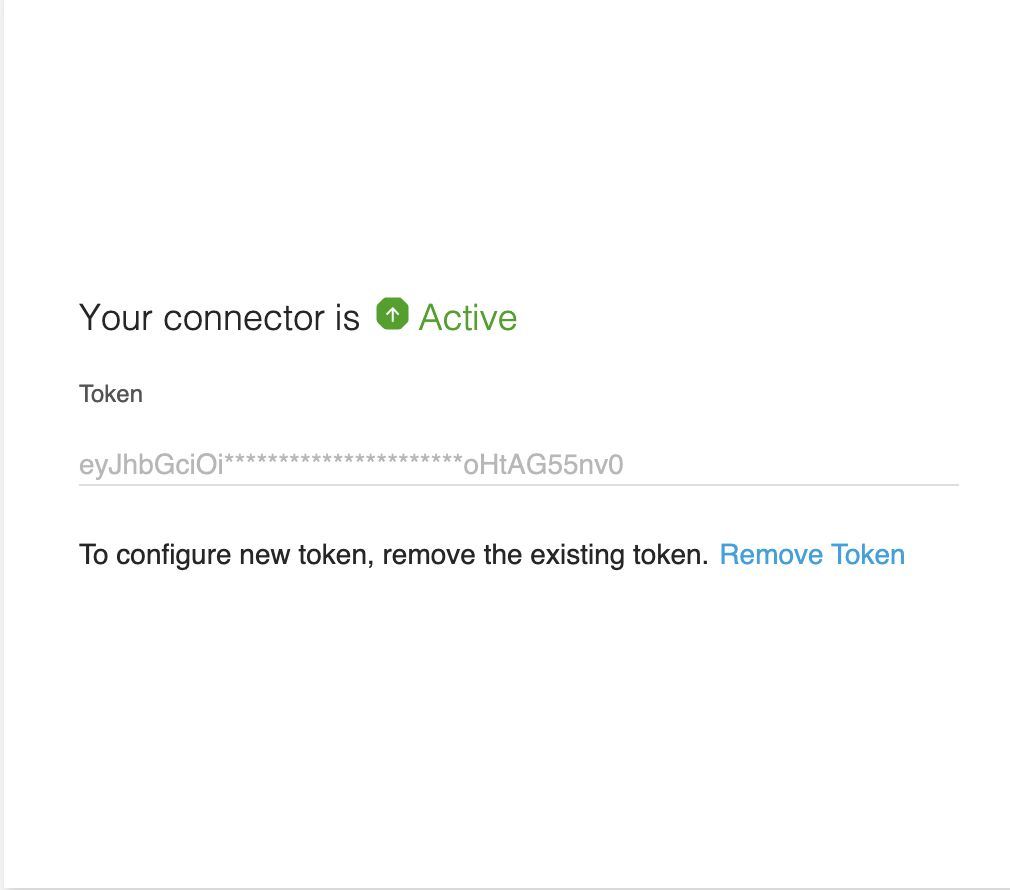
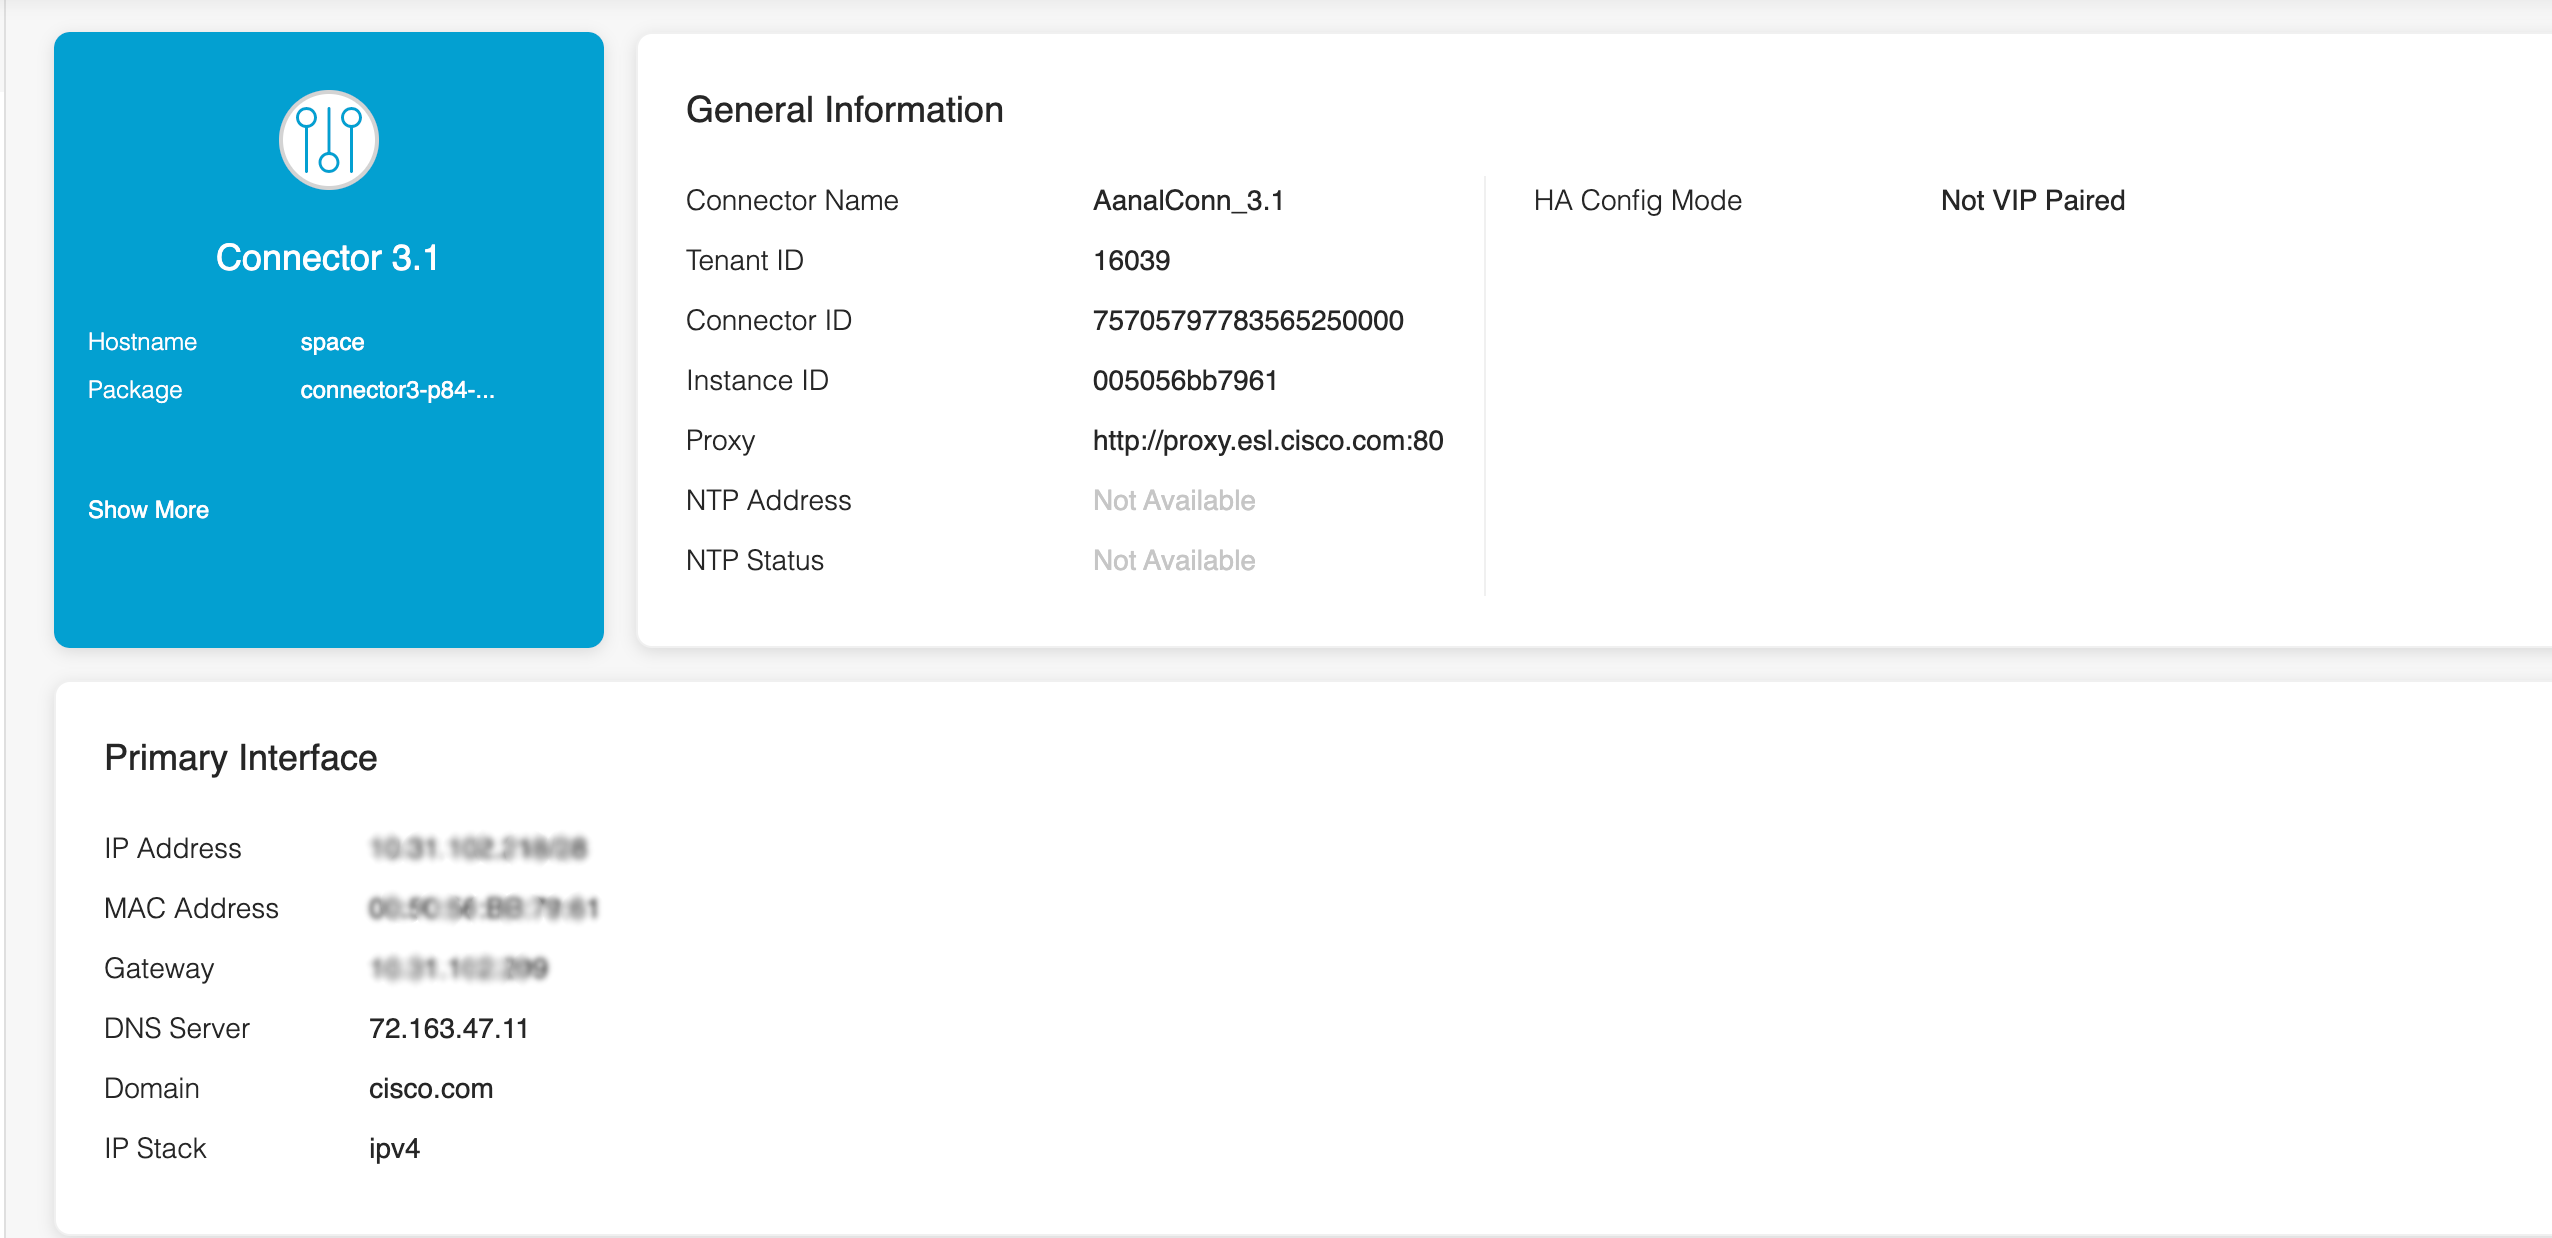
CONNECTOR DASHBOARD
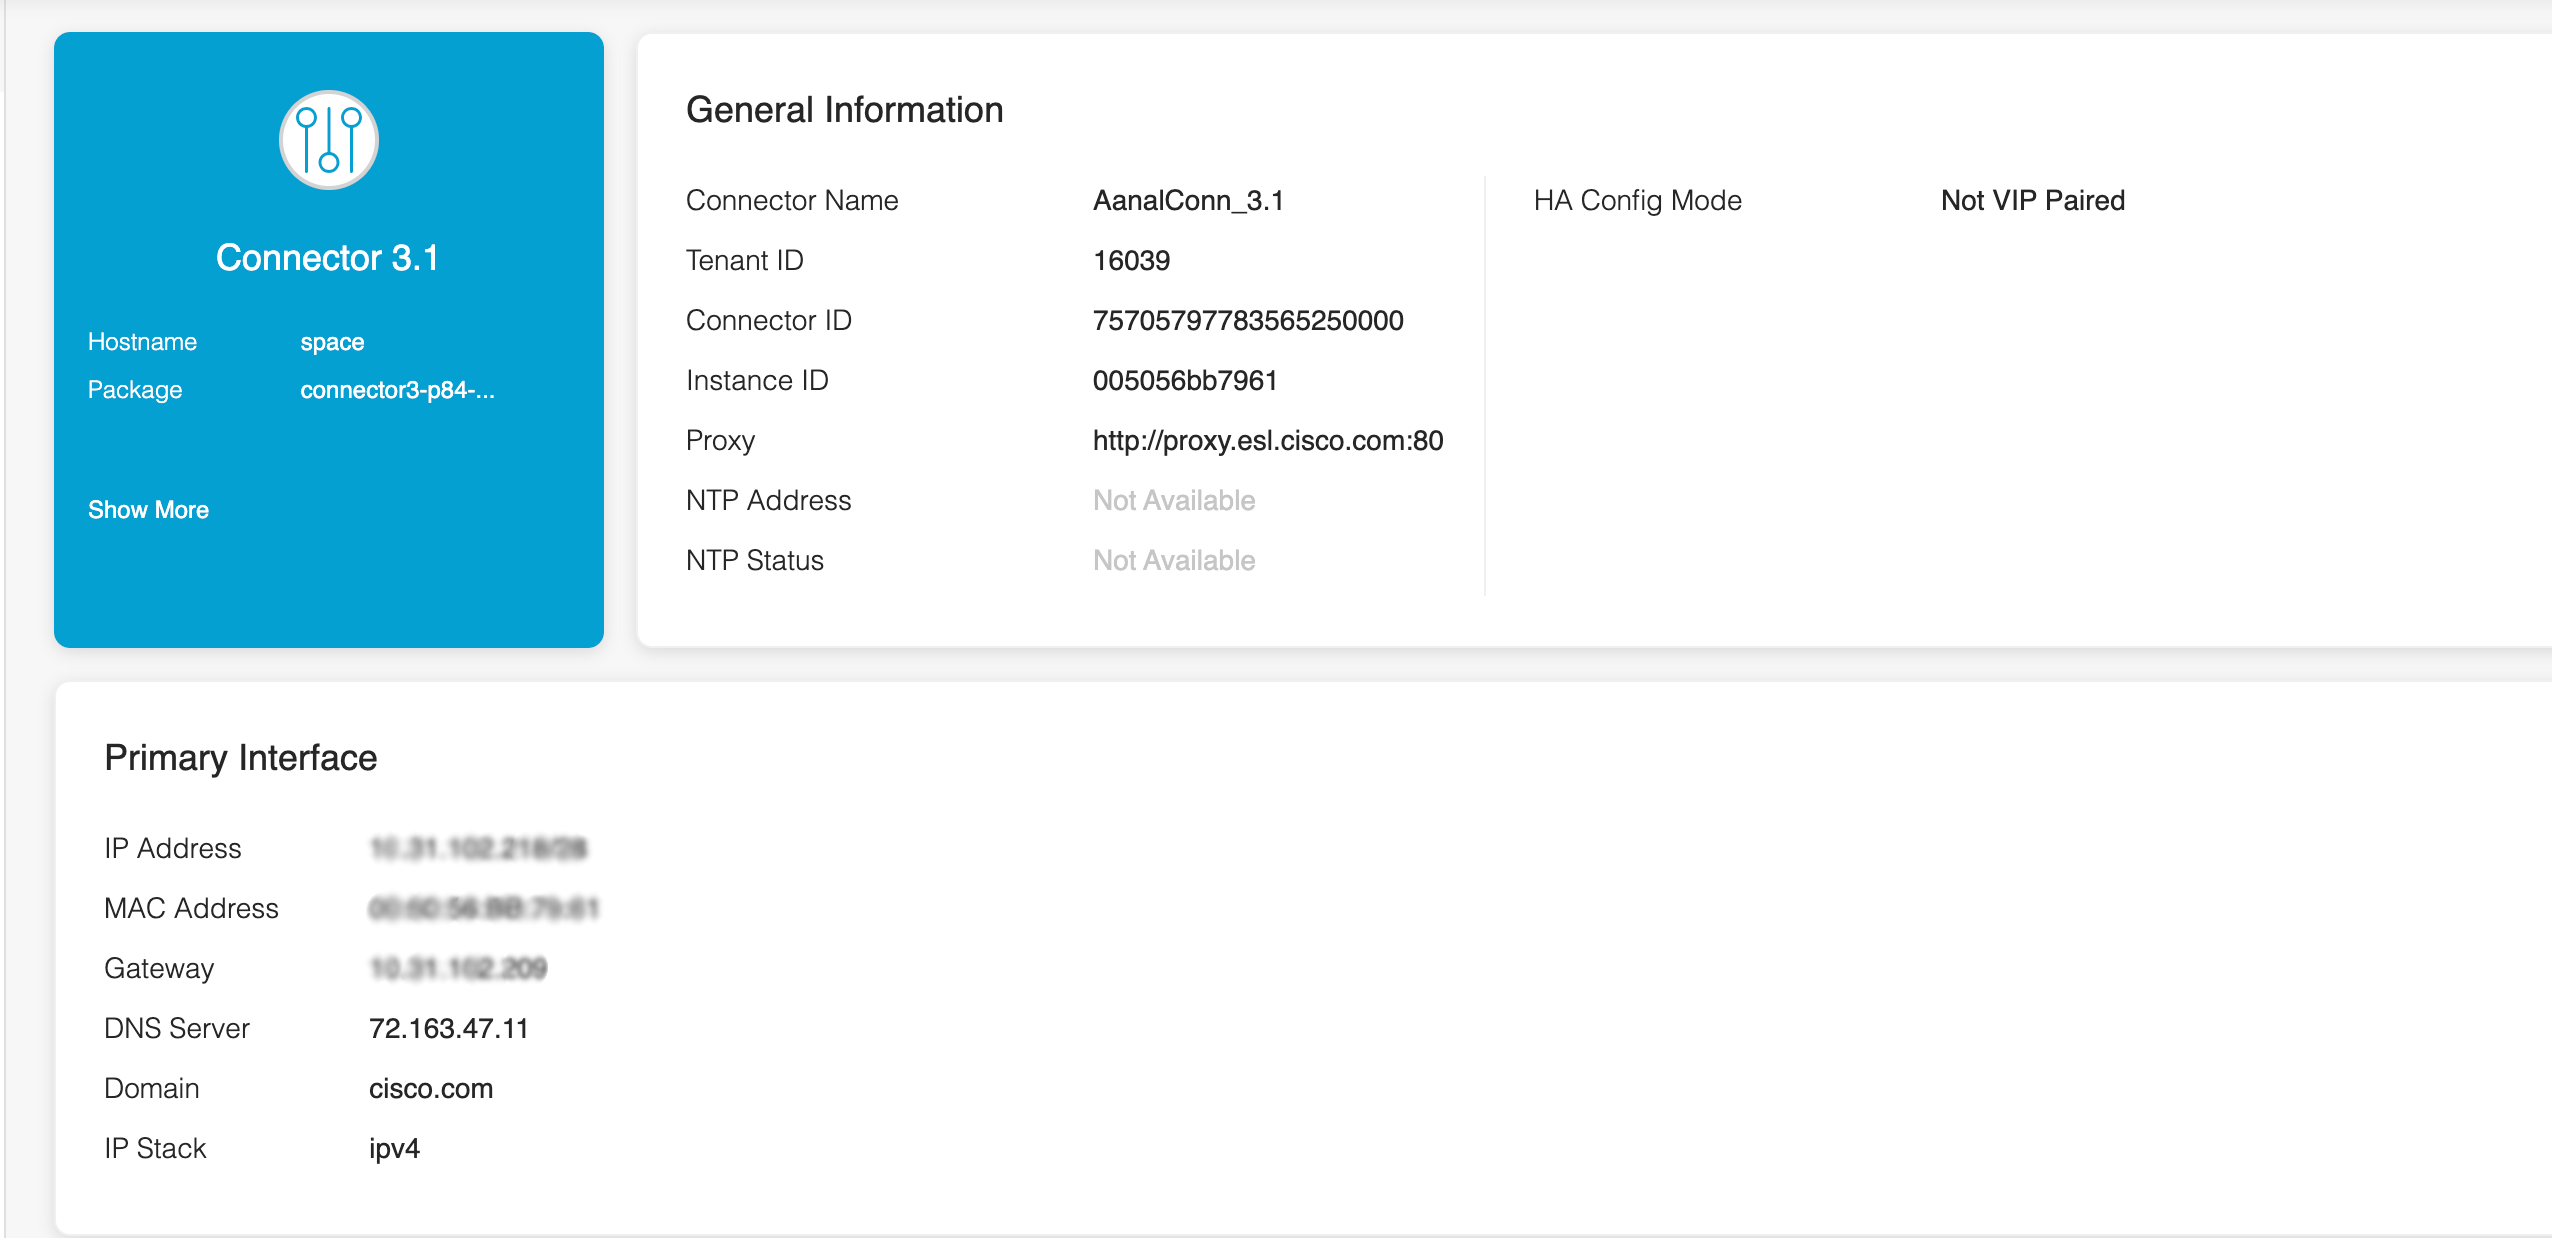
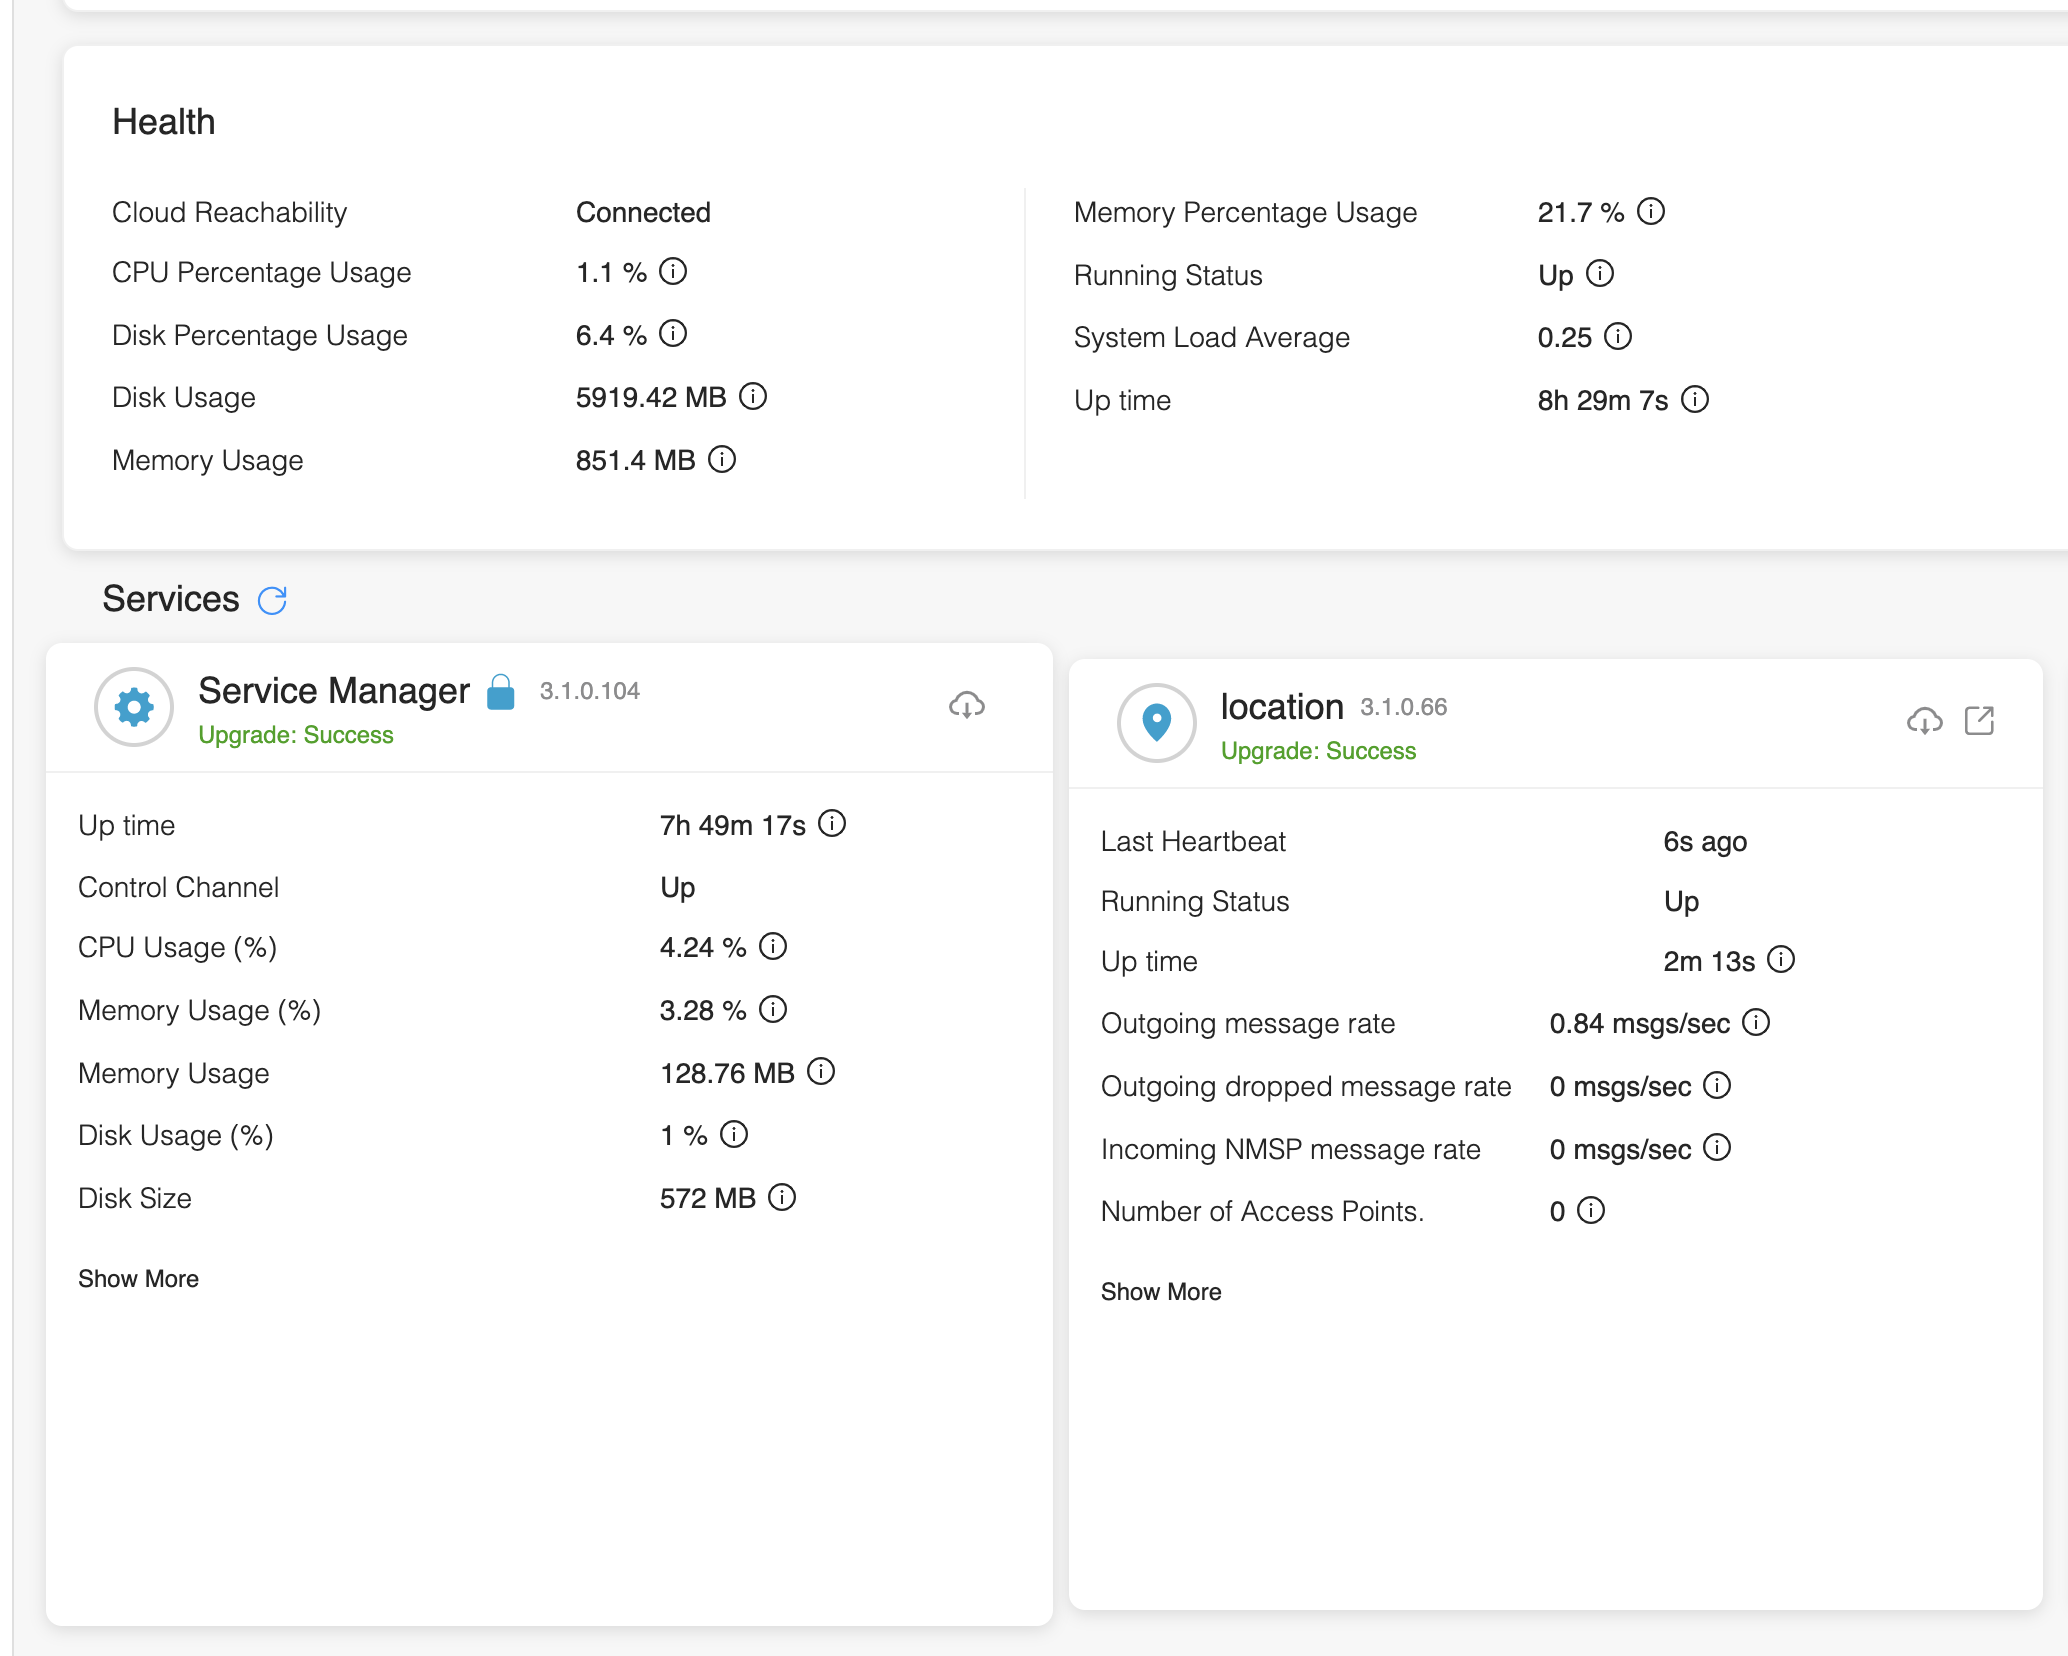
- Control Channel: Health of connection between Cisco Spaces Connector and Cisco Spaces Cloud.
- Data Channel: Health of connection between Cisco Spaces Connector and Cisco Spaces Cloud.
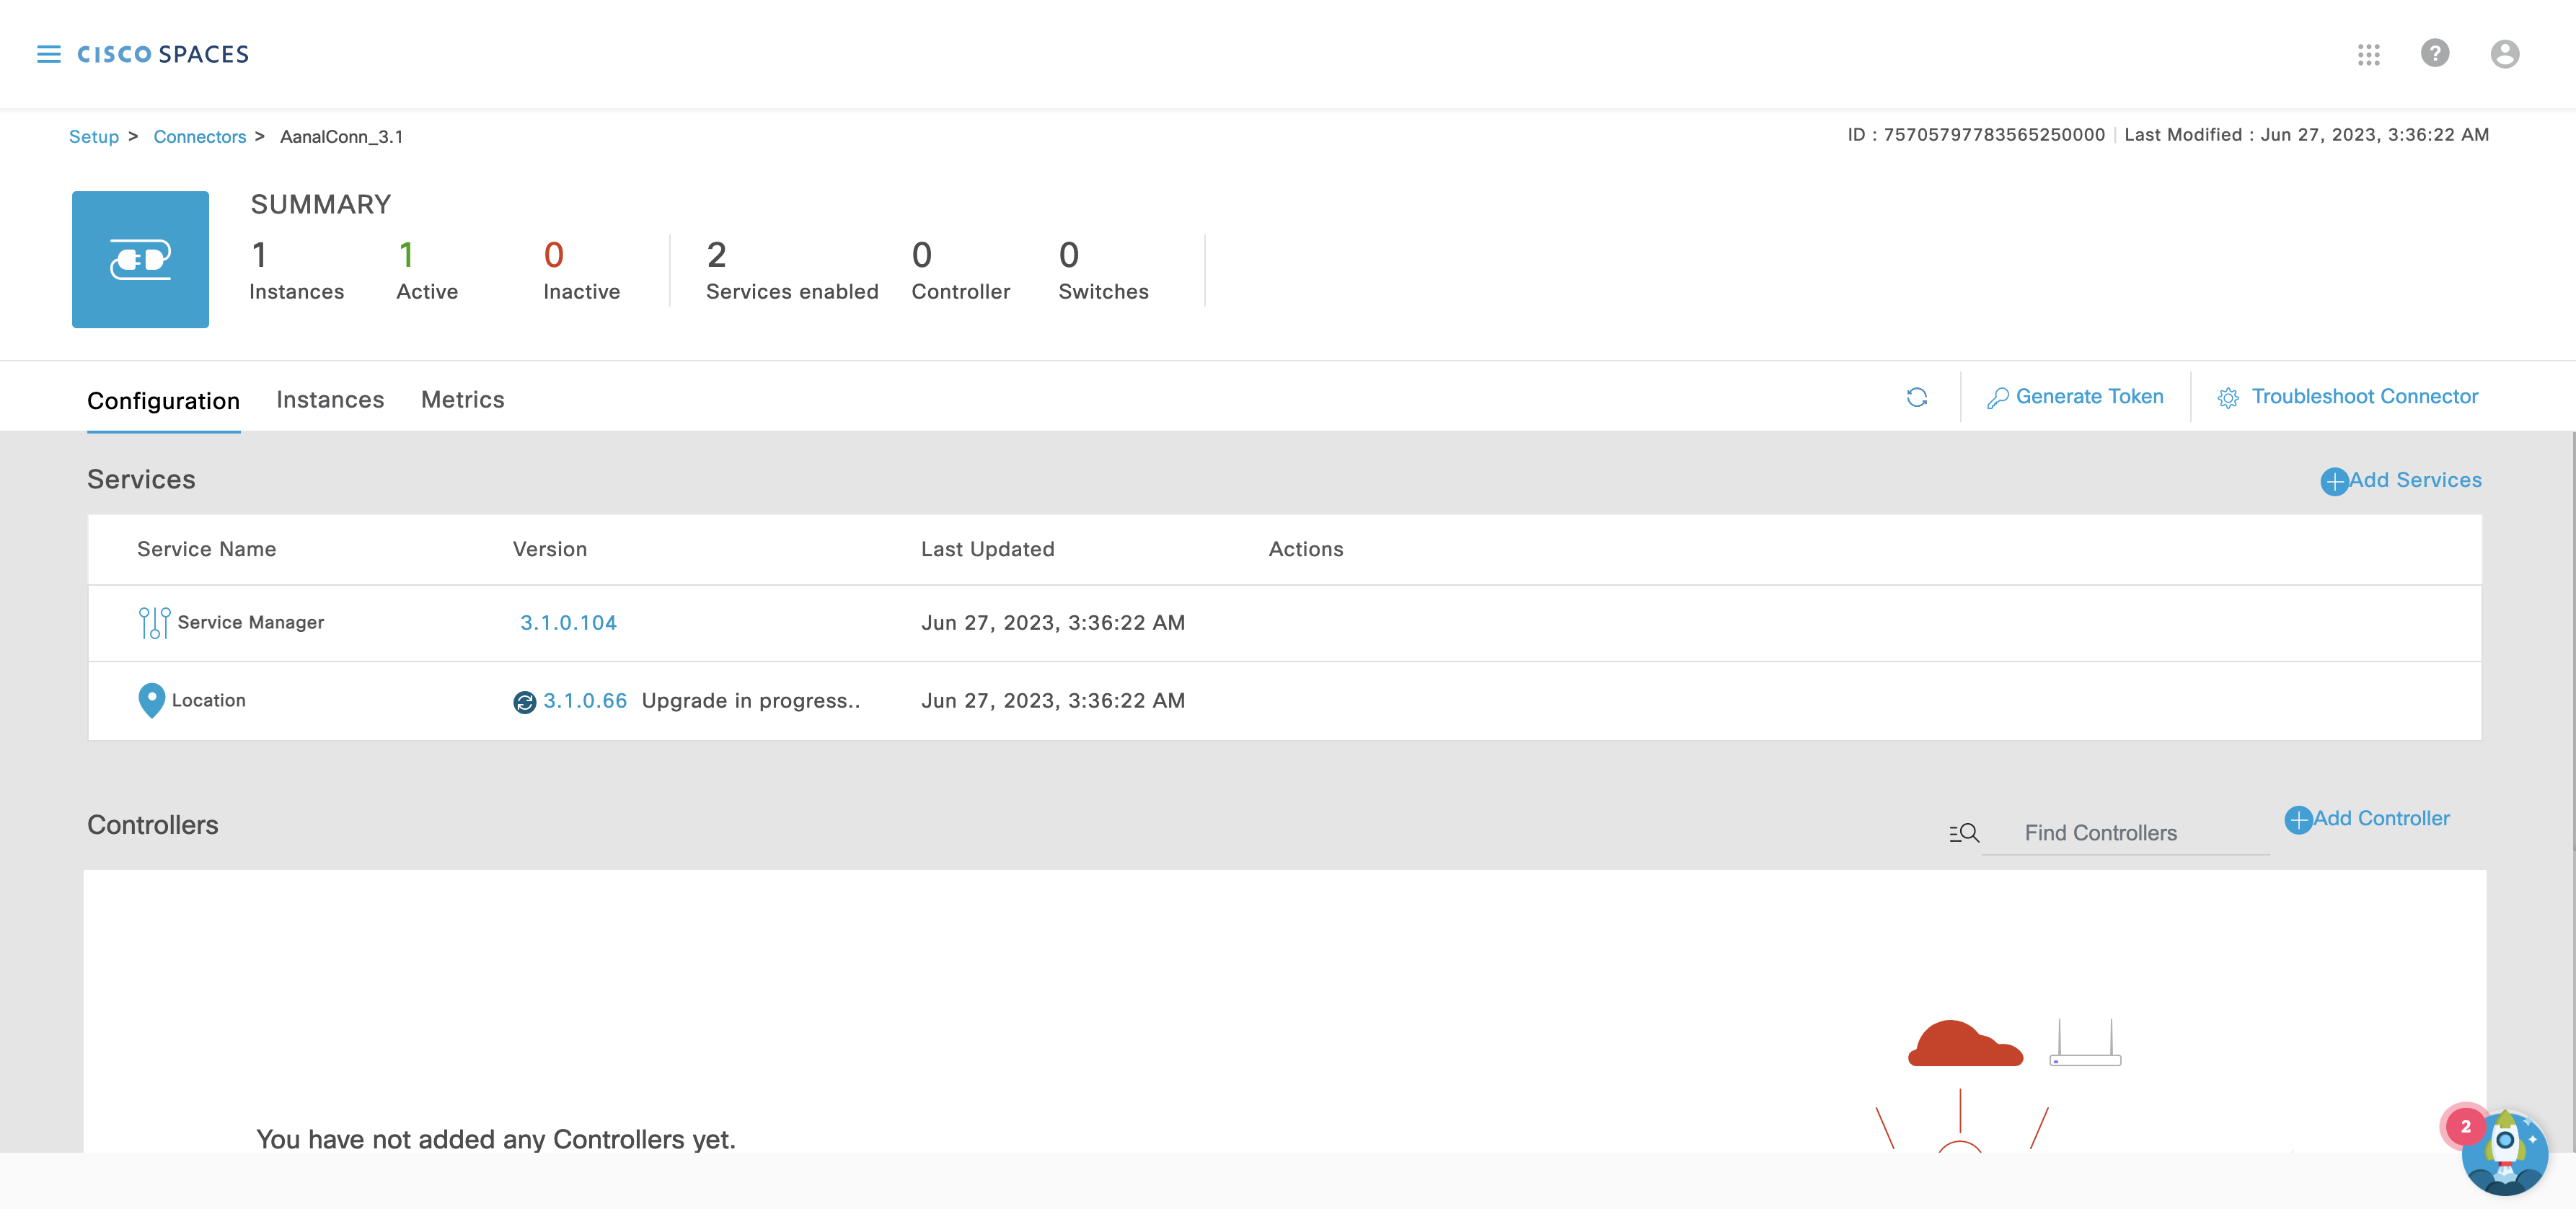
CISCO SPACES DASHBOARD
Setup Proxy
Add proxy server by clicking “Configure Proxy” under settings
add proxy IP with port – http or https
ex: https://< proxy server IP>:< port >
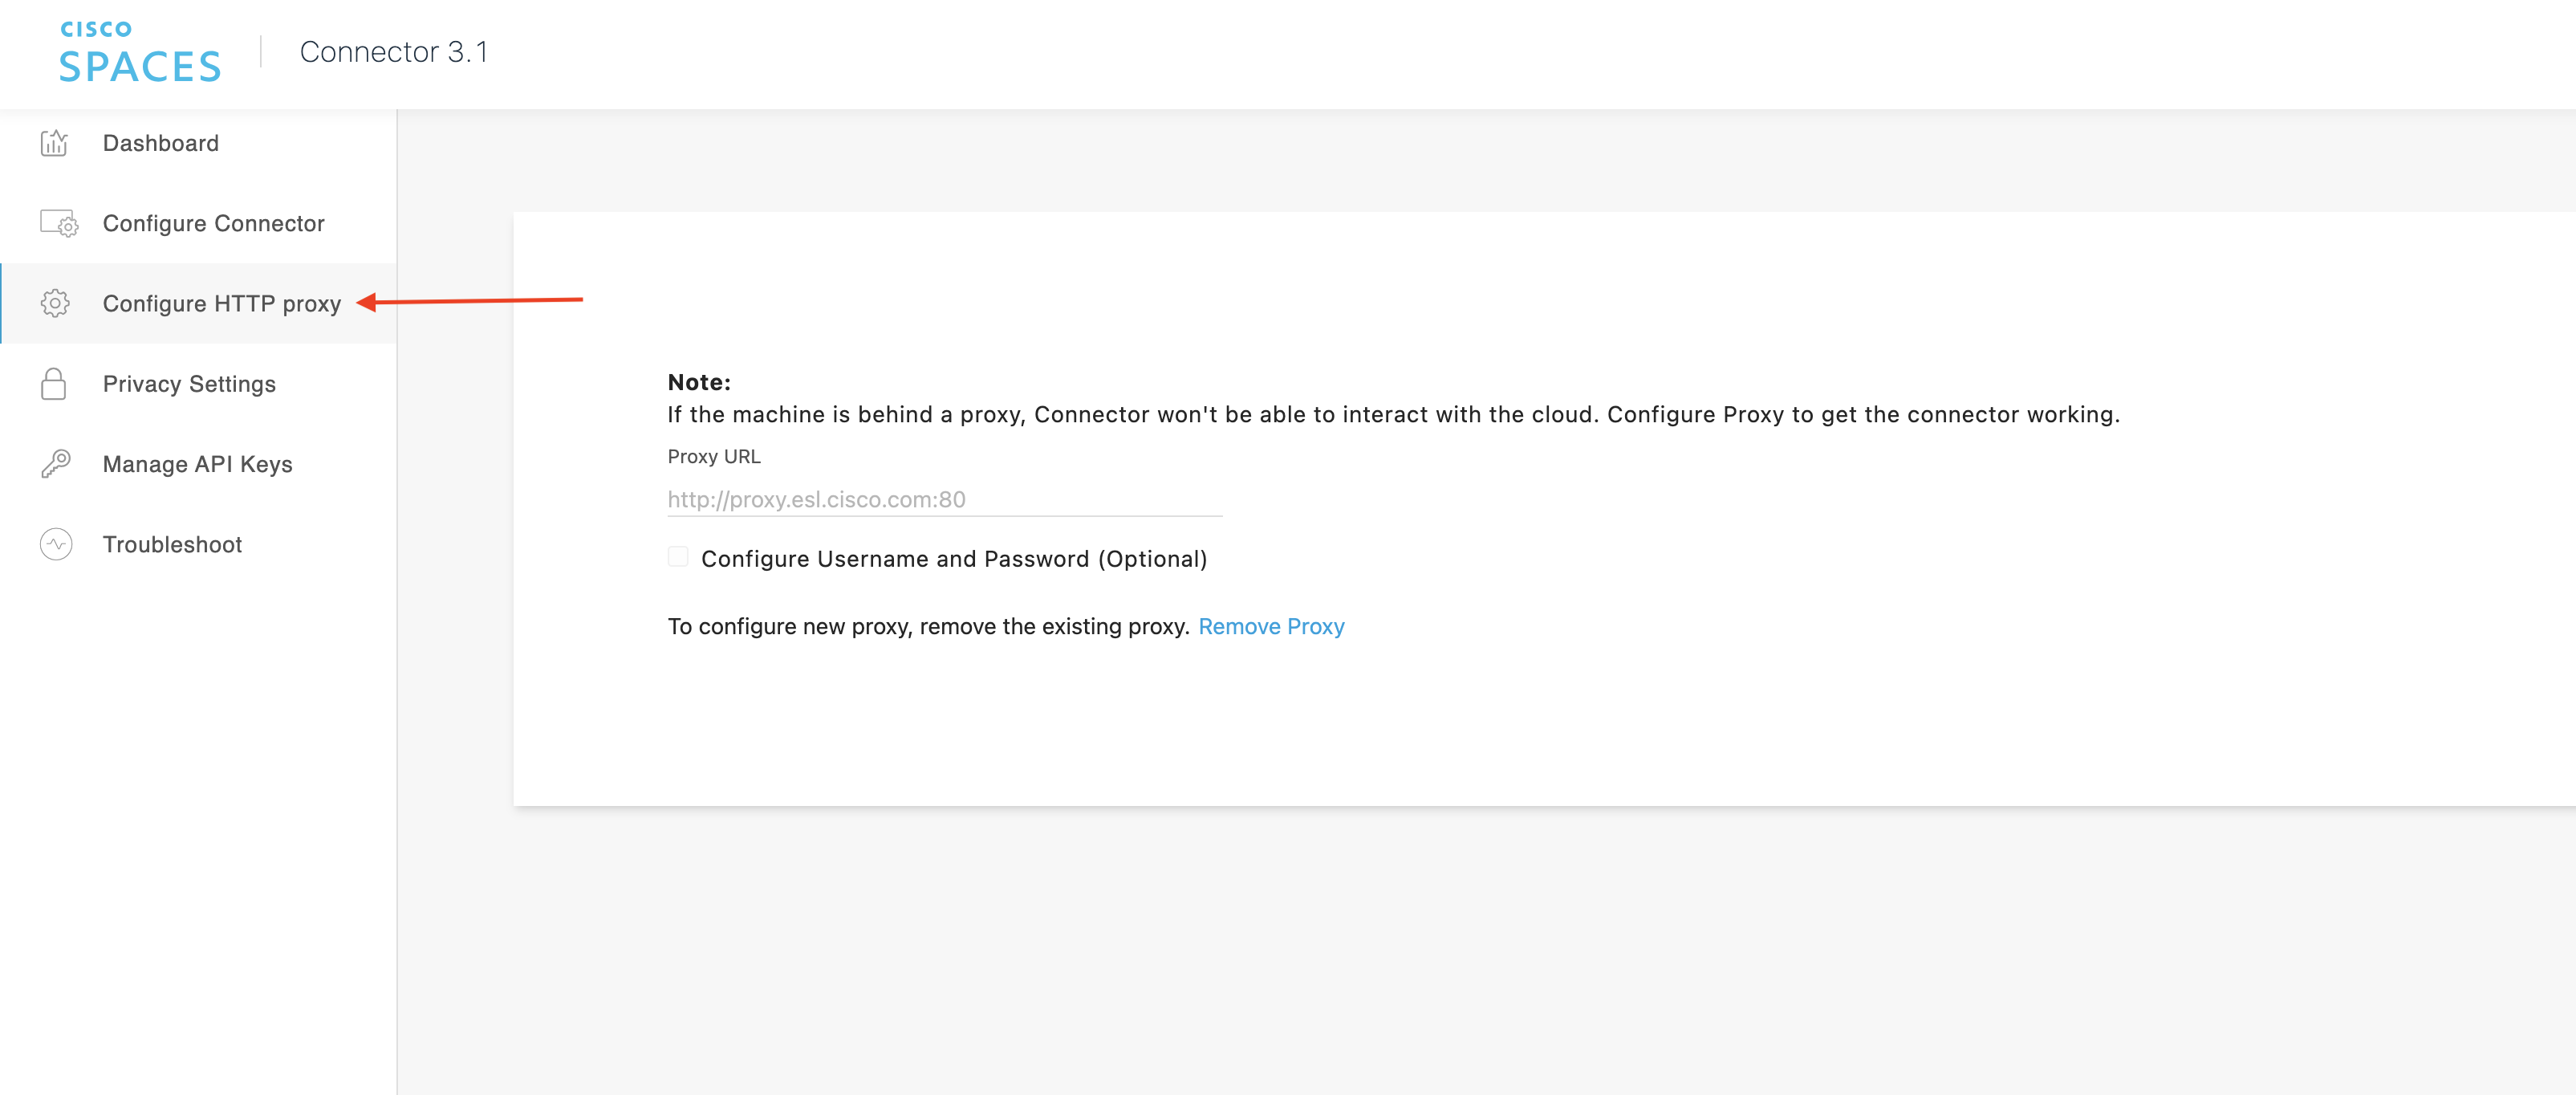
Verify the proxy by seeing proxy status on the dashboard.
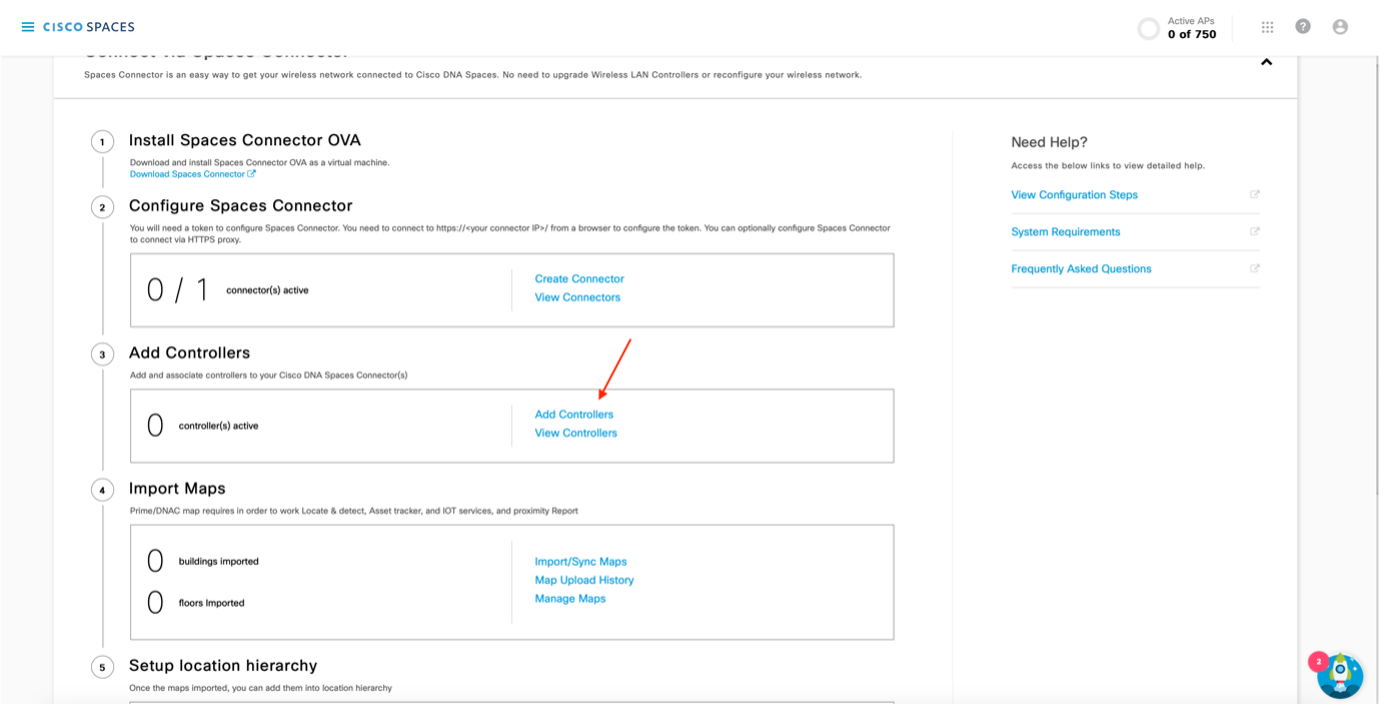
On the Customized Setup page step 3, click on “Add Controllers”
Select the Connector you’ve just created from the drop-down
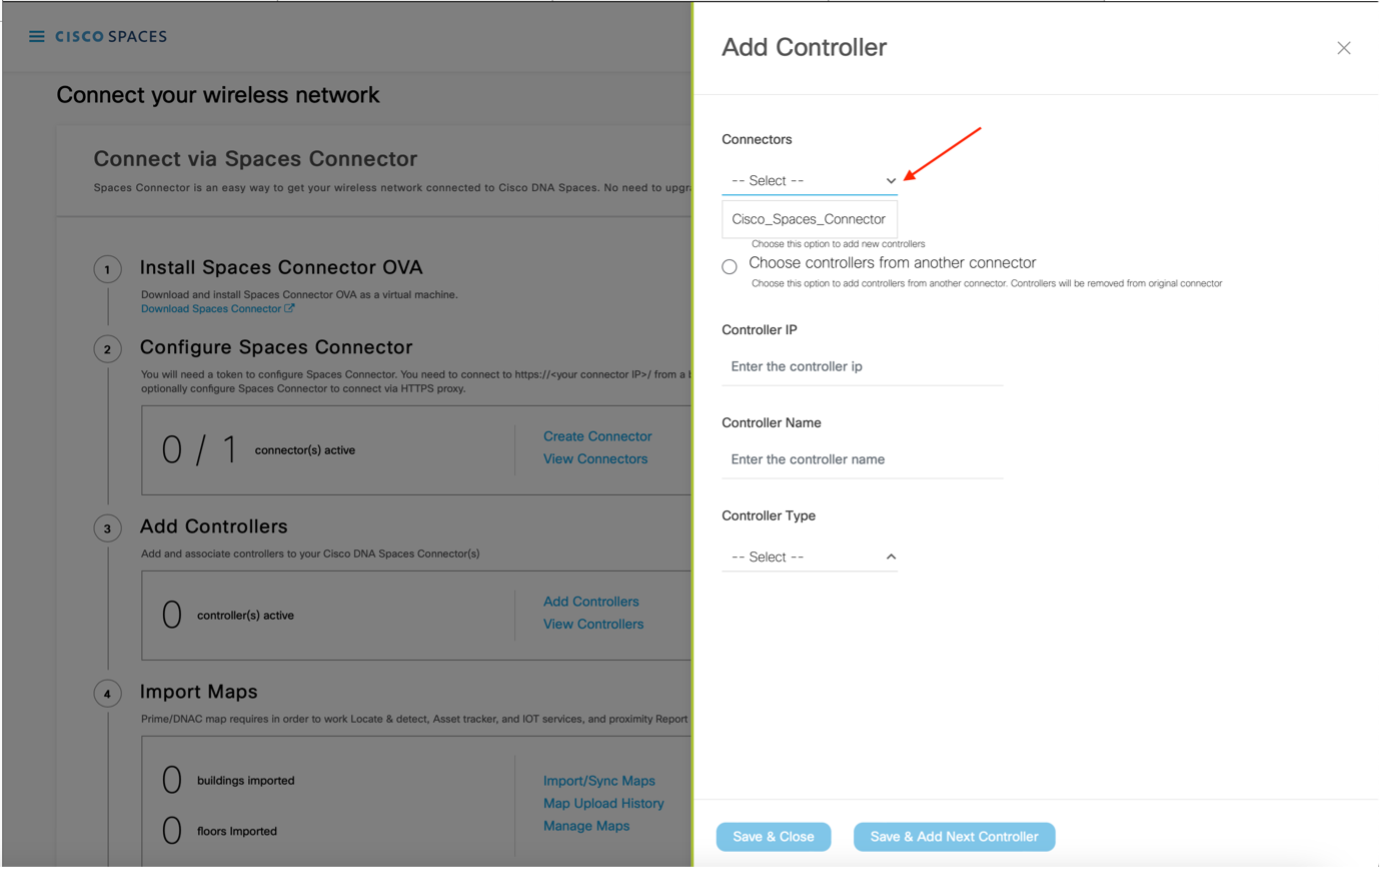
Select Controller Type
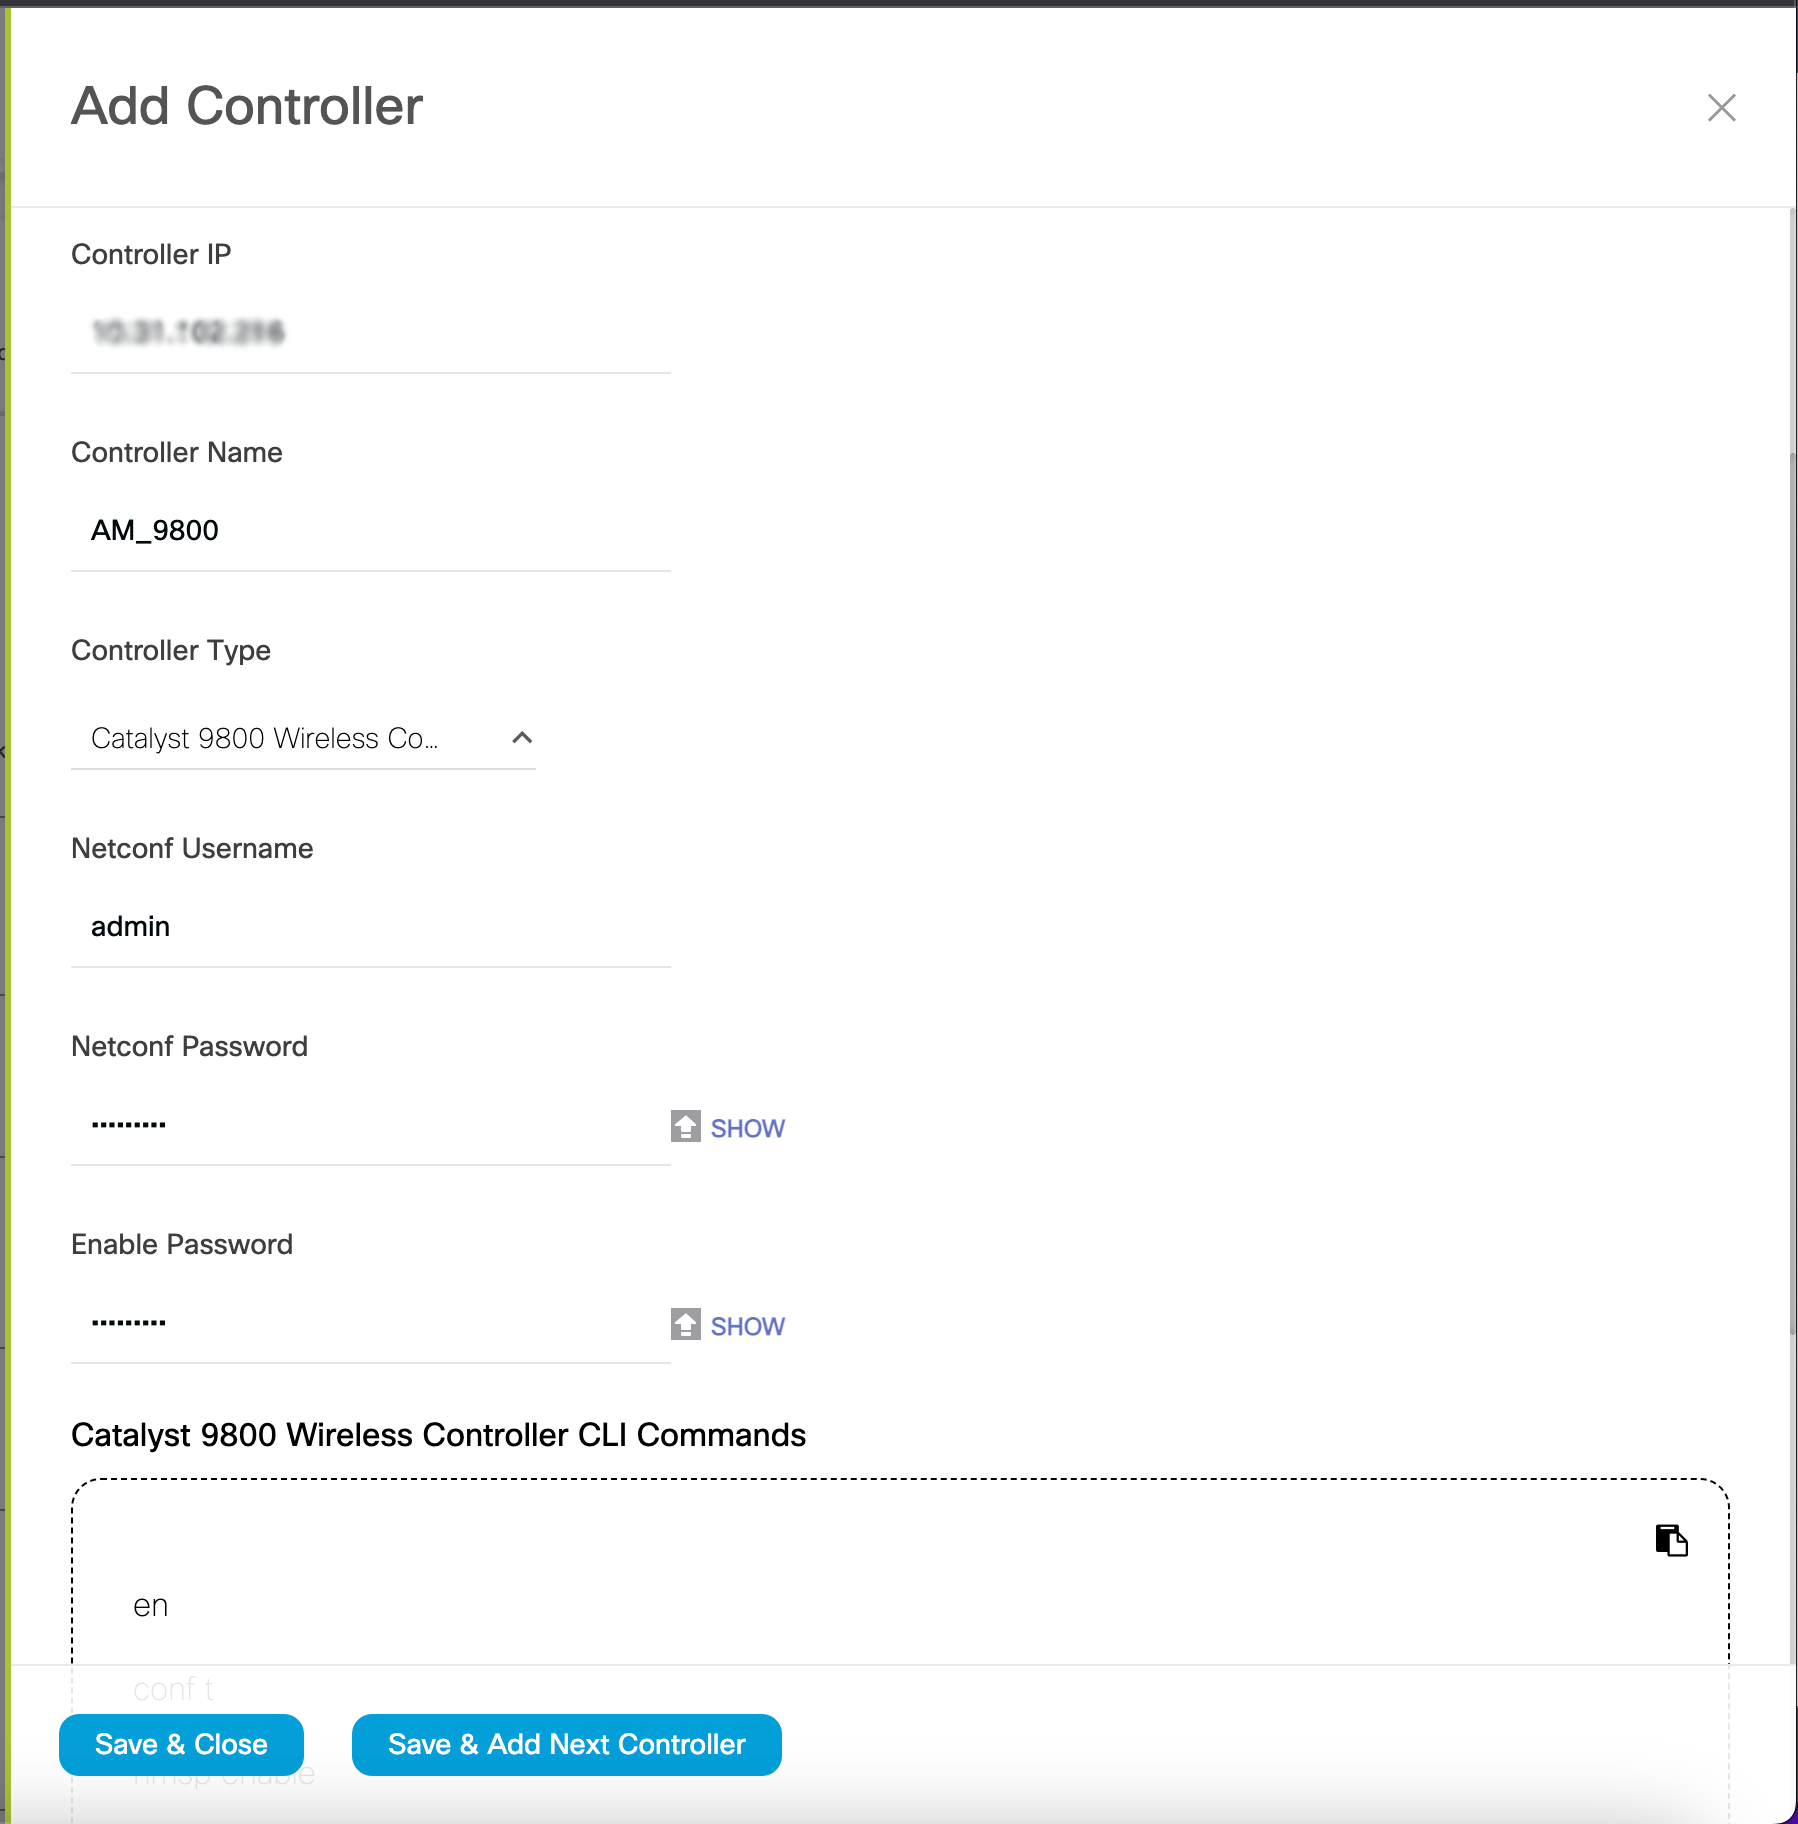
Click on the test connectivity button.
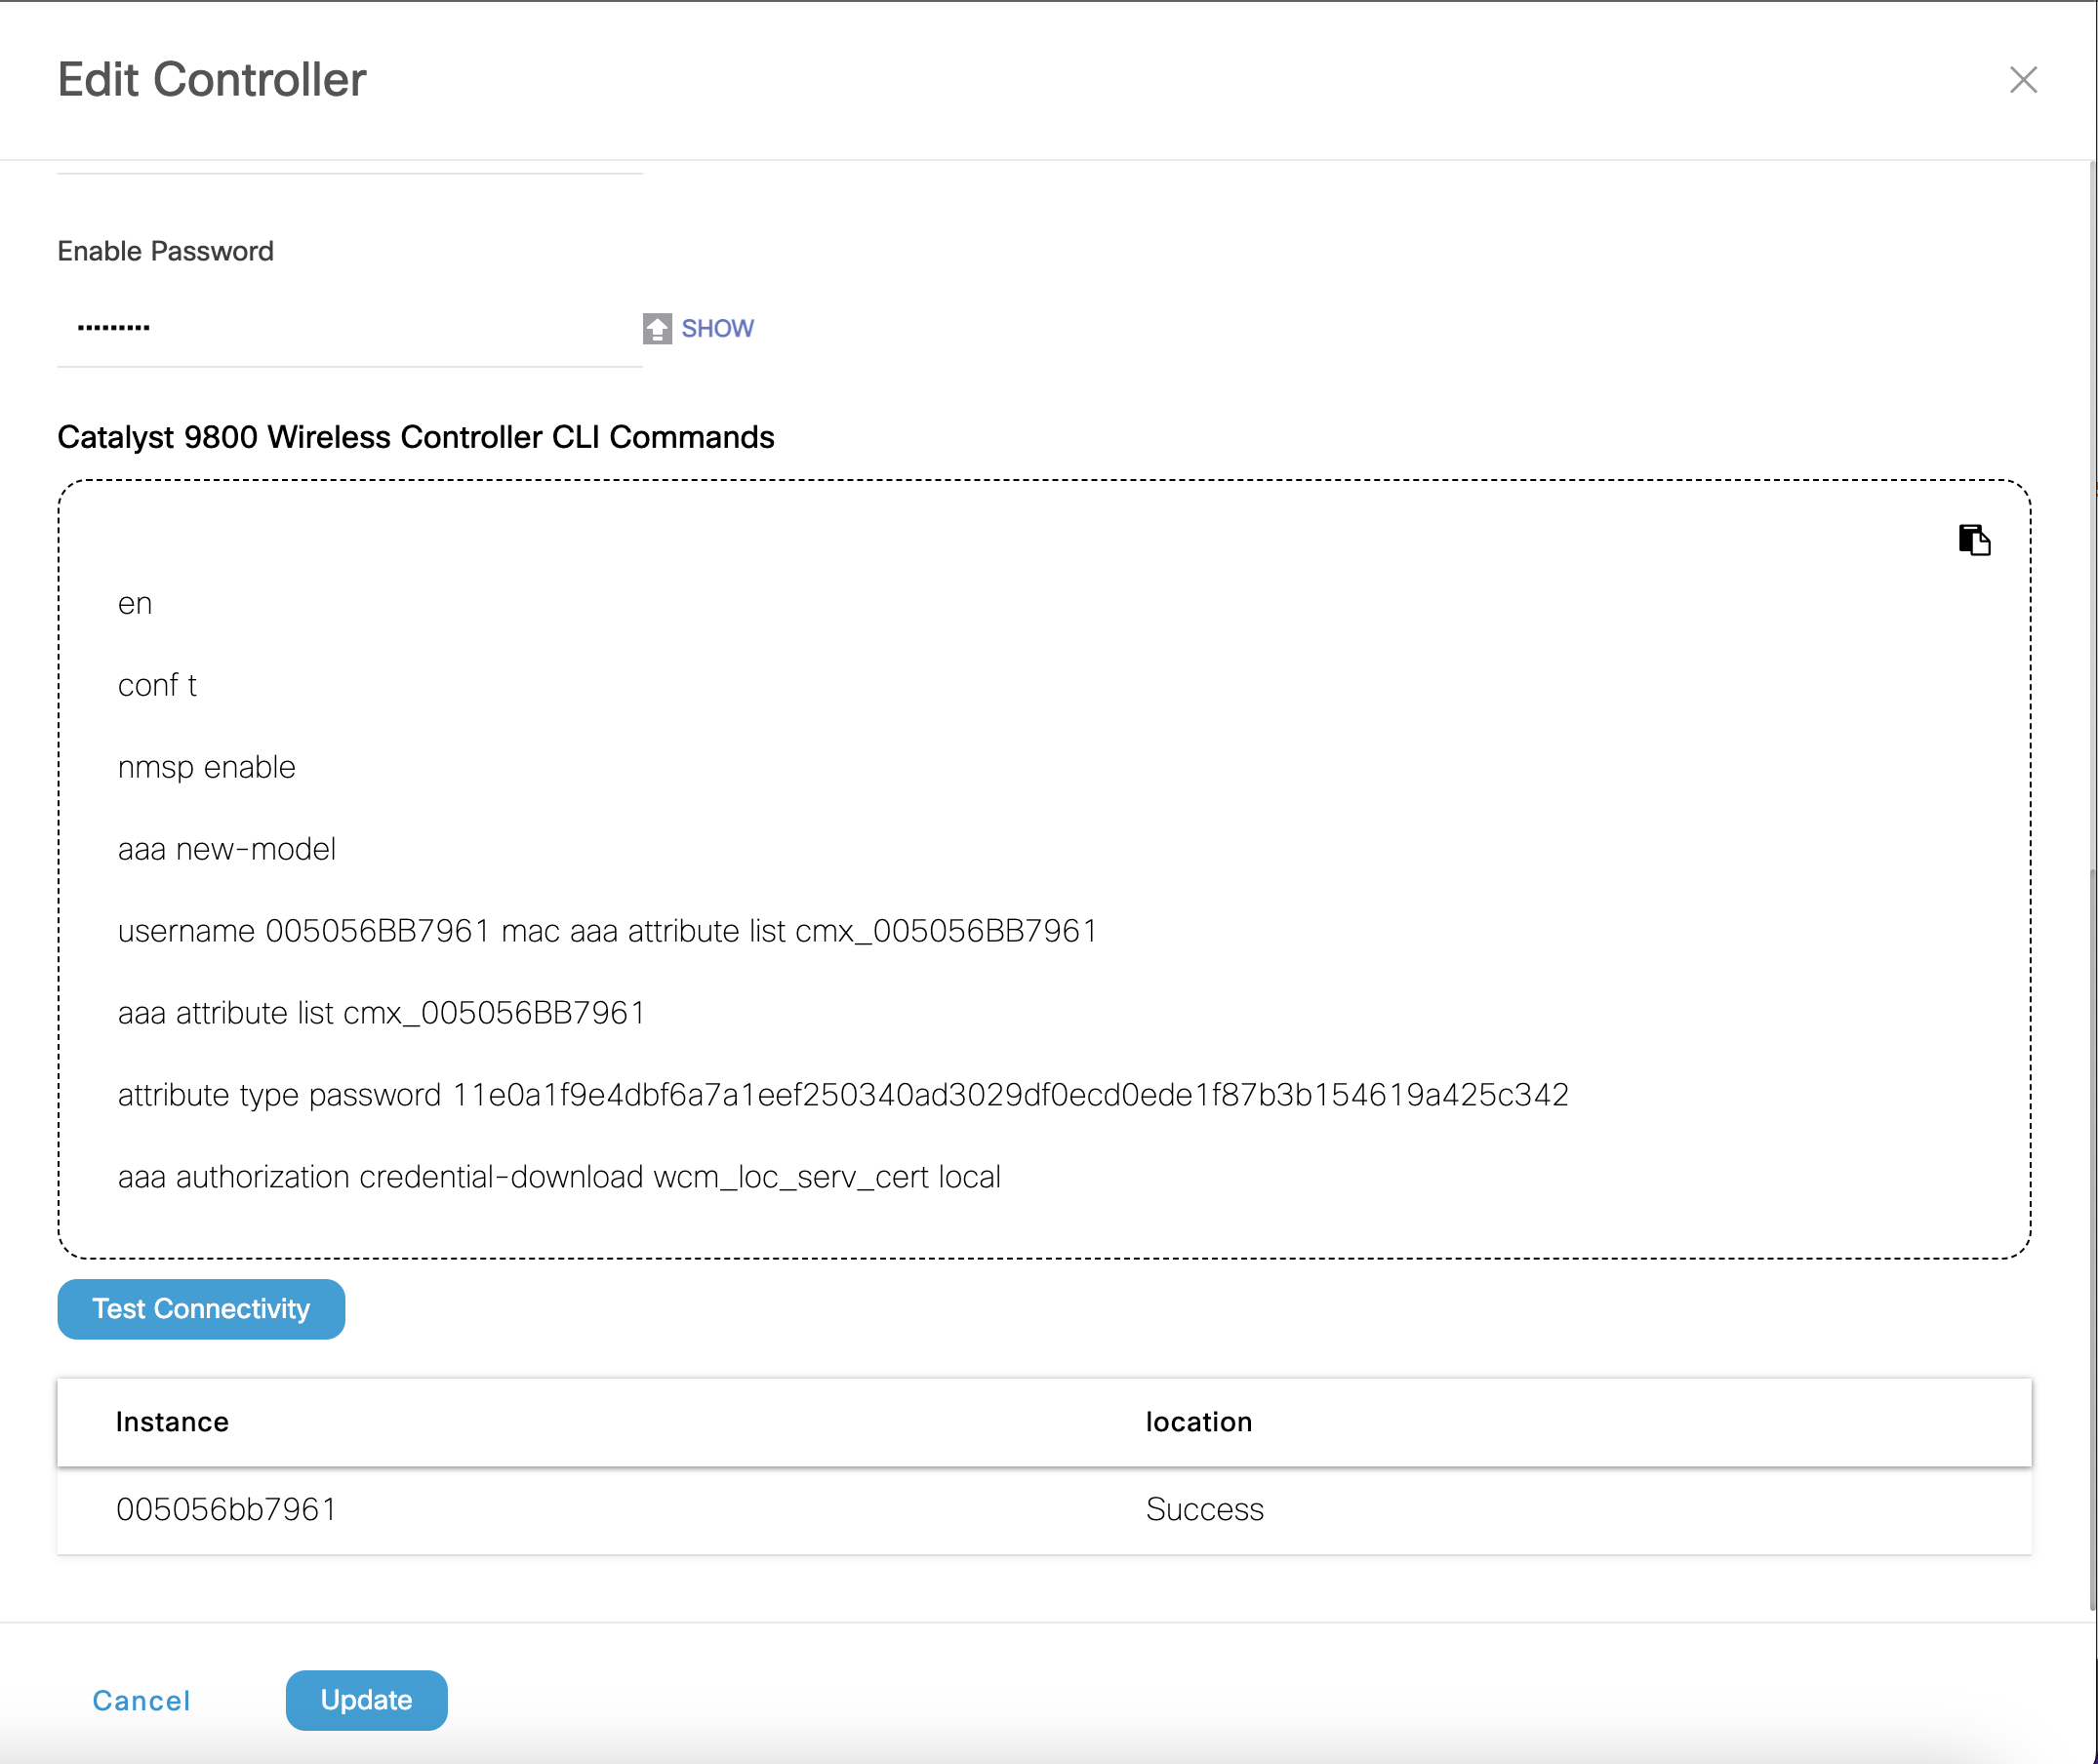
Click “Save & Add Next Controller” if you want to add another controller. If not, Click “Save & Close”.
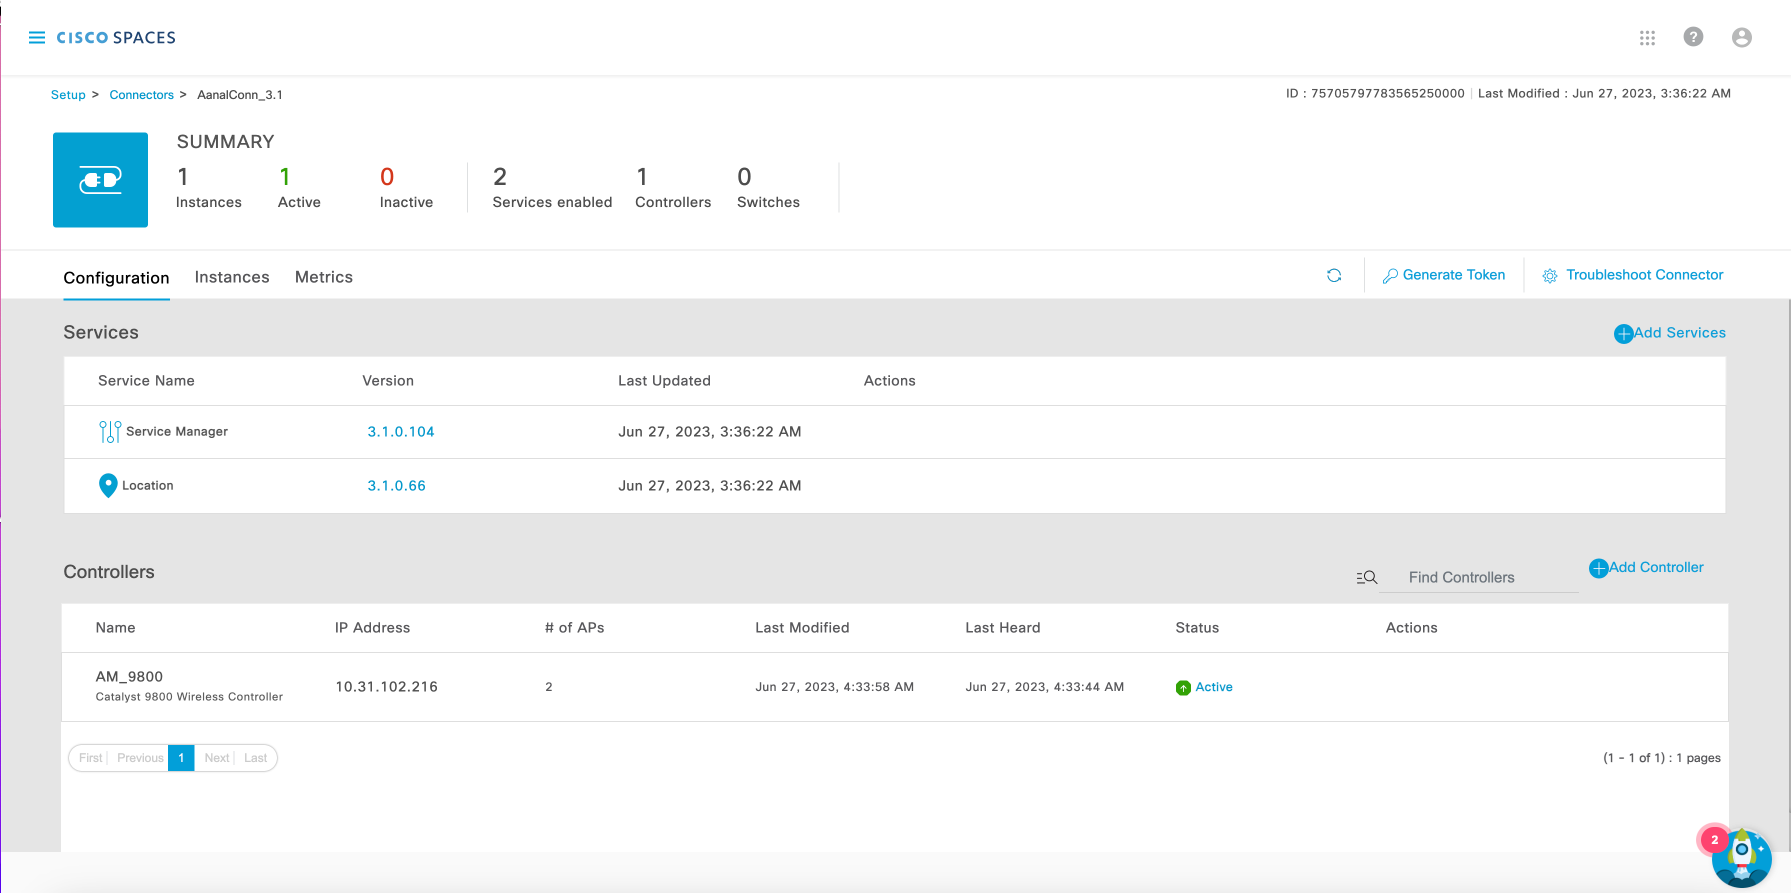
THIS IS HOW THE DASHBOARD WILL LOOK LIKE ONCE THE CONNECTOR AND THE CONTROLLER ARE ACTIVE ON CISCO SPACES