
 Talk to an Expert
We will help you get your Cisco Spaces dashboard up and running in no time.
Tell us how we can assist you?
Please make sure you have covered all the prerequisites before you start the configuration.
To connect the WLC to the Cisco Spaces, the internet must be available. To establish connection between the Cisco Spaces and your wireless network, you must whitelist Cisco Spaces IP addresses – 52.20.144.155
WLC must be able to reach Cisco Spaces cloud over HTTPS.
In order to connect your wireless network with Cisco Spaces, you may have to open the ports 80 and 443 to establish connection between your wireless network and the Cisco Spaces. You can establish this connection through a public IP or VPN. Please contact Cisco Spaces team to establish a VPN connection.
The DigICert CA root must be imported to the WLC
If your network deployment contains WLC in Anchor Controller mode and Foreign Controller mode, you must import the certificate to the WLCs in both modes”.
To establish connection between the Cisco Spaces and your wireless network, you must whitelist Cisco Spaces IP addresses – 52.20.144.155
To import the DigiCert CA root certificate into WLC, follow the steps below:
To view the appropriate root certificate, go to the link: https://global-root-ca.chain-demos.digicert.com/info/index.html
Note: If you try to connect your WLC to Cisco Spaces using a root certificate not issued by DigiCert CA, you will see an error stating, “https: SSL certificate problem: unable to get local issuer certificate”. To avoid getting the above error, you need to import the DigiCert CA root certificate to connect successfully to Cisco Spaces.
Copy the root certificate content to any text editor and save the file with a .cer extension e.g. {your_filename}.cer.
Copy the {your_filename}.cer file to the default directory on your TFTP.
Log in to the WLC CLI and execute the following commands:
After the new root certificate has been uploaded successfully, execute the following commands to restart your CMX Cloud Services:
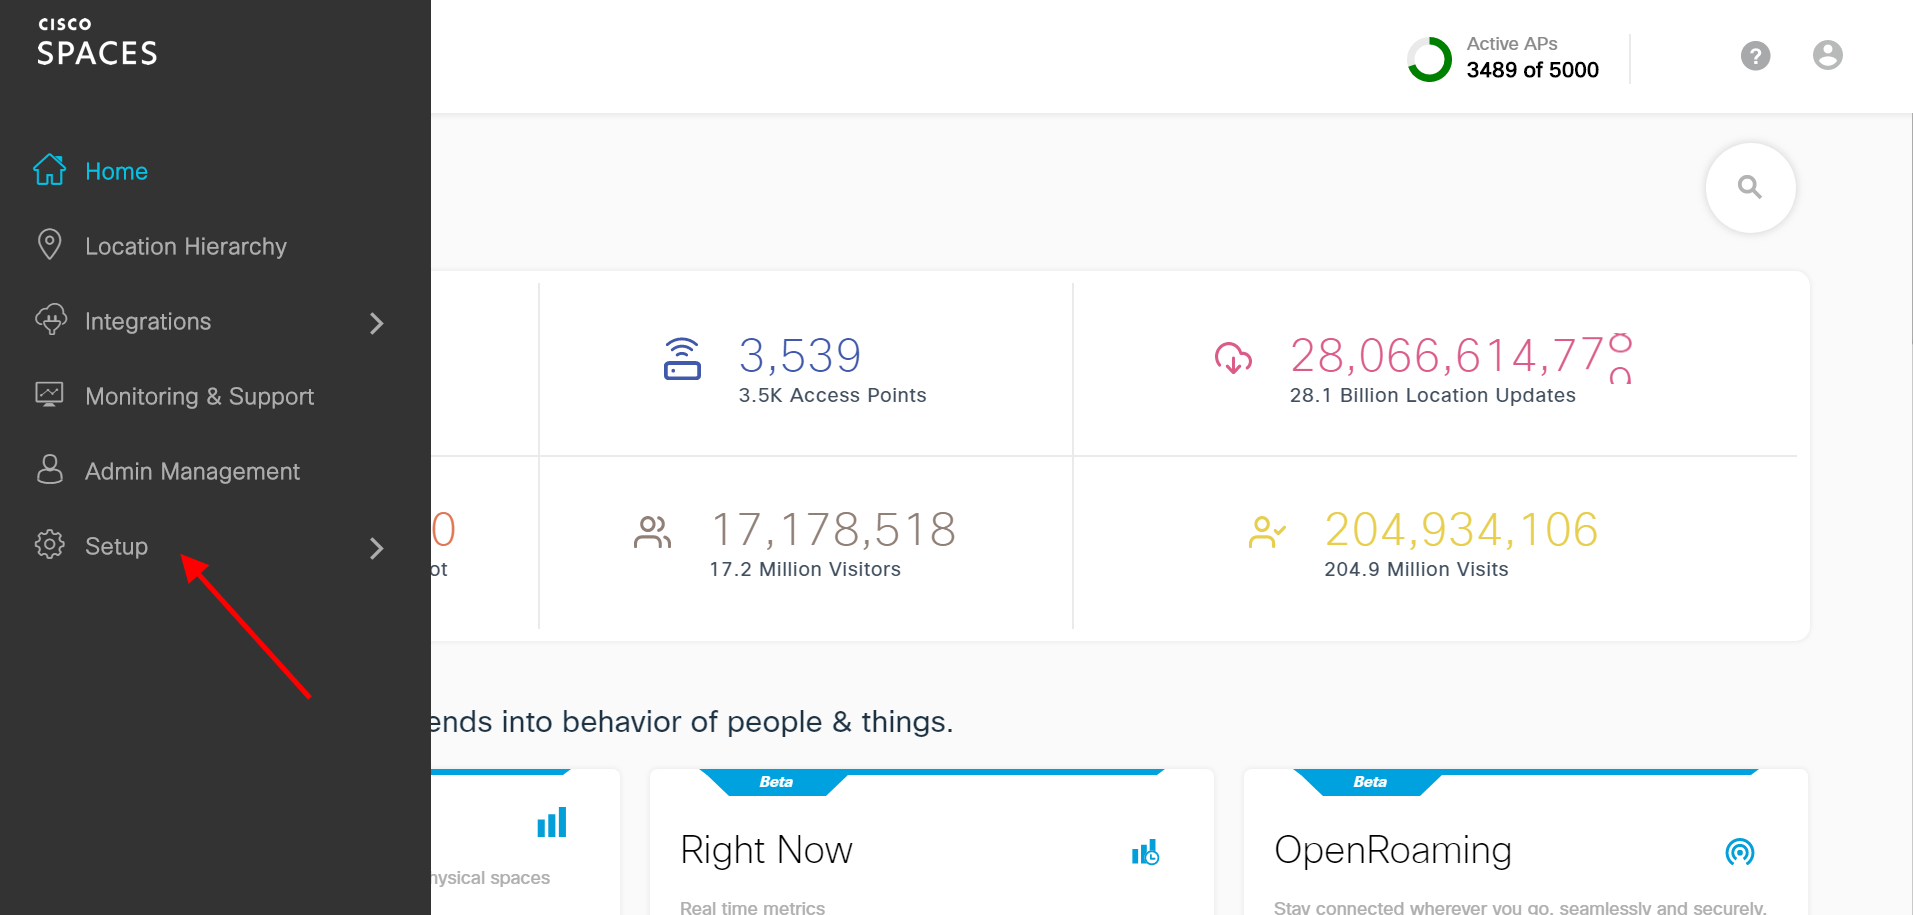
In the Cisco Spaces dashboard, click on Setup > Wireless Networks on the left navigation
Click on “Get Started” button and Select “Cisco AirOS/Catalyst” 
Select “Connect WLC directly” then Select “Customize Setup” button 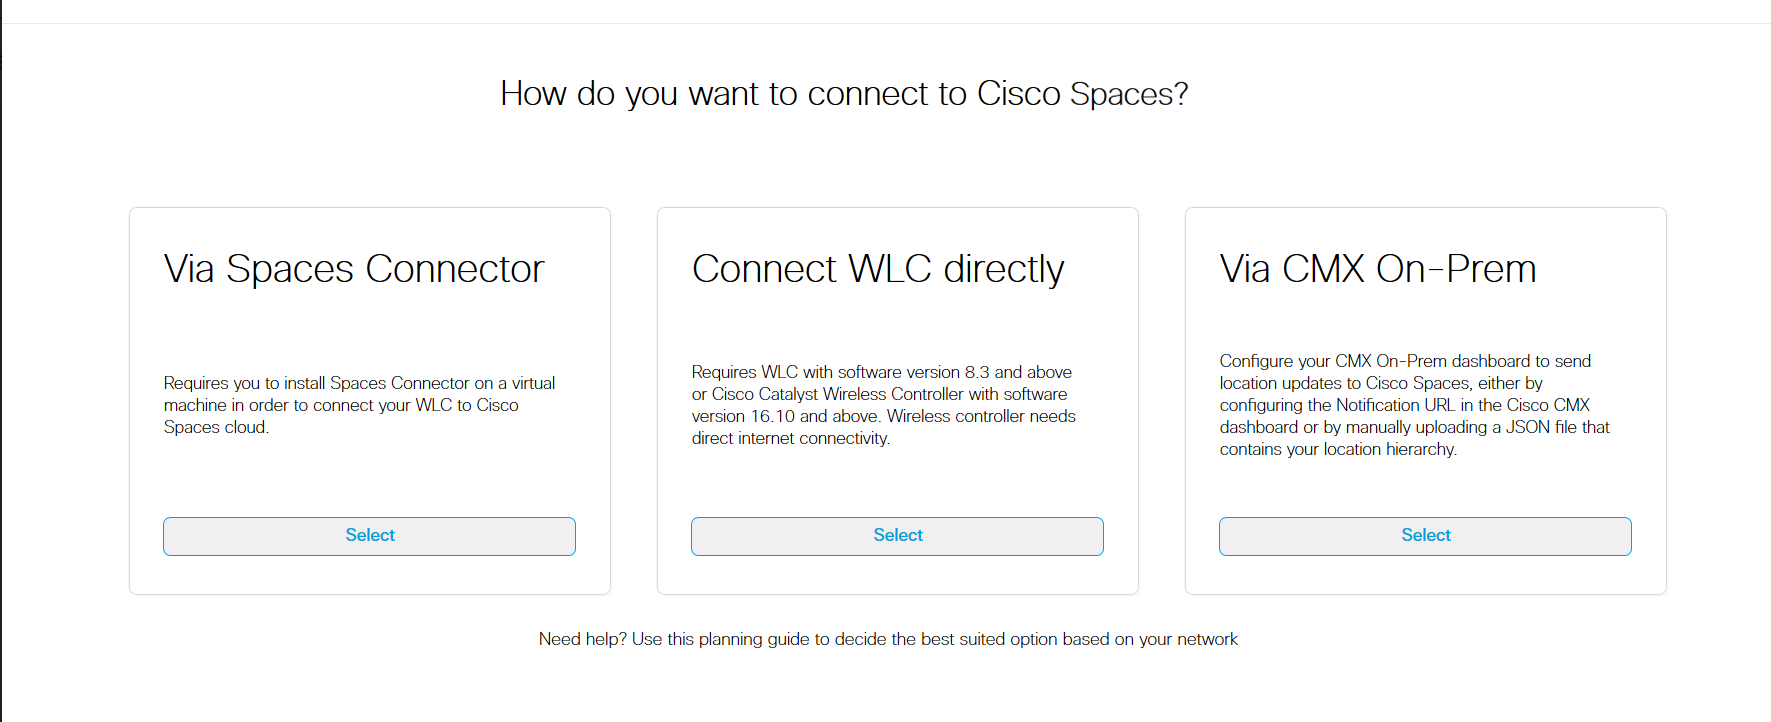
Go to Customized Setup page step 2 “Configure Token in WLC”, click on “View Token” 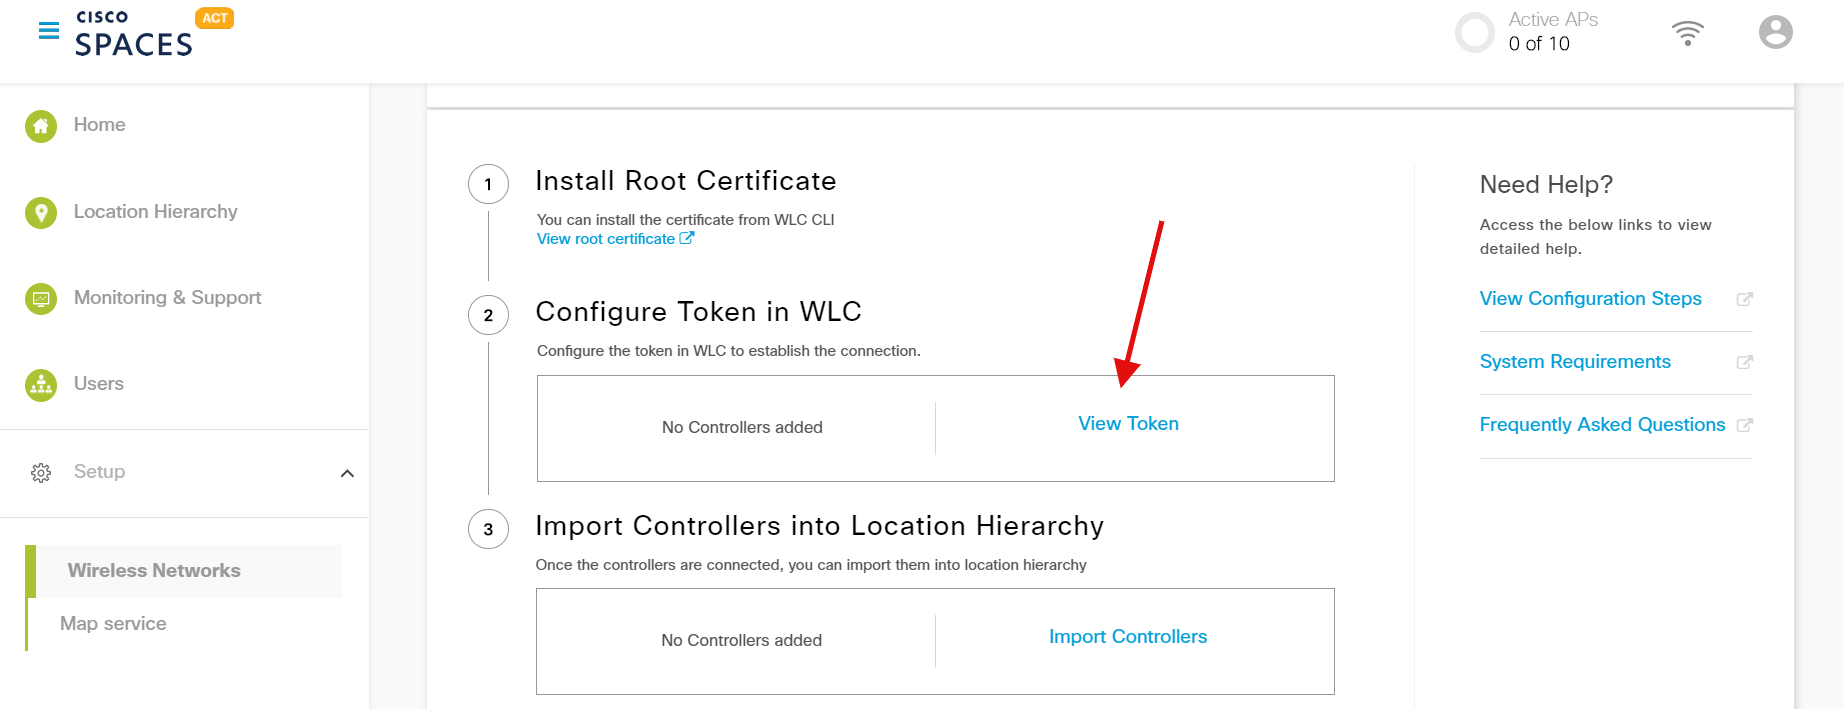
Login to your WLC account
Go to “Management” 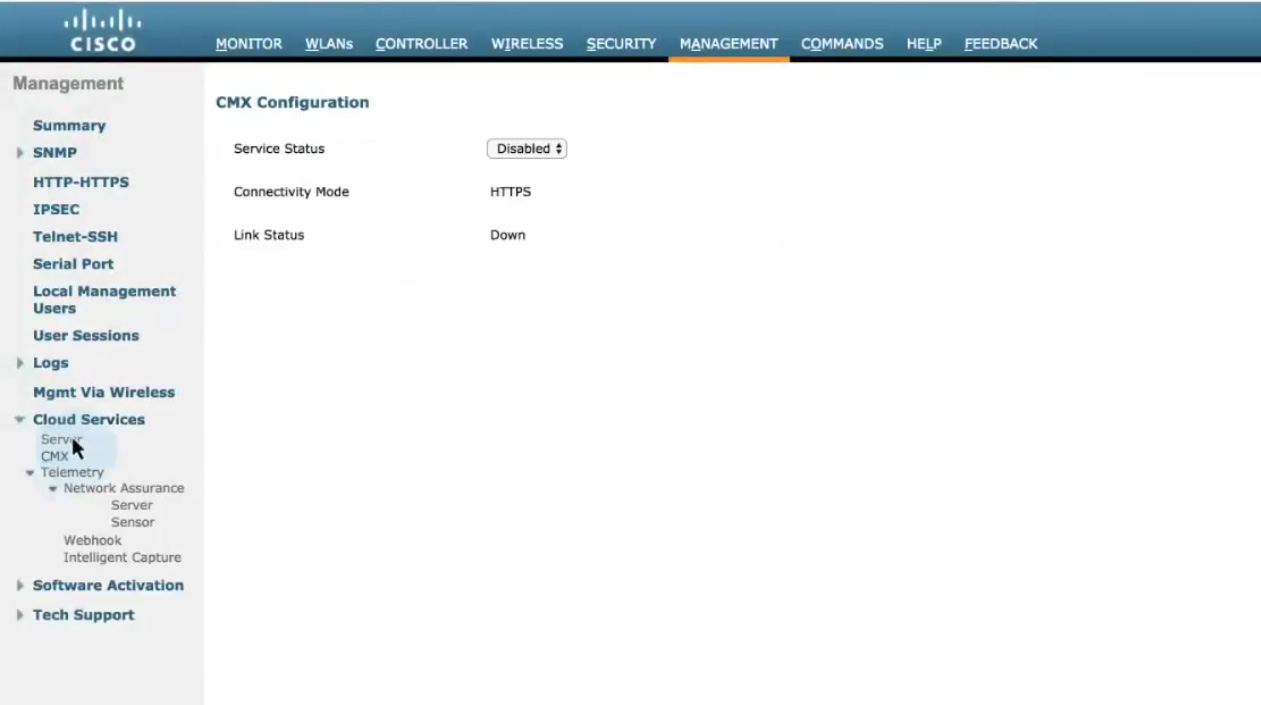
Click on “Cloud Services” on the left navigation
Click on “Server” under “Cloud Services” on the left navigation
Enter your Service URL and ID-token. Get the service URL and Token from the Cisco Spaces dashboard as shown in the Step 4 above. 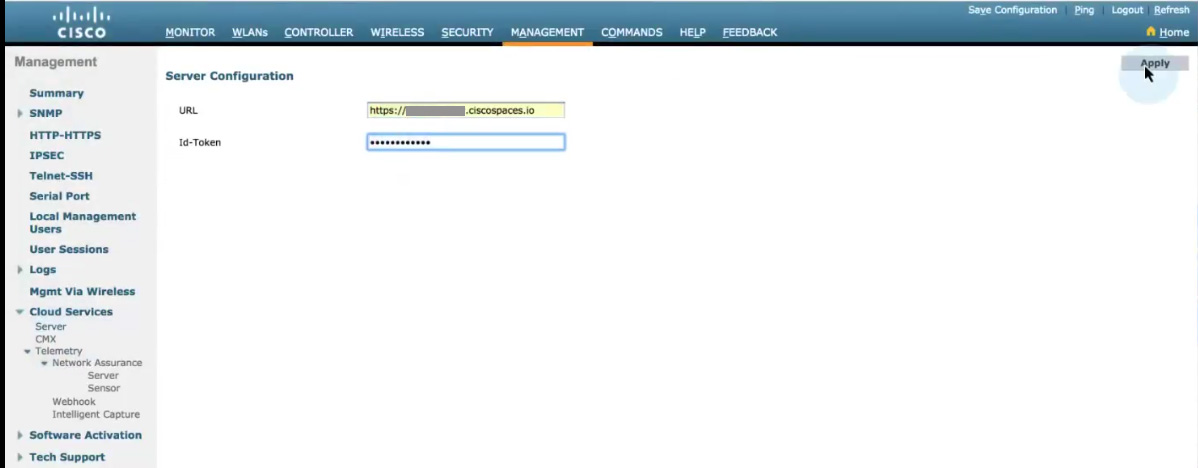
Click on “Apply” button on the top right corner of the page
Click on “CMX” under “Cloud Services” 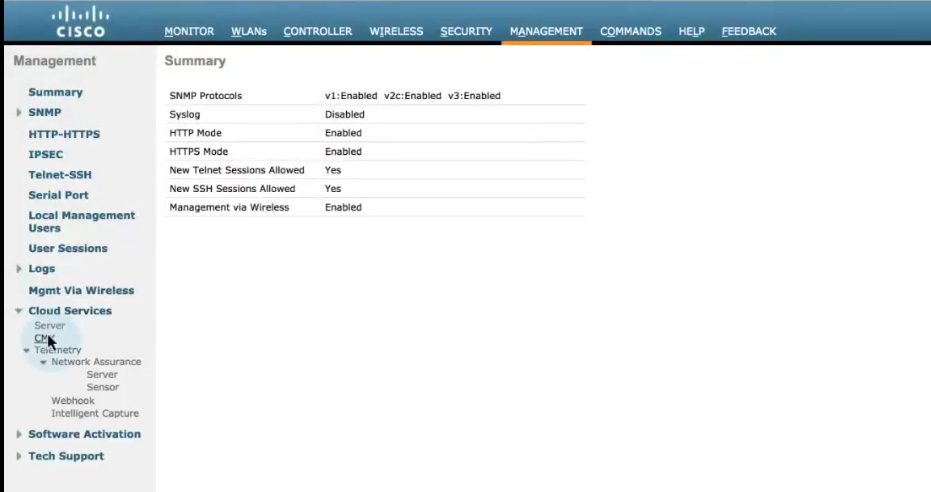
Click on “Server Status” dropdown and select “Enable” 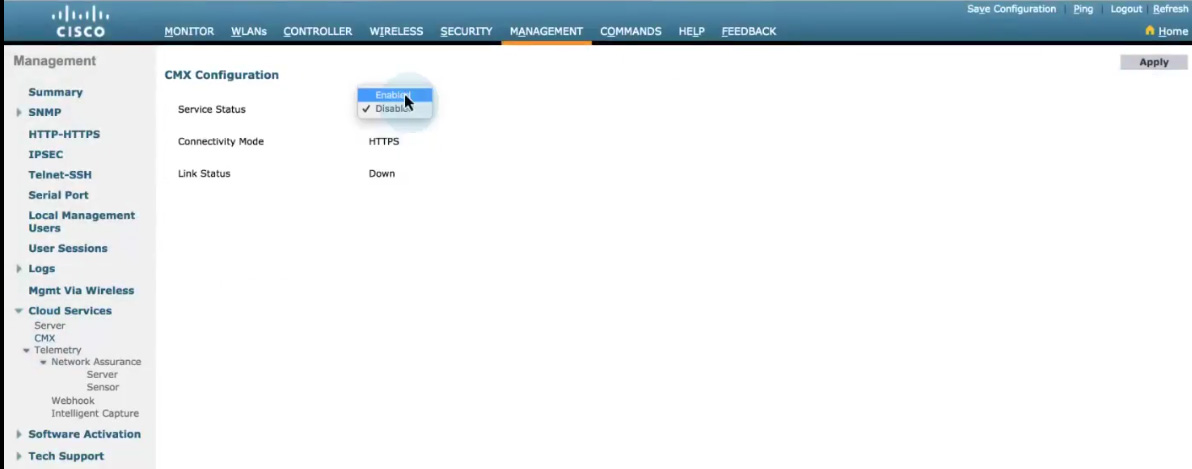
Click on “Apply” button on the top right corner of the page

