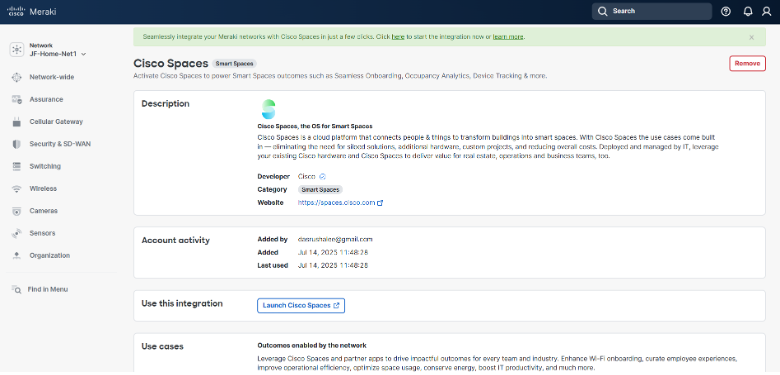
Go to Organization > Integrations
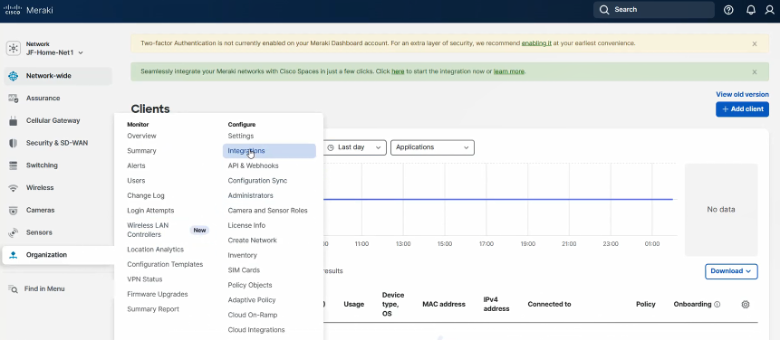
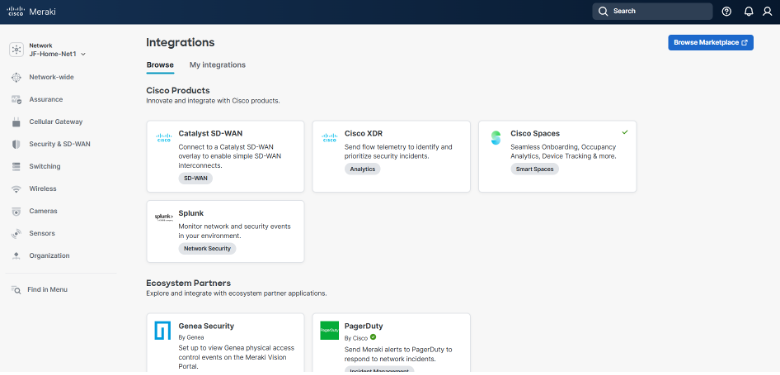
Under the Browse tab, Click on the “Cisco Spaces” tile
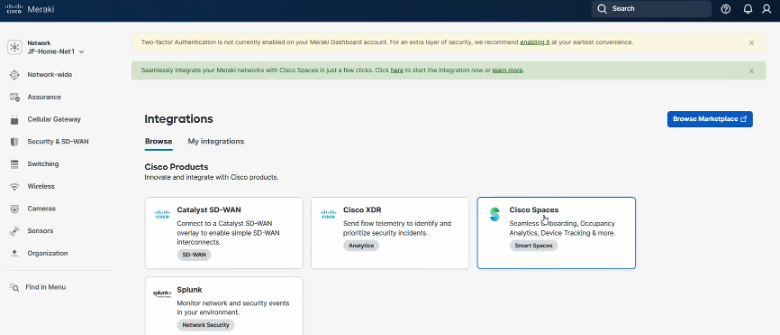
Click on the “Connect” in the top right corner

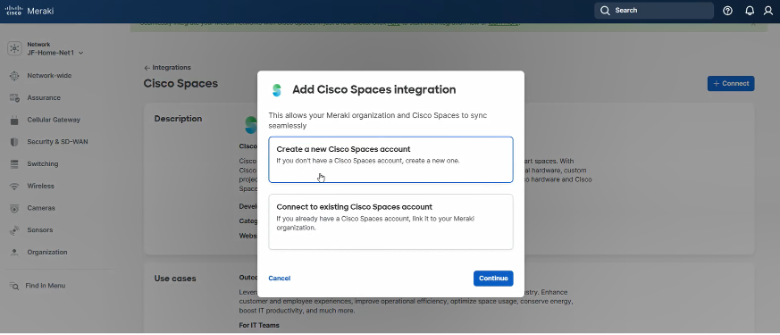
To create a new Cisco Spaces account, Choose the option that states “Create a new Cisco Spaces Account” and Click “Continue”
Note: Administrators can remove specific networks from syncing to Spaces by using Network Tags in the Meraki dashboard. By default all Meraki networks will sync to Spaces. However the Administrator can apply ‘CiscoSpaces’ as the tag name added to a Meraki network and only networks with ‘CiscoSpaces’ as the tag name will sync to Spaces.
Creating Network tags in Meraki: https://documentation.meraki.com/General_Administration/Organizations_and_Networks/Organization_Menu/Manage_Tags#Creating_Network_tags
Enter the “Spaces Account Name” and Click on ‘Add Integration’
Note: The Spaces Account Name is pre-filled with your Meraki Organization name and can be customized.
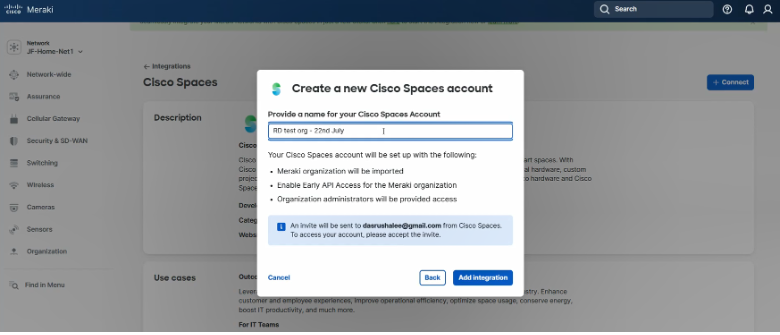
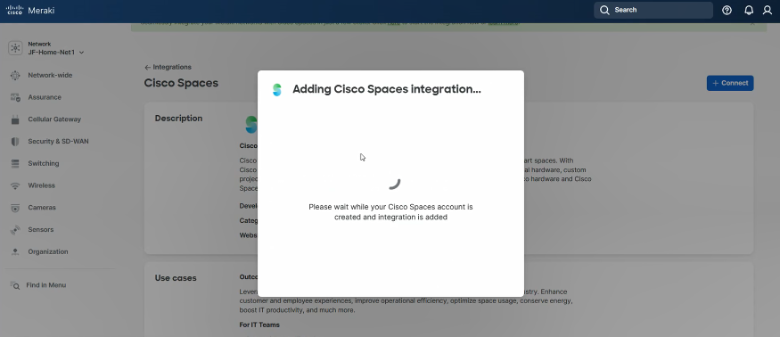
A new Cisco Spaces account with a unique tenant ID is created.
Note: Once a new Cisco Spaces account is created from the Spaces side:
- An invitation email is sent from Cisco Spaces to the Org Admin email address that did the integration. Accept the email invitation to setup your password and access the account
- Anyone designated as a Meraki Organization Admin for your organization, is automatically added to the Spaces account as a Spaces admin.
- All networks under that Meraki Organization are synced to Spaces.
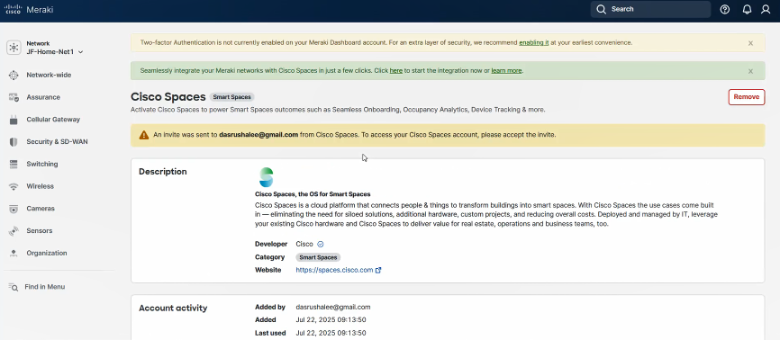
*Note: After the integration is complete it may take up to 24 hours for applications in Cisco Spaces to start populating analytics data
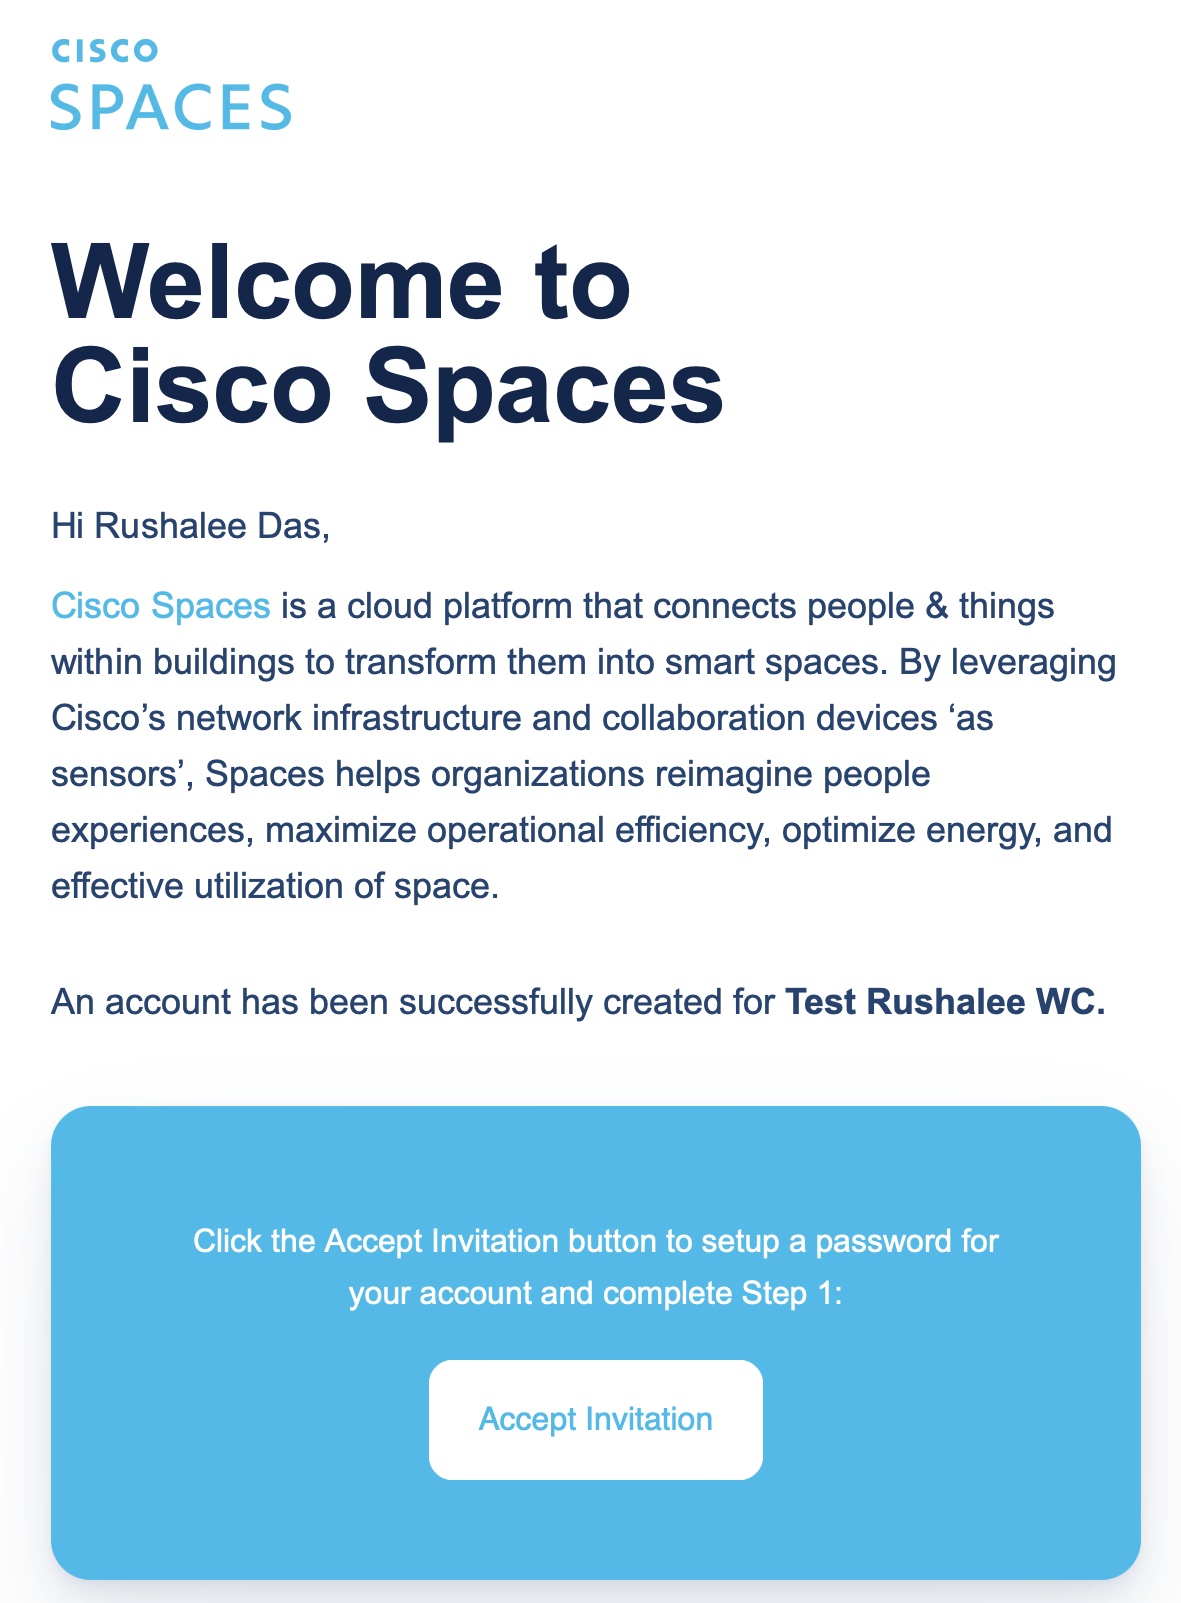
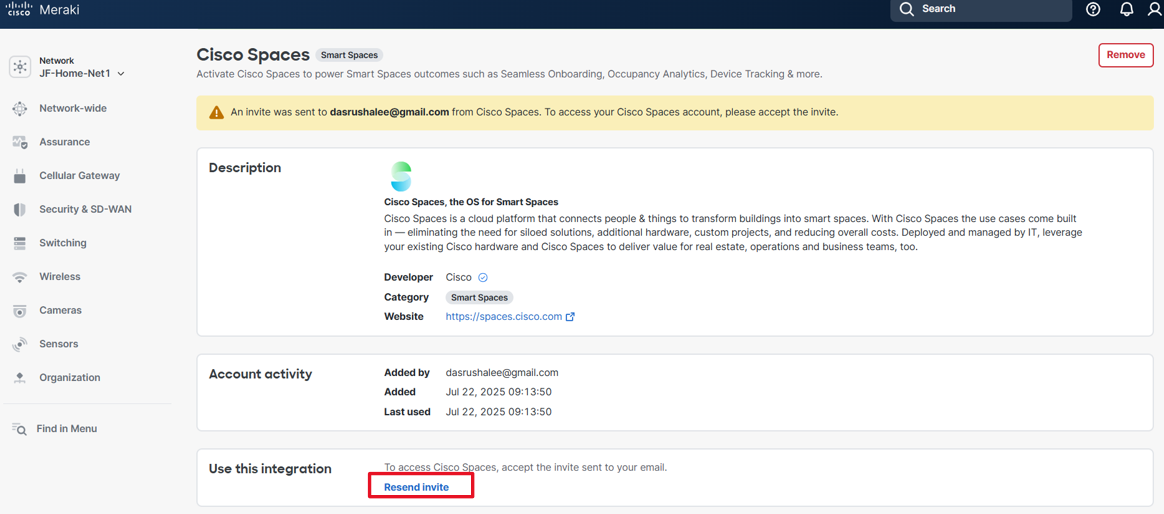 Cisco Spaces Analytics applications will start working after the Meraki Org is fully sync’d with the Spaces account, this could take up to 24 hours for everything to fully sync after the integration is completed.
Use these Cisco Spaces Analytics applications:
Cisco Spaces Analytics applications will start working after the Meraki Org is fully sync’d with the Spaces account, this could take up to 24 hours for everything to fully sync after the integration is completed.
Use these Cisco Spaces Analytics applications:
If you need to remove the integration, in Meraki dashboard, Navigate to Organization > Integrations under the My integrations tab and select the Cisco Spaces integration.
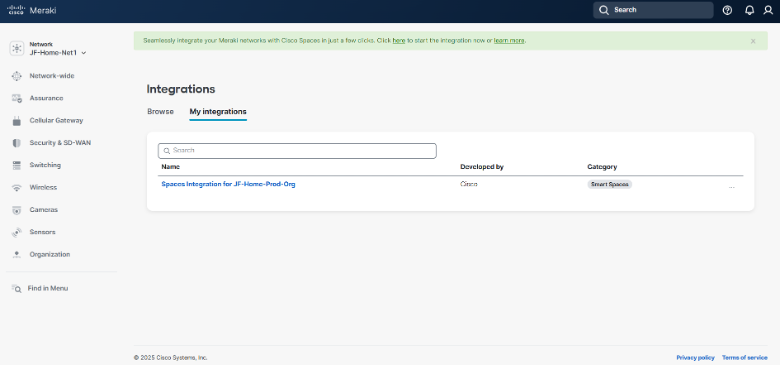
From the integration details page select Remove in the top right corner.