Webex Control Hub Activation
The integration of Cisco Webex Control Hub with Cisco Spaces allows Cisco devices in the Webex Control Hub Organization to send device telemetry cloud-to-cloud with Cisco Spaces. This enables devices in Webex Control Hub to send data such as people count, temperature, indoor air quality, etc. in real-time to Cisco Spaces.
Note: Before generating a Webex Control Hub access token to integrate with Cisco Spaces, watch the video to learn how to configure devices and organize them properly for a smooth integration.
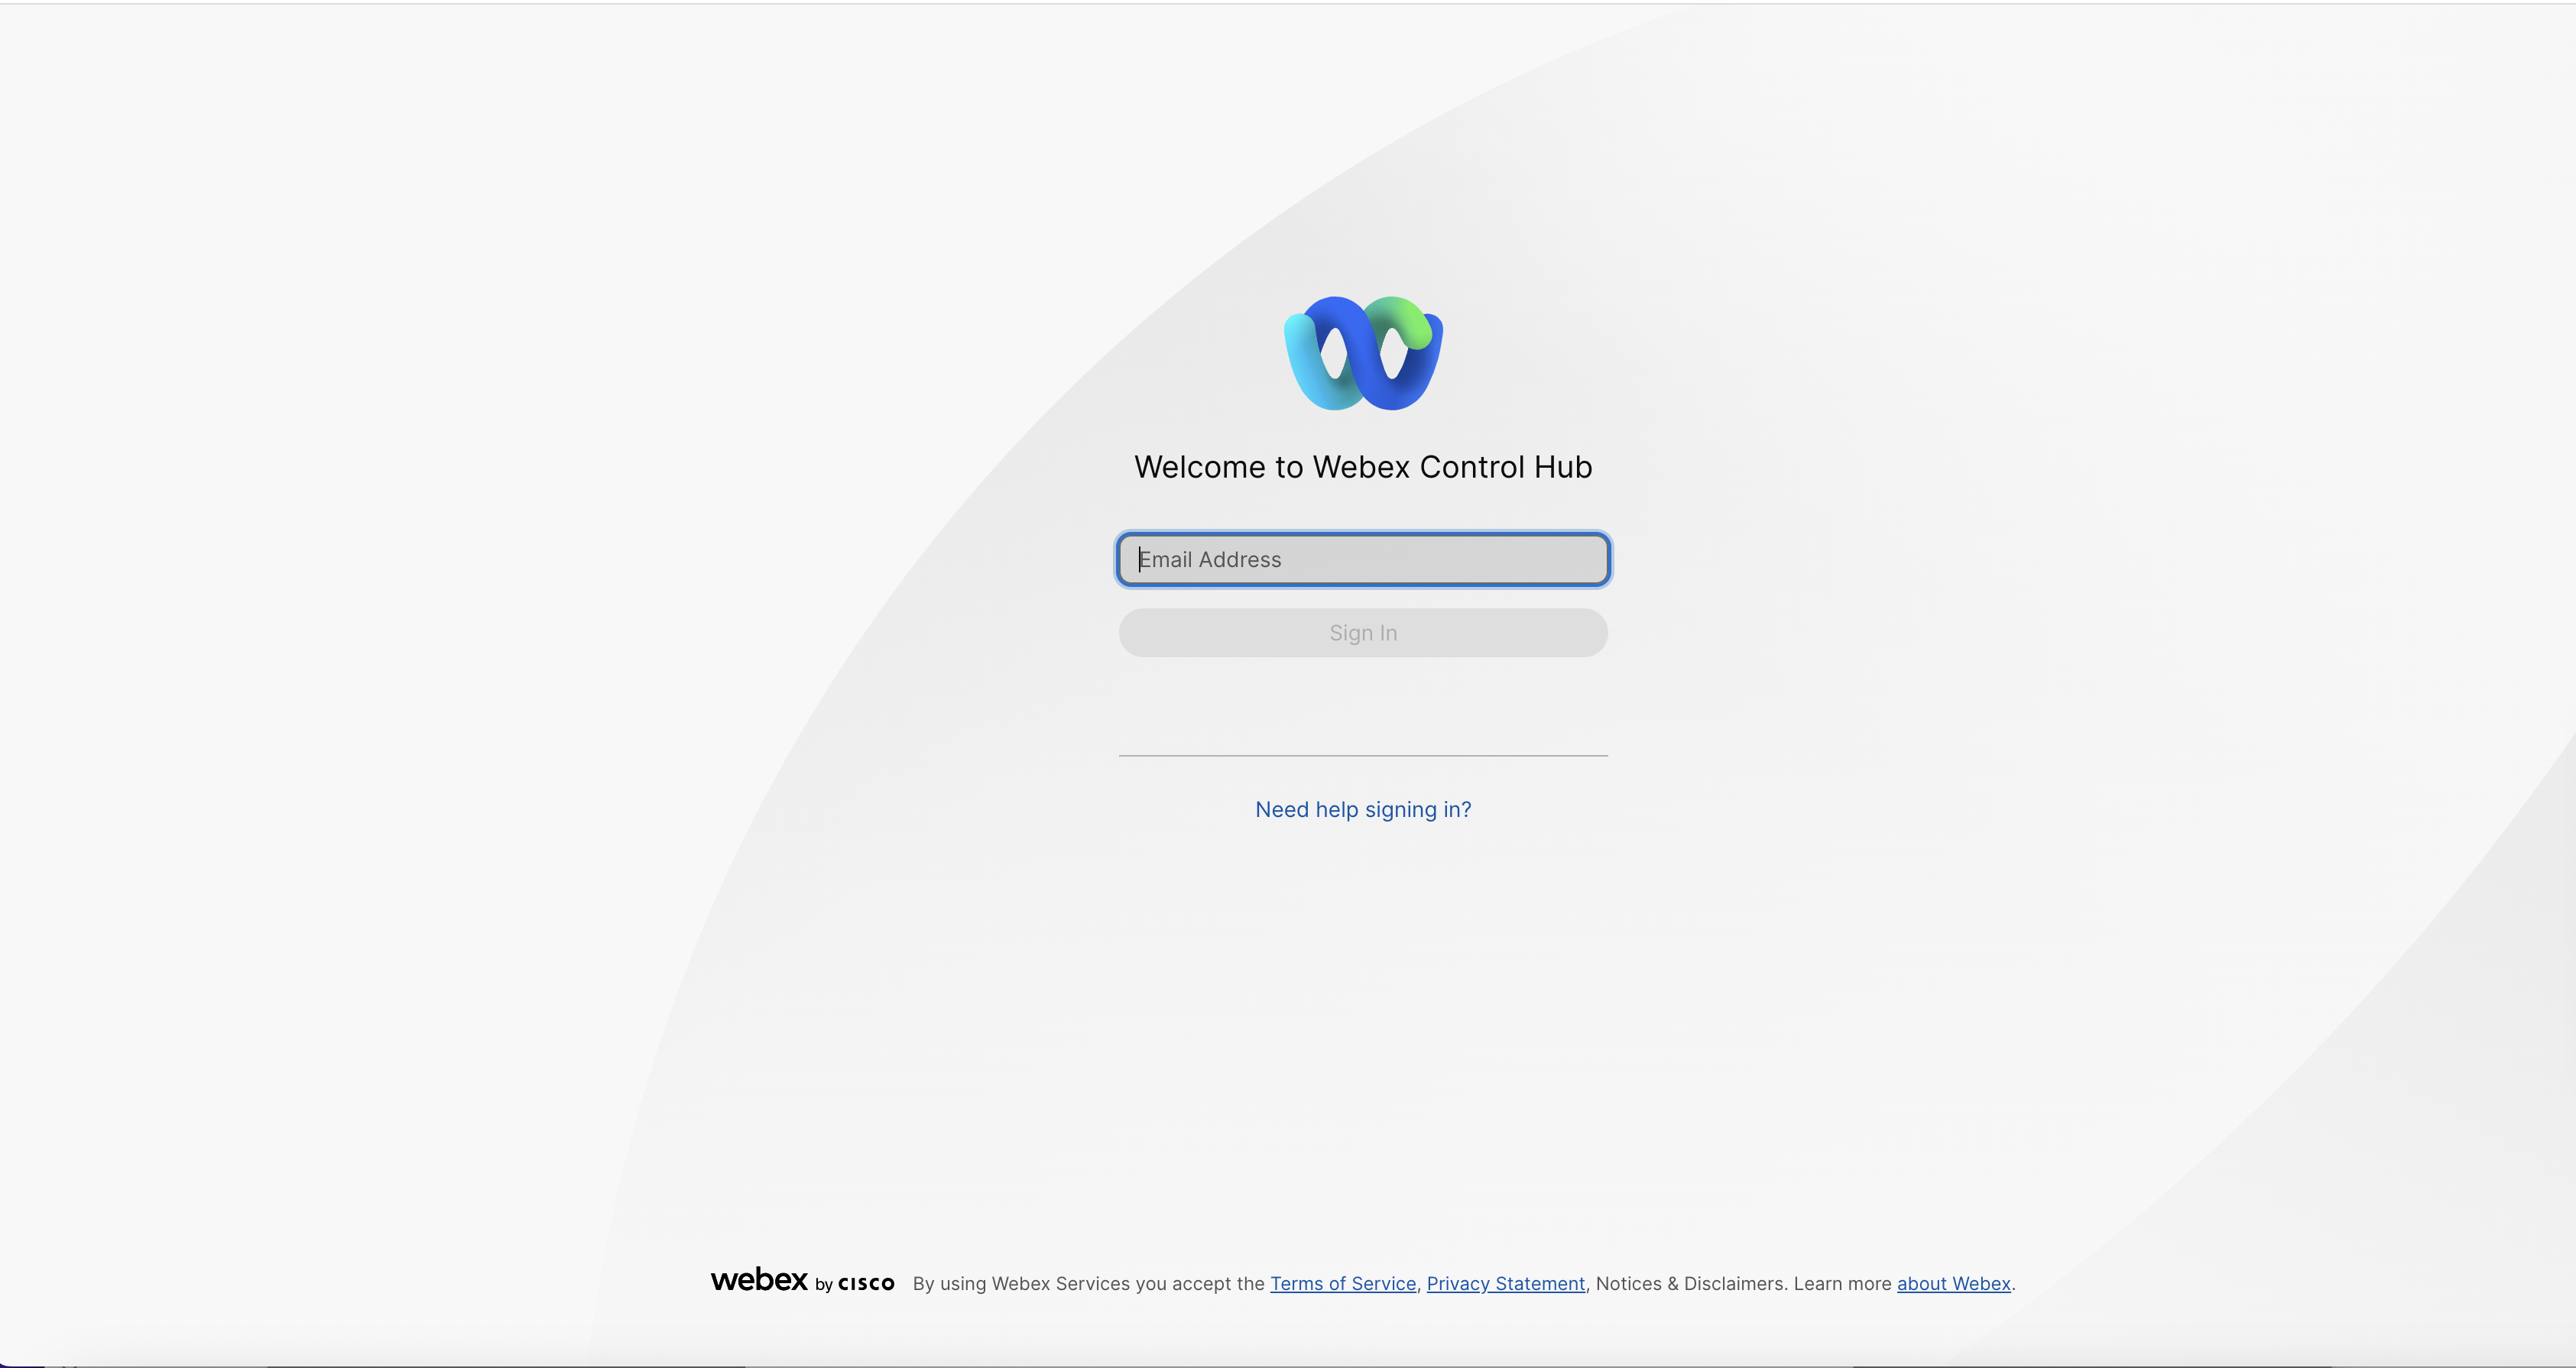
Enter your Control Hub Org email ID to sign in.
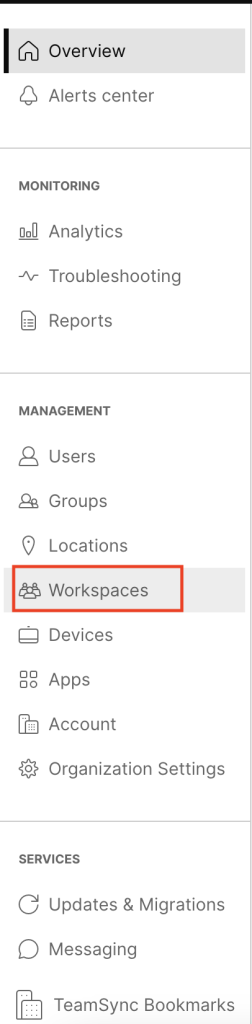
In the Control Hub dashboard, choose Management > Workspaces
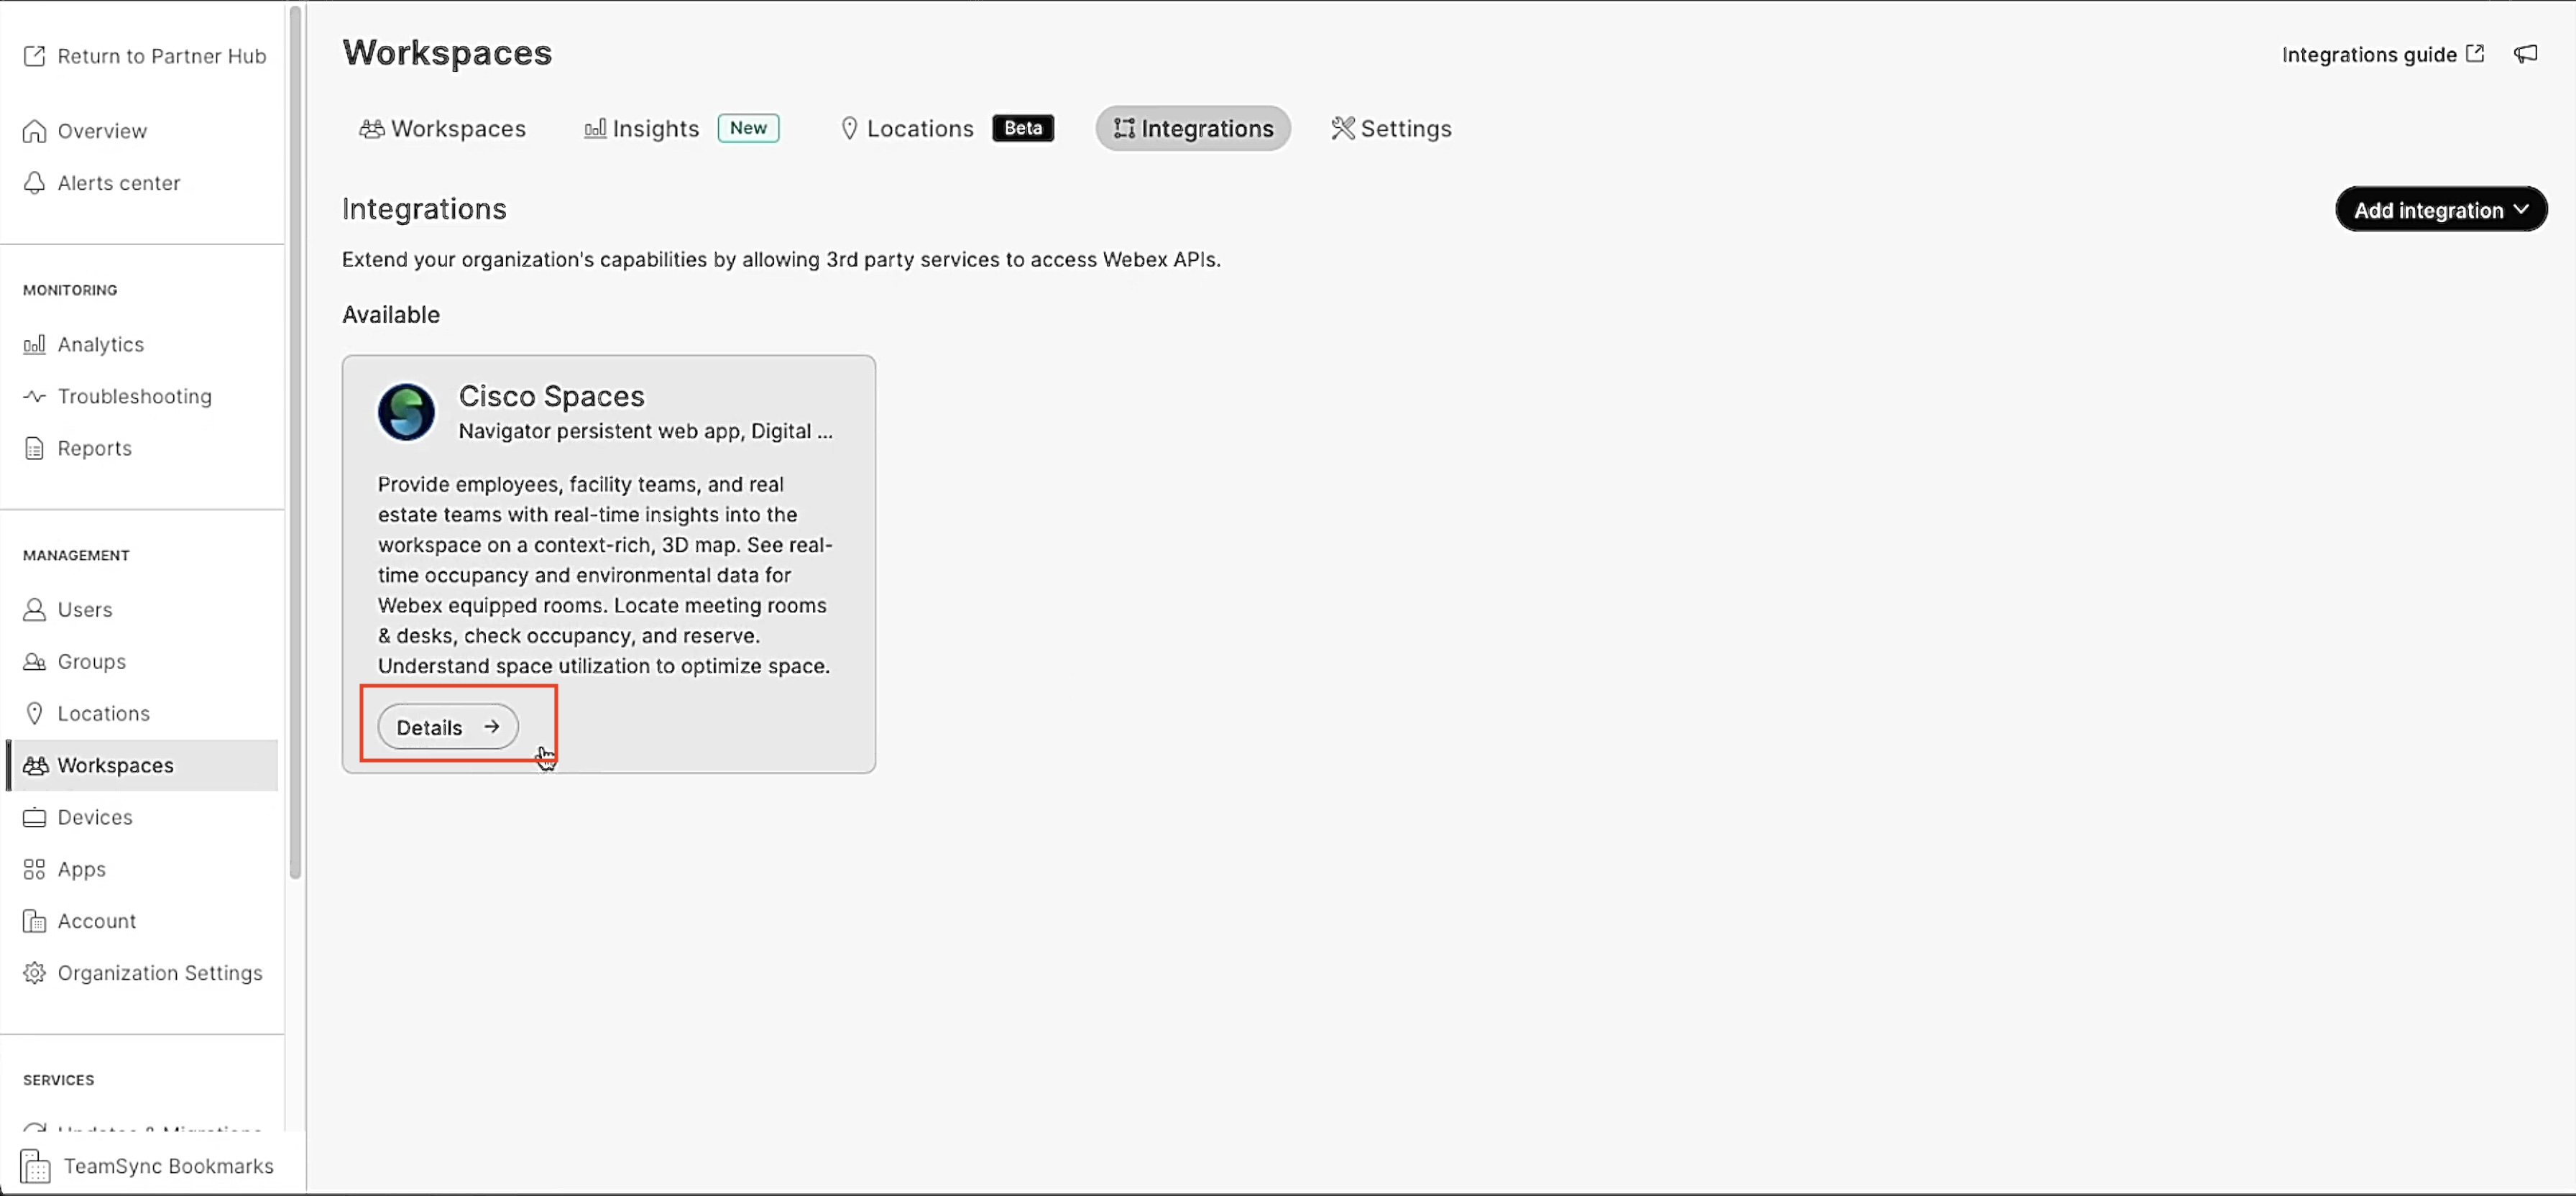
Click the Integrations tab

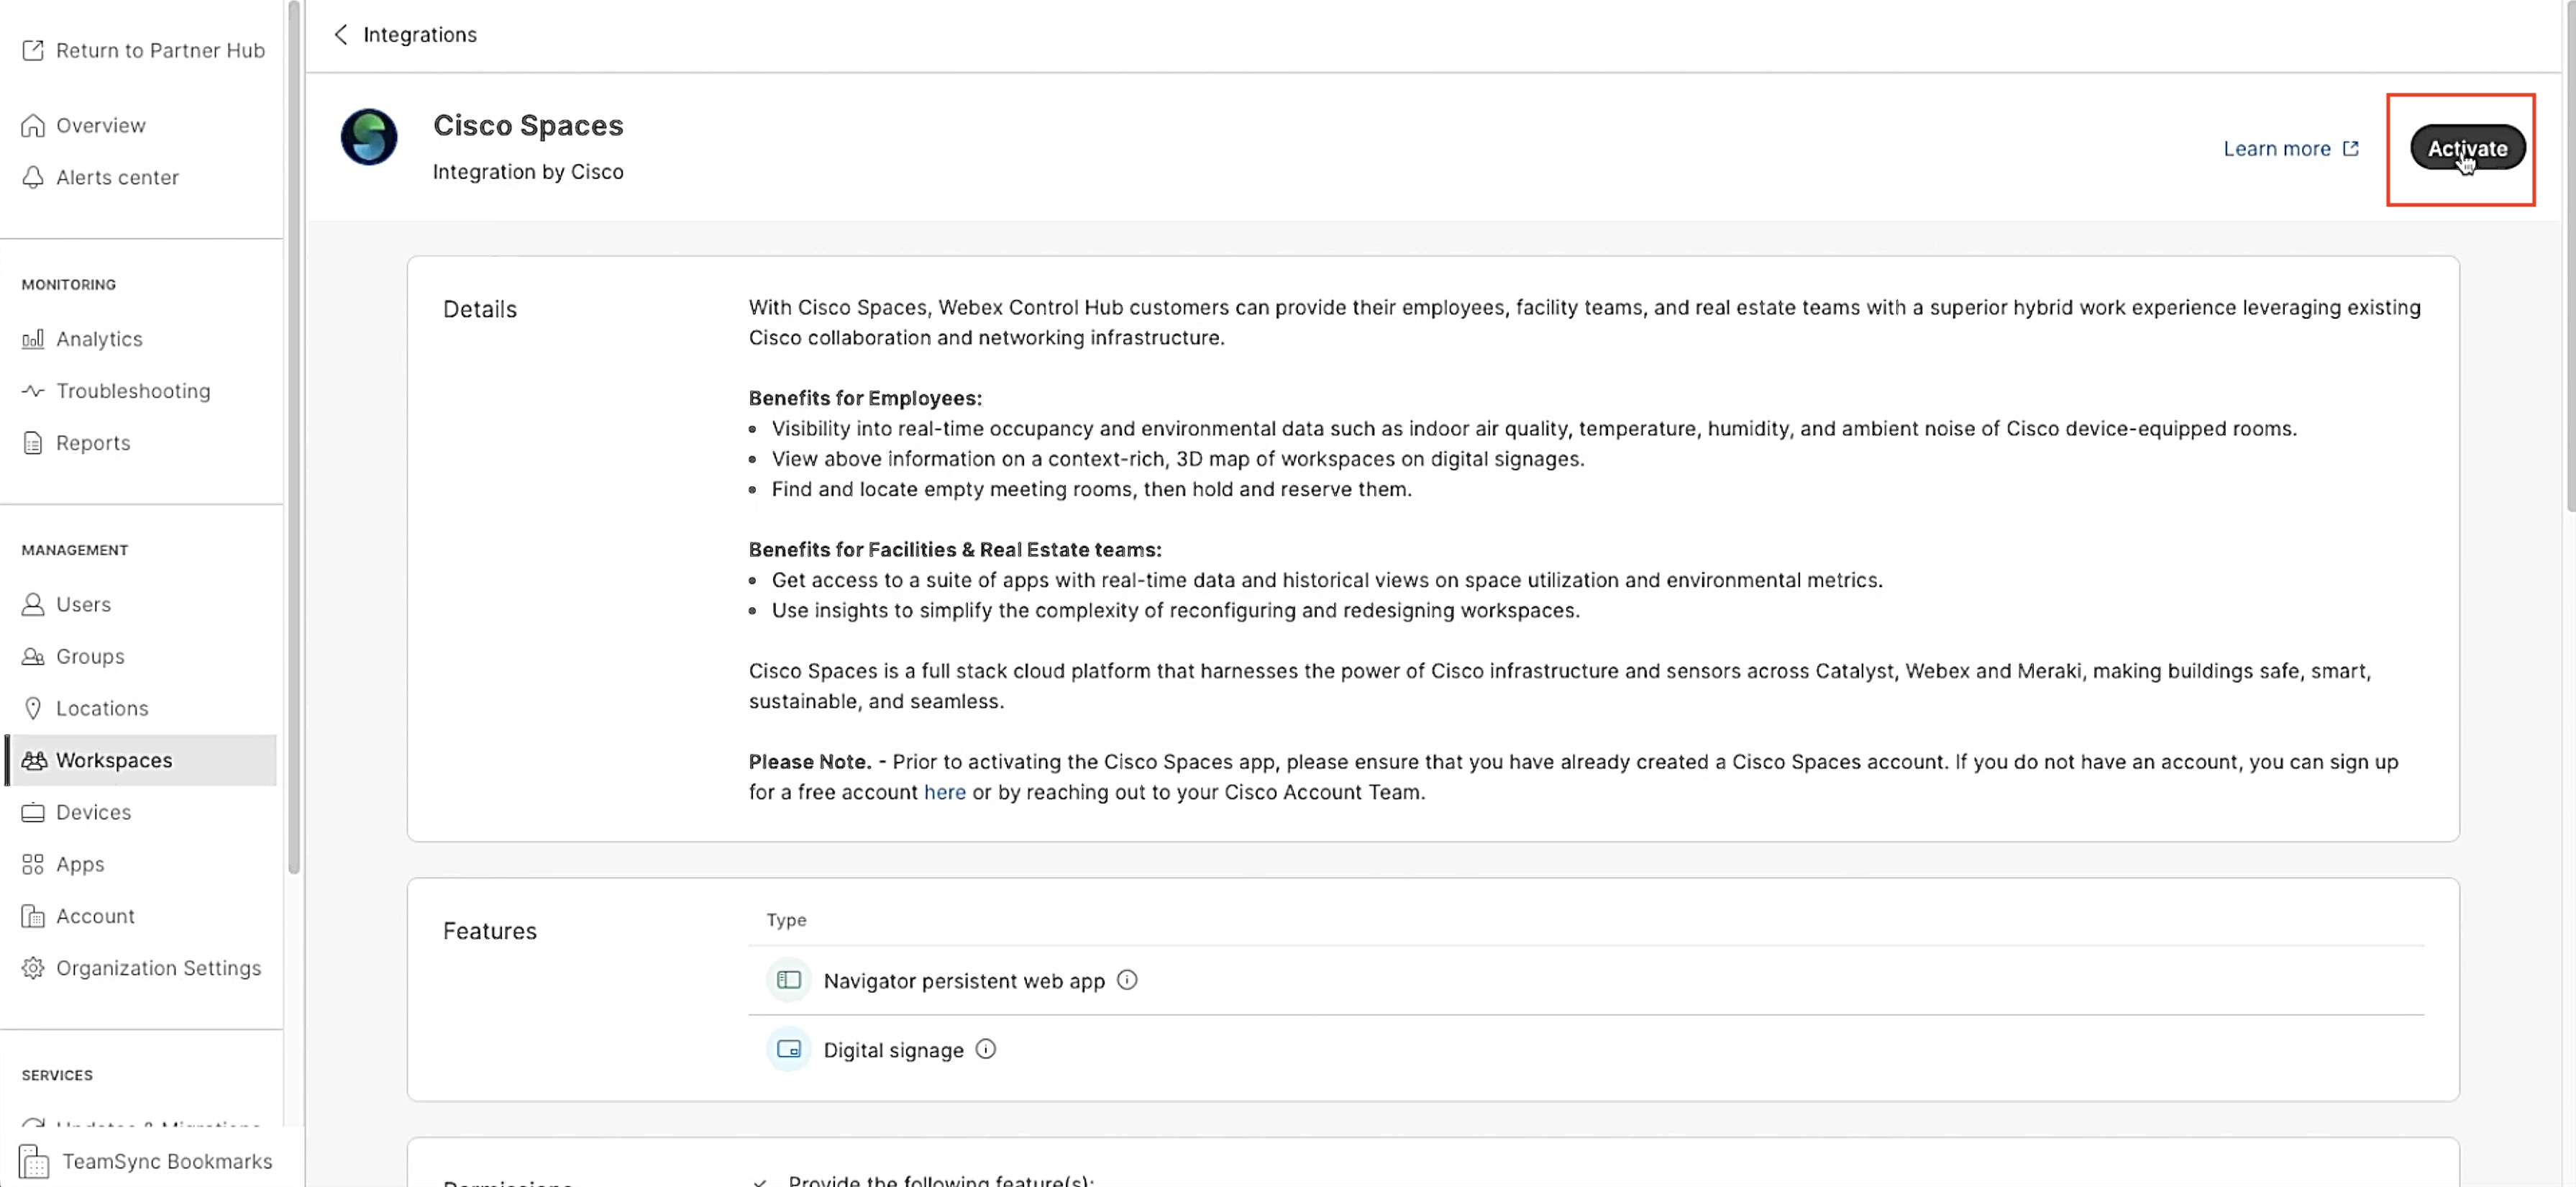
On the Cisco Spaces app tile, click Details.
The Cisco Spaces app integration details window is displayed.
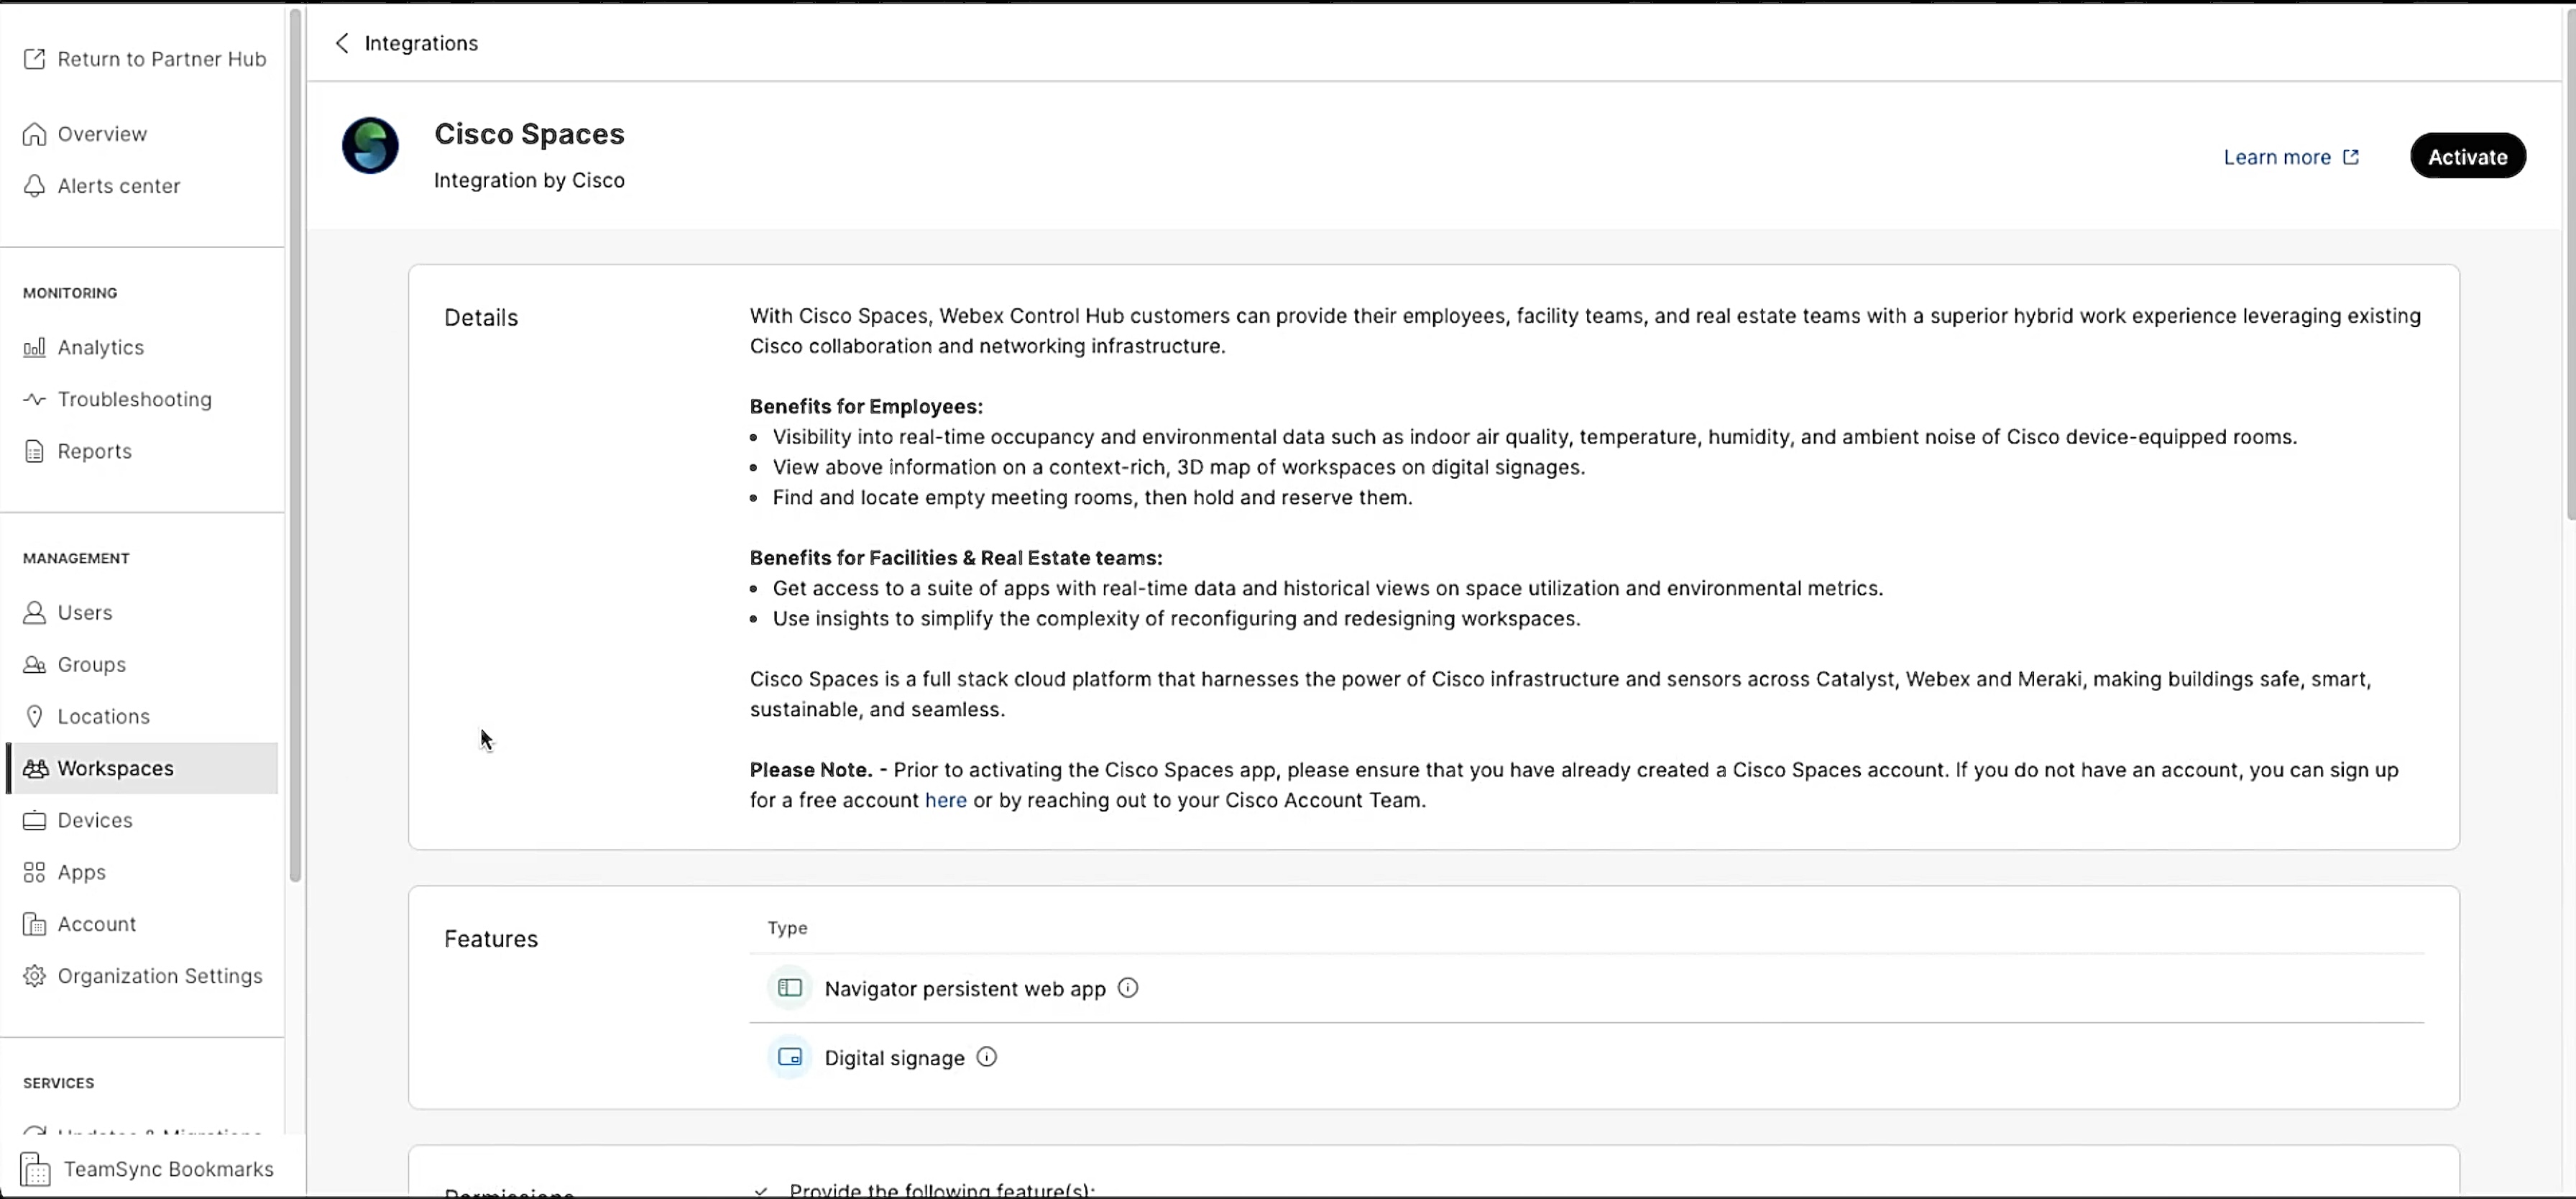
At the top-right corner of the window, click Activate.
Note: You must be a full admin to see the button
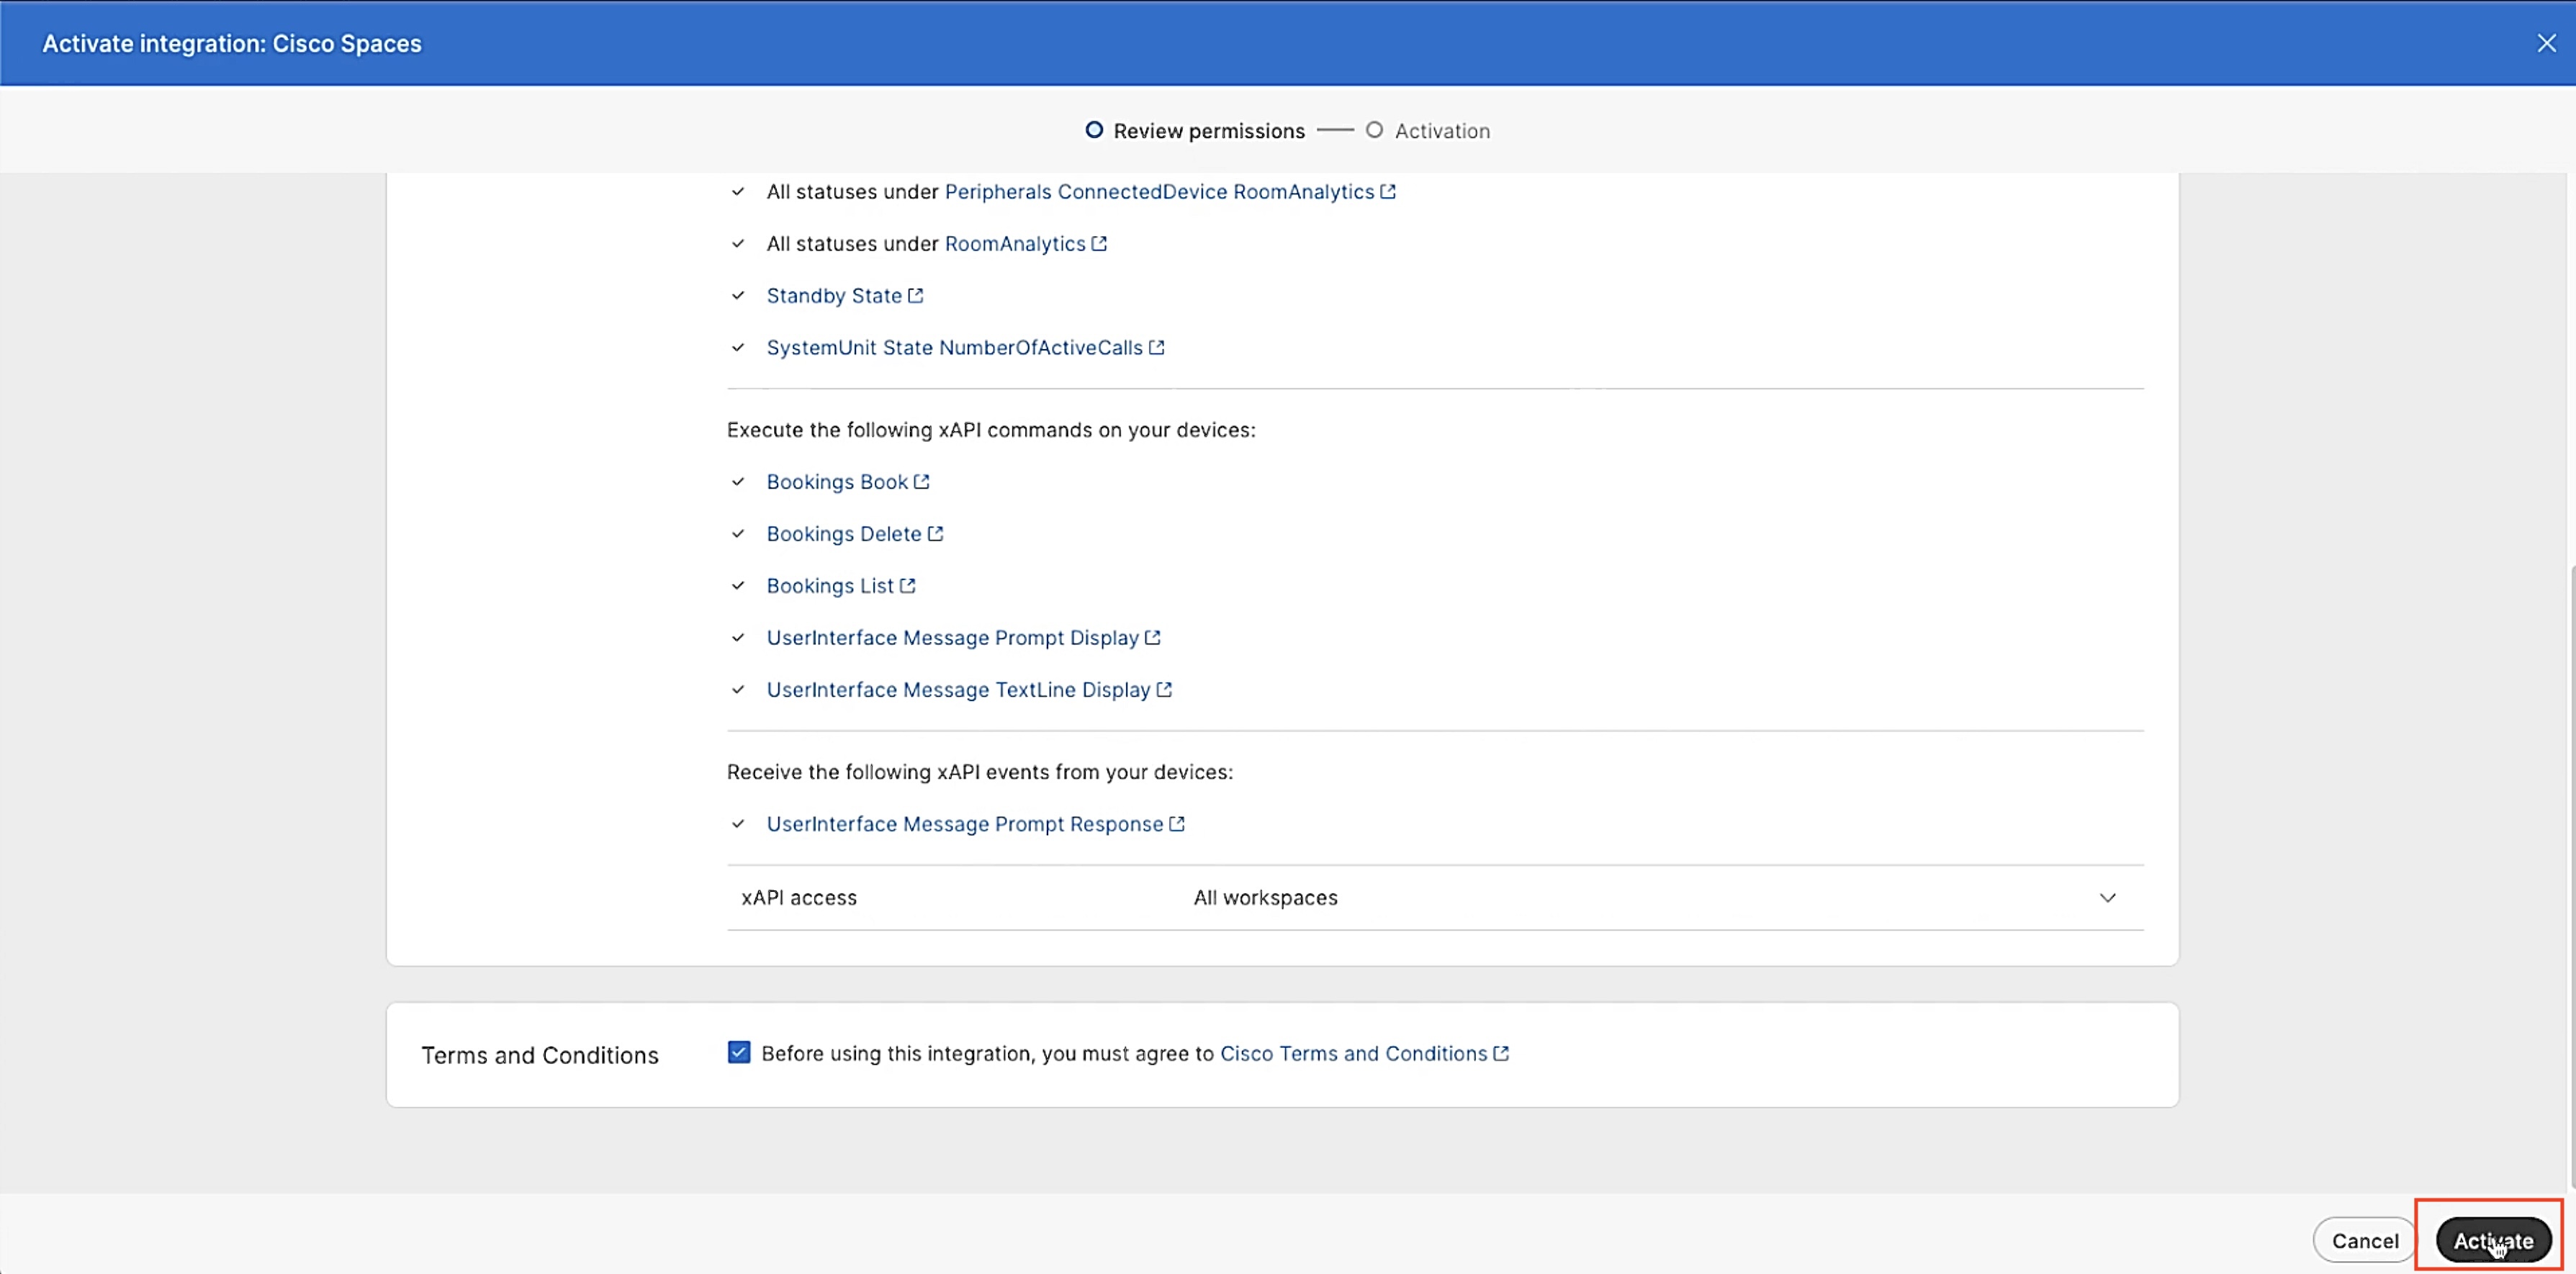
Review the API permissions requested, select individual locations or choose all locations, and check the Terms and Conditions check box.

Click Activate.
Once Activated an access token is generated that can be used to enable a cloud-to-cloud integration between Webex Control Hub and Cisco Spaces.
Note: The access token expires after 24 hours
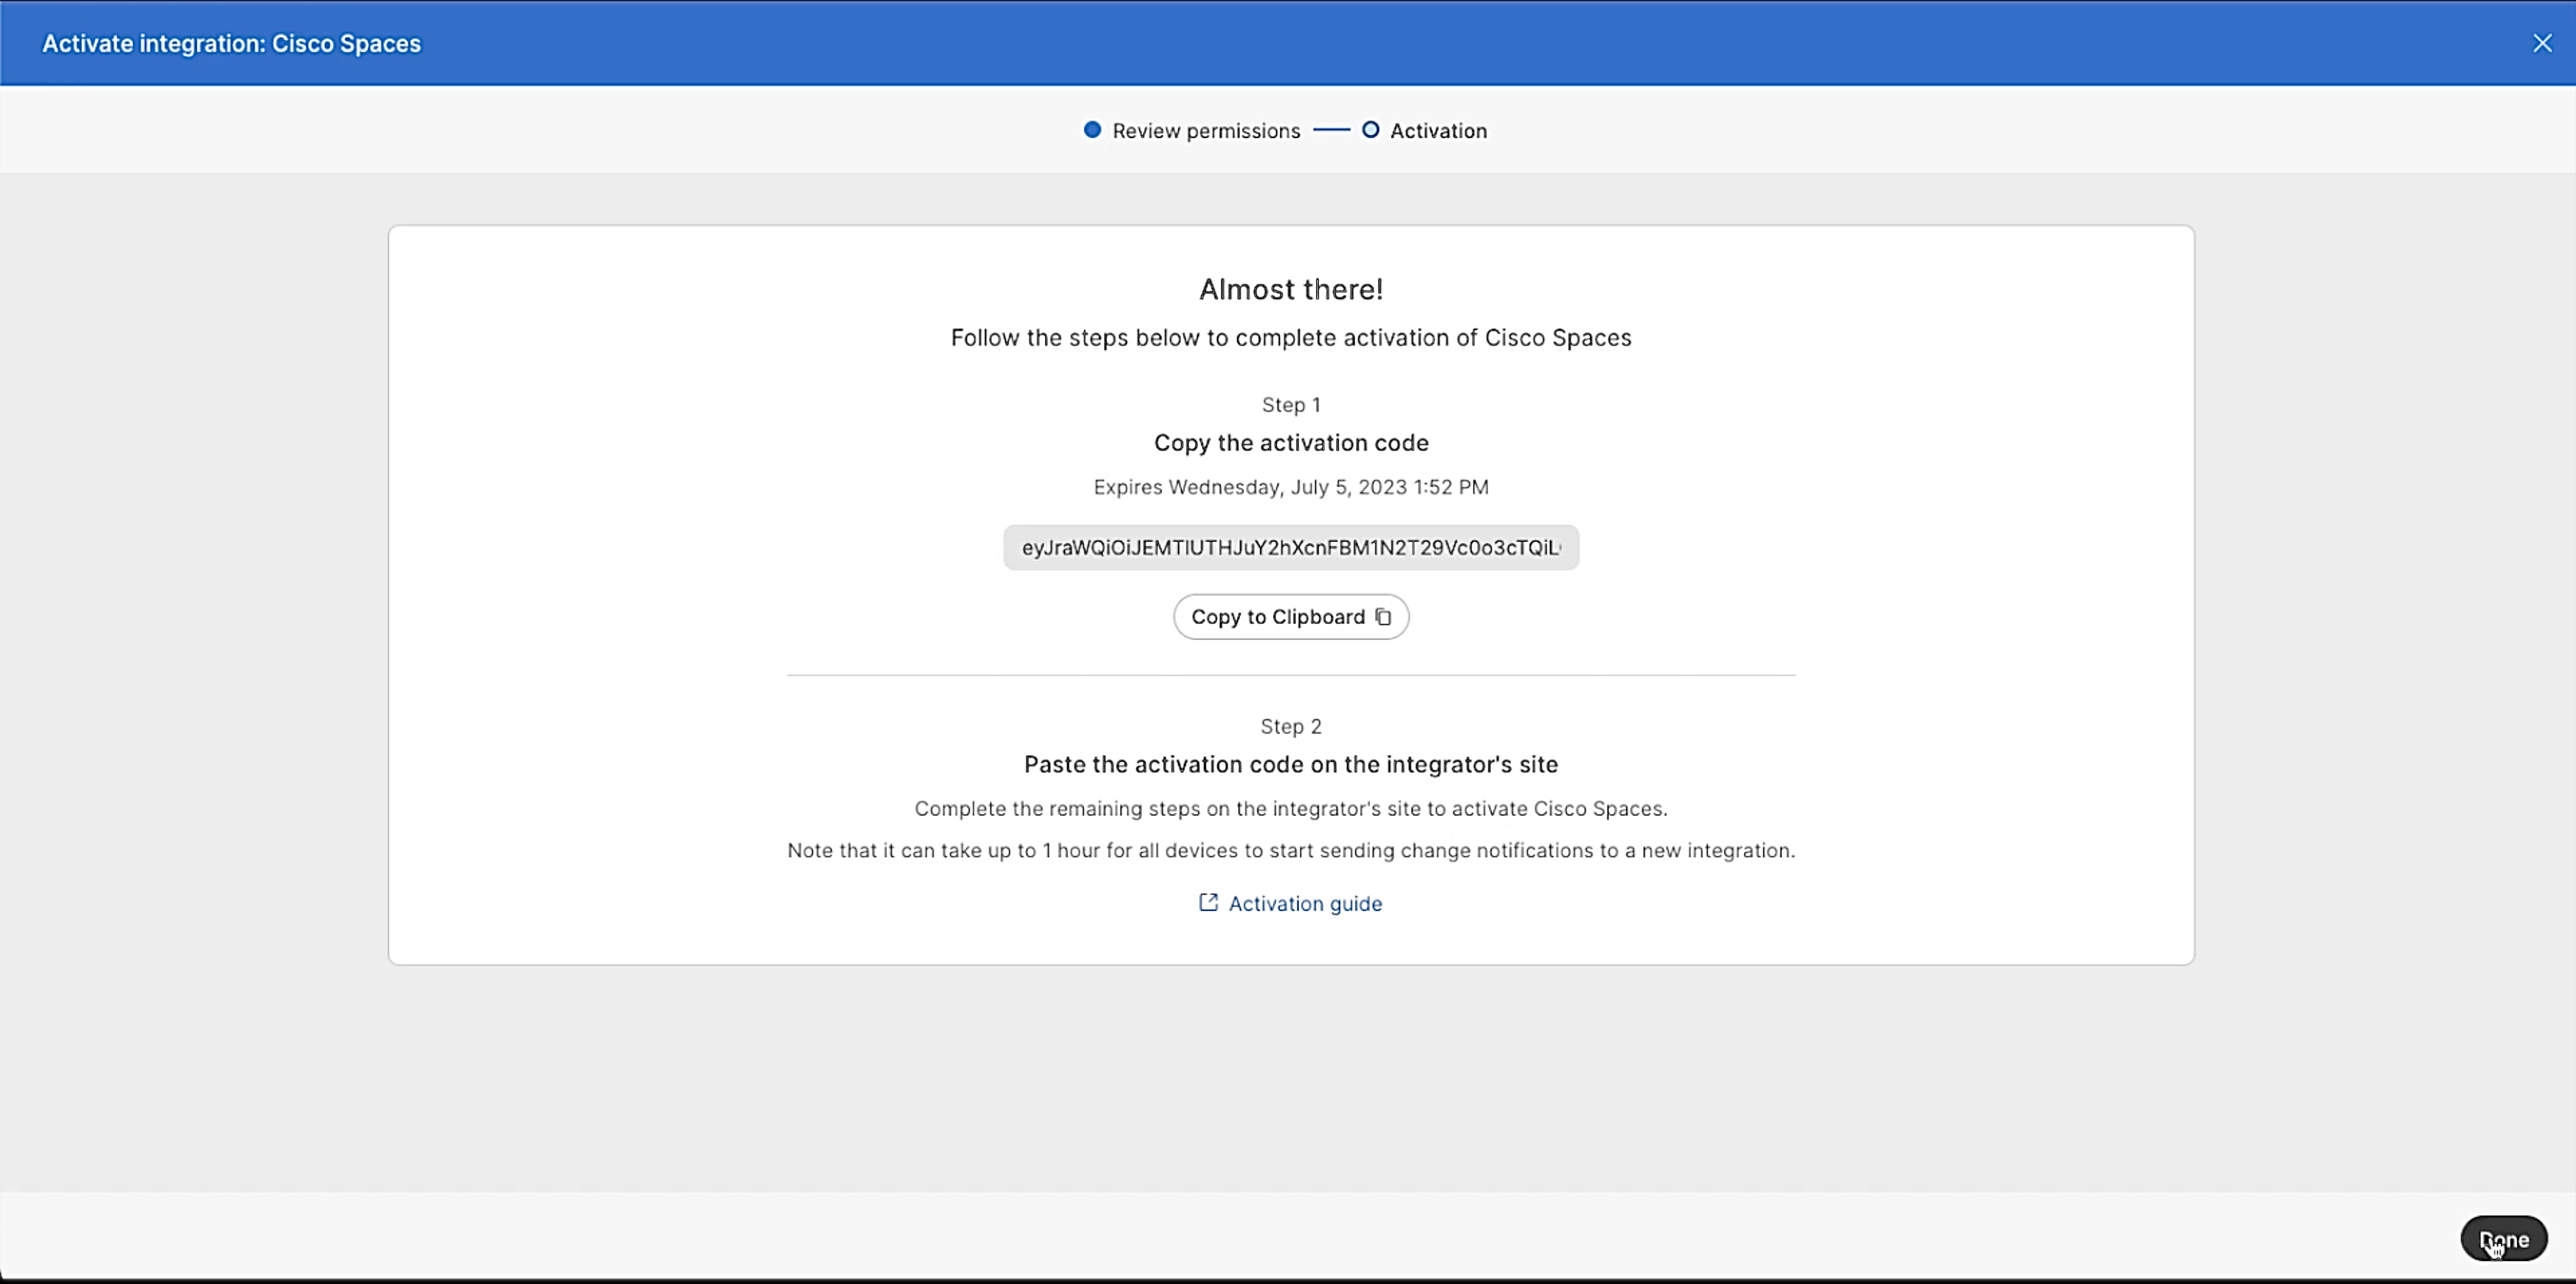
Use the Copy to Clipboard option to copy the activation code and paste the code in Cisco Spaces to integrate Webex Control Hub.
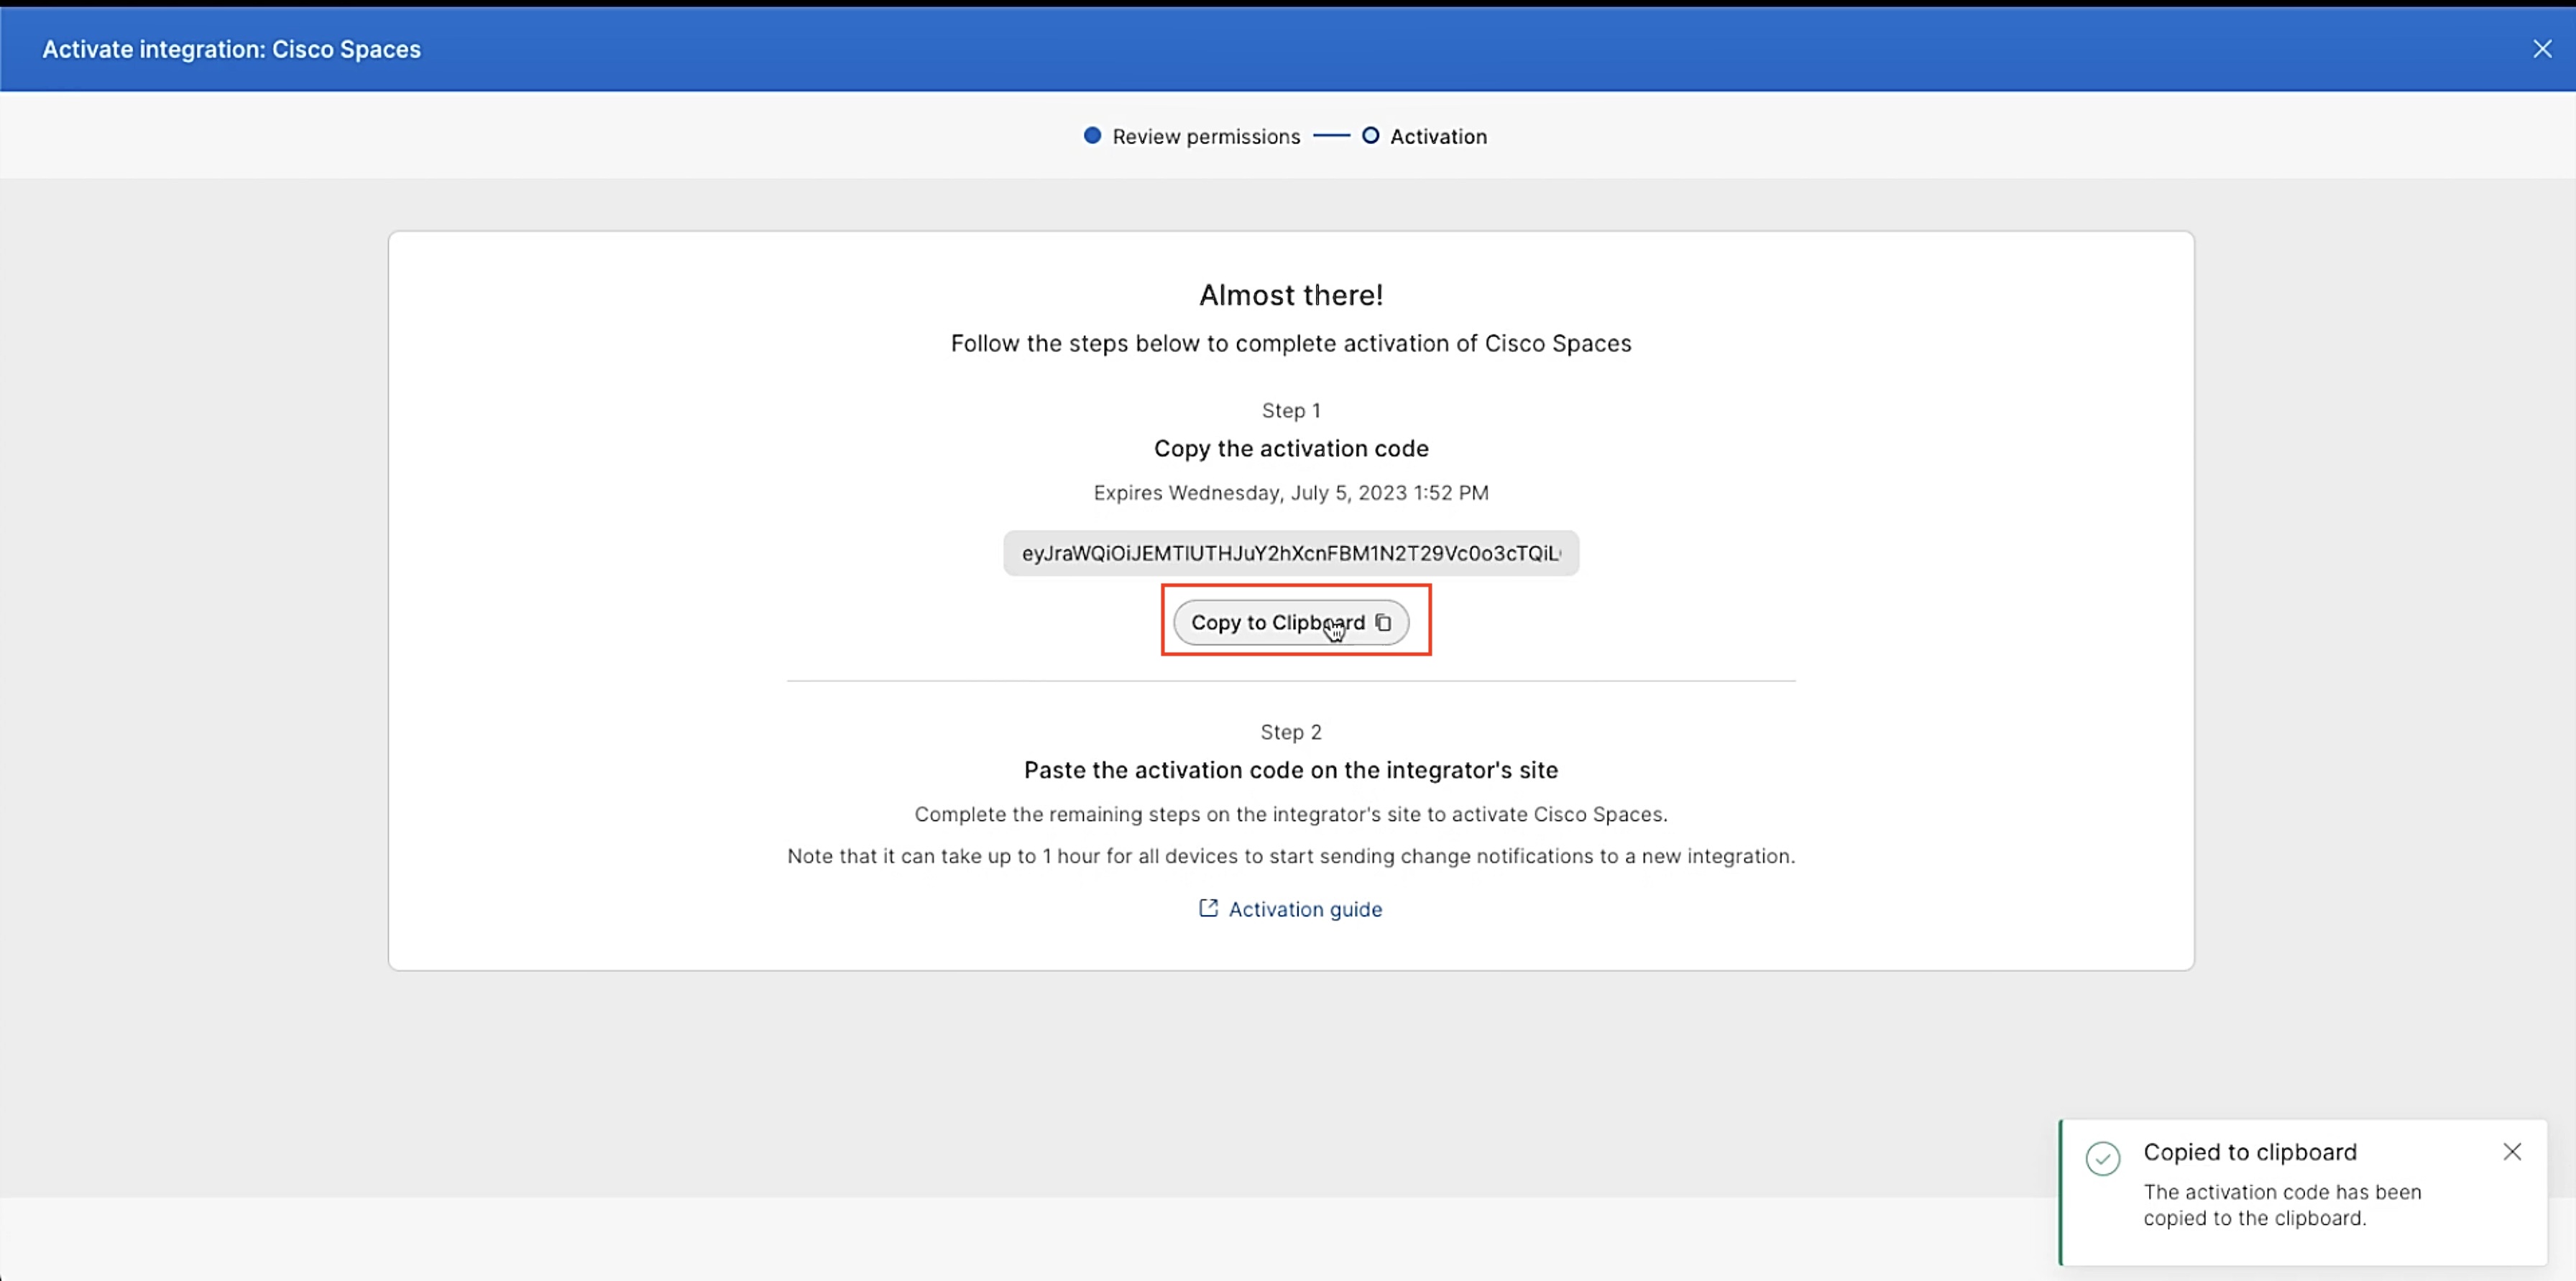
Follow the next steps to paste the token in Cisco Spaces.
Integrate Webex Control Hub with Cisco Spaces
Log in to your Cisco Spaces account
In the Cisco Spaces dashboard, choose Setup > Webex
In the Connect to Webex window, Click Connect
The Webex token slider will be displayed. Under the Enter or copy paste your Webex token field, paste the Webex Control Hub access token that was copied/generated from Step 11 above
Click Connect. A success message will be displayed if your token has not expired.
When successful you will see an Active icon and your account will show as connected.
Note: The “green” activated state will show if any Cisco Spaces admin pasted the token in the field. Each admin can add a separate access token, if you wish to integrate multiple Webex Control Hub Organizations to the same Cisco Spaces Tenant.